
DIY Shorts Redesigns You Can Finish at Home
Turn old shorts into dip-dye, print, lace, bleach, scallop, and no-sew refashions with practical steps, fabric tips, and a weekend plan—no affiliate hard sell.
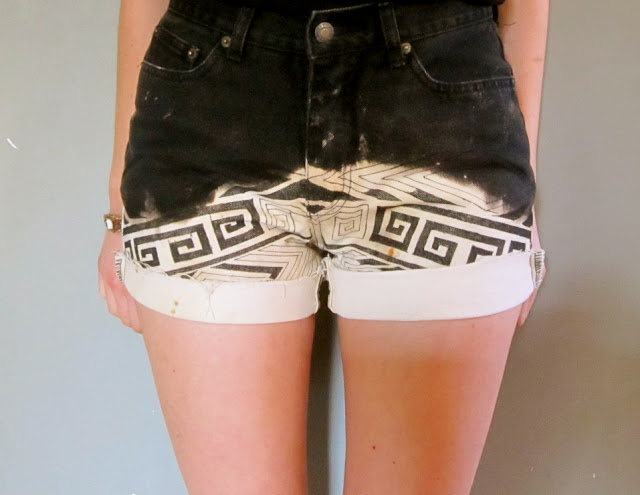
Old shorts are some of the easiest garments to redesign at home. The canvas is small, the sewing (when you need it) is short, and the failures are cheap. This roundup turns common summer makeovers—dip-dye and ombré, animal print, lace inserts, no-sew pant-to-short cuts, bleach dips, scalloped hems, and painted or patterned panels—into practical projects you can finish in an afternoon or a weekend. Keep the photos as visual targets; ignore any shop-hard-sell noise. Work with what you already own.
Start with a pair you like in the seat and rise. No dye job or lace panel will fix shorts that gap at the waist or cut into the thighs. Wash and dry the garment first so shrinkage happens before you cut or color. Protect floors and sinks; denim dye and bleach are enthusiastic travelers.
Dip-dye, ombré, and tribal color blocks
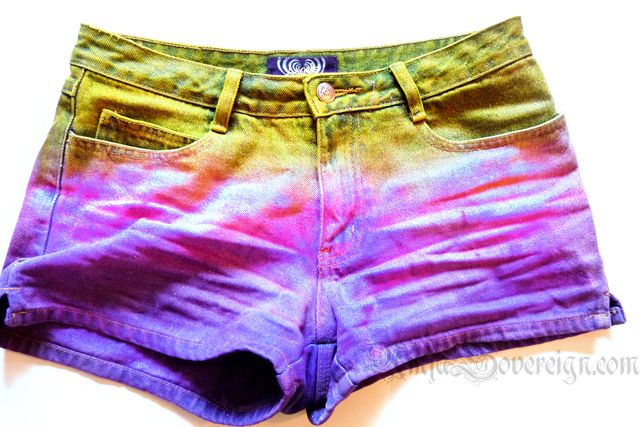
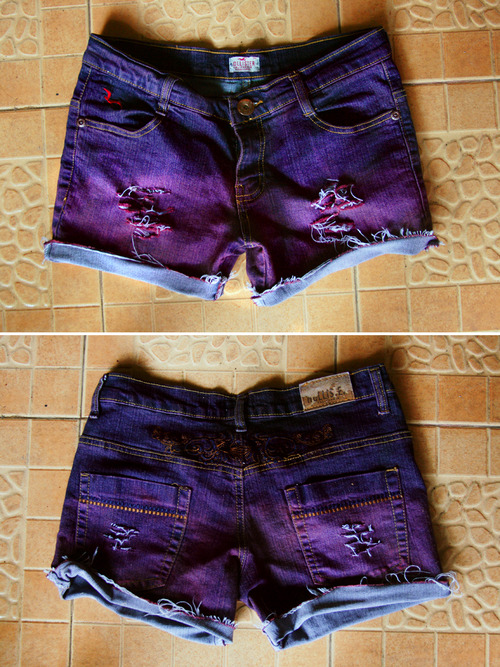
Dip-dye shorts work best on cotton or cotton-rich denim and twill. Mix fiber-reactive or all-purpose dye according to the fabric content, dampen the shorts evenly, then lower them into the dye bath to the height you want for a hard line—or raise and lower slowly for a softer ombré. For “tribal” or geometric blocked looks, use rubber bands, clamps, or tape to reserve undyed zones, or paint thickened dye onto dry fabric with a brush for sharper motifs.
Rinse until water runs clearer, wash separately the first few times, and expect the first wash to lighten slightly. If you want a darker band at the hem, dye that section longer or concentrate dye there with a squeeze bottle. Always wear gloves. Always test a hidden seam if the shorts have stretch panels—elastane zones can take color differently.
Ombré from dark waist to pale hem (or the reverse) photographs beautifully and hides old fade lines. Keep the gradient vertical and even by agitating gently while the fabric sits in the bath. Rushing creates blotches that look accidental rather than designed.
Prints: leopard, victorian motifs, and fabric paint
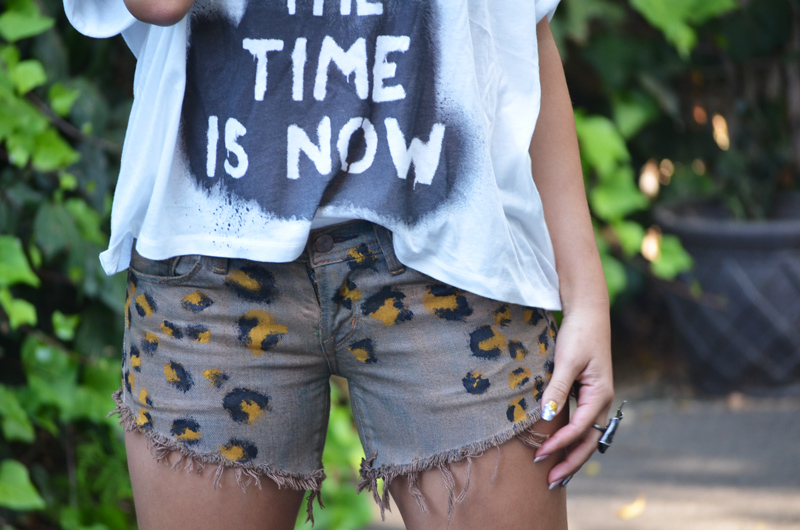
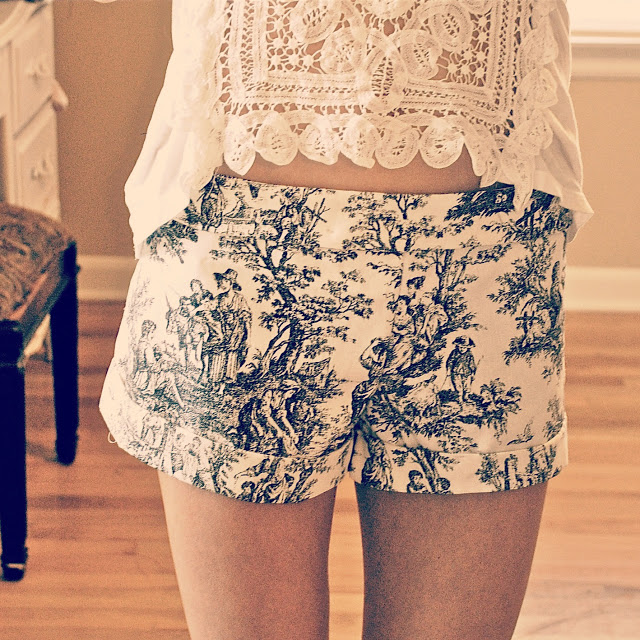
Animal print and ornate “victorian” motifs look intimidating until you break them into stamps and layers. Fabric paint, fabric markers, and simple hand-cut foam stamps can build leopard spots as irregular dark ovals with a slightly offset lighter crescent. Work on a protected table with cardboard inside each leg so paint does not bleed through to the back.
For denser printed looks, freezer-paper stencils ironed lightly onto cotton give crisp edges. Paint in thin coats; thick paint cracks at stretch points on the seat and thighs. Heat-set according to the paint instructions before washing. If you prefer less permanence, fabric crayons and markers let you sketch first and commit later.
Choose a color story that suits the base cloth. Soft pink leopard on washed denim reads playful; black-on-black tonal print reads evening. Ornate florals and scrollwork suit lighter chino or pale denim where contrast stays visible. Stop adding motifs when the shorts still have negative space—overprinted garments look busy fast on such a small canvas.
Lace inserts and sheer panels
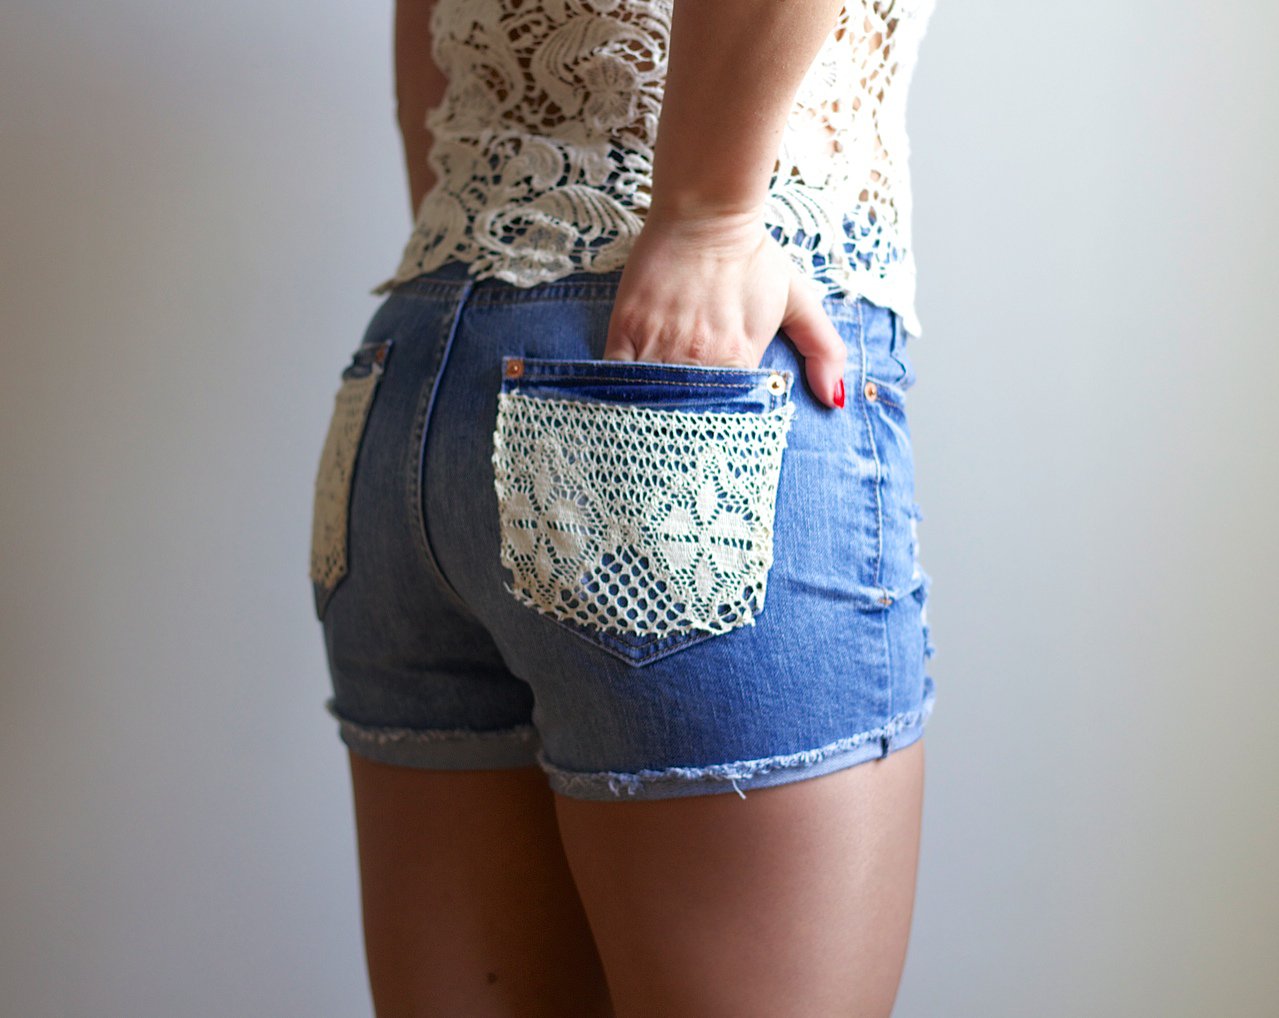
Lace shorts redesigns usually mean cutting a window into the denim and backing it with lace, or replacing a side panel entirely. Mark the opening carefully; stay clear of pocket bags unless you intend to remove them. Fuse or baste lightweight interfacing around the cut edge if the denim frays aggressively, then stitch lace behind with a narrow zigzag or straight stitch close to the edge.
Choose lace with enough structure to survive sitting. Fine bridal lace looks romantic in photos and tears in real life. Cotton lace and embroidered tulle with a stable mesh hold up better. Finish raw denim edges or embrace a controlled fray—pick one language and keep it consistent around both legs.
Side lace panels slim the visual line of the leg and add movement when you walk. Back-yoke lace windows are more daring and need opaque underlayers you are willing to wear. Test the opacity in daylight before you call the project done.
Pants-to-shorts and no-sew hems
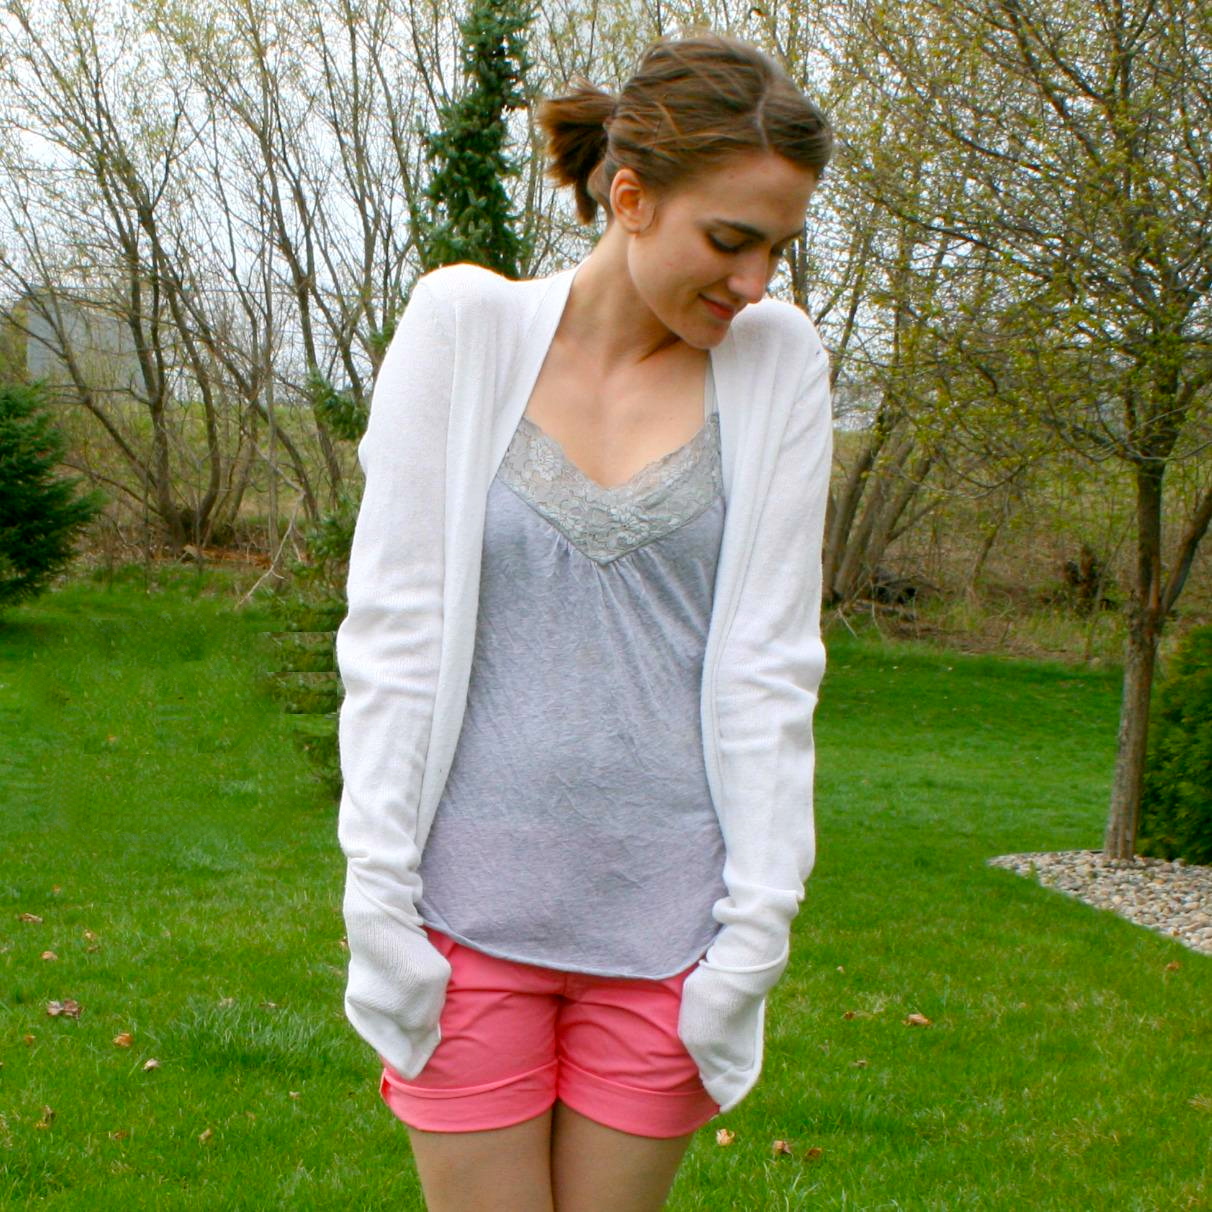
Refashioning trousers into shorts is the highest-utility project in this set. Try the pants on and mark the finished length with chalk while standing naturally—sitting length and standing length differ. Cut longer than your mark; you can always shorten. For a clean hem, fold once or twice and stitch. For a no-sew hem, use hemming tape carefully pressed, or leave a raw edge and wash to encourage even fray, trimming loose threads after the first laundry cycle.
Preserve original details when they help: branded patches, interesting pockets, and quality zip flies are worth keeping. Remove belt loops only if they fight the new proportions. If the rise is too long for shorts, you are better starting from a different donor garment than attempting a complex waistband rebuild on day one.
Even “no-sew” projects benefit from a few hand stitches at stress points—pocket corners, fly bottoms, and lace joins. A needle and thread for ten minutes can save a redesign that would otherwise open on the second wear.
Bleach dips and scalloped hems
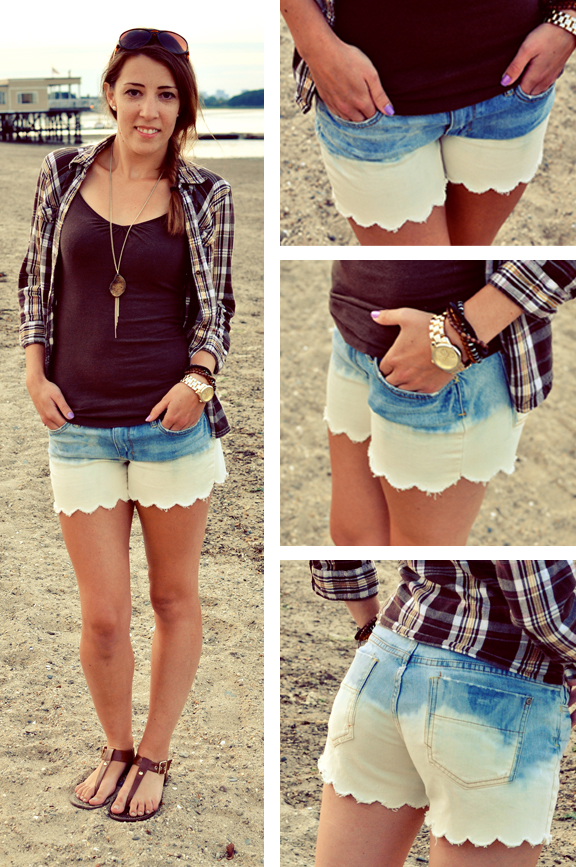
Bleach dipping lightens indigo dramatically and must be done outdoors or in a ventilated space with eye protection and gloves. Dilute household bleach in water, dip to the desired line, watch closely—bleach keeps working after you lift the fabric—then neutralize in a hydrogen peroxide or anti-chlor bath if you use one, and rinse thoroughly. Uneven dips can be beautiful; accidental splatters usually are not. Keep a spray bottle of water nearby to dilute mistakes quickly.
Scalloped hems turn a basic cut into something dressier. Trace a glass or cardboard curve along the hem, cut carefully, and finish with a zigzag, bias binding, or a narrow turned edge. Bleach plus scallops is a strong combination: the hem becomes both color story and silhouette story. Do the scallop cutting after the color treatment so your curves land on the finished fade.
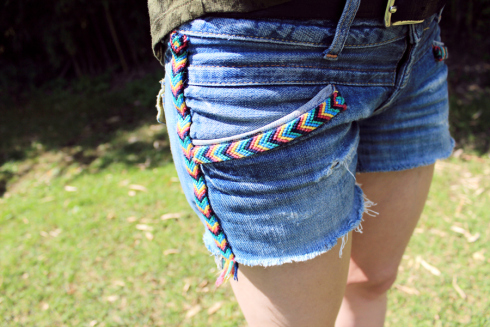
Weekend plan and wear test
A realistic weekend plan looks like this: Friday night, wash and mark lengths. Saturday morning, cut and hem or fray. Saturday afternoon, dye or bleach outdoors. Sunday, paint or add lace once the cloth is fully dry. End with a wear test around the house—sit, bike a short errand if that is your life, check pocket function, and adjust anything that pulls.
Care after redesign is simple: wash cold, turn inside out, skip heavy softener on lace and prints, and line-dry when you can. Touch up frayed hems with a quick trim rather than letting ropes of thread grow. If a paint motif cracks at a crease, seal thin layers next time instead of one thick coat.
When the shorts feel comfortable enough that you forget they were a project, stop adding techniques. One strong idea—ombré, lace, scallop, or print—usually beats three stacked trends on the same pair.

Comments
Continue reading
DIY Summer Sandals and Flip-Flops You Can Actually Wear
Upgrade basic flip-flops with fabric wraps, gladiator laces, macrame, fringe, and beads—plus fit checks and glue tips so handmade sandals last.
DIY Summer Dresses You Can Sew on a Budget
Maxi conversions, tank-top bodices, sheet wraps, and low-seam knits—practical ways to sew cool weather dresses from what you already have.
Easy Cheap Mason Jar DIY: Luminaries, Terrariums, Lamps, Dispensers, and Vases
Repurpose mason jars into luminaries, terrariums, drink cups, lamps, ornaments, soap dispensers, herb planters, and vases with simple, low-cost steps.