
DIY T-Shirt Redesign Tutorials: Knot, Fringe, Dye, Appliqué, Paint
Step-by-step methods for knotted crops, fringe, iron-on appliqué, ombré dye, lace inserts, galaxy spray, and painted patterns—plus order of work and care tips.
Inspiration is useful; a clear method is what gets the scissors out of the drawer. The projects below are practical restyles you can run on plain or tired tees: knotted crop structures, fringe, iron-on transfers, dip-dye ombré, lace inserts, spray “galaxy” color, metallic pattern, and simple hand painting. Each section outlines materials, order of work, and the usual failure points so you can finish a wearable shirt in one sitting or one weekend.
Work on a clean flat surface. Pre-wash the garment. Use sharp fabric shears—kitchen scissors chew jersey and leave fuzzy edges that never look deliberate.
Cut, tie, and knot a crop structure
This family of redesigns turns length into shape. Mark a new hemline while wearing the shirt, or measure up from the original hem in even increments. Cut straight across for a simple crop, or cut vertical slits upward from the new hem and tie neighboring strips into knots for a braided fringe waist. For a tied bust or shoulder detail, cut carefully around the neckline, leave long ties, and knot them at the sternum or shoulder so the fabric gathers rather than gapes.
Leave more fabric than you think you need for ties; you can always shorten a knot, but you cannot lengthen a strip you already cut. Stretch the jersey gently after cutting so edges roll under. Try the shirt on before the final trim—crops rise when you lift your arms.
Fringe tee
Fringe works on sleeves, hems, or an entire lower half. Draw horizontal guidelines with chalk so fringe length stays consistent. Cut upward slits about a finger-width apart; thinner strips look freer but tangle more in the wash. For a Free People–style swing, cut the fringe deeper at the sides and shorter at center front so the shirt still covers the midriff when you walk.
After cutting, tug each strip once to encourage the jersey roll. Toss the shirt in the dryer on low once if you want more curl; stop if the strips start to twist into ropes. Avoid fringe on thin, worn cotton—it tears at the top of each slit.
Iron-on transfers and fabric appliqué
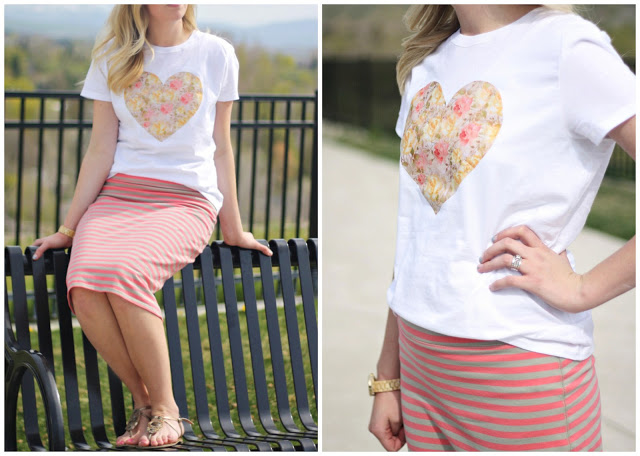
A large floral heart on a white crewneck is the clearest argument for heat-bond appliqué: scrap woven fabric, fusible web, and a press cloth. Trace the shape on the paper side of the web, fuse to the wrong side of your print fabric, cut the heart, peel the paper, and press onto the tee following the adhesive’s temperature guide. For a cleaner edge, topstitch once around the heart after fusing.
Store-bought iron-on transfer sheets work the same way for photos or typography—mirror text before printing if the brand requires it. Always press, do not slide the iron, and let the shirt cool flat. Wash inside out on cold afterward so the bond lasts.
Ombré and dip-dye tanks
Ombré needs wet fabric, fiber-reactive or all-purpose dye suited to cotton, and a tall vessel. Mix dye per package instructions. Dip only the lower portion first, then raise the shirt gradually so color fades upward, or reverse the motion for a darker neckline. Keep the undyed zone out of the bath; drip lines create accidental stripes that can look good if even, messy if random.
Rinse until water runs clear, then wash separately the first time. For festival-bright results, choose saturated hues on white or pale grey bases. On already dark tees, bleach ombré is a different process—work outdoors, neutralize carefully, and expect less control than dye.
Romantic lace inserts
Lace upgrades a plain tee when you replace a panel rather than glue a scrap on top. Cut a window in the front or back, slightly smaller than your lace piece. Pin lace behind or over the opening, then stitch by machine or by hand with small running stitches. Trim excess lace on the inside. Soft stretch lace moves with jersey better than stiff bridal lace.
Place the insert where the body can support it—upper chest, yoke, or upper back. A huge midriff lace panel without lining can feel transparent in daylight; add a slip layer if you need opacity.
Pattern play: kittens, gold, and hand lines
Stencil and fabric paint turn blank cotton into a graphic tee without a print shop. Tape a stencil flat, dab paint with a foam brush rather than brushing side to side (side strokes creep under edges). For gold pattern ombré, combine metallic fabric paint with a soft gradient base—apply metallics last so they sit on top. Hand-painted lines need a ruler or masking tape; paint between tape edges, remove tape while paint is still slightly tacky for crisp borders.
Heat-set paints as the bottle directs—often a dry iron after curing time. Without heat-setting, designs crack or wash out.
Galaxy and twist color effects
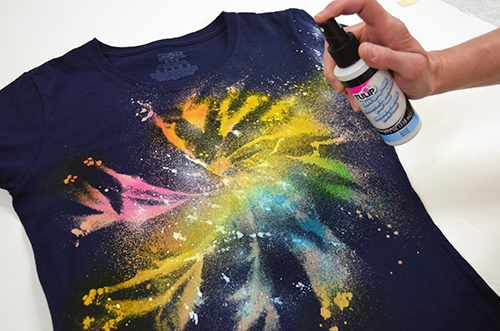
Dark navy or black shirts are the right canvas for spray fabric paints. Protect the work surface. Layer yellow, orange, magenta, and cyan in a loose burst from the chest outward, then mist white speckles for stars. Keep the nozzle moving; a held spray makes muddy blotches. For a “twist” variant, lightly twist the damp shirt before a controlled dip or spray so color lands on raised ridges and leaves valleys darker.
Work in a ventilated space and wear gloves. Let the shirt dry fully before wearing. Spray paint on fabric feels different from dye—it sits more on the surface—so wash gently and avoid high heat that can stiffen the painted zone.
Hologram and specialty prints
Iridescent or holographic vinyl and transfer films need a heat press or a careful home iron with firm, even pressure. Cut simple shapes; intricate filigree fights vinyl’s stiffness on stretchy jersey. Place a barrier sheet between iron and vinyl. Cool completely before peeling the carrier film—hot peels distort edges. Specialty finishes look best as one focal motif, not an all-over skin that cracks when you move.
Order of operations when combining techniques
If you want fringe and dye, dye first, then cut—fringe dips unevenly and drinks more dye at the tips. If you want appliqué and an open back, finish the back structure first so you know where the front graphic should sit. Paint and spray last after construction cuts, so you are not flexing wet painted areas while you knot.
- Wash and dry the tee; iron flat if wrinkled.
- Mark all cut lines in chalk; photograph the marks if you need to recreate them.
- Cut and knot structural changes.
- Add lace, ribbon, or appliqué.
- Apply dye or surface color.
- Heat-set, cool, and try on before any final trim.
Care after redesign
Wash cold, inside out, with like colors. Skip fabric softener on painted or vinyl areas; it can leave a film. Hang dry when the shirt has glue, paint, or vinyl. Accept that handmade edges evolve—jersey rolls more over time, fringe softens, knots loosen slightly. Retie or trim after a few wears rather than expecting day-one geometry forever.
Pick one technique from this list for the first shirt, finish it completely, wear it once, then attempt a combination on the second. Skill compounds faster that way than starting three unfinished experiments on the same afternoon.

Comments
Continue reading
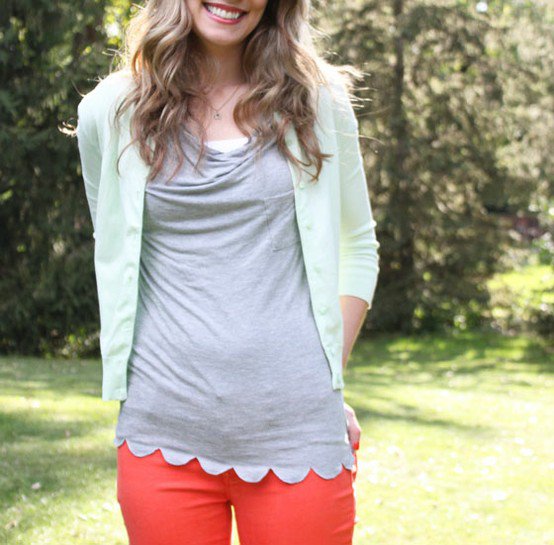
DIY T-Shirt Redesign Ideas: Hems, Ribbons, Ladders, and Braids
Restyle closet tees with scalloped hems, ribbon lacing, knotted ladder backs, and braided cutouts—inspiration for cuts that look intentional, not accidental.
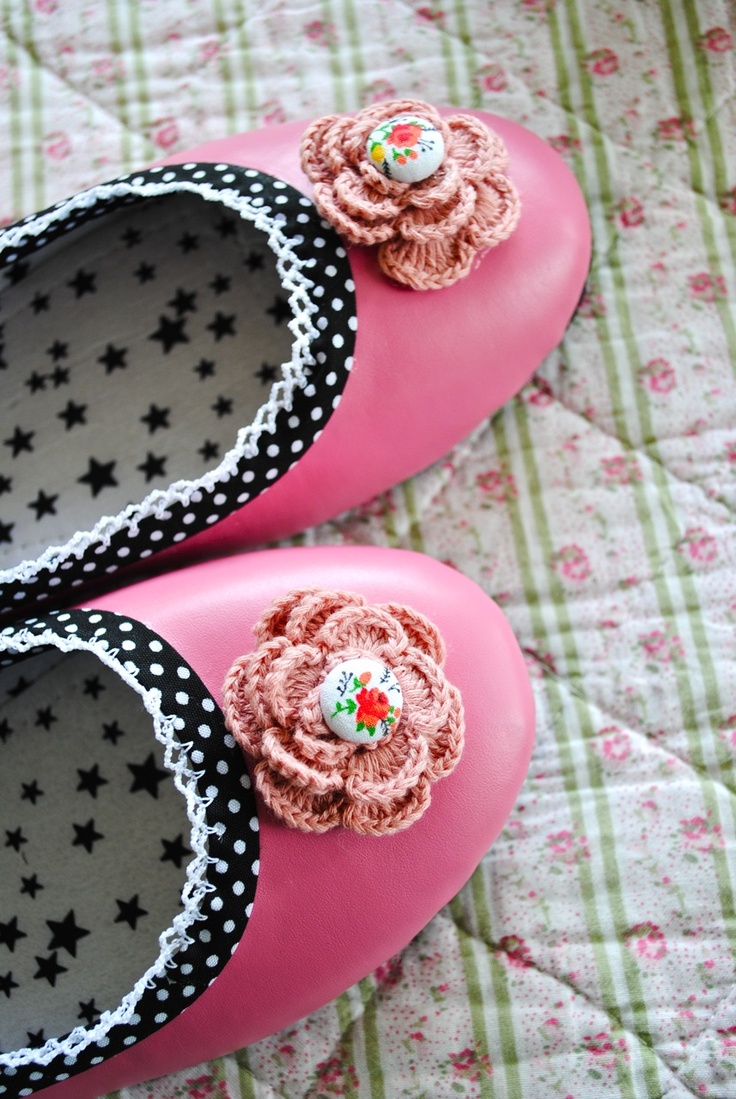
6 Easy DIY Shoe Makeovers: Polka Dots, Canvas Paint, and Glitter Stripes
Six DIY shoe makeovers—painted refresh, pink polka dots, walking-shoe accents, canvas slip-ons, bibliophile party heels, and jailhouse-stripe glitter.
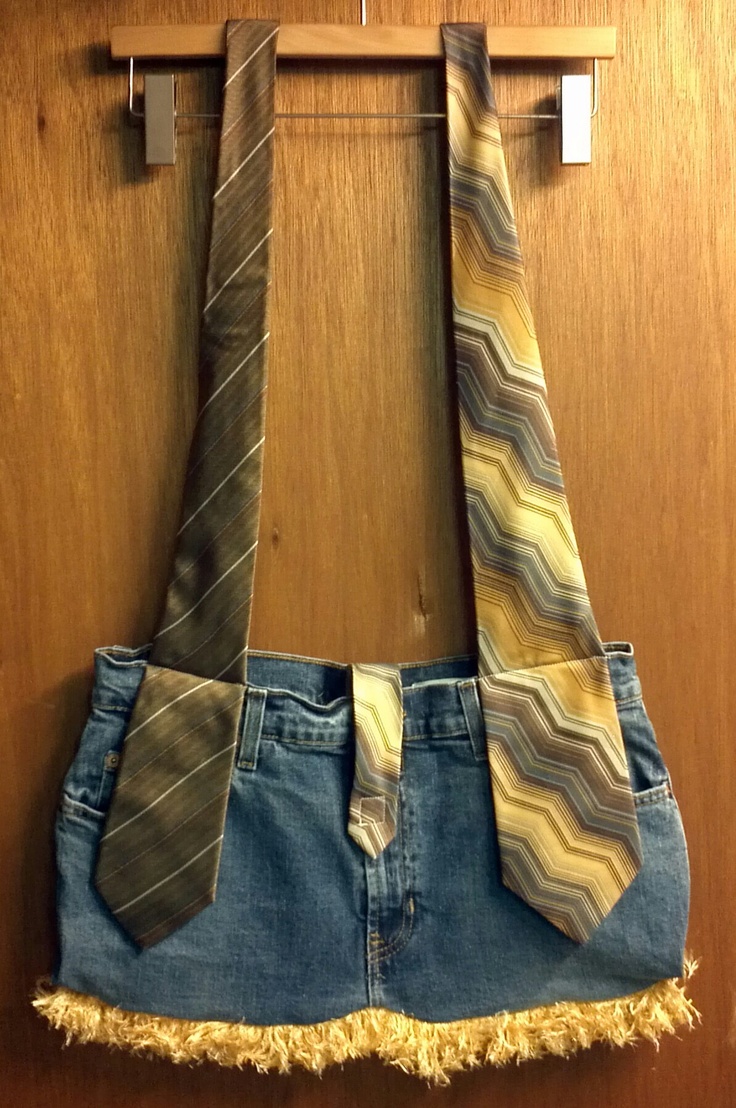
Craft Projects From Old Neck Ties
Turn abandoned ties into bags, wristlets, bracelets, home accents, and pieced waistcoats—fabric upcycling with prep tips for silk and polyester.