
6 Easy DIY Shoe Makeovers: Polka Dots, Canvas Paint, and Glitter Stripes
Six DIY shoe makeovers—painted refresh, pink polka dots, walking-shoe accents, canvas slip-ons, bibliophile party heels, and jailhouse-stripe glitter.
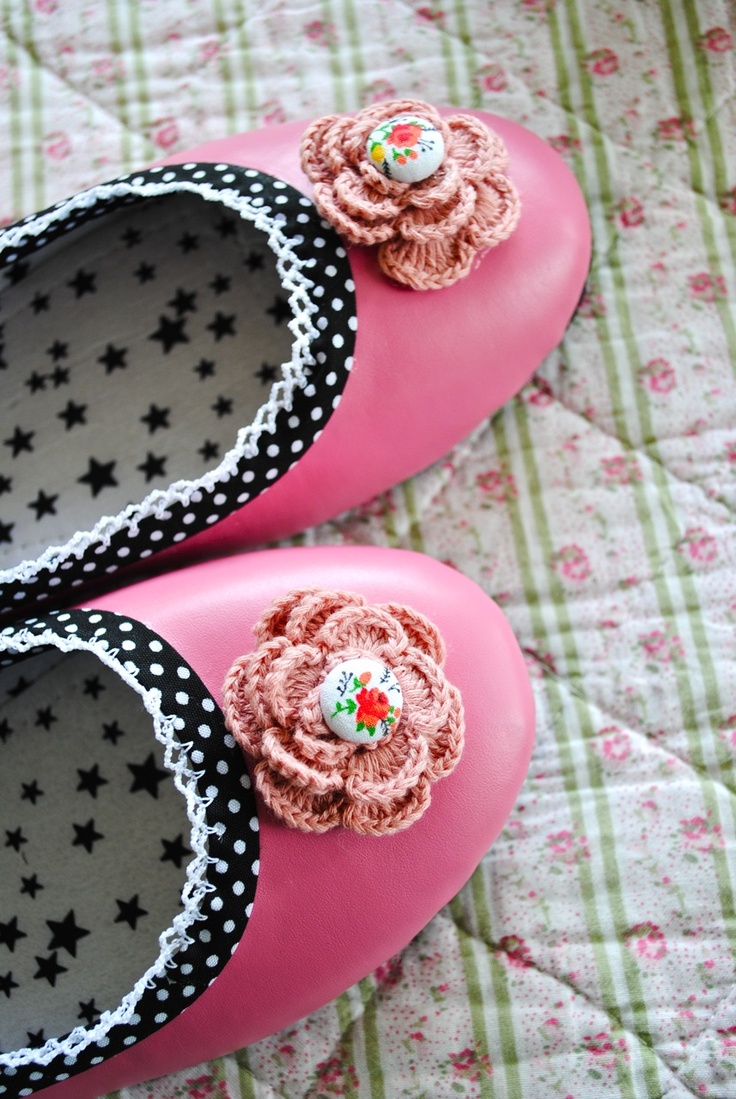
A scuffed pair of flats or tired sneakers does not always need replacing. Paint, fabric, glitter, and a careful seal can turn thrift-store finds—or shoes you already own—into something that looks intentional again. These six DIY shoe makeovers stay deliberately simple: pink polka dots, a classic painted refresh, walking shoes with character, a canvas slip-on upgrade in the spirit of TOMS-style makeovers, bibliophile party heels, and jailhouse-stripe glitter. Keep the photos as color and scale references. Skip the old outbound tutorial and promo links; each project below includes enough method to start.
Work on clean, dry shoes. Wipe leather and synthetics with isopropyl alcohol, remove laces, and mask soles with painter’s tape. Practice on a thrift pair before you touch favorites. Choose flexible or shoe-specific paints when you can, and always seal finishes that will flex and meet rain.
1. Classic painted shoe refresh
This is the foundational makeover: take a plain pump, flat, or bootie and give it a solid new color or a clean two-tone block. Lightly sand glossy surfaces so paint grips. Apply thin coats of acrylic or leather paint, drying fully between layers. Edge the sole carefully with a small brush so the line looks factory-sharp rather than craft-night fuzzy.
For two-tone looks, tape a hard line across the heel or vamp and paint one zone darker. Pull the tape while the paint is slightly tacky. Finish with a clear shoe sealant. The goal is a pair that looks bought, not rescued—quiet enough for weekday wear, bold enough that people assume you meant to own that color.
Common mistake: flooding the first coat. Thick paint cracks at the toe crease. Thin coats win.
2. Pink polka-dot shoes
Start with a light base—cream, pale pink, or soft white—on ballet flats or low heels. Once dry, use a pencil eraser, wine cork, or round foam dauber dipped in brighter pink to stamp even dots. Space them on a loose grid; slightly imperfect spacing looks hand-done in a good way, while chaotic blobs look unfinished.
Let dots cure, then seal. If you want contrast, outline a few dots with a fine paint pen after the color sets. Keep the sole edge clean and the insole protected with tape while you stamp. Polka dots forgive beginner painting better than freehand florals because the motif is repetitive and readable from a distance.
Wear test on carpet first. If dots scuff at the toe, add one more clear coat only on the vamp’s high-wear zone.
3. Walking shoes with painted personality
Comfortable walking shoes—oxfords, loafers, sturdy flats—make excellent canvases because you will actually wear the result. Clean thoroughly; chalk a simple motif (stripes, a small geometric band, or color-blocked heel caps). Paint with flexible mediums and keep designs off the deepest crease lines when possible.
A strong approach: leave most of the shoe neutral and paint only the heel counter, lace eyelets area, or a side panel. That limited zone reads designed rather than covered. Seal well; walking shoes flex more than party heels and punish brittle finishes.
If the shoes are leather, condition untreated areas after painting so the pair does not dry out and crack beside the painted zones.
4. Canvas slip-on (TOMS-style) makeover
Blank canvas slip-ons are built for DIY. Remove the insole if it lifts easily and you want crisp edges; otherwise mask carefully. Sketch lightly in pencil, then fill with fabric paint or diluted acrylic. Popular directions include ombré toes, graphic shapes, hand-lettered initials, or a single illustrated panel on the outer side of each shoe.
Heat-set fabric paint if the product requires it—usually with a household iron and a pressing cloth. Replace or paint the laces/elastic edges last. Waterproofing spray helps canvas survive sidewalks, but reapply after rain-heavy weeks.
Design tip: mirror motifs so left and right shoes feel like a pair, not two unrelated experiments. A shared color palette matters more than identical drawings.
5. Bibliophile party shoes
For readers who want evening shoes with a joke and a point: decorate plain heels or flats with bookish details. Options include decoupage of vintage dictionary pages or sheet-music scraps on the outer heel (sealed thoroughly), tiny metal book charms glued at the vamp, painted typewriter keys as accents, or a quote in fine paint pen along the heel cup.
Keep paper applications thin and fully sealed so edges do not lift. Avoid covering the entire shoe in text unless you love a costume look; a heel vignette plus clean uppers photographs better and wears longer. These are party or event shoes—treat them as such and carry a spare pair of flats if you will be on your feet for hours.
If you use printed pages, confirm you are comfortable with the source being cut and glued; thrift books with broken spines are better candidates than favorites.
6. Jailhouse-stripe glitter makeover
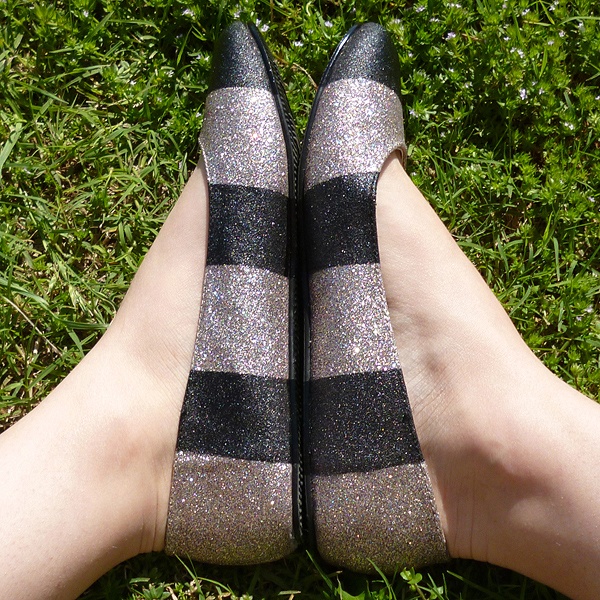
Bold stripes plus glitter turn plain pumps into statement shoes. Mask vertical or slightly diagonal stripes with painter’s tape on a black or white base. Paint alternating stripes, or leave the base as one stripe color and paint the gaps. While paint is still tacky in the glitter zones, pour or spray fine glitter, tap off excess, and remove tape carefully.
Seal with multiple thin clear coats—glitter sheds forever without them. Work over newspaper outdoors or in a ventilated space. A “jailhouse” stripe rhythm (even, graphic, high contrast) looks sharper than random widths. Limit full-glitter coverage to party pairs; weekday shoes do better with glitter only on the heel.
Cleanup note: glitter adhesive on skin and floors is committed. Contain the project before you open the jar.
Materials, curing, and wear
Useful kit: isopropyl alcohol, painter’s tape, flexible acrylic or leather paint, fabric paint for canvas, fine glitter, clear shoe sealant, waterproofing spray, small brushes, and a foam dauber for dots. Optional extras: paint pens, charms, and decoupage medium.
Cure longer than you think. Overnight is a minimum; forty-eight hours is kinder before a real outing. Re-seal high-flex areas after the first few wears if you see micro-cracks. Store DIY shoes with shoe trees or stuffed paper so painted vamps hold shape.
Pick one quiet project (solid color refresh or limited panel) and one loud experiment (polka dots or stripe glitter) so your closet still has something wearable on Monday. The best makeover is the one you finish, seal, and actually put on—not the pair that stays on newspaper in the spare room forever.

Comments
Continue reading
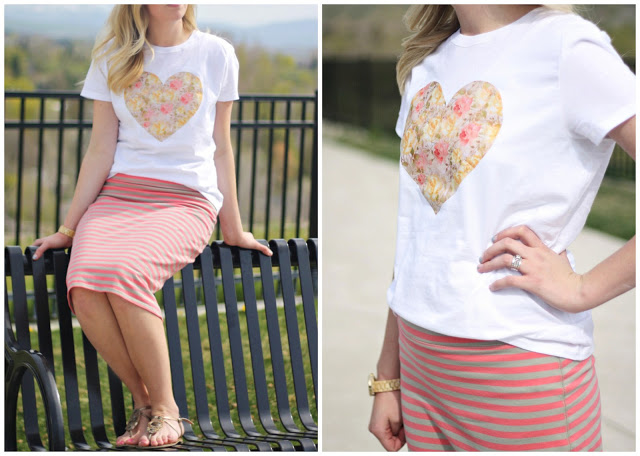
DIY T-Shirt Redesign Tutorials: Knot, Fringe, Dye, Appliqué, Paint
Step-by-step methods for knotted crops, fringe, iron-on appliqué, ombré dye, lace inserts, galaxy spray, and painted patterns—plus order of work and care tips.
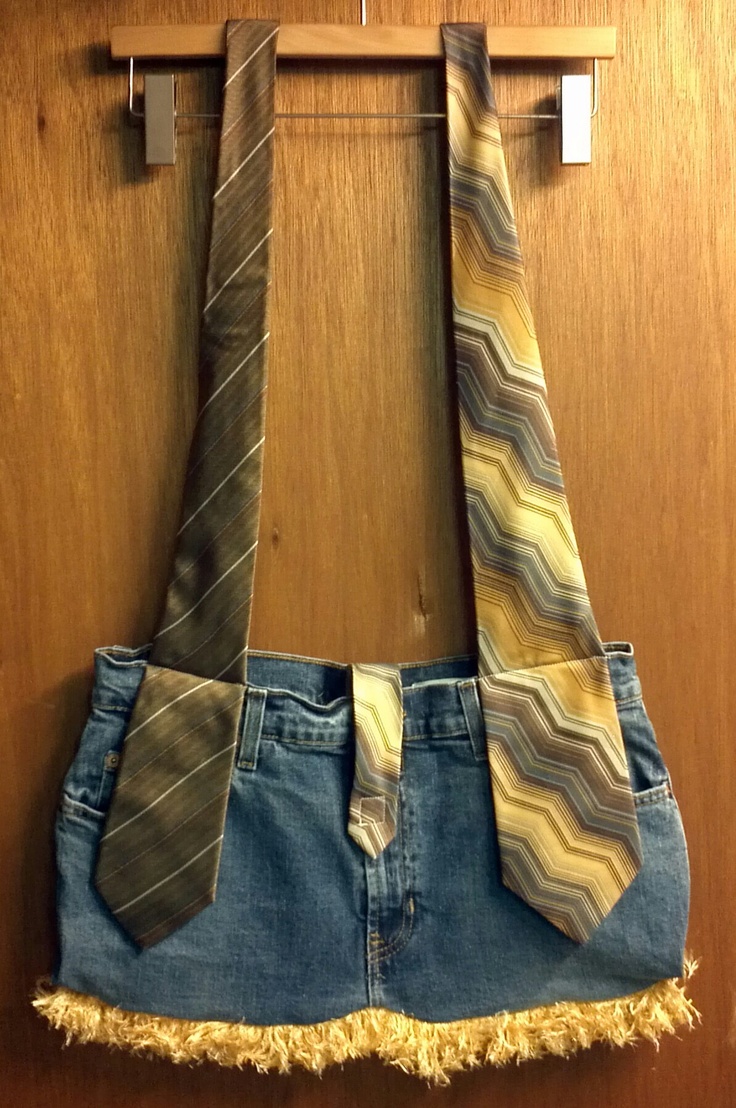
Craft Projects From Old Neck Ties
Turn abandoned ties into bags, wristlets, bracelets, home accents, and pieced waistcoats—fabric upcycling with prep tips for silk and polyester.
10 Clever Kitchen Lifehacks for Storage, Prep, and Everyday Order
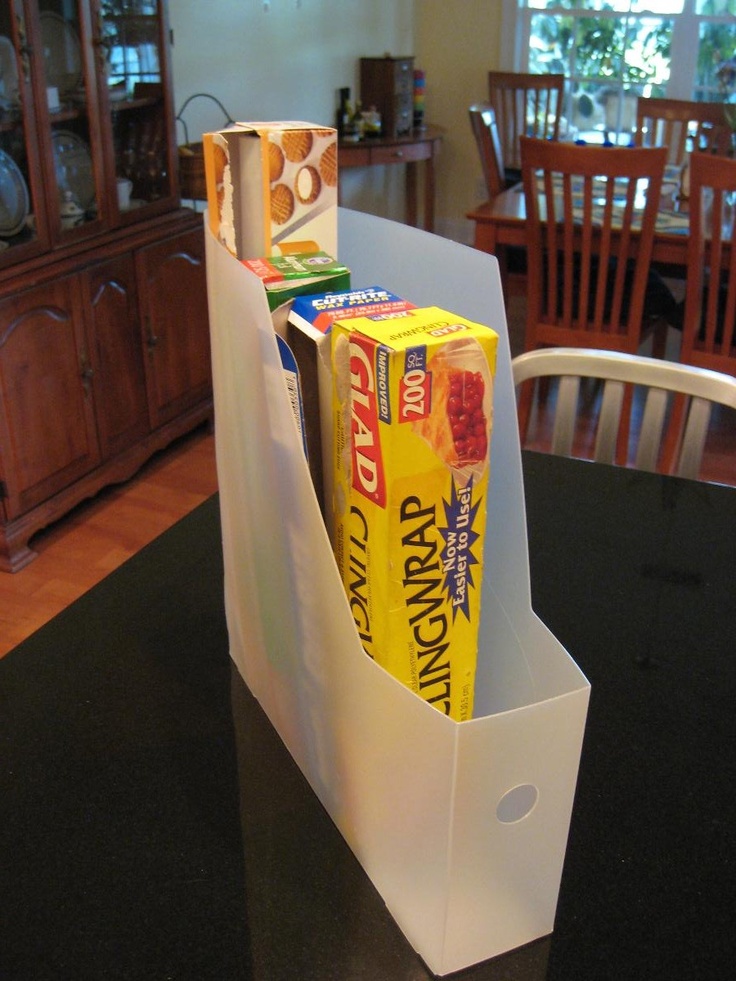
Magazine-file foil storage, hanger-clip bag seals, lid rods, scrap bowls, chalkboard conversions, and more—ten practical kitchen organization lifehacks.