
DIY Christmas Ornaments with Paint, Glitter, Crystals, and Filled Balls
Turn plain ornament blanks into a cohesive handmade tree with painted swirls, sealed glitter, crystal accents, filled scenes, and ribbon hangers that store cleanly for next year.
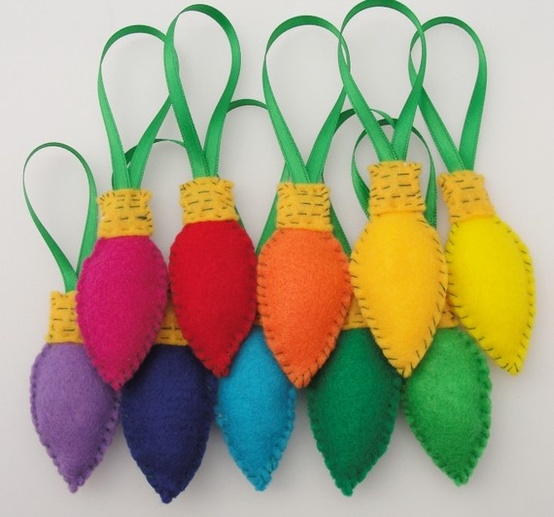
Handmade ornaments pull a tree together in a way matched store boxes rarely do. Clear or colored glass balls, leftover crystal beads, glitter, paint, ribbon, and a quiet evening at the table are enough to fill empty branches with pieces that look collected rather than purchased in one trip. The point is not perfection; it is a set of finishes you can repeat so the tree reads as one story even when every ball started life as a plain blank.
Work on a covered surface, keep hanging caps and hooks in a small dish so they do not roll away, and cure glitter and paint fully before boxing ornaments for storage. The ideas below move from painted and glittered balls to crystal and bead accents, simple filled ornaments, and small finishing habits that keep handmade décor looking sharp year after year.
Start with blanks you can actually finish
Clear plastic or glass ball ornaments are the most forgiving base. Plastic survives drops and kids’ hands; glass takes paint and etching with a richer depth of color. Matte ceramic or wood shapes suit opaque craft paint and stencils. Choose a size that matches your tree: large statement balls on sparse branches, smaller ones clustered where lights already create density.
Remove the metal cap before painting the inside or pouring glitter. Rinse dust out of new blanks and dry them completely—moisture turns glitter into clumps and makes acrylic paint crawl. If you plan metallic leaf or alcohol inks, wipe the exterior with alcohol so oils from your hands do not create bald spots.
Painted balls with clean color stories
Pick two or three colors for the whole tree and stay inside that palette. Soft metallics with one deep accent, or frosted white with a single bright red, usually photograph and display better than every craft-paint bottle at once. Pour a little paint inside a clear ball, swirl gently, pour out the excess onto scrap paper, and set the ornament upside down on a rack or egg carton to drain. Thin coats beat thick puddles that never dry in the bottom curve.

Exterior painting works with foam brushes, stippling sponges, and painter’s tape for stripes or dipped looks. Mask the metal cap area so paint does not glue the hanger shut. Matte finishes hide brush marks; gloss finishes catch tree lights. Numbered or monogrammed balls need a steady hand or vinyl stencils—practice letters on paper first at the same scale.
Allow painted ornaments to cure longer than they feel dry to the touch. Stacking them too soon prints wet paint onto neighboring finishes and ruins a whole batch.
Glitter, crystals, and light-catching detail
Glitter belongs where you want sparkle without covering every surface. Brush a thin layer of clear-drying glue onto a band, a half-sphere, or a stenciled motif, then sprinkle glitter over a tray so you can pour the excess back into the jar. Tap off loose grit and seal with a light coat of clear spray or brush-on sealer if the ornament will be handled a lot. Unsealed glitter sheds onto carpet and gift wrap for months.
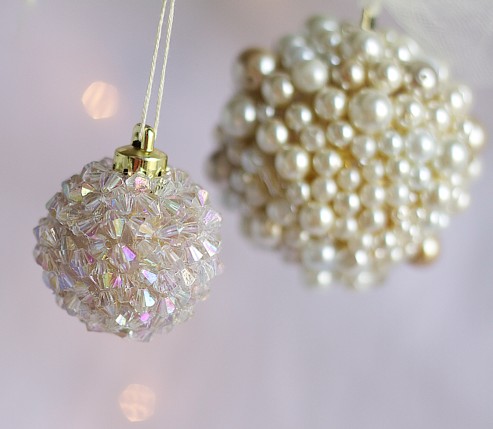
Crystal beads, leftover earring findings, and small glass drops can hang from the bottom of a ball on a short jump ring, or sit glued in a cluster at the neck under the cap. Keep weight modest so thin branches do not bend. Faceted beads catch light beside warm white LEDs especially well; place a few at eye level where guests actually look.
For a quieter sparkle, mix fine iridescent glitter into clear glue and paint translucent washes on clear glass. The effect reads icy rather than craft-table loud.
Filled ornaments and tiny scenes
Clear blanks become tiny vessels for bottle-brush trees, faux snow, tiny pine cones, handwritten notes, or a pinch of real evergreen tips sealed for short seasonal display. Use a funnel for glitter “snow,” add a drop of glue at the bottom if you want the fill to stay put when the ornament is turned, and keep organic material dry to avoid mold inside sealed plastic.
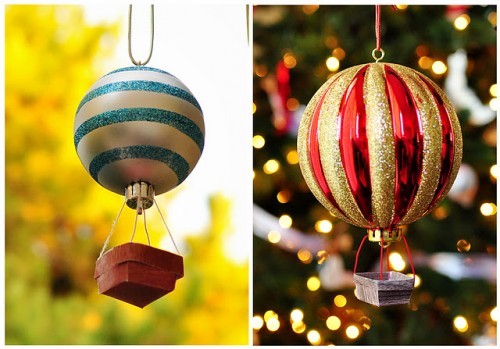
Photograph-filled ornaments need a small rolled print or a circular crop that fits the curve. Slide the paper in carefully with tweezers, center it, and avoid wet glue that wrinkles the photo. Family name-and-year ornaments make strong gifts when the exterior stays simple and the year is lettered cleanly on the bottom or on a hanging tag.
Ribbon, caps, and hanging finishes
Swap thin metal hangers for velvet ribbon, baker’s twine, or narrow satin in your palette. Cut lengths long enough to loop over thick branches. A small bow at the neck hides glue marks and unfinished paint lines. If the original cap is bent, replace it—crooked caps make even beautiful balls look unfinished on the tree.
Wire hooks in one metal tone across the whole tree look more deliberate than a mix of gold, silver, and plastic. Keep a spare pack in the ornament bin so you are not improvising with paper clips on decorating night.
Themes without buying a new collection
Group handmade ornaments by finish rather than by motif: all frosted glass on the outer branches, all glitter bands toward the trunk, painted solids at the tips. Or assign each family member a color and hang their ornaments in a loose vertical zone. Either approach keeps a DIY tree from looking random.
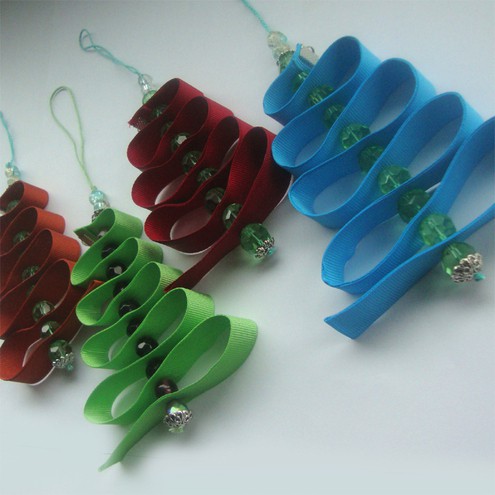
Natural materials—dried orange slices sealed against stickiness, cinnamon sticks tied in threes, small wood slices with stamped words—pair well with painted glass if you keep the color story calm. Avoid stacking heavy natural ornaments on the weakest outer twigs.
Working clean and storing for next year
Glitter projects love containment: a deep tray, a dedicated “sparkle shirt,” and a hand vacuum nearby. Paint projects need jars of water changed often so muddy rinse water does not dull metallic paints. Label storage boxes by finish—fragile glass separate from plastic kids’ ornaments—and wrap painted pieces in tissue, not newspaper that can transfer ink.
- Cure paint and sealers fully before boxing.
- Store hanging ribbons untangled in a zip bag clipped to the box lid.
- Keep a repair kit: spare caps, glue, ribbon scraps, and a paint pen for touch-ups.
- Photograph the finished tree; next year you will remember which handmade balls belonged where.
Make six ornaments in one finish before you open a second technique. A short run of matching glitter bands or swirled interiors will do more for the tree than one of every idea on the craft aisle—and you will still have time to hang them while the lights are warm.

Comments
Continue reading
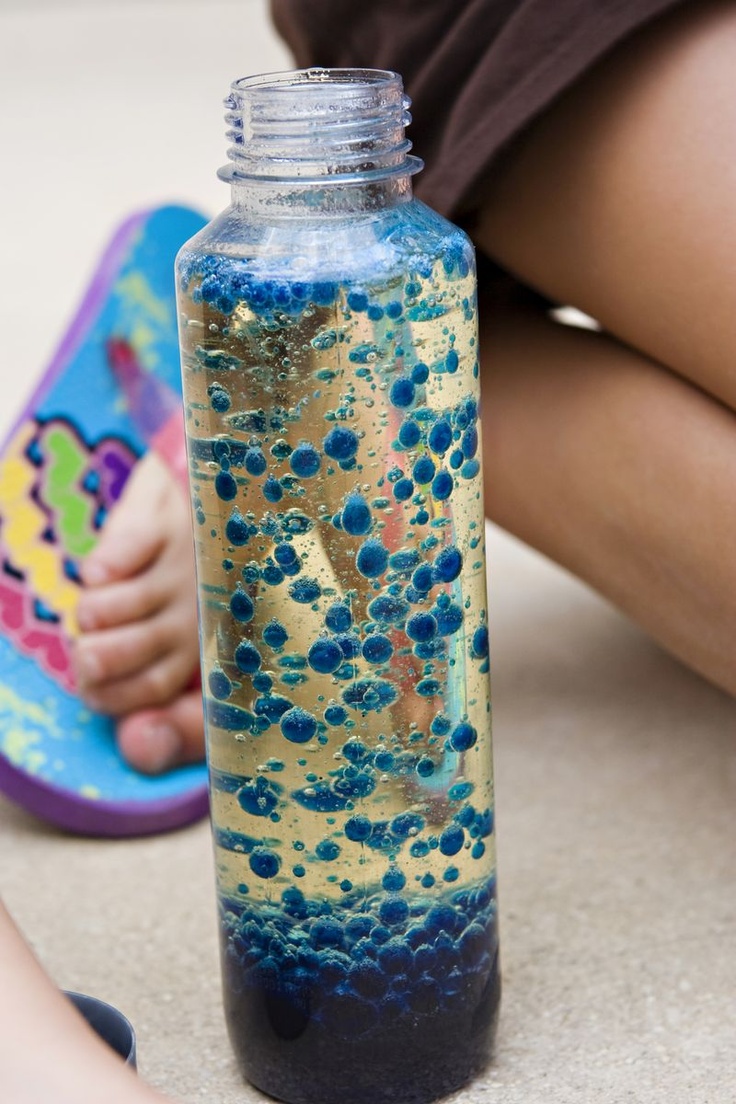
DIY Dollar Store Decoration: Lamps, Vases, Mirrors, Sconces, and Candle Holders
Turn dollar-aisle glass, mirrors, and candle holders into lava-style light jars, enamel vases, a silverware starburst mirror, stone-look sconces, and finished candle bases.
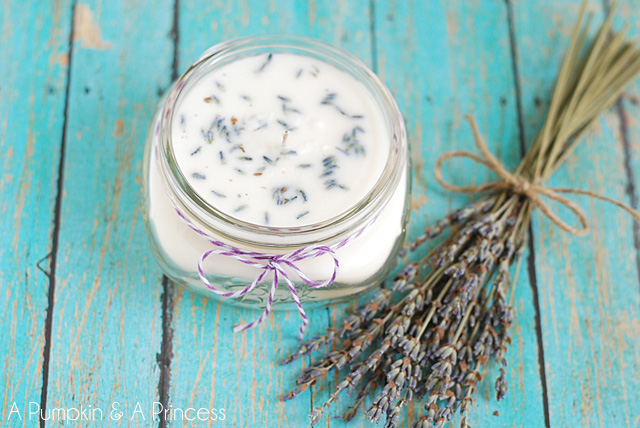
How to Make Mason Jar Candles: Pour, Tint, Hang, and Gift
Clean jars, size the wick, pour wax safely, then branch into coloured glass, hanging lanterns, lavender scents, remelted stubs, floating lights, and favor-ready finishes.
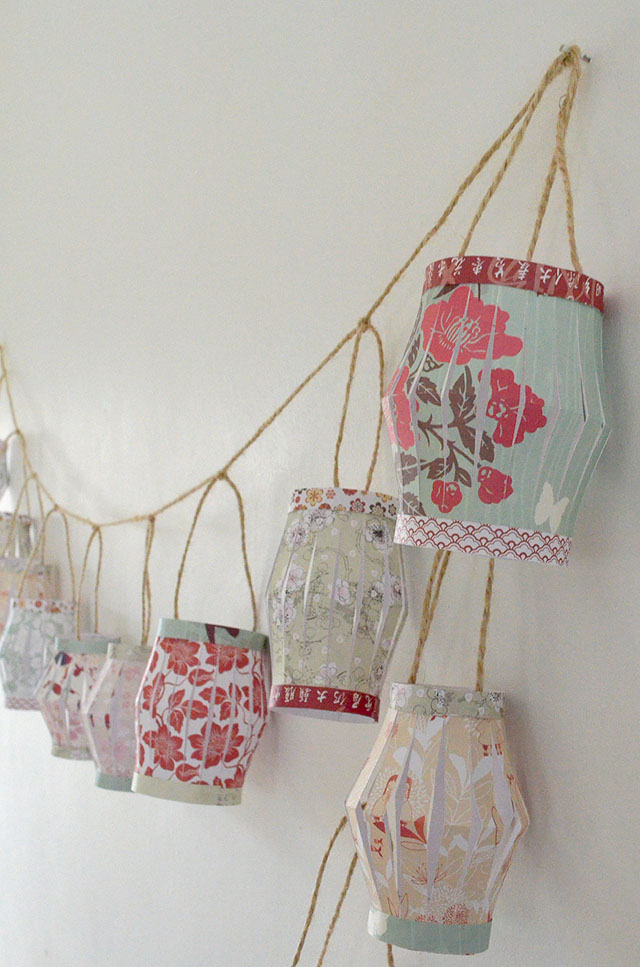
Colorful Paper Lantern DIY: Garlands, Flowers, Geometry, and Chandeliers
Build festive paper lanterns with safe LED lighting—garlands, floral skins, geometric overlays, and clustered chandeliers—using materials and a build order that actually hold up.