
DIY Dollar Store Decoration: Lamps, Vases, Mirrors, Sconces, and Candle Holders
Turn dollar-aisle glass, mirrors, and candle holders into lava-style light jars, enamel vases, a silverware starburst mirror, stone-look sconces, and finished candle bases.
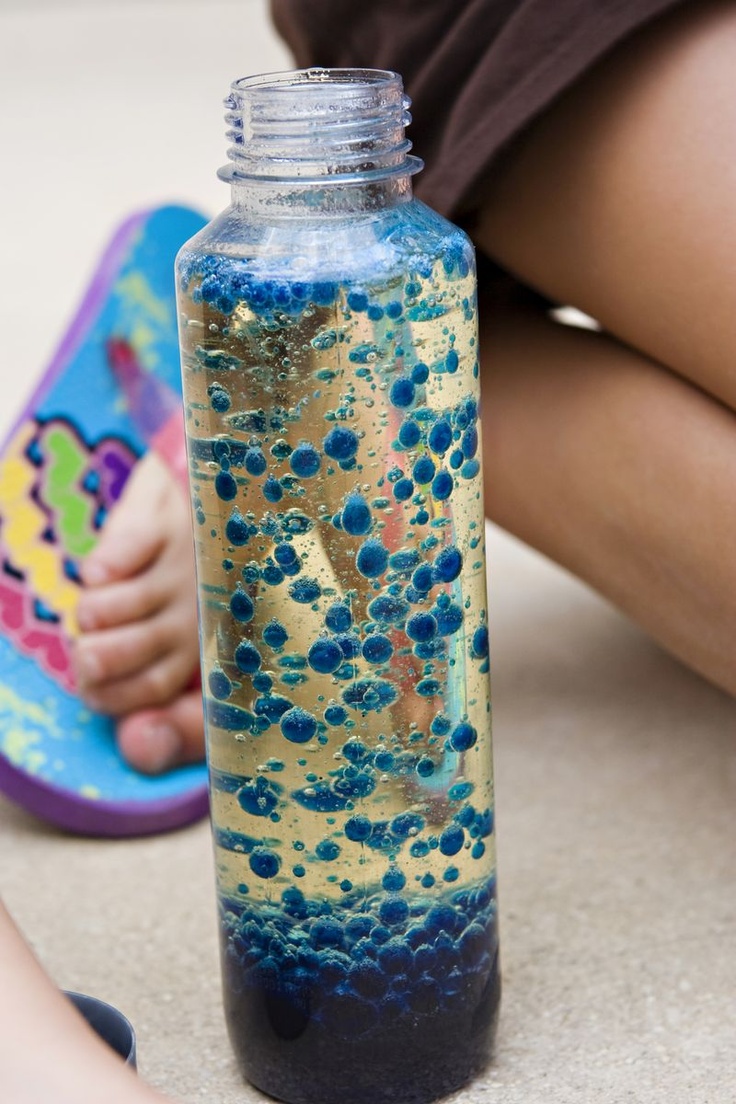
Dollar-store décor projects work when you treat the aisle as a supply closet, not as finished design. Glass cylinders, plain candle holders, plastic mirrors, faux flowers, adhesive gems, and bags of river rocks are raw materials. A little paint, better hardware, and careful editing turn those pieces into lamps, vases, wall accents, and sconces that do not announce where you bought the blanks.
Shop with a list: clear containers, metallic spray paint, strong adhesive, and one accent color. Skip novelty prints that fight your room. The five approaches below—lava-lamp-style light jars, enamel-painted vases, a silverware starburst mirror, stone-look sconces, and upgraded candle holders—cover light, reflection, and tabletop décor without a specialty craft budget.
Lava-lamp-style jars for soft, playful light
Tall clear bottles or cylinders become novelty lamps when you combine oil, water, color, and a safe light source. Classic science-fair lava lamps use wax and heat; for home décor that children might touch, battery LED bases under sealed jars of colored water and oil give the swirling look without open flame or hot bulbs against plastic.
Fill a clean bottle most of the way with water, add a few drops of food coloring, then float a layer of mineral or baby oil on top. A pinch of salt or an effervescent tablet can agitate the layers for short demos; for a shelf display you will leave alone, skip the chemical show and rely on LED light from below to make the layers glow. Seal the cap firmly, wipe the exterior, and set the bottle on a puck light or inside a larger sleeve that hides the battery pack.
Keep electrical parts dry and follow the light manufacturer’s instructions. Do not place candle warmers or high-watt bulbs against plastic bottles. For parties, make two or three jars in coordinated colors rather than one of every hue in the food-coloring box.
Glass vases with gloss enamel color
Plain dollar-store vases often have good shapes and cheap branding stickers. Soak off the labels, degrease with alcohol, and paint with glass enamel or gloss multi-surface paint made for slick surfaces. Tape a clean dip line for a two-tone look—color on the bottom, clear glass above—or paint the exterior fully for opaque color blocks that hide water lines and stem mess.
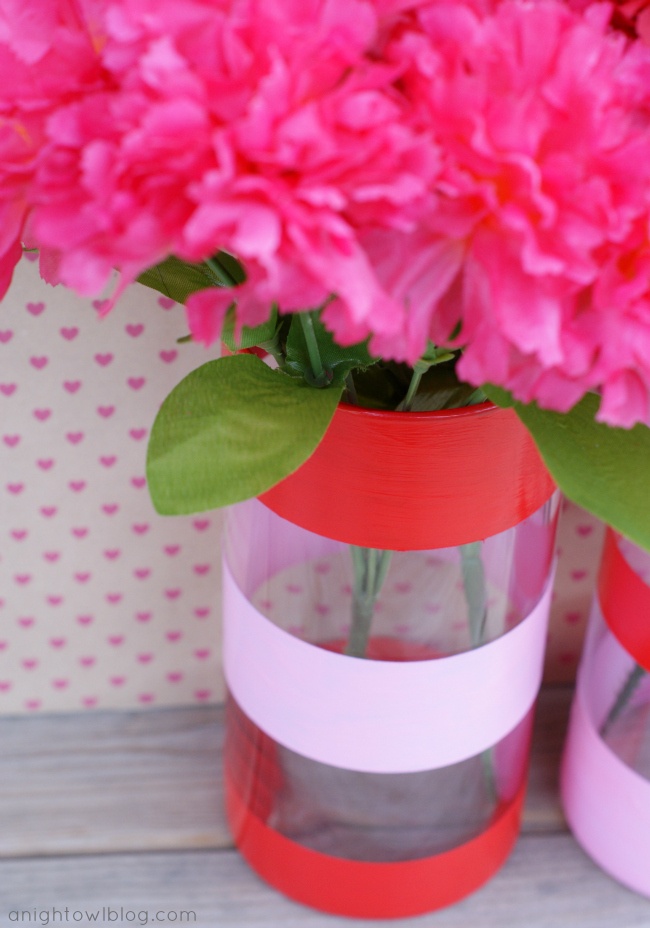
Cure according to the paint label; many glass enamels need air drying plus a low oven bake for durability. Hand-wash afterward. Cluster odd heights from the same color family on a tray for a centerpiece that looks planned. Narrow bottles suit single stems; wider cylinders take supermarket bouquets if you cut stems short and add a hidden frog or rubber band around the stems inside the vase.
Metallic enamel on the rim alone upgrades a vase in minutes when you do not want to commit a whole bottle of paint. Mask carefully so drips do not run down the clear wall.
Silverware starburst mirror
A small round mirror plus a thrift or dollar-store bag of flatware can become a starburst wall piece. Choose forks and spoons with similar metal tone. Flatten gently if needed, arrange them radiating from the mirror like sun rays, and dry-fit the full circle before any glue. Alternate orientations—tines out, bowls out—for rhythm, or keep one motif for a calmer look.
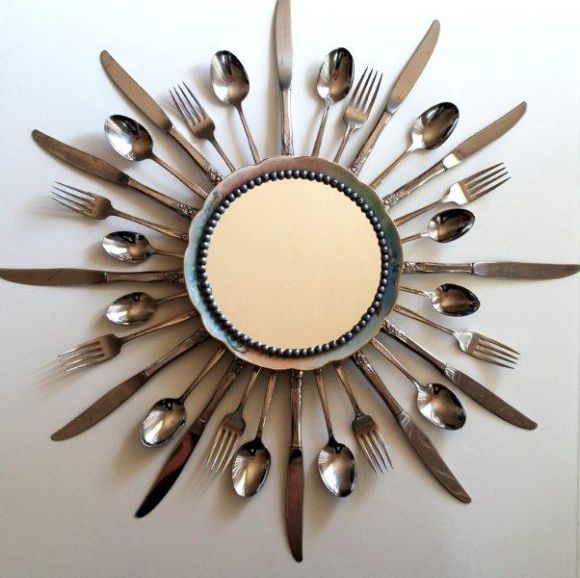
Mount the mirror to a sturdy round backer first—wood or thick foam board rated for the weight—then adhere flatware with a strong construction adhesive or epoxy rated for metal. Support pieces while they cure so gravity does not drag your rays crooked. Add a proper hanging wire or D-rings on the back; this project gets heavier than it looks.
Spray the silverware a single metallic color before assembly if the mixed finishes look chaotic. Hang on a stud or use wall anchors; a falling starburst is both dangerous and embarrassing.
Stone-look sconces from basic forms
Cheap wall pockets, plastic planters, and plain candle sconces can read like stone when you build texture and paint in layers. Coat the surface with a textured medium or thin mortar-style craft stone paint, dabbing rather than brushing smooth. When dry, dry-brush lighter gray or sand tones over raised areas and settle a thin dark wash into recesses so the surface looks carved instead of plastic-shiny.
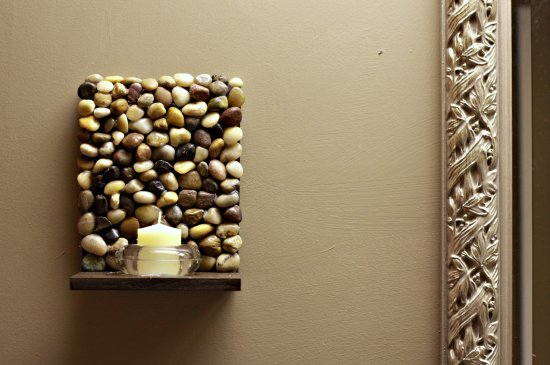
Use LED candles if the material is plastic or if the sconce sits near curtains. Real flame needs true heat-safe holders and clearance. Mount into wall anchors appropriate for the filled weight—add a small plant or candle and test the hardware before trusting it overnight.
Pair sconces as a set with matching paint so they frame a mirror or doorway. One lonely textured pocket often looks like a leftover; two look like a decision.
Candle holders with a second finish
Dollar-store glass and metal candle holders improve quickly with spray paint, ribbon wraps, glued trim, or a coat of mirror-effect paint on the interior of clear glass. Remove stickers fully—leftover adhesive shows under thin metallic sprays. Work outdoors for aerosols, and use thin coats to avoid drips that telegraph “spray-painted thrift find.”
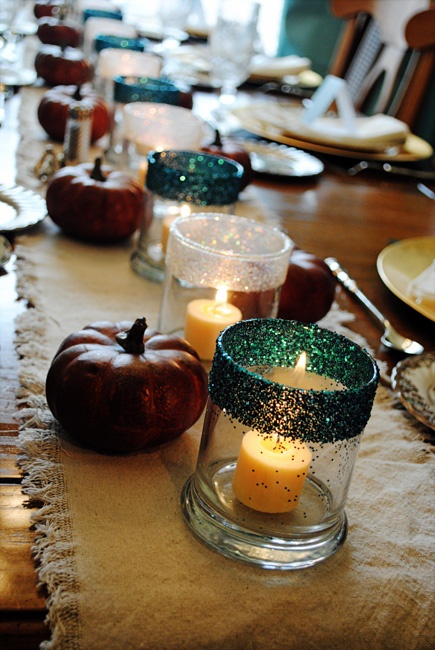
Wrap a velvet ribbon around a pedestal and secure it where the knot faces the wall. Glue a ring of faux crystals around a rim only if the holder will not sit near high heat; hot wax and cheap rhinestones are a poor mix—prefer LED pillars when you add plastic gems. Group holders in odd numbers on a tray with varied heights for a mantel vignette.
Never leave open flames unattended, and keep fabric wraps well below the wax pool. If a holder tips easily, weight the base with museum putty on hard surfaces.
Shopping and finishing habits that raise the look
Buy multiples of the same vase or holder when you find a good blank; matching sets look intentional even with simple paint. Check glass for chips and plastic for warp under bright store lights. Prefer items with simple geometry—cylinders, spheres, clean pedestals—over busy embossing that fights your paint job.
- Strip branding and price stickers before any finish.
- Prime slick plastic when paint instructions call for it.
- Edit: one strong project per surface beats five competing DIY experiments in one room.
- Swap seasonal ribbon and filler, not the base objects, to stretch the budget further.
What would happen if the next dollar-store run started with one empty corner of your home and a single project type—light, vase, or wall—rather than a cart of unrelated bargains? Finish that corner completely, including hardware and styling, before you chase the next aisle endcap.

Comments
Continue reading
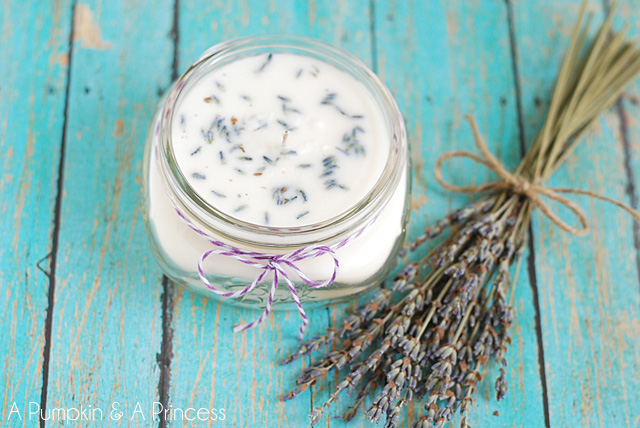
How to Make Mason Jar Candles: Pour, Tint, Hang, and Gift
Clean jars, size the wick, pour wax safely, then branch into coloured glass, hanging lanterns, lavender scents, remelted stubs, floating lights, and favor-ready finishes.
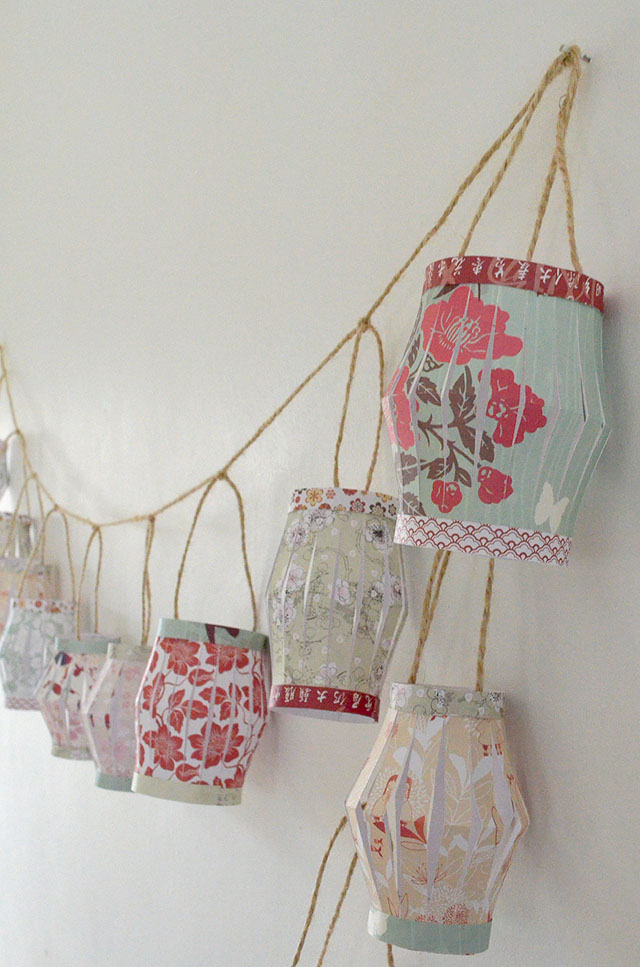
Colorful Paper Lantern DIY: Garlands, Flowers, Geometry, and Chandeliers
Build festive paper lanterns with safe LED lighting—garlands, floral skins, geometric overlays, and clustered chandeliers—using materials and a build order that actually hold up.

DIY Scrabble Tile Crafts: Wreaths, Frames, Wall Art, and More
Turn wooden letter tiles into wreaths, family name frames, oversized wall grids, gifts, and table décor—with practical glue, layout, and sealing tips.