
Colorful Paper Lantern DIY: Garlands, Flowers, Geometry, and Chandeliers
Build festive paper lanterns with safe LED lighting—garlands, floral skins, geometric overlays, and clustered chandeliers—using materials and a build order that actually hold up.
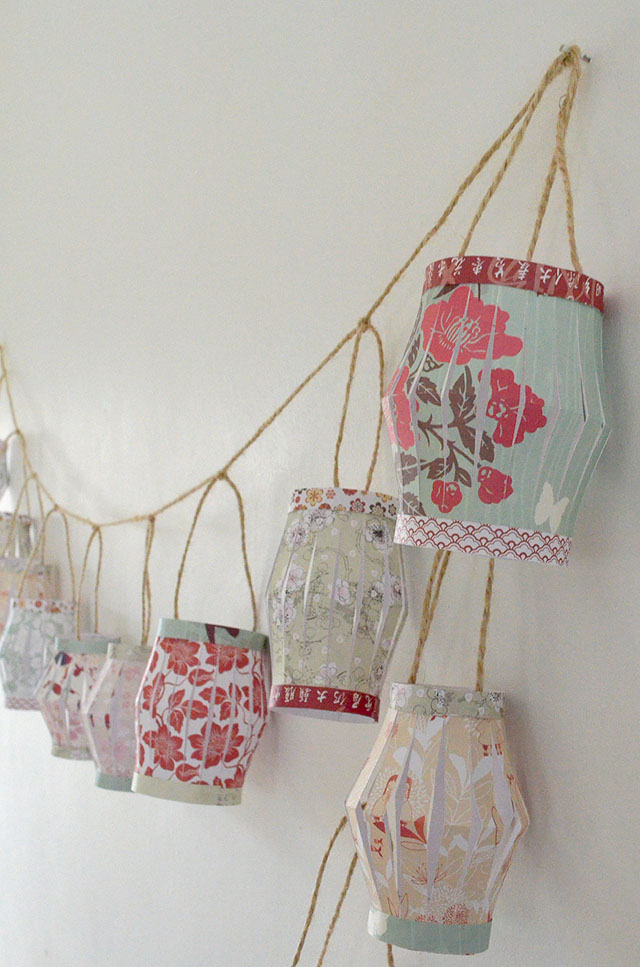
Paper lanterns earn their popularity the hard way: they are quick to assemble, cheap to stock, safe with battery lights, and endlessly customizable. A blank sphere or cylinder becomes a party backdrop, a porch accent, or a temporary chandelier with little more than tissue, paint, and patience. The projects below cover the range most makers actually need—simple garlands, decorated spheres, floral overlays, geometric forms, and multi-lantern clusters—so you can match the craft to the room and the time you have.
Treat the gallery as a menu, not a ranking. Start with material choices and safety, then pick the style that fits your event or shelf.
Materials that behave well
Store-bought rice-paper or tissue lanterns expand on a metal wire frame. Keep a few sizes on hand—20 cm for dense garlands, 30–40 cm for single statement pieces. Tissue paper, crepe, and cardstock take glue differently: tissue is forgiving for soft petals; cardstock holds crisp folds for geometric panels. Use white craft glue or a low-temperature glue gun for paper-to-paper joins. Hot glue at high heat can scorch thin tissue and leave shiny ridges that show under light.
For color, water-based craft paint and diluted acrylic wash the surface without stiffening it into cardboard. Spray paint works outdoors in short bursts, but it can clog the grain of rice paper and make the lantern brittle. If you need saturated color fast, buy pre-dyed lanterns and reserve your effort for surface decoration.
Lighting matters more than people admit. Never put an open flame inside a paper lantern. Battery LED puck lights, fairy-light strands with cool LEDs, or plug-in LED bulbs designed for lanterns keep the glow without heat risk. Hang pieces so cords and battery packs sit above or beside the paper, not pressing against it for hours.
Garlands that read as one idea
A garland works when the lanterns share a palette or a size rhythm. Alternate two or three hues along a length of fishing line or thin cotton cord. Leave enough space between spheres so each one can cast its own shadow; packed too tight, the row becomes a single blob of color. Thread the cord through the top wire ring or through a small reinforcement patch of tape so the paper does not tear when the line shifts.
For outdoor patios, weight the ends of the line and check wind. Lightweight lanterns swing and tangle. Indoors, hang them above tables only if the ceiling height clears heads and hair, and keep them away from ceiling fans.
Clean handmade spheres
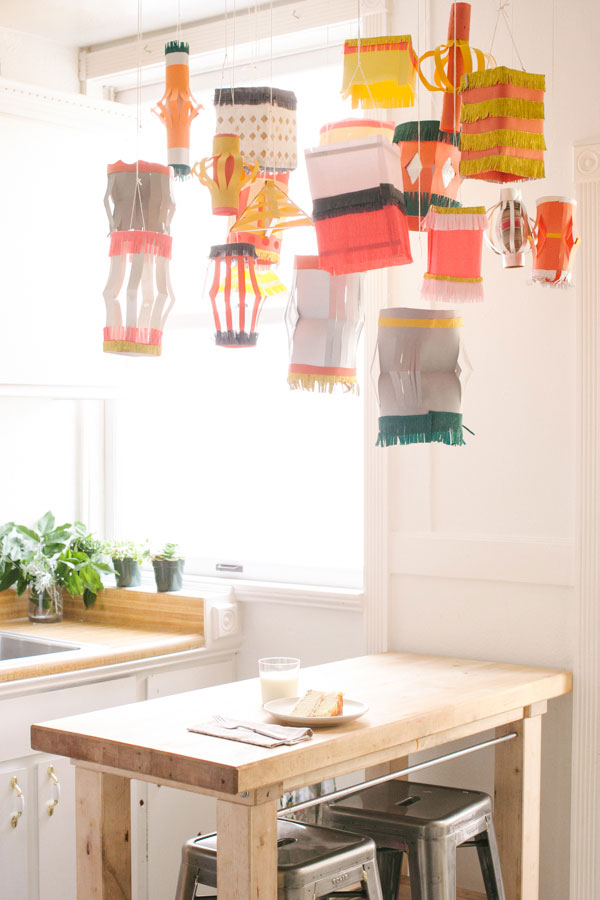
Some makers prefer to build the lantern body instead of dressing a store form. Strip-based constructions—overlapping tissue or thin paper around a temporary balloon or bowl mold—produce softer, more irregular spheres that feel handmade in a good way. Let each layer dry before the next so the shell keeps shape when you remove the mold. Reinforce the top opening with a cardboard ring before you hang anything heavy.
Paint and pattern land better on a smooth, fully dried surface. Stencils, washi strips, and simple brush bands give you control without fighting wet glue. If you want translucency, keep decoration sparse on the lower half so light still escapes downward onto a table or floor.
Flowers and pom-poms as soft armor
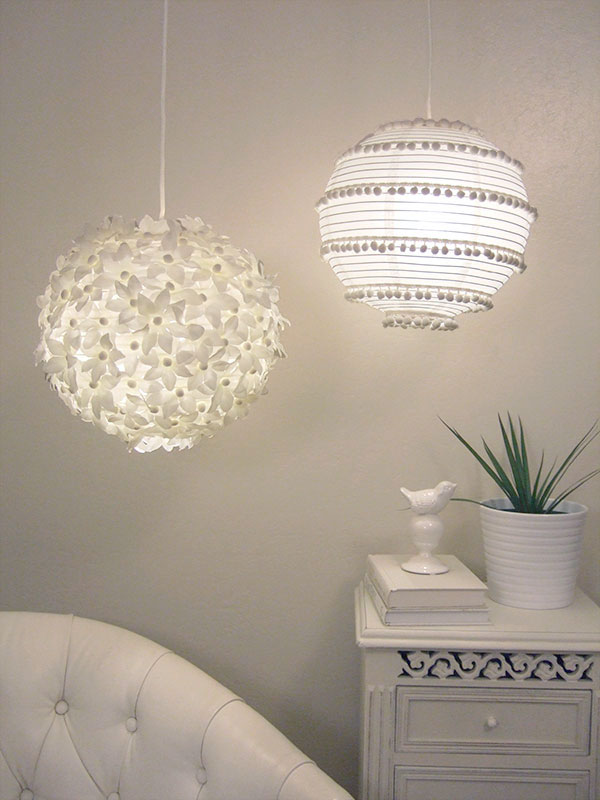
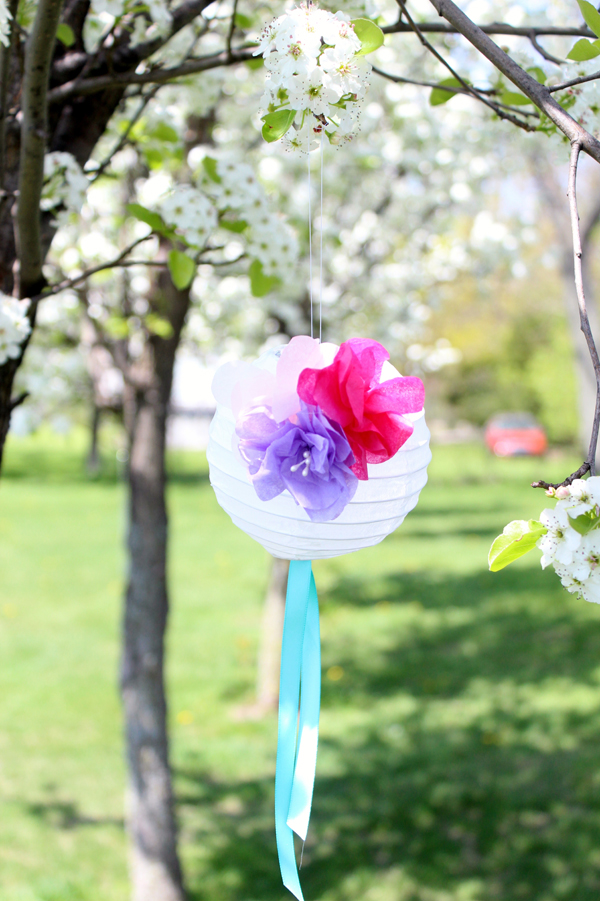
Tissue flowers and yarn pom-poms turn a plain lantern into a festive object without hiding its glow completely. Build petals from stacked circles or accordion-folded strips, pinch the centers, and glue them in clusters rather than scattering singles everywhere. Concentration near the top or along one meridian looks intentional; random dots can look unfinished.
Pom-poms add texture and catch side light. Attach them with a dab of glue on a small paper tab so you can remove or replace them later. Keep heavy yarn pieces toward the upper third of the lantern so the frame does not tip or oval out under weight.
This style suits birthdays, baby showers, and spring tables where soft color matters more than hard geometry. Pair pastel flowers with white lanterns if you want the light to stay bright; dark tissue on dark lanterns reads moody and evening-ready.
Geometric lanterns for sharper rooms
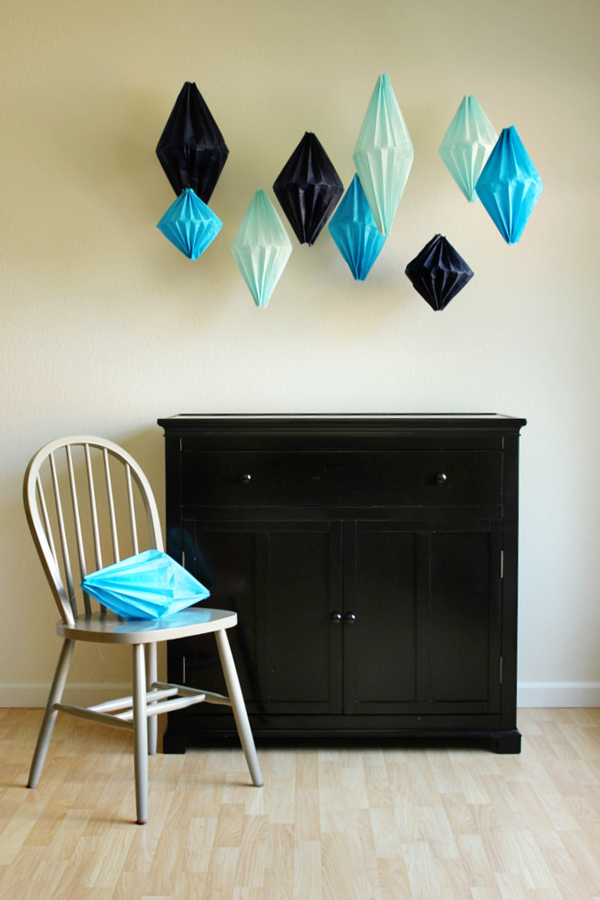
Angular overlays—triangles, hexagons, diamond lattices—push the same base form toward modern décor. Cut panels from cardstock or heavy scrapbook paper, score fold lines lightly, and dry-fit before gluing. Symmetry helps: mark vertical guides with pencil dots that will hide under seams.
Metallic and matte papers behave differently under LED light. Metallics sparkle and can look busy in a small room; matte solids keep the silhouette readable. Leave gaps between panels so the inner lantern color still shows—otherwise you have built a solid lampshade and lost the lantern’s airiness.
Geometric builds reward slow work. Rush the alignment and every panel will announce the mistake when the light goes on. Tape pieces temporarily, step back, then commit with glue.
All-over paper flower skins
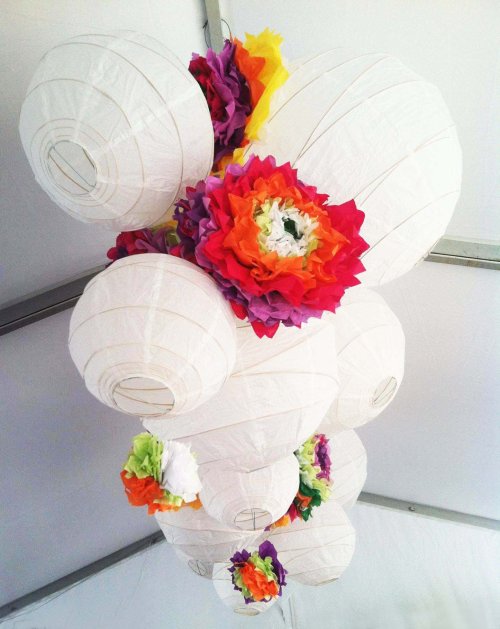
When flowers cover most of the surface, the lantern becomes a floral orb. Work in overlapping scales from the bottom up so upper petals shade lower glue points. Mix petal sizes: larger blooms as anchors, smaller ones to fill seams. A monochrome flower field feels sculptural; mixed brights feel carnival-ready.
Plan for storage. Fully dressed floral lanterns crush easily. Hang them in open space or nest them carefully in tissue if you must pack them. Photograph the finished piece before storage—you will thank yourself when you rebuild the look next year.
From single lantern to chandelier
Cluster several lanterns—or one large lantern thickly wrapped in paper blooms—from a central ceiling hook or a wooden hoop. Vary drop lengths so the eye travels through the volume instead of stopping at a flat plane. Balance weight around the hoop; an uneven cluster will twist the cord and tangle.
Hide hardware with ribbon, fabric wraps, or trailing vines of paper leaves. Keep the electrical path simple: one power source feeding cool LEDs is safer and cleaner than a nest of adapters. Test the full hang overnight in an empty room before guests arrive so you can catch sagging glue and failing batteries.
Color, scale, and placement
Match lantern color to the job. Soft neutrals and pale pastels support food tables and wedding aisles without competing with florals. Saturated primaries energize kids’ parties and outdoor markets. Black or deep jewel tones suit evening lounges where you want glow more than cheer.
Scale should answer the room. A 40 cm lantern over a dining table needs clearance and a calm background. A run of 20 cm lanterns along a hallway works when spaced like beads. Outdoors, larger forms read better from a distance; tiny lanterns disappear against trees and sky.
Think about what sits behind and below the light. A white wall amplifies color cast. A busy patterned wallpaper will fight floral overlays. Dark floors drink light; pale rugs bounce it back into the room.
A short build order that avoids frustration
- Decide indoor or outdoor, temporary or reusable.
- Choose LED lighting and confirm battery life for the full event.
- Expand and reinforce lantern frames before decorating.
- Paint or dye first; add dimensional paper after surfaces dry.
- Hang and photograph a test; adjust spacing and weight.
- Pack spare glue, spare LEDs, and a step stool for day-of fixes.
If a lantern tears, patch from the inside with matching tissue rather than taping the outside. Outside patches catch light and look like repairs; inside patches disappear when the lantern is lit.
Paper lanterns will never replace permanent fixtures, and they should not try. Their strength is temporary architecture—color you can hang in an afternoon and take down without remodeling. Pick one approach from the set above, finish it cleanly, and let the light do the rest of the talking.

Comments
Continue reading
DIY Dollar Store Decoration: Lamps, Vases, Mirrors, Sconces, and Candle Holders
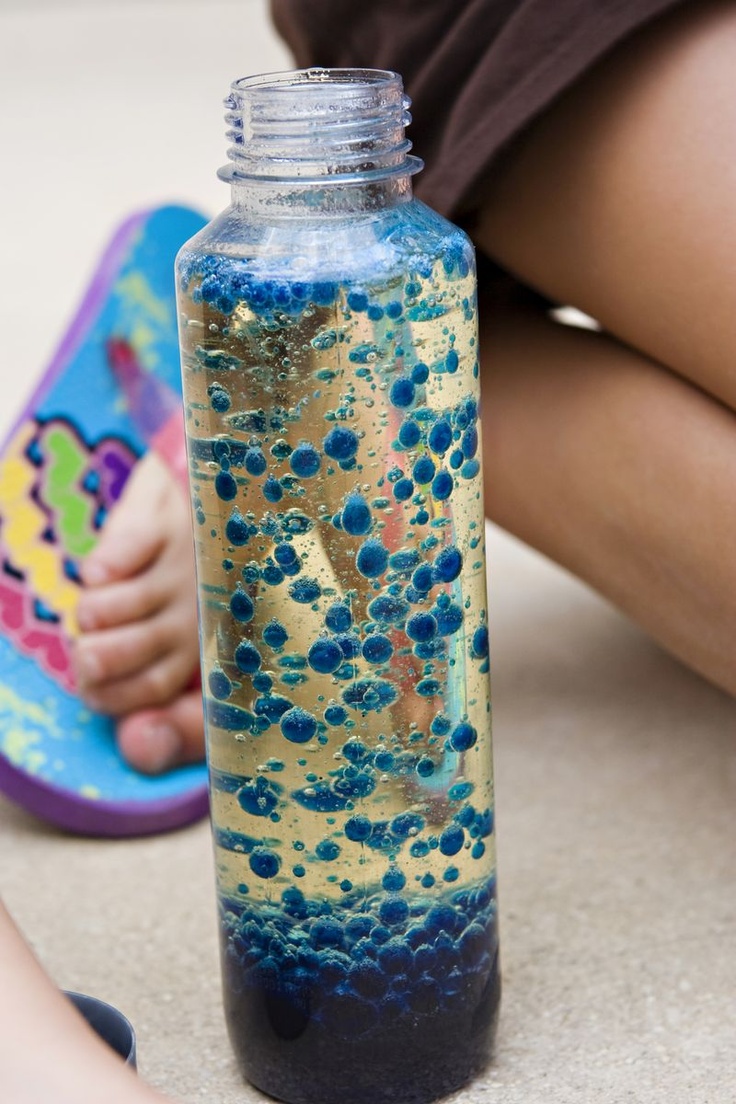
Turn dollar-aisle glass, mirrors, and candle holders into lava-style light jars, enamel vases, a silverware starburst mirror, stone-look sconces, and finished candle bases.
How to Make Mason Jar Candles: Pour, Tint, Hang, and Gift
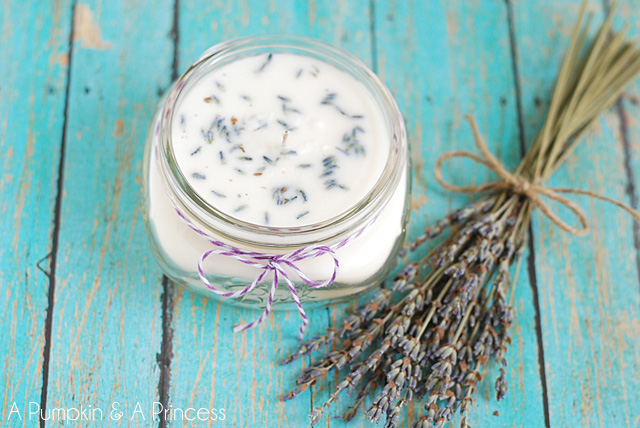
Clean jars, size the wick, pour wax safely, then branch into coloured glass, hanging lanterns, lavender scents, remelted stubs, floating lights, and favor-ready finishes.

DIY Scrabble Tile Crafts: Wreaths, Frames, Wall Art, and More
Turn wooden letter tiles into wreaths, family name frames, oversized wall grids, gifts, and table décor—with practical glue, layout, and sealing tips.