
How to Choose Your First Camera Slider
A practical intro to camera sliders: push-ins, lateral moves, length and payload, leveling, and a first-weekend practice plan—no fake rankings.
Once a camera and a couple of lenses feel familiar, footage often still looks stuck. Tripod shots are steady but static. Handheld work has energy but wobbles. A camera slider sits between those extremes: a short track that lets the camera glide in a controlled line so a scene can breathe without a full dolly package.
This guide is for a first slider—not a buyers’ ranking with invented model specs, and not a claim that one brand solves every shoot. It covers what a slider actually does, which techniques matter early, and which practical choices (length, payload, support, motion feel) separate a useful first tool from an expensive shelf ornament.
What a slider is for
A slider mounts your camera on a carriage that travels along rails or a beam. Move the carriage and the viewpoint travels with it—usually left–right, sometimes toward or away from the subject if you aim the track into the scene. Decades ago, similar moves needed dollies, track, and crew. Smaller cameras made lighter sliders practical for solo shooters and small teams.
The point is not motion for its own sake. A good slide has a job: enter a space, leave a space, reveal a detail, hold a face while the background drifts, or connect two subjects in one continuous take. If you cannot name the job before you start rolling, the move will usually look decorative rather than intentional.
Core techniques worth practicing first
Push in. Point the slider so travel moves the lens toward the subject or deeper into a room. Useful for openings and establishing beats: the audience feels invited into the frame.
Pull out. Reverse the idea. Back away to widen context or to end a scene with a quiet retreat. Works well when the final frame needs air around the subject.
Lateral slide (truck). Set the track parallel to a subject or along a table, wall, or shoreline. Sideways travel can feel like a gentle pan with parallax: foreground objects shift faster than the background, which sells depth.
Slide plus focus. Start focused on a background element, begin the move, and rack to a foreground subject (or the reverse). This is where beginners learn coordination: framing, focus, and carriage speed at once. Practice slowly. Speed is easier to add later than smoothness.
Parallax portrait. Place something close to the lens—foliage, a glass, a railing—and slide so it drifts across frame while your subject stays composed. Instant depth without a bigger crew.
Master one axis of travel and one simple rack before you chase complex motorized moves. Clean manual slides beat shaky “cinematic” ones.
Length: how much travel do you need?
Consumer and indie sliders commonly fall somewhere from about 30 cm to around 2 m of usable travel. Longer is not automatically better.
- Short (roughly 30–60 cm). Packable, good for tabletop, product, interviews, and subtle energy. Less impressive for wide landscape reveals.
- Mid (roughly 60–100 cm). A practical first length for many hybrid photo/video shooters. Enough travel to read on screen without dominating your kit bag.
- Long (over ~1 m). Stronger reveals and walk-and-talk energy, but heavier, harder to level, and more sensitive to sag and vibration.
Ask what spaces you actually shoot. Apartments and cafés favor shorter rails. Architecture and outdoor B-roll may justify longer travel—if you will carry it.
Payload, materials, and “does it feel cheap?”
Match the slider’s rated payload to your heaviest realistic combo: camera body, lens, mic, cage, and maybe a small monitor. Leave margin. A carriage that barely holds the weight will chatter or bind.
Materials vary—aluminum rails, carbon-fiber beams, mixed composites. Weight matters if you hike or fly; stiffness matters more than brochure adjectives. On a shop floor or after delivery, do a simple test: mount your camera, level the rail, and push the carriage slowly. Listen and feel. Grit, sticking points, or flex you can see in the viewfinder are deal-breakers for a first tool.
Fiberglass or carbon options can reduce carry weight for mid-sized units, but a well-made aluminum slider that moves cleanly will outperform a featherweight one that rings every time you touch it.
Supports, leveling, and mounting
Many sliders can sit on a table, hang between two tripods, or use adjustable feet. Check:
- Tripod threads and mounts that match your plates and heads.
- Adjustable legs or feet for uneven ground.
- A bubble level (on the slider or your head) so horizons stay honest—especially on reflective surfaces like water or glass buildings.
- Camera attachment options (standard screws, quick-release plates) so you are not fighting adapters on every setup.
Two-tripod setups look pro until one leg sinks into soil. Practice leveling until it is boring. Unlevel slides read as “amateur” faster than short travel does.
Manual vs motorized (for a first buy)
Manual sliders teach timing with your hands. Motorized units add repeatable speed for timelapse, complex rack moves, or solo interviews where you cannot push the carriage. For a first slider, manual is usually enough—and cheaper. If you already know you need programmed moves, rent a motorized unit for a weekend before buying, and verify app reliability and battery behavior yourself rather than trusting marketing charts.
Avoid shopping by fantasy feature lists. Fluidity under your camera weight matters more than a bullet point about “cinema-grade” anything.
Technique habits that improve footage immediately
- Mark start and end with tape on the rail so moves are repeatable across takes.
- Ease in and out. Abrupt starts look mechanical; a soft acceleration reads intentional.
- Lock exposure and white balance when possible so the slide does not fight auto flicker.
- Mind rolling shutter on fast lateral moves with certain sensors—slow the carriage if verticals wobble.
- Stabilize the support, not only the camera. A rock-solid rail on a shaky stand is still shaky.
- Leave headroom in the frame for the parallax shift; tight compositions clip limbs as perspective changes.
A simple first-weekend practice plan
Day one: lateral slides across a desk object and a window. Day two: push-ins on a person sitting still. Day three: slide plus a slow focus rack. Review on a large screen, not only a phone. Look for micro-jitters, horizon drift, and moves that start or stop too hard. Fix those before buying accessories.
Accessories worth considering later—not on day one—include a better fluid head, sandbags for tripod legs, and a soft case that protects rails from dings. Motors, motion-control apps, and ultra-long beams can wait until short clean moves are easy.
Quick selection checklist
- Usable travel length matches your usual locations
- Payload rating covers your heaviest kit with margin
- Carriage feels smooth under that weight
- Mounting and leveling options fit how you work
- Weight is something you will actually carry
- No purchase decision based on unaudited “top 10” spec tables
Set the rail up tonight with whatever camera you already own. Make one push-in that has a reason, then stop. When that single move looks inevitable instead of flashy, you chose—and learned—the slider correctly.

Comments
Continue reading
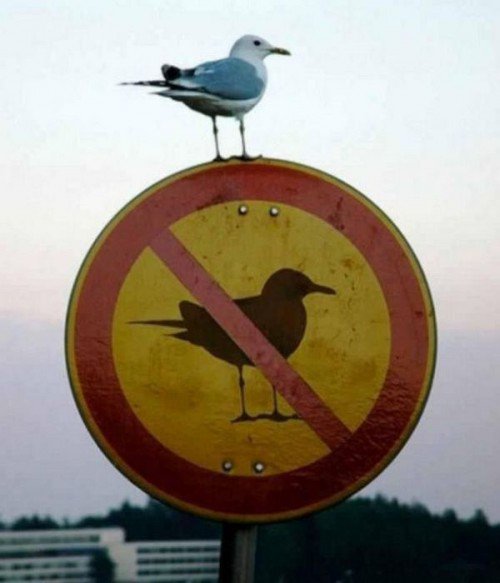
Funny Animal Signs That Warn People (While Animals Ignore Them)
From a seagull on a no-birds disc to classic zoo and park ironies—why animal warning signs get funny, and what the rules are still for.
How to Find Local Amenities on Vacation: Mechanics, Haircuts & More
Locate trustworthy local services and everyday spots while traveling or settling in—using publications, reviews, map apps, neighbor tips, and low-pressure exploration.
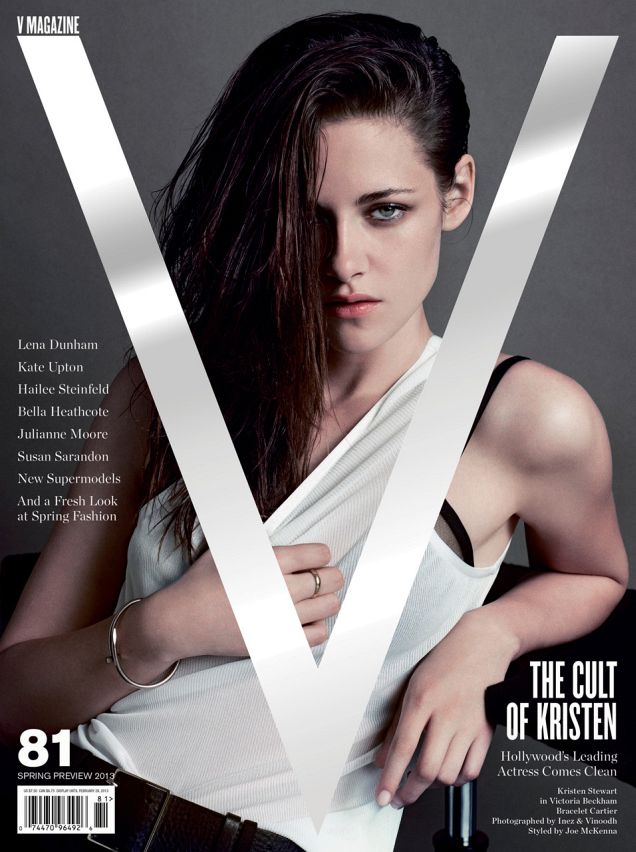
Kristen Stewart for V Magazine, Spring Preview 2013
V81’s Wild at Heart cover story—Kristen Stewart shot by Inez & Vinoodh, styled by Joe McKenna, in pale minimal spring glamour.