
How to Refashion Old Jeans at Home
Practical DIY jean makeovers—paint and prints, rips and patches, lace inserts, cut-offs, bleach, and dye—with tools, steps, and a weekend plan.
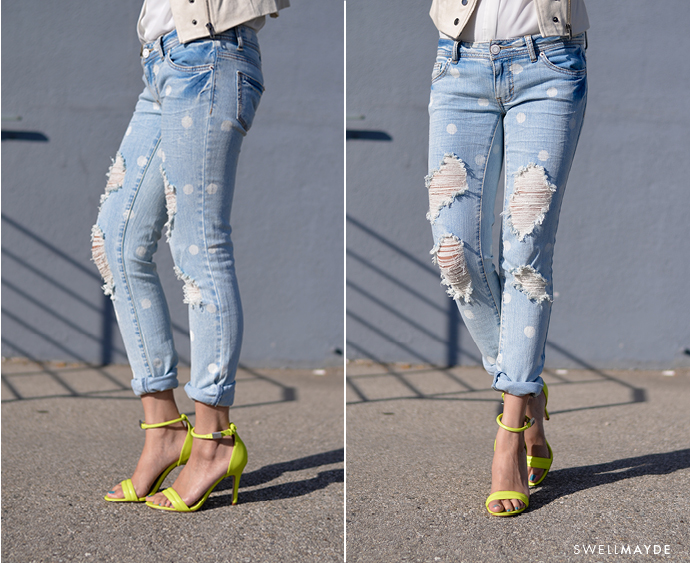
Old jeans are some of the most forgiving canvases in a closet. The fabric is sturdy, the failures are cheap, and half a wardrobe already lives in denim blue. This roundup turns common refashions—paint and print, controlled rips, patches, lace inserts, bleached or dyed panels, and simple cut-offs—into projects you can attempt with scissors, fabric paint, a needle, and patience. Keep the photos as targets. Skip any shop noise; work with pairs you already own.
Start with jeans that fit in the waist and seat. No amount of lace or paint fixes a rise that cuts or a waistband that gaps. Wash and dry them first so shrinkage happens before you cut. Protect floors; indigo and bleach travel farther than you think.
Paint, stamps, and lipstick-style prints
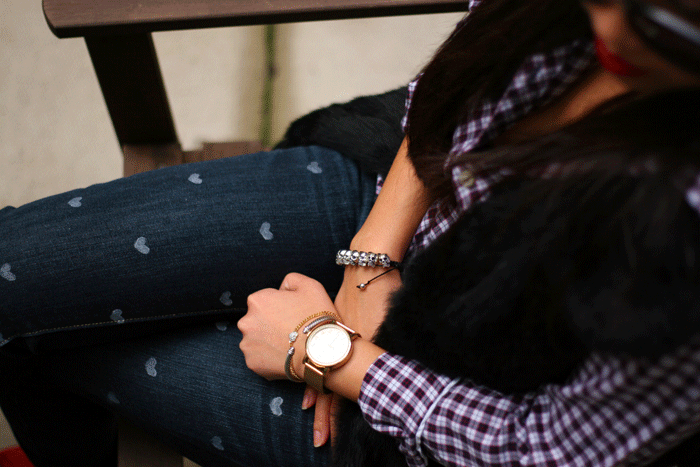
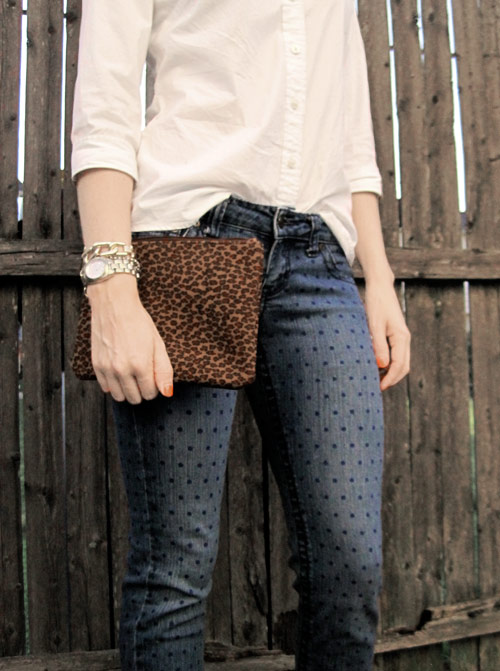
Fabric paint and fabric markers turn flat denim into a graphic surface. Slip cardboard inside each leg so color does not bleed through. Sketch lightly with chalk, then build thin coats—thick paint cracks at knees and seat when you sit. Heat-set according to the paint label before the first wash.
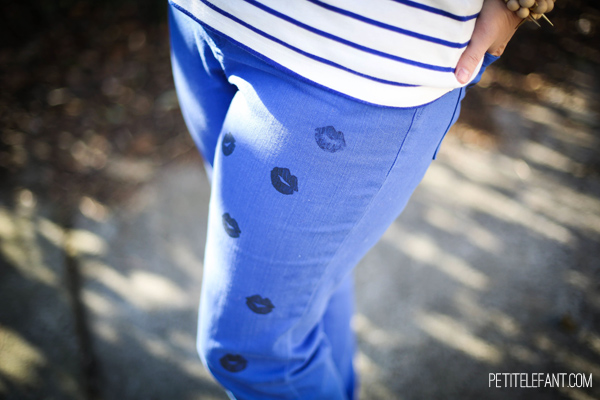
Lipstick-kiss and stamp looks are simply layered marks: press a clean stamp, sponge, or even a carefully blotted form onto the cloth in a repeating rhythm. Keep a color story tight—one or two shades—so the jeans do not look accidental. Practice on a scrap hem you have already cut off. If you want the effect temporary, some fabric crayons wash lighter; assume permanence unless the product says otherwise.
Work on clean, dry denim. Oily spots resist paint. If the jeans are heavily faded, paint will look brighter; on dark indigo, choose opaque fabric paint or add a white underlayer for neon and pastel motifs.

Rips, whiskers, and character patches
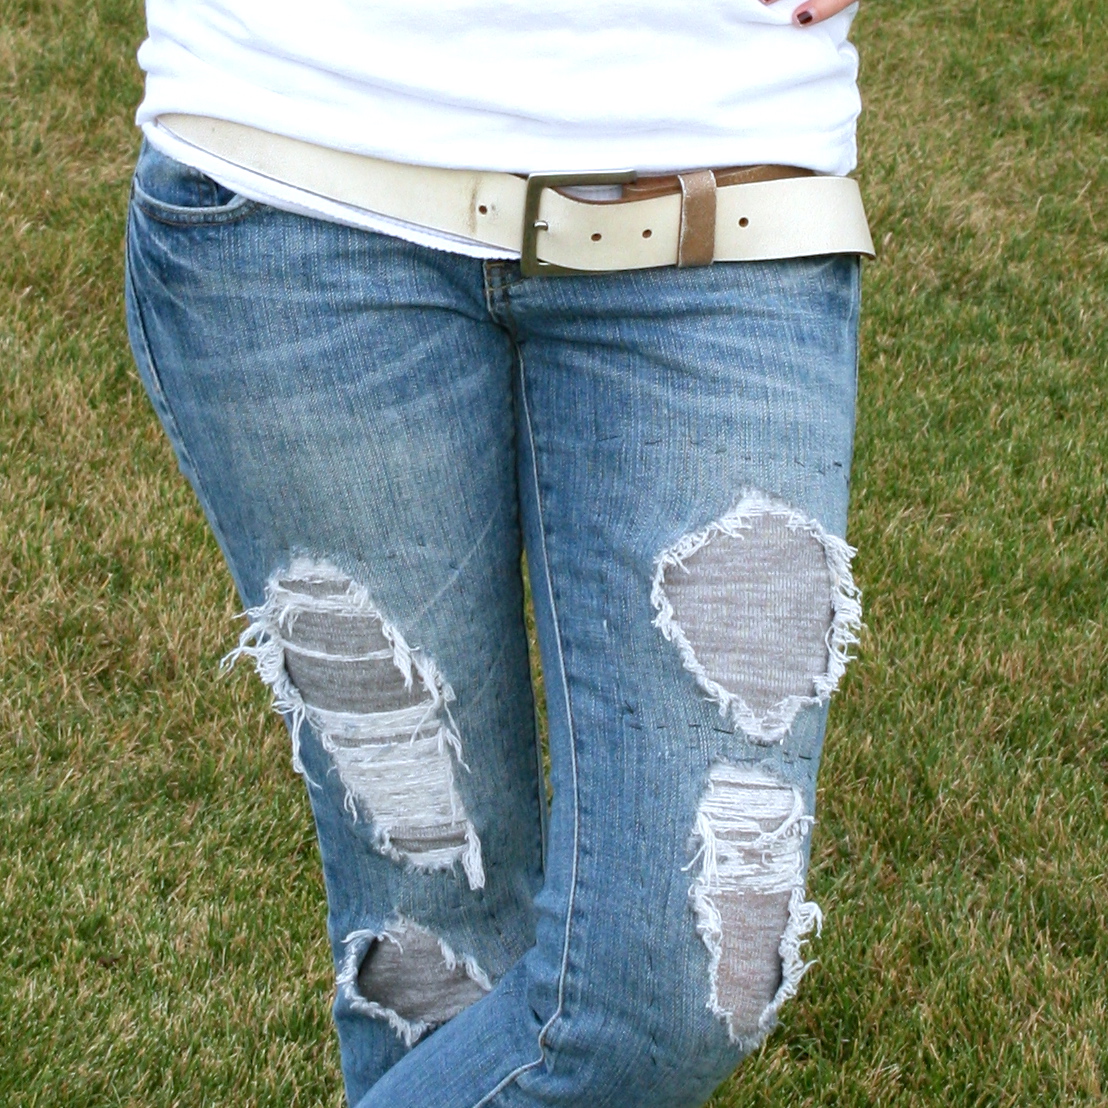
Controlled distressing starts with a plan: mark horizontal lines at the knee or thigh with chalk, then scrape with sandpaper or a cheese grater over a block of wood inside the leg. Pull horizontal white threads with tweezers for the classic shredded look; leave vertical blue threads for structure. Stop early—you can always open more. Over-ripping at the crotch or back pockets turns a project into a repair emergency.
Patches—fabric, embroidered motifs, or printed cotton—cover holes you did not mean to make or become the design themselves. Pin from the inside, stitch around the edge with a tight zigzag or hand whipstitch, and reinforce corners. For a raw-edge patch on the outside, leave a small fringe and wash once to blend.
Animal or illustration patches work best when they sit where the eye already travels: thigh, back pocket, or calf. One strong patch usually beats five competing ones on the same leg.
Pockets, seams, and small embellishments
You do not need to redesign the entire pant. Topstitch contrast thread along pocket bags, add a row of metal studs with a hand press, or embroider a short motif on a coin pocket. These micro-changes are reversible-ish (studs leave holes; embroidery can be picked out carefully) and teach hand control before you cut lace windows.
Replace a boring button with a vintage one if the shank height matches. Add a fabric tab at the waistband for a custom belt loop look. Keep hardware in one metal family—all brass or all silver-tone—so the jeans still read intentional.
If you machine-stitch decorative lines, lengthen the stitch slightly on thick seams and use a denim or jeans needle. Walking slowly over rivets is safer than forcing the presser foot and breaking a needle into the bobbin case.
Lace inserts and sheer panels
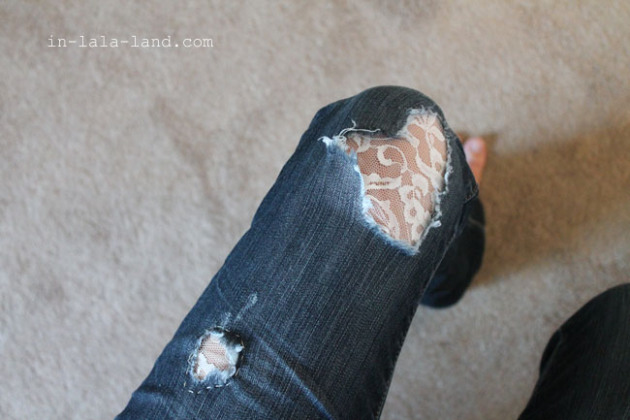
Lace refashions usually mean cutting a window into the denim and backing it with lace, or replacing a side strip from hip to hem. Mark carefully; stay clear of pocket bags unless you plan to remove them. Interface the cut edge lightly if the denim frays into a mess, then stitch lace behind with a narrow zigzag.
Choose lace with enough body to survive sitting—fine bridal lace looks romantic in photos and tears in real life. Cotton lace and embroidered tulle with stable mesh wear better. Decide whether raw denim edges will fray on purpose or be finished cleanly, and keep that language consistent on both legs.
Side panels slim the visual line; back-thigh windows are bolder and need underwear or tights you are willing to show. Check opacity in daylight before you call the project finished.

Cut-offs, hems, bleach, and dye
Pants-to-shorts is the highest-utility refashion. Try the jeans on; mark length while standing naturally; cut longer than the mark. For a clean hem, fold and stitch. For a frayed edge, cut, wash, and trim long threads after the first laundry cycle. Preserve good pockets and hardware when they still serve you.
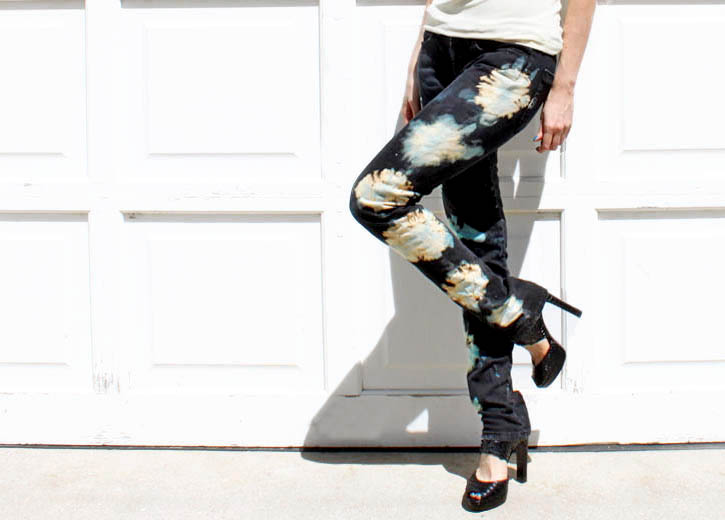
Bleach dips and splatter effects need ventilation, gloves, and eye protection. Dilute household bleach, work outdoors or by an open window, watch the color change—bleach keeps working after you lift the fabric—then rinse thoroughly and neutralize if you use an anti-chlor product. Uneven dips can look designed; random splatters on the seat often look like mistakes. Keep water nearby to dilute accidents.
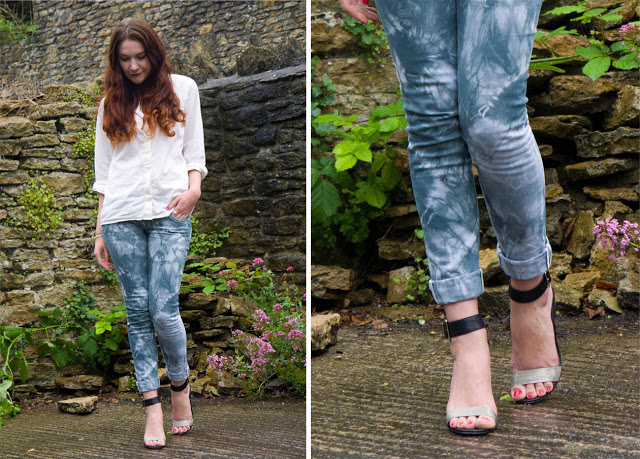
Fiber-reactive or all-purpose dye suits cotton denim when you want a full color shift rather than lightening. Remove or protect metal hardware if you care about tarnish. Expect stretch panels and thread to take dye differently from the main cloth.
A simple weekend sequence
- Wash, dry, and try on. Chalk lengths and rip zones.
- Cut hems or open planned distress lines.
- Do bleach or dye outdoors; dry completely.
- Add paint, patches, or lace on dry fabric.
- Wear around the house; sit, bike a short errand if that is your life, check pockets, then adjust.
Aftercare is ordinary: wash cold, inside out, skip heavy softener on lace and paint, line-dry when you can. Trim fray rather than letting ropes of thread grow. If paint cracks at a crease, next time use thinner coats.
One strong idea usually beats three trends on the same pair. When the jeans feel like something you reach for without thinking about the project, stop adding techniques—and start looking for the next tired pair in the drawer.

Comments
Continue reading
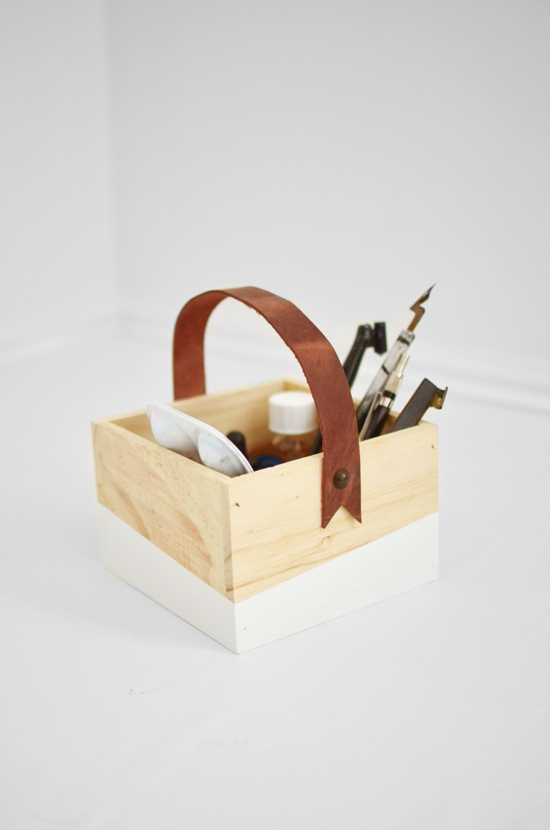
15 Adorable DIY Father’s Day Gifts Worth Making
Fifteen handmade Father’s Day ideas—from etched glasses and felt sleeves to a leather-handle box and grill cover—chosen for use, not just wrapping-paper moments.
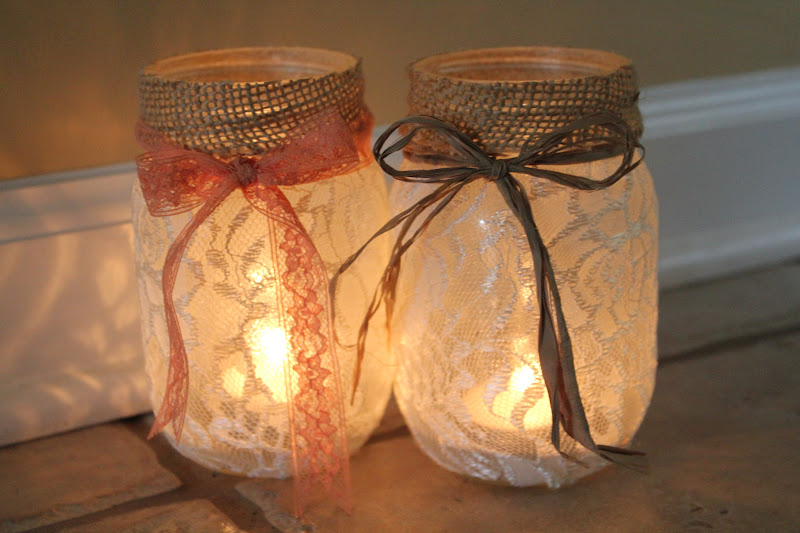
Easy Cheap Mason Jar DIY: Luminaries, Terrariums, Lamps, Dispensers, and Vases
Repurpose mason jars into luminaries, terrariums, drink cups, lamps, ornaments, soap dispensers, herb planters, and vases with simple, low-cost steps.
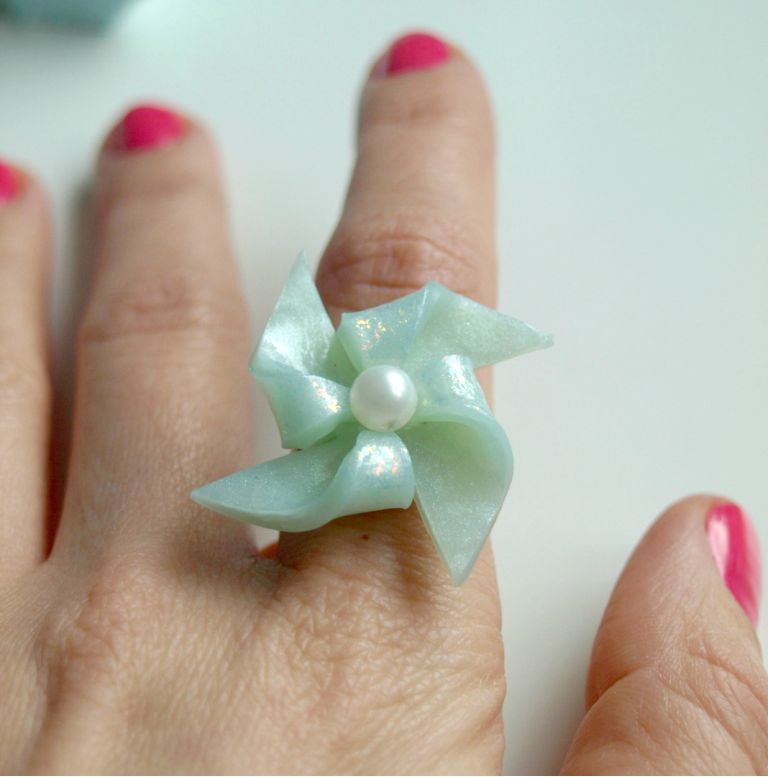
5 Crafty Handmade Jewelry Projects You Can Make at Home
Button clusters, pearl-style rings, wrapped cuffs, springy wire rings, and mixed-media starters—five accessible handmade jewelry projects with practical finishing tips.