
5 Crafty Handmade Jewelry Projects You Can Make at Home
Button clusters, pearl-style rings, wrapped cuffs, springy wire rings, and mixed-media starters—five accessible handmade jewelry projects with practical finishing tips.
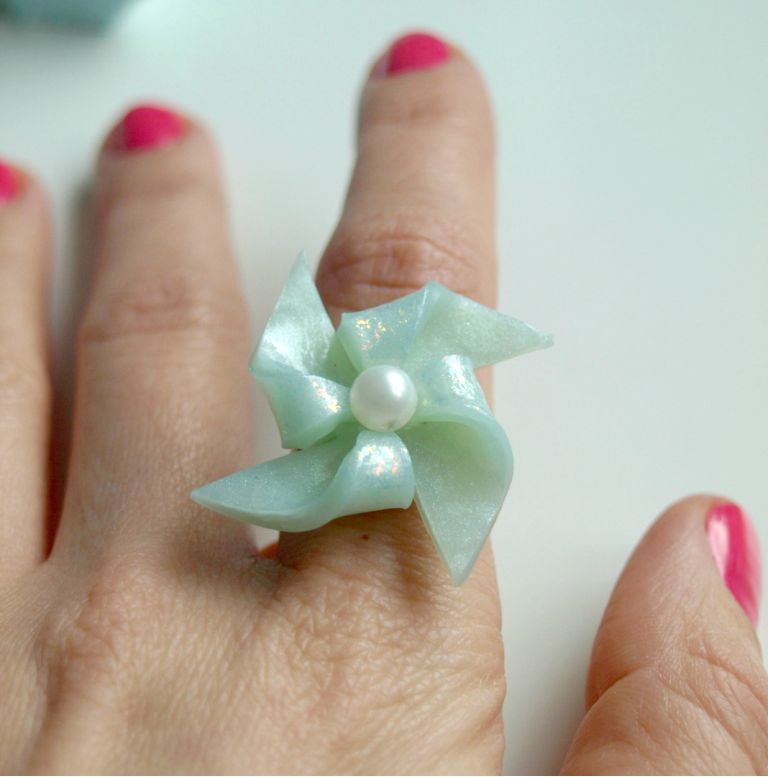
Handmade jewelry does not need a bench full of professional tools or a background in metalsmithing. With a clear idea, a few common craft supplies, and patience for finishing details, you can build wearable pieces that look intentional rather than improvised. The five projects below stay in that accessible lane: button work, pearl-style rings, wrapped cuffs, springy wire rings, and a mixed-media starter piece you can adapt from whatever is already in your scrap drawer.
Each idea emphasizes shape, color, and wearability over perfection. Treat them as templates. Swap materials, scale sizes up or down, and finish edges carefully so the piece survives real use—purses, coat sleeves, and hand-washing—not just a photo on a craft table.
1. Mixed-media starter jewelry from what you already own
Before buying a specialty kit, dig through buttons, beads, scrap chain, leftover ribbon, and odd findings. A mixed-media starter piece teaches the habits that matter most: balance, secure attachments, and a clean back. Start with a simple pendant or brooch base—felt, thin leather, or a small wooden disc—and build a small composition rather than a crowded collage.
Choose one dominant element (a larger button, a cluster of beads, or a short length of chain) and two supporting accents. Glue alone is rarely enough for wearables. Use strong craft adhesive where appropriate, then reinforce with stitching, wire wrapping, or a jump ring that actually carries the weight. Cover raw edges on the reverse with a second layer of felt or a neat smear of finish so the piece does not scratch skin or catch on fabric.
Color discipline helps beginners. Limit yourself to two or three tones plus metal. If your scrap pile is chaotic, sort by palette first, then design. A quiet background with one bright accent often reads more “finished” than a rainbow pile. Once you like the layout, photograph it before gluing; phone photos reveal crooked alignments that your eye skips while working.
Wear-test the piece for an evening at home. Check for sharp points, loose bits, and unexpected weight. Adjust before you gift it or wear it out. This starter approach also trains you to salvage leftovers from the other four projects instead of discarding scraps.
2. Button jewelry for spring color
Buttons are underrated jewelry material. They arrive with holes ready for thread or wire, they come in endless colors and finishes, and thrift jars give you volume without expense. A classic spring project is a button cluster: several buttons stacked or fanned into a brooch, bracelet focal, or earring pair.
Sort buttons by diameter and shank style. Flat buttons sew cleanly onto felt or ribbon; shank buttons sit higher and create more shadow. For a bracelet, sew a row onto a sturdy ribbon or soft leather strip, leaving enough free end for a snap, hook, or tie. For earrings, keep weight low—two or three small buttons per side is usually enough—and use proper earring findings rather than improvising with unsafe wire near the ear.
Mixing vintage and new buttons works when finishes relate: all matte, all glossy, or a controlled contrast of one pearlized button among wood tones. If you sew, knot securely on the reverse and bury thread tails. If you wire, wrap tightly and tuck sharp ends inward. A drop of clear nail polish or jewelry glue on knots reduces unraveling.
Styling tip: button jewelry pairs well with simple clothing. Let the piece carry the pattern so it does not compete with busy prints. Spring outfits with solid knits or linen give button color room to show.
3. Spring pearl-style ring
A pearl-style ring is a satisfying weekend project because the silhouette is familiar and the materials stay modest. You do not need real pearls; glass pearls, acrylic pearls, or a single statement bead can create the same soft round focal. Pair the bead with a simple band—memory wire, soft jewelry wire shaped to your finger, or a ready ring blank with a cup or loop.
Measure your finger with a strip of paper or a ring gauge if you have one. Cut and shape the band so it slides on comfortably without spinning wildly. Secure the pearl with a headpin, eye pin, or wrapped loop, depending on whether you want it fixed or slightly mobile. Wrapped loops look more professional than a single bent tip and hold better under daily wear.
For a spring look, try soft whites, blush, pale gold, or a single tinted pearl against a brighter accent bead. Keep metal consistent: all silver-tone or all gold-tone usually looks cleaner than mixing both unless that contrast is deliberate. If the pearl sits high, check that it will not catch on gloves or pockets; a lower profile is more practical for everyday rings.
Finishing matters. File or tuck wire ends. Wipe fingerprints from the pearl with a soft cloth. If you use adhesive on a cup setting, allow full cure time before wearing. Store the ring separately so harder jewelry does not scratch the surface.
Variations keep the idea fresh: a tiny cluster of seed beads under a larger pearl, a twin-pearl stack, or a slim band with a single off-center pearl for a modern lean. Photograph your favorite version in natural light; soft daylight flatters pearl finishes and helps you judge proportion.
4. Rubber-band–wrapped cuff
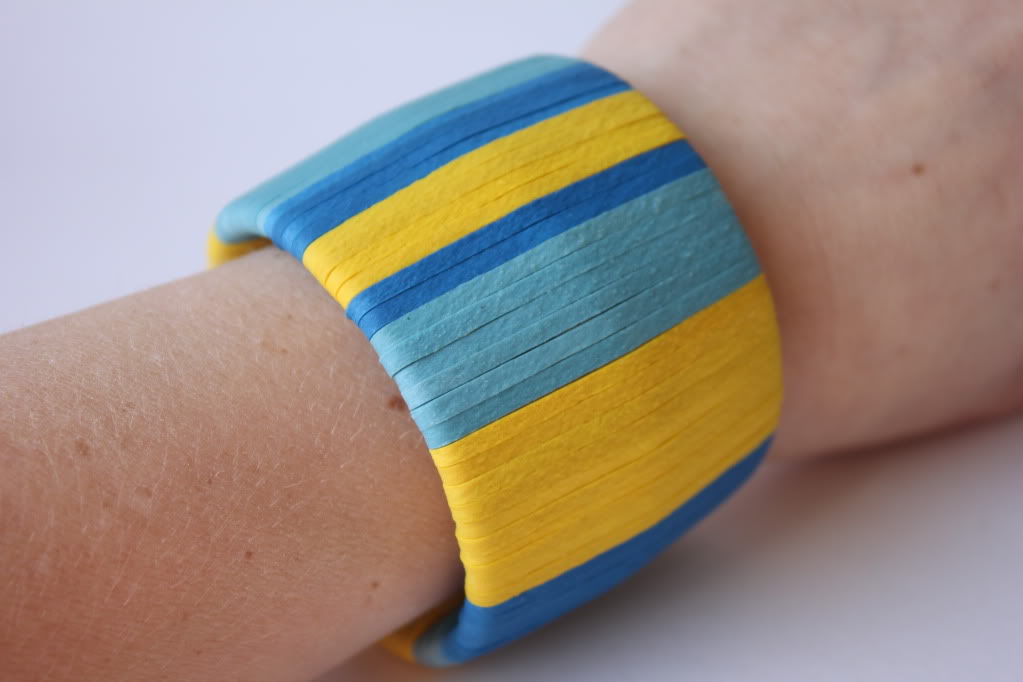
A wrapped cuff is graphic, fast, and forgiving. The core idea is a rigid or semi-rigid base—a plain metal cuff blank, a sturdy plastic bangle, or a recycled band—wrapped with colorful rubber bands, elastic cord, or embroidery floss until the surface becomes a textured stripe field. Rubber bands give a bold, playful look; floss or cord reads softer and more “crafted.”
Start with a clean base. Remove sticky residue, dry thoroughly, and decide whether you want full coverage or a partial wrap that leaves metal showing as a design stripe. Stretch bands evenly. Overlap slightly so gaps do not flash through when the cuff flexes. If bands snap, choose a size that hugs without extreme tension; overstretched rubber ages quickly and leaves sticky residue.
Color planning elevates the project. Try a gradient (light to dark), repeating stripes, or a two-tone block. Avoid random grab-bag wrapping unless chaos is the point—even playful cuffs benefit from a pattern you can name. For longevity, some makers seal cord wraps with a thin, flexible clear coat; test on a scrap first so finish does not stay tacky.
Comfort checks are non-negotiable. Inner edges should be smooth. Trim and tuck ends. Wear the cuff for an hour while typing or washing dishes (with care) to see whether bands roll or pinch. If the base is recycled from packaging or an old bracelet, sand rough spots before wrapping.
This project scales well for group crafting: set out bases and band colors, and let each person invent a stripe language. It also teaches wrapping tension—a skill that transfers to wire work and friendship-bracelet style finishes.
5. Springy wire rings
Springy rings use coiled or looped wire to create bounce, stack height, and a light sculptural feel. Soft craft wire in a workable gauge (often in the mid ranges used for jewelry wrapping) can be wound around a mandrel, marker, or dowel to form coils, then shaped into a band that sits on the finger with a little spring.
Work slowly. Uneven coils show immediately. Keep wraps snug and consistent, then adjust the overall diameter to your finger. You can leave the coil as the star or add a small bead nestled into the spring. Always finish ends safely: trim close, tuck, and burnish so nothing scratches. If you are new to wire, practice on inexpensive copper before using plated wire that shows tool marks.
Design options include a single tall coil, a flat spiral face with a slim band, or a “spring” segment that connects two simple wire shoulders. Keep the ring wearable. Extreme height looks striking in photos and uncomfortable under gloves. Aim for a silhouette you would actually leave on during a normal day.
Metal color sets the mood. Bright silver-tone feels crisp for spring; warm brass or gold-tone feels vintage. Patina or intentional hammer texture can add character, but polish high-contact areas so skin oils do not turn tool marks into dark grime lines. Wipe the ring after wear and store it dry.
If stacking rings is your goal, make two or three related springy bands in graduated heights rather than one oversized piece. Matching wire gauge across the set keeps the stack coherent.
Tools, safety, and finishing habits
You do not need a full studio, but a few tools dramatically improve results: round-nose and chain-nose pliers, wire cutters, a small file or emery board, strong scissors, needles and thread for button work, and a clean cloth for fingerprints. Work on a tray so beads do not escape. Good light prevents crooked wraps.
Safety is part of craft, not an afterthought. Keep sharp wire away from eyes. Do not leave tiny beads where children or pets can swallow them. Avoid materials that irritate your skin; if cheap metal bothers you, use coated wire, sealants rated for jewelry, or hypoallergenic findings. Never put unknown adhesives near the mouth or eyes, and ventilate when using solvent-based products.
Finishing separates “cute experiment” from “piece I wear.” Check every clasp, knot, and tucked end. Match the jewelry to the outfit’s care needs: delicate pearl-style rings prefer gentle wear; wrapped cuffs can handle more motion if bands are secure. When gifting, include a brief note on materials and care so the recipient knows whether the piece can handle water, perfume, or storage in a heap.
Choosing your first project
If you want fastest gratification, start with the wrapped cuff or button cluster. If you want a classic gift silhouette, make the pearl-style ring. If you enjoy sculpture and tools, try springy wire rings. Use the mixed-media starter whenever you need to clear scrap and practice composition without buying new supplies.
Handmade jewelry rewards iteration. Make one version quickly, wear it, then remake it with cleaner proportions. The craft is not about copying a single tutorial photograph—it is about learning how materials sit on the body, how color behaves in daylight, and how secure finishes turn spare parts into something you are proud to put on.

Comments
Continue reading
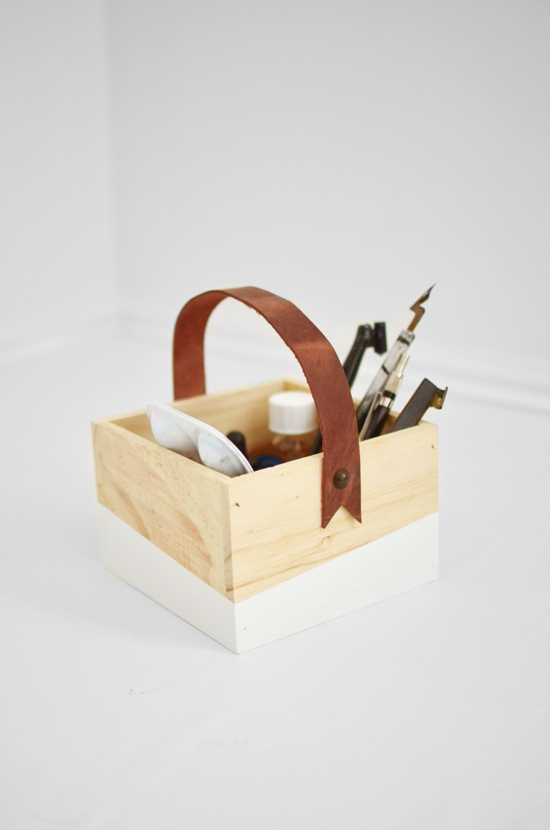
15 Adorable DIY Father’s Day Gifts Worth Making
Fifteen handmade Father’s Day ideas—from etched glasses and felt sleeves to a leather-handle box and grill cover—chosen for use, not just wrapping-paper moments.
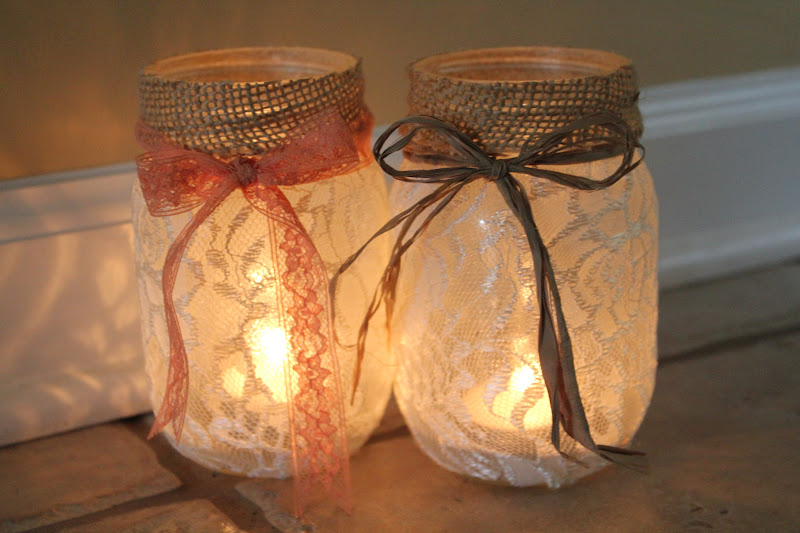
Easy Cheap Mason Jar DIY: Luminaries, Terrariums, Lamps, Dispensers, and Vases
Repurpose mason jars into luminaries, terrariums, drink cups, lamps, ornaments, soap dispensers, herb planters, and vases with simple, low-cost steps.
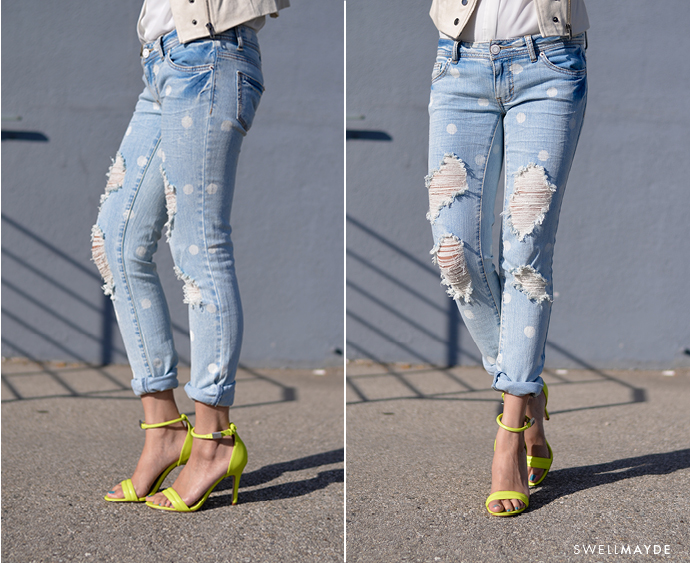
How to Refashion Old Jeans at Home
Practical DIY jean makeovers—paint and prints, rips and patches, lace inserts, cut-offs, bleach, and dye—with tools, steps, and a weekend plan.