
Organized Kitchen Pantry Design Ideas That Actually Work
Zone shelves, choose containers wisely, and use risers, bins, and door space—practical pantry design ideas for real kitchens.
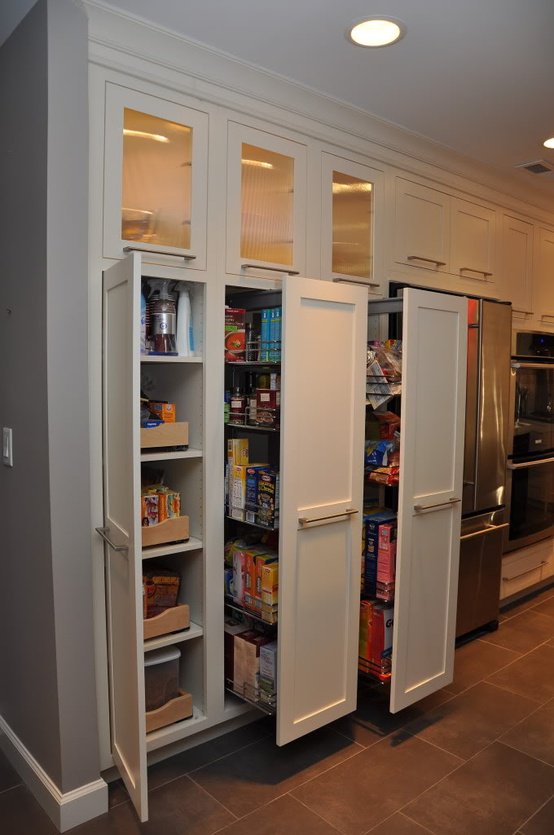
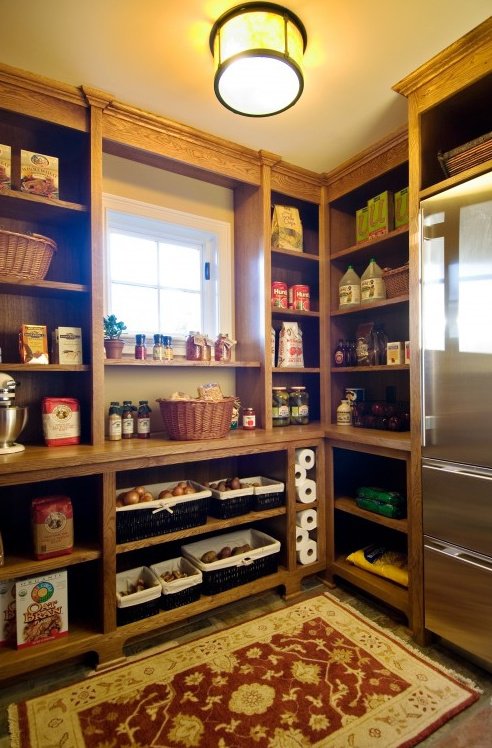
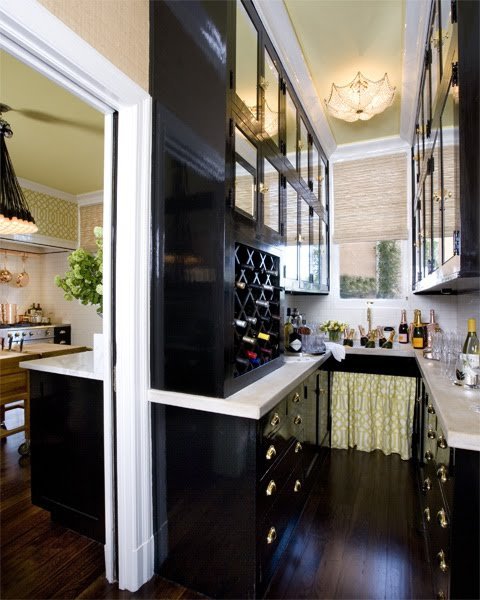
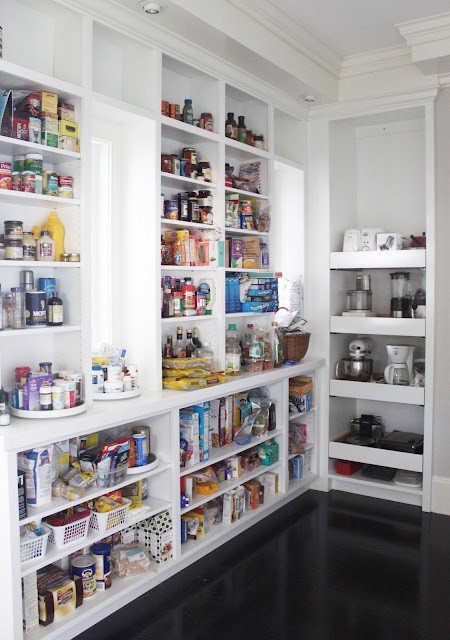
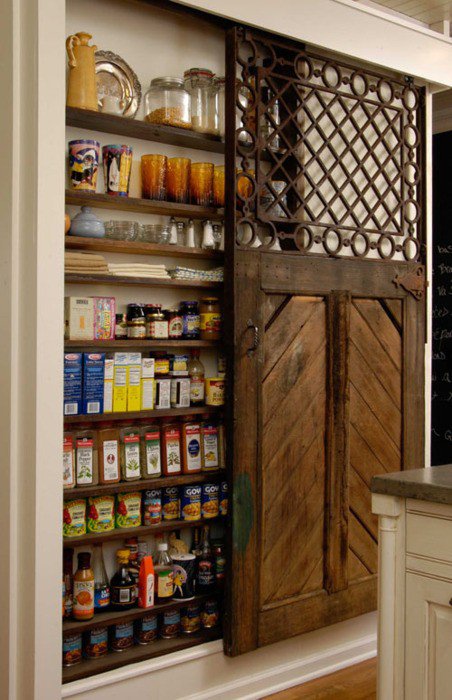
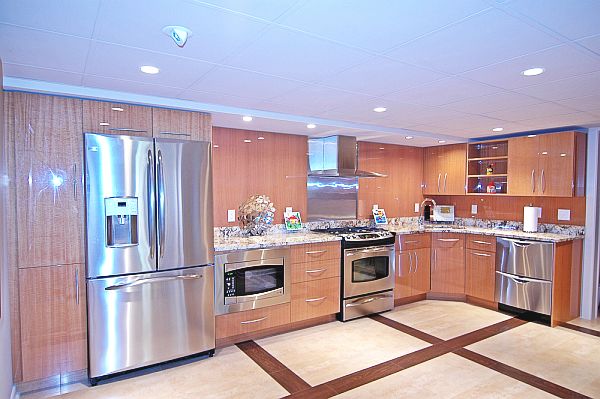
A pantry earns its keep when you can see what you own, reach what you cook with, and stop buying a third jar of the same spice. The photos below gather different approaches—open shelving, deep cabinets, labeled jars, pull-out thinking, tall storage, and mixed bins—so you can steal the idea that fits your kitchen instead of copying a layout that needs a renovation budget. Treat the gallery as a visual catalog while you work through zoning, containers, lighting, and the habits that keep shelves honest after grocery day.
Whether you have a walk-in, a broom-closet conversion, or two dedicated cabinets, the same principles apply: daily items at easy reach, backups lower or higher, categories that match how you cook, and only as many pretty jars as you will actually refill.
Start with zones, not matching canisters
Empty the space before you shop for organizers. Wipe shelves. Then group food by use:
- Breakfast: oats, cereal, coffee, tea, sweeteners
- Cooking staples: oils, vinegars, grains, pasta, canned tomatoes, broths
- Baking: flours, sugars, chocolate, extracts, yeast, sprinkles
- Snacks: nuts, crackers, bars—placed where the people who eat them can reach without climbing
- Backup stock: extras that must not block daily items
- Rare-use: holiday mixes, specialty flours, party supplies
Put daily zones between waist and eye level. Heavy bottles and bulk bags belong on lower shelves. Lightweight backups can go high. On deep shelves, plan front-and-back rows so the front stays active and the back holds duplicates you will actually rotate—not forgotten mysteries.
If two cooks share the kitchen, label zones in language both of you use (“weeknight pasta,” not a cryptic color code). Painter’s tape labels for the first week cost nothing and reveal whether your map matches real behavior.
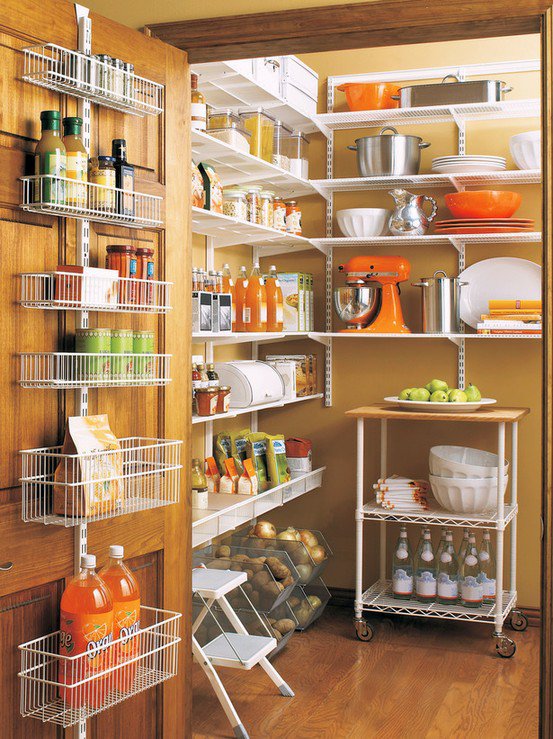
Containers that earn their footprint
Clear, airtight containers help for flour, rice, cereal, and snacks that go stale in open bags. Square and rectangular shapes waste less shelf space than rounds. Keep cooking instructions: tape the bag panel inside the lid or on the container’s back. Write the packed date with a grease pencil or removable label.
Do not decant everything. Cans, cartons, and sealed sauces are often fine as sold. Over-decanting creates lid laundry and hides expiration dates. Aim for containers only where visibility and freshness both improve. If a jar looks beautiful but you never refill it, it is décor, not storage—move it out.
For oils and vinegars, prefer stable upright bottles on a tray that catches drips. For spices, decide between a drawer insert, a door rack, or a lazy Susan; mixing all three usually creates three half-systems.
Shelving tricks that change capacity
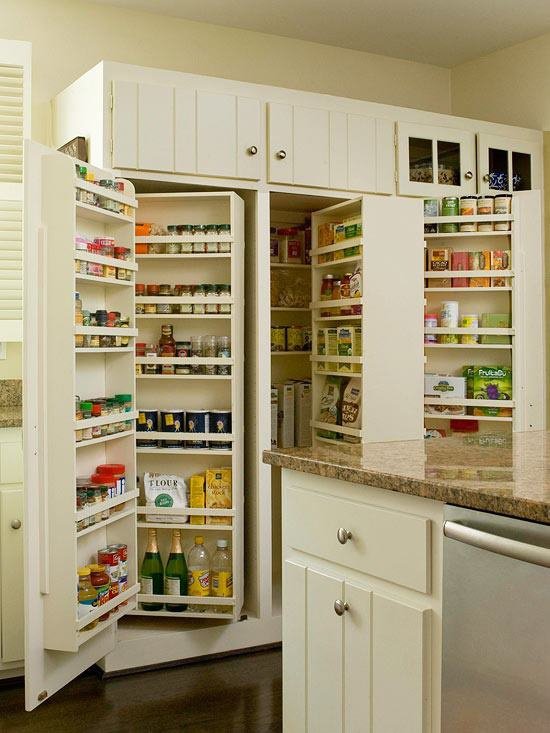
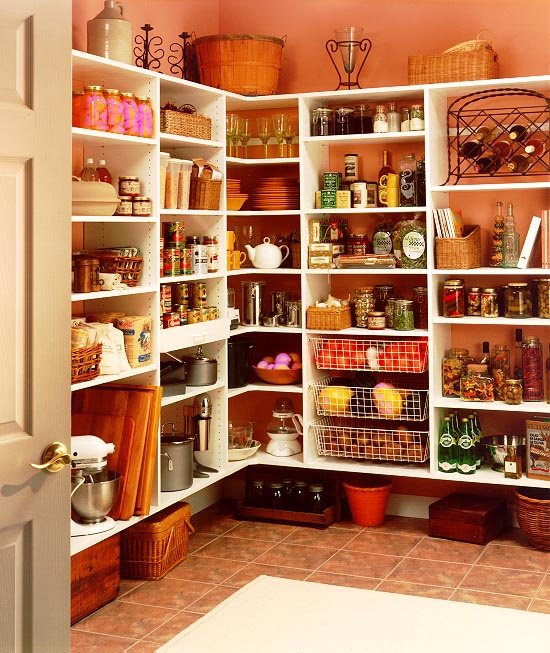
Risers and under-shelf baskets turn one shelf into two for cans, tea, or short jars. Lazy Susans work in corners and for bottles that otherwise hide. Narrow pull-out racks shine for spices and extracts when you can install them safely. Tension rods can corral baking sheets and cutting boards vertically in a tall slot so flat items stop leaning into food.
If your pantry is a standard cabinet, remove unused clutter hardware and measure shelf-pin spacing. Adjusting one shelf by a few inches often frees a whole row for cereal boxes that previously tipped. Add a non-slip liner on slick shelves so jars do not migrate when the door closes hard.
Walk-in pantries benefit from a clear center aisle. Do not let floor bins creep inward until you cannot turn with a grocery bag. Wall-mounted rails for foil and wrap keep boxes from eating shelf fronts.
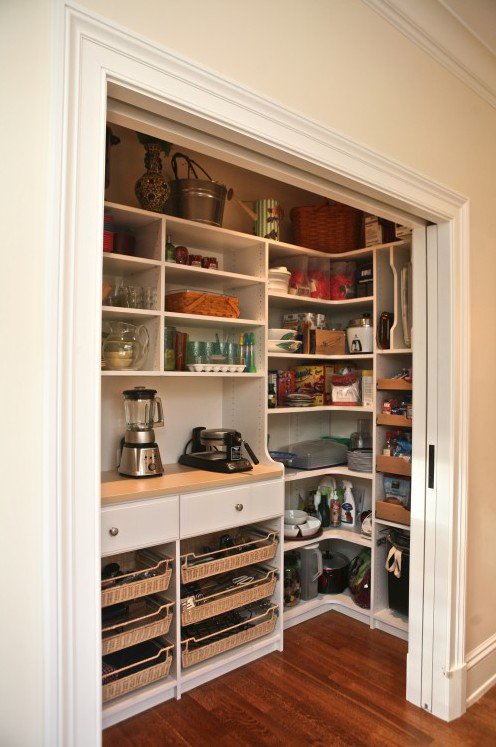
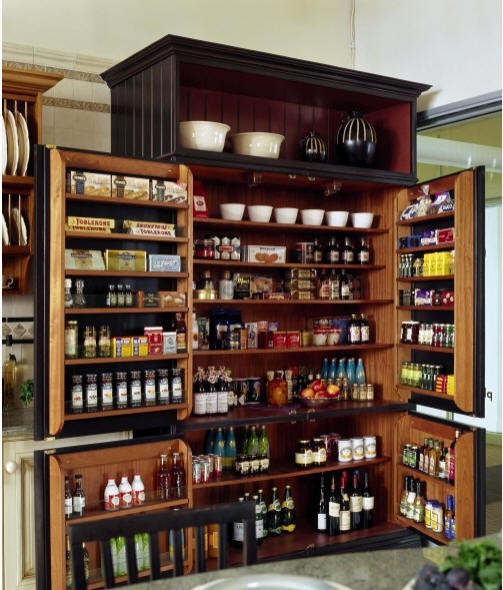
Baskets versus open shelves
Open shelves look calm when categories are visually consistent—similar jars, aligned labels, repeated heights. Baskets hide visual noise: snack bags, foil pouches, odd shapes. They also let you pull a whole category to the counter. Use open display for jars you want to see; use bins for clutter that still must be reachable in one motion.
Label the bin when contents rotate weekly. Label the jar when contents stay the same for months. Soft baskets work for packets; rigid bins work for cans that would warp fabric sides.
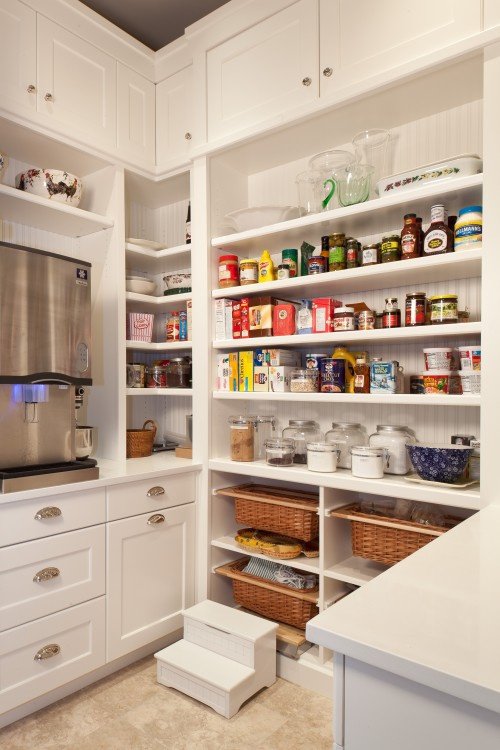
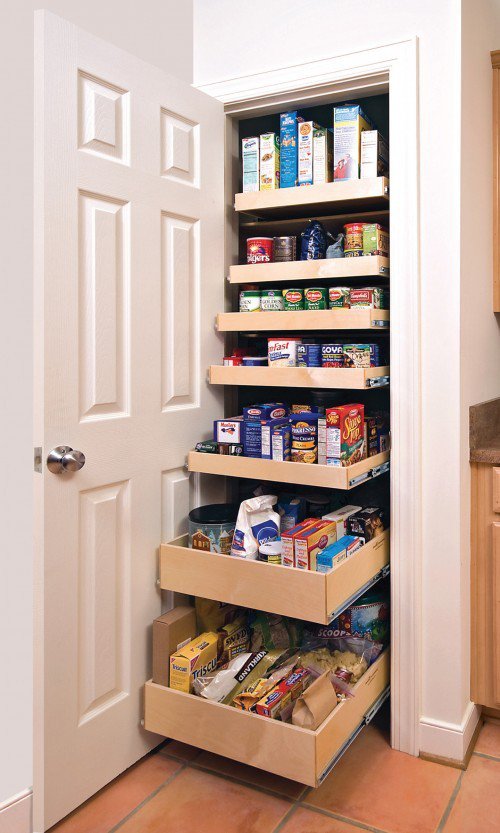
Door space, lighting, and moisture
The inside of a pantry door can hold spices, wraps, or a narrow rack for small bottles—if the door clears shelves when closed. Measure swing carefully. Overloading a door can warp hinges. Kick-space drawers, where they exist, suit flat trays better than heavy cans.
A battery puck light or hardwired strip makes deep shelves usable. Avoid storing flour and crackers against a steamy dishwasher wall if condensation is an issue; use sealed containers and leave a small air gap. Wipe sugar grit and oil mist when you see them—clean shelves encourage correct put-away.
A setup sequence you can finish in a day
- Empty and wipe every shelf; vacuum crumbs from corners.
- Discard expired food; donate unopened items you will not use.
- Assign zones with temporary tape labels and live with them for several meals.
- Add only the risers, bins, and jars that solve a real reach or freshness problem.
- Place the most-used items in the easiest reach; photograph the finished shelves as your reset reference.
- Move rare-use and party supplies to the highest or deepest backup zone.
Budget tip: measure twice before buying a full matching canister set. Often three sizes of clear bin plus one lazy Susan fix more friction than twenty identical jars.
Keep it working after grocery day
New groceries should land in a counter “inbox,” then be shelved by category before bags disappear. Rotate older cans forward. Refill jars from backup stock instead of opening a second bag behind the first. Once a month, scan for stale snacks and lonely half-used mixes. Once a season, reassess heights—summer drinks and winter baking supplies often need different eye-level real estate.
If two systems fight—beautiful open jars versus bulk warehouse runs—give beauty the eye-level row and bulk the lower bins. The pantry does not need one aesthetic. It needs one rule: what you cook with stays visible and reachable.
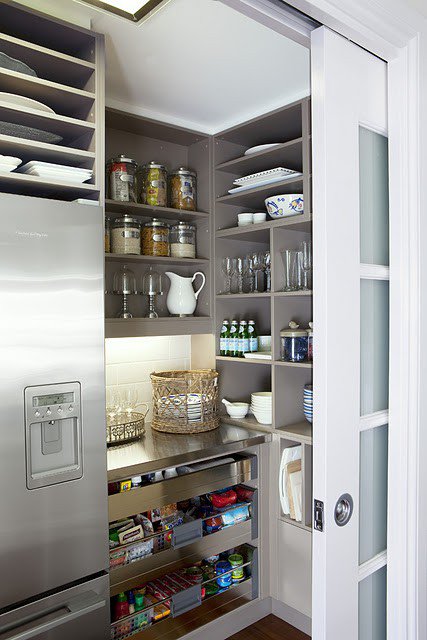
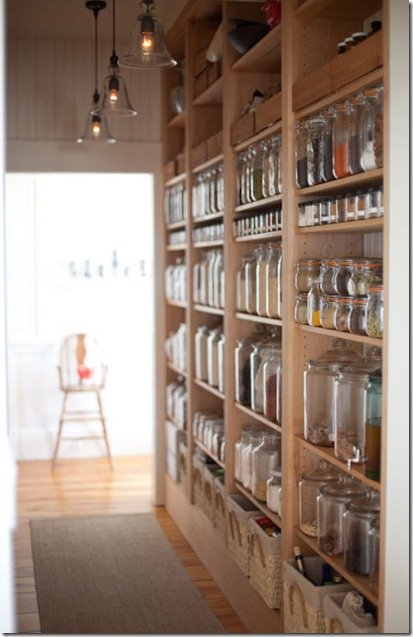
When you next open the door before dinner, you should be able to grab oil, pasta, and a can without moving three other objects. If you cannot, shift one zone—not the whole room—and retest on the next cook night.

Comments
Continue reading
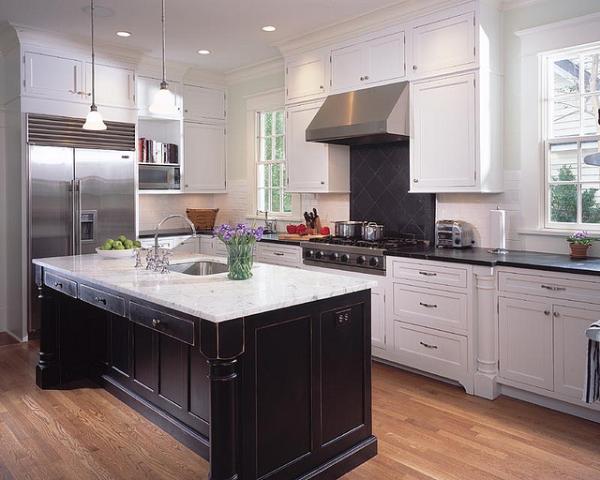
Kitchen Design Ideas: Layout, Storage, Light, and Finishes That Work
Practical kitchen design ideas—work zones, cabinetry, lighting, and durable finishes—so inspiration translates into rooms that cook and gather well.
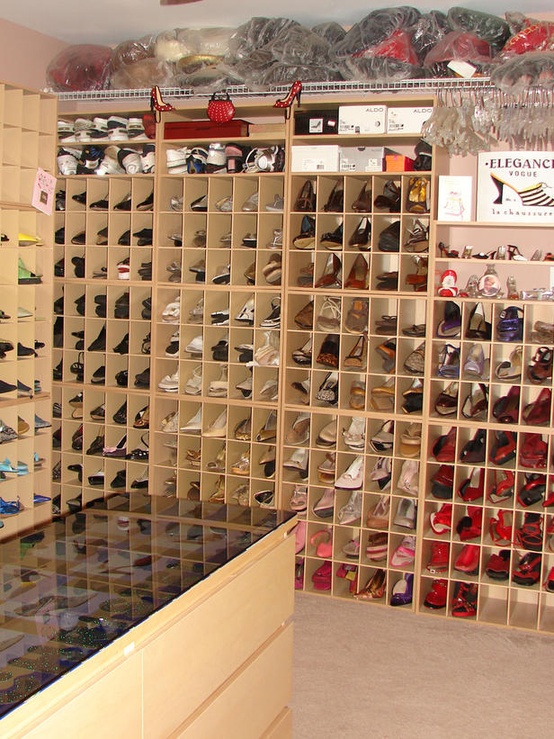
Shoe Storage & Organization Solutions
Practical closet and hallway shoe storage—triage pairs, use vertical space, and set simple entry rules without a product hard-sell.
18 Kitchen Design Ideas: Gloss Cabinets, Smart Layouts, and Practical Finishes
Eighteen kitchen design directions—from high-gloss wood-look cabinetry and stainless suites to islands, pantries, lighting, and backsplash strategies—anchored by the surviving gallery photo.