
Make Your Own Play Dough: A Kid-Safe Homemade Recipe
Cook a soft, colorful play dough from pantry staples—with clear kid-safe criteria, adult supervision rules, storage tips, and easy play prompts.
Homemade play dough is one of those rare crafts that earns its keep: cheap ingredients, almost no special tools, and a toy kids will actually use for days. Store-bought tubs are fine, but a kitchen batch lets you control color, scent, texture, and—most important—what goes into the dough when little hands (and curious mouths) get involved.
This guide covers a classic cooked dough that holds its shape, plus kid-safe criteria so the project stays fun instead of stressful. Adults handle heat and measuring; kids can press, knead, and choose colors once the dough is cool.
What “kid-safe” means here
Play dough is a toy, not a snack. Even so, recipes for young children should assume some dough will end up near mouths, faces, and furniture. Use these criteria before you start:
- Non-toxic pantry ingredients only. Stick to flour, salt, water, cream of tartar, a mild oil, and food-grade color. Skip essential oils for toddlers, glitter that sheds, and craft pigments not meant for skin contact.
- No heat in little hands. The cooked method uses a stove or microwave. An adult does all heating and stirring until the dough is cool enough to touch comfortably.
- Supervision is part of the recipe. Stay in the room while kids play. Watch for choking hazards if you add beads, buttons, or tools with small parts.
- Allergy awareness. Standard dough uses wheat flour. For gluten-sensitive households, use a dedicated gluten-free flour blend you already trust for baking, and keep tools separate from regular flour if cross-contact matters.
- Salt is for preservation, not tasting. The high salt content helps the dough last and discourages eating—but remind kids it is not food.
If a child is still mouthing everything, offer larger tools, keep sessions short, and put the dough away when you leave the table.
Classic cooked play dough (batch for one family afternoon)
This is the reliable, stretchy dough many parents remember from preschool tables. It needs a few minutes on the stove, then cools into a smooth ball that does not dry out as fast as no-cook versions.
Ingredients
- 2 cups all-purpose flour
- 1 cup fine salt
- 2 tablespoons cream of tartar (helps elasticity and shelf life)
- 2 tablespoons neutral oil (vegetable or canola)
- 2 cups water
- Food coloring (liquid or gel), optional
Steps
- In a medium saucepan, whisk flour, salt, and cream of tartar until evenly mixed.
- Add oil and water. Whisk until you have a thin, lump-free batter. If you want one solid color, stir a few drops of food coloring into the water first.
- Cook over medium heat, stirring constantly with a wooden spoon or silicone spatula. The mixture will thicken, look like mashed potatoes, then pull away from the pan in a soft mass—usually 3 to 5 minutes.
- Turn the dough onto a heat-safe board or parchment. Let it cool until you can knead without burning your hands.
- Knead until smooth. If it feels sticky, dust with a little flour; if crumbly, wet your hands lightly and knead again.
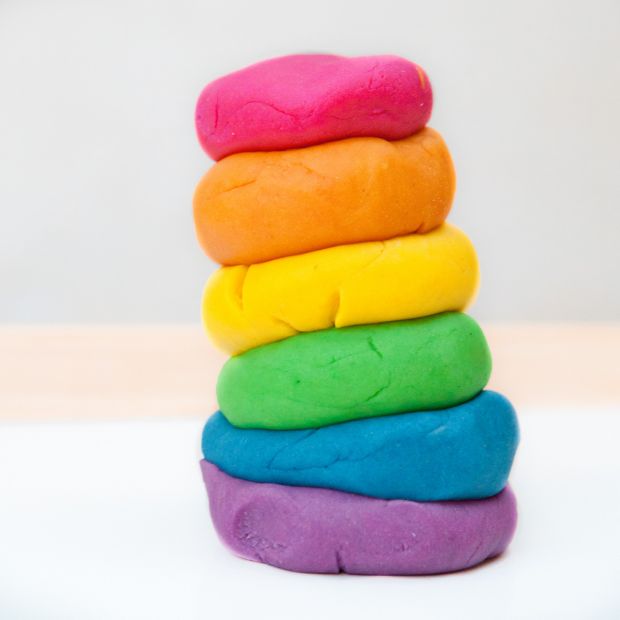
For rainbow stacks like the one in the photo, divide the warm dough into six balls and knead a different color into each. Gel colors give brighter results with less liquid.
No-cook backup when the stove is busy
If you need dough in ten minutes and do not want heat, mix 2 cups flour, ¾ cup salt, 2 tablespoons oil, and about ¾ to 1 cup warm water until a soft dough forms. This version is slightly denser and dries faster, so seal it well. The same kid-safe rules apply: adult mixing if you use hot water, supervision during play, and food-safe color only.
Color, scent, and texture ideas that stay sensible
- Bright solids: Primary gel colors kneaded into separate balls.
- Soft pastels: Start with white dough and add one drop at a time.
- Natural tints: A pinch of turmeric, beet powder, or cocoa can tint dough without artificial dye—test a small piece first so stains stay manageable.
- Scent (older kids only): A tiny pinch of cinnamon or unsweetened cocoa is usually gentler than perfume-strength oils. Avoid mint oils around eyes and skip fragrance entirely for babies and toddlers.
- Texture play: Offer cookie cutters, rolling pins, plastic knives, and bottle caps. Save glitter and sequins for older kids who will not eat them, or skip glitter altogether—it travels everywhere.
How to set up a low-mess craft station
Play dough fails when the workspace fights you. Lay a washable mat or old cutting board on the table. Give each child a tray so colors do not migrate into one muddy lump unless they want that experiment. Keep a damp cloth nearby for hands and table edges. Long hair up, sleeves rolled, and a clear rule: dough stays on the tray.
Invite kids into the process after cooking. Measuring dry ingredients, choosing colors, and kneading cooled dough are the parts that feel like “we made this,” not just “we opened a tub.”
Storage and how long a batch lasts
Cool completely, then store in an airtight container or zip bag with the air pressed out. Room temperature is fine for a week or two if the dough stays soft and smells clean. If it hardens, knead in a few drops of water. Toss it if it smells off, grows fuzzy spots, or has been played with by someone who was sick and you would rather start fresh—flour dough is cheap to remake.
Label the container with the date. A batch made for a rainy afternoon is still good for quiet weekday play if you keep it sealed between sessions.
Play prompts beyond random squishing
Open-ended squishing is enough, but a few prompts stretch attention:
- Build a color tower and count the discs.
- Press leaves or coins for temporary patterns, then smooth the surface again.
- Roll “snakes,” coil them into nests, and invent tiny animals.
- Stamp letters with plastic alphabet cutters for name practice without worksheets.
- Set a five-minute “sculpture challenge,” then smash and restart—permission to destroy is half the fun.
Troubleshooting
- Sticky: Knead in flour a teaspoon at a time.
- Crumbly: Knead in water a few drops at a time, or a half-teaspoon of oil.
- Too stiff after cooking: You may have cooked it dry; knead while warm with damp hands.
- Color stains hands: Use less dye next time; wash with soap soon after play. Gel colors on white dough can temporarily tint nails—smocks help.
- Dough smells yeasty or sour: Discard and make a new batch; do not try to “rescue” spoiled dough.
Safety checklist before you invite the kids in
- Hot pan is off the stove and out of reach.
- Ingredients are food-grade; no mystery craft powders.
- You know any flour or dye allergies in the group.
- Small decorative add-ins are age-appropriate or absent.
- An adult stays present for the whole play session.
- Hands get washed when play ends—especially before snacks.
If you only make one batch this month, cook the classic recipe, split it into a few bright colors, and keep the rules simple: cool dough, clean ingredients, and an adult in the room. The stack of soft discs is the souvenir; the afternoon at the table is the real gift.

Comments
Continue reading
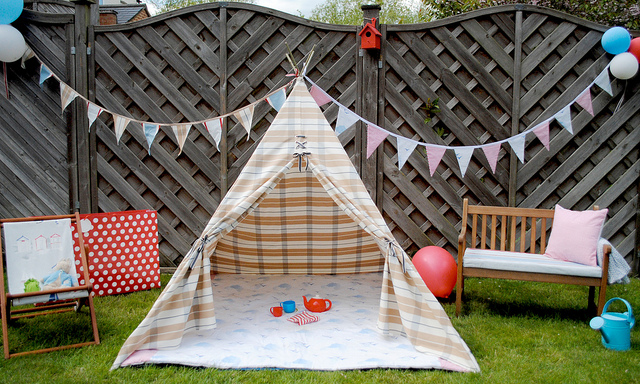
DIY Toys Kids Can Help Make: Paper, Upcycle, and Bigger Builds
Paper helicopters, straw rockets, bubble wands, cardboard car cities, shields, sock horses, a fabric play tent, and a skateboard swing—projects scaled for little hands.
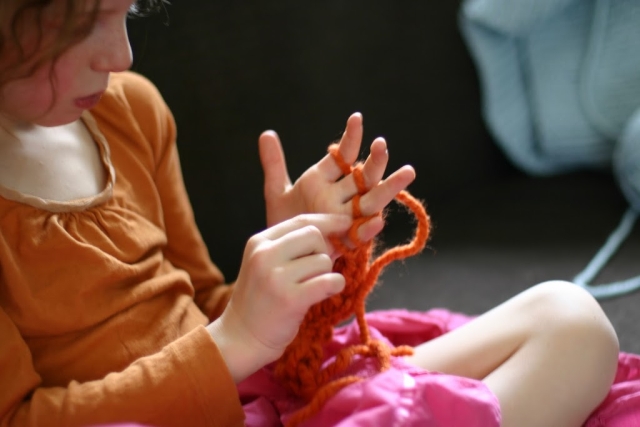
16 Weekend Art and Sensory Activities to Do with Kids
Sixteen kid-friendly weekend projects—finger knitting, potato stamps, sidewalk chalk, slime, rainbow ice, and more—using simple materials and clear setup tips.
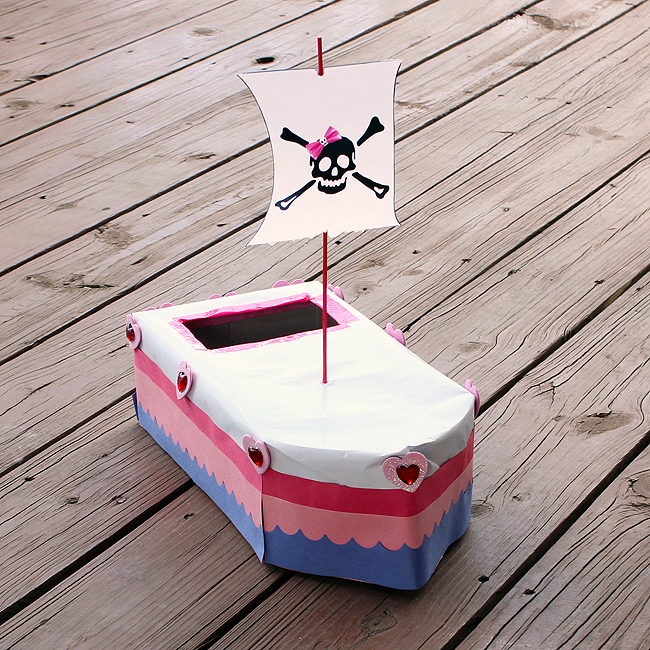
DIY Valentine’s Day Crafts for Kids: Cards, Mailboxes, and Sensory Makes
Age-friendly Valentine crafts for kids—mailboxes, heart stamps, suncatchers, treat holders, stick puppets, and play dough—with adult-handled scissors, glue guns, and crystal safety.