
DIY Toys Kids Can Help Make: Paper, Upcycle, and Bigger Builds
Paper helicopters, straw rockets, bubble wands, cardboard car cities, shields, sock horses, a fabric play tent, and a skateboard swing—projects scaled for little hands.
Kids remember toys they helped make. A paper helicopter that actually spins, a sock horse that survives backyard gallops, or a cardboard city for toy cars gives them a finished object and a story about how it came together. Adult DIY often aims at the house; these projects aim at play—low cost, clear steps, and room for children to do real work with scissors, tape, paint, and imagination while an adult handles knives, hot glue, and anything sharp or heavy.
Start with the simplest builds so success comes early, then move toward projects that need more patience or adult assembly. Scale materials to age: preschoolers can tear paper, stick tape, and paint; older kids can measure, cut with supervision, and follow a multi-step sequence. The ideas below move from quick afternoon crafts to bigger builds like a fabric play tent or a skateboard-deck swing that needs hardware and outdoor space.
Quick wins: paper, air, and water
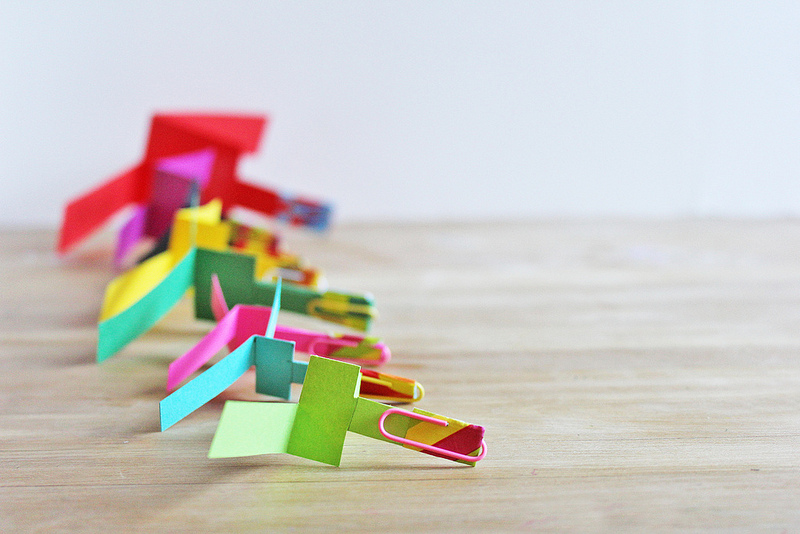
Paper helicopters teach fold, cut, and drop. A strip of paper with a weighted paper-clip body and two rotor blades that fold opposite ways will spin on the way down. Kids can race colors from a balcony or staircase (with a spotter below). Change blade length and watch how flight changes—early science without a lecture. Keep a stack of scrap printer paper ready so a crumpled attempt is not a crisis; the second and third versions usually fly better once fingers learn the fold.
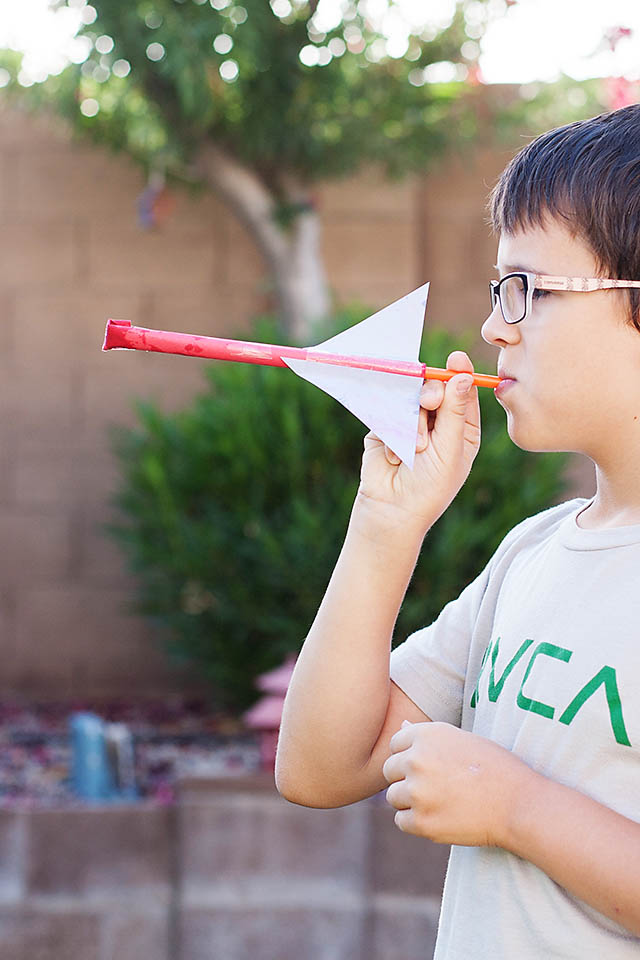
Paper-straw rockets use a straw as a launch tube and a paper sleeve sealed at the tip. Decorate fins, slip the rocket over the straw, and blow. Keep the seal tight so air pushes the rocket instead of leaking. Outdoors is kinder to neighbors’ lamps; indoors, aim at a soft target on the floor. Challenge kids to hit a laundry basket from three steps back before they move the line farther—games rules make repetition feel like play instead of practice.
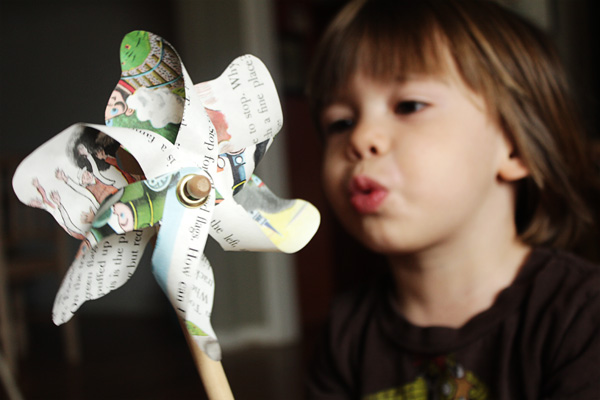
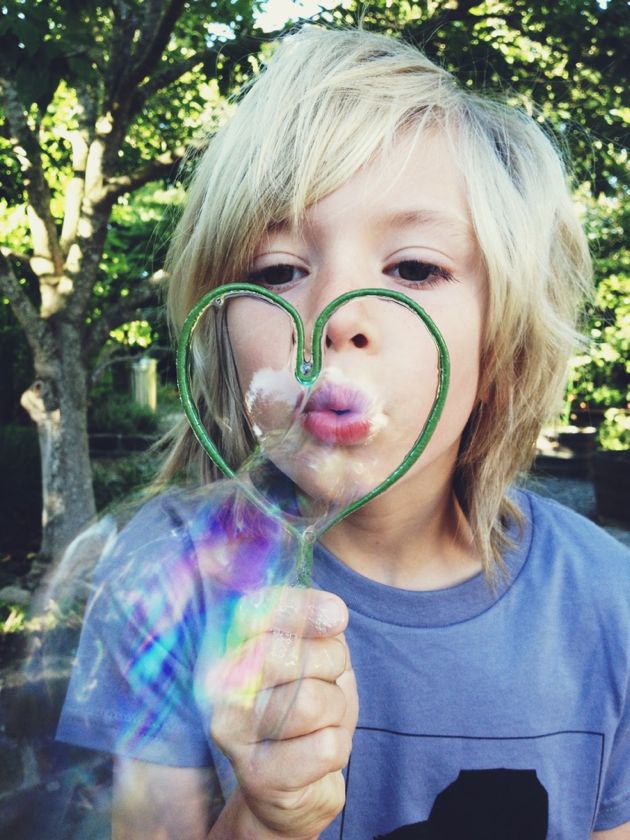
Pinwheels turn scrap paper and a pushpin into wind toys. Score diagonals toward the center, fold alternate points in, and pin through a bead or eraser so the wheel spins freely on a stick. Dull the pin tip if little hands will carry it around. A homemade bubble mix—dish soap, water, and a spoon of glycerin or corn syrup if you have it—pairs with a wand bent from a wire hanger or a plastic six-pack ring. Let kids test ratios; more soap is not always better, and patience for resting the mix often improves bubbles. On windy days, pinwheels win; on still humid afternoons, bubbles steal the show.
Upcycled boats and cardboard cities
A trash-to-boat project can start with a clean plastic bottle, a milk carton, or a foam tray. Add a mast from a stick, a paper or fabric sail, and enough ballast that the hull sits upright in a tub or puddle. Talk about what makes something float without turning it into a test. Waterproof decorations with clear tape. Supervise water play; empty containers afterward so mosquitoes do not move in. If the first boat lists to one side, move the ballast before rebuilding the whole hull—troubleshooting is part of the fun.
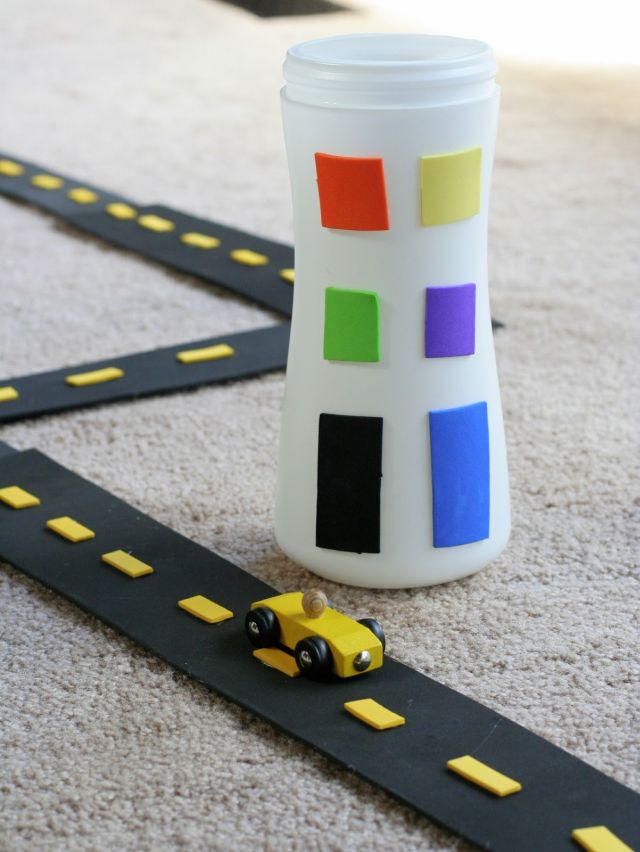
A recycled car city turns boxes, tubes, and bottle caps into roads, ramps, and garages for die-cast cars. Tape wide avenues so cars roll, elevate a parking deck with stacked boxes, and draw lane lines with markers. Kids can rebuild weekly—cities are meant to change. Keep small parts away from toddlers who still mouth objects. Label a “mayor’s box” of spare cardboard so tomorrow’s expansion does not require a scavenger hunt through the recycling bin.
Dress-up power: shields, bows, and stick horses
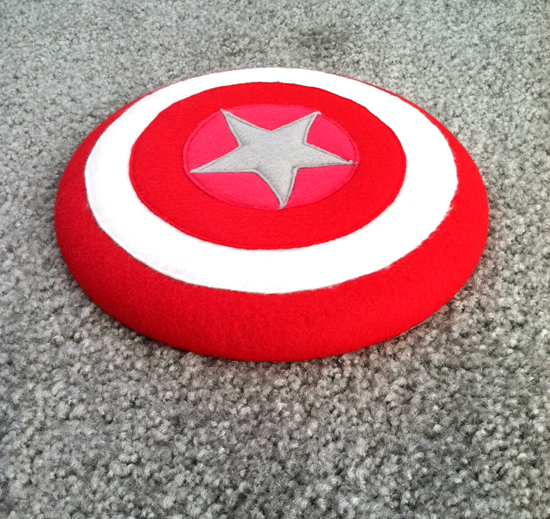
A superhero shield from cardboard, a pizza round, or a thrifted tray becomes personal when the child designs the emblem. Cover sharp edges with tape or fabric. Use wide elastic or straps so the shield stays on the forearm without cutting circulation. Paint fully and let dry overnight before the first battle with pillows. Offer two color choices and one metallic pen rather than the entire craft cupboard; limited options still feel creative and finish faster.
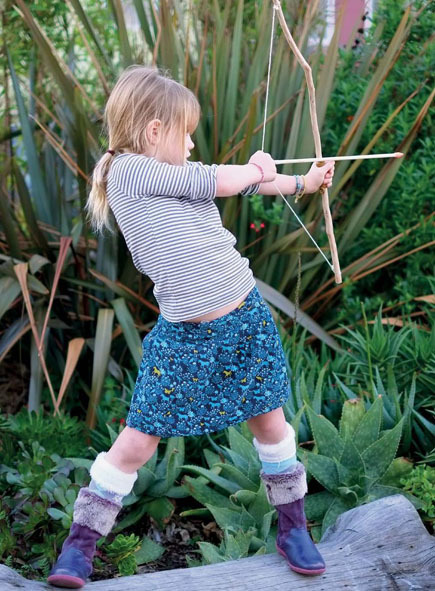
Bow-and-arrow sets for play should prioritize soft tips and short draw. A simple bow from a flexible stick or PVC, string that is not overtightened, and arrows with foam or fabric tips keep the game in pretend territory. Agree on indoor rules: no aiming at faces, no hard floors for tips that could skid. Adults cut and string; kids decorate shafts and quivers from cardboard tubes. Store arrows in a labeled tube so they do not become yard darts the next morning.
Sock stick horses reuse odd socks, stuffing or fabric scraps, and a sturdy dowel or broom handle cut to child height. Stitch or glue features—ears from felt, a yarn mane, button eyes only if age-appropriate (embroider for younger kids). Secure the sock to the stick with strong tape plus stitches or a screw through a washer so the head does not fly off mid-gallop. Name the horse before the first ride; naming is half the toy. A second sock in a contrasting color makes a quick “friend” for sibling play without doubling the pattern work.
Bigger builds: fabric wigwam and skateboard swing
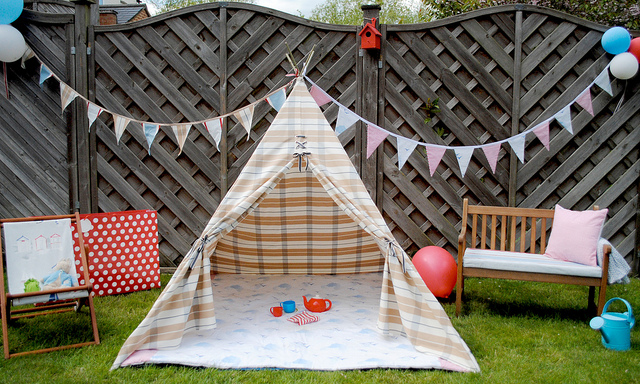
A fabric play tent or wigwam needs poles (dowels, PVC, or long sticks), a fabric cover, and a stable tripod or frame that will not collapse when kids lean. Adults should own structure and knots; children can choose fabric, help pin panels, and decorate with fabric markers or sewn patches. Anchor the base on carpet or outdoors so it does not tip. Leave a wide door flap and avoid enclosing heat sources or lamps inside. A string of battery fairy lights draped outside the door turns the tent into an evening reading nook without heat risk.
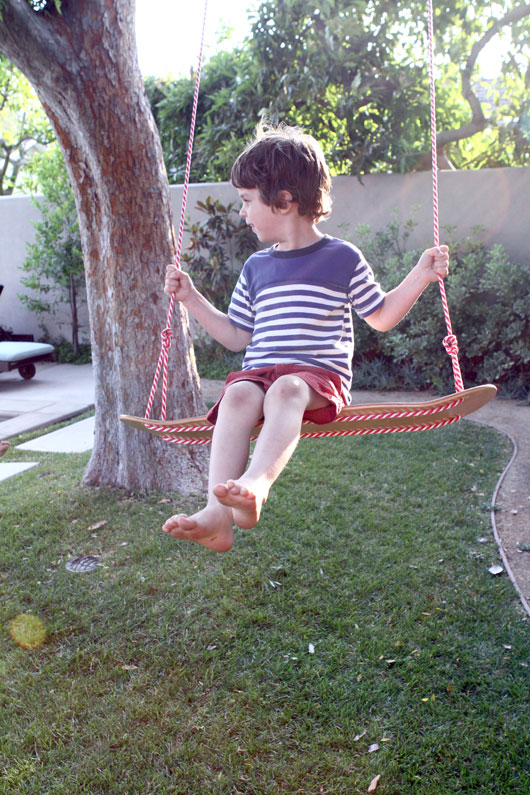
A skateboard-deck swing reuses a deck that is no longer safe to ride. Inspect for cracks, sand splinters, and drill holes for rope or chain with proper outdoor-rated hardware. Hang from a beam or tree limb rated for the load, use locking connections, and test with adult weight before any child sits. This is a weekend project with a hardware-store list—not a rainy-day paper craft—and the payoff is a swing with character you will not find in a catalog. Recheck knots and hardware after the first month of enthusiastic use.
How to run a craft session that stays fun
- Prep materials before you invite kids to the table so waiting does not turn into chaos.
- Offer two choices, not ten; decision fatigue ends projects early.
- Let the finish be imperfect. A crooked sail still floats.
- Photograph the maker with the toy—pride sticks better than a lecture about effort.
- Store half-finished builds in a labeled box so tomorrow’s session starts warm.
- End before meltdown: a finished pinwheel beats an abandoned half-city.
Rotate easy and hard projects across a month: bubbles and pinwheels one afternoon, cardboard city another, sock horse when you have sewing time. Put a small shelf or crate where handmade toys live together so they do not vanish under store-bought plastic. The goal is not a perfect nursery catalog; it is a shelf of odd, beloved objects that say “I made this” every time a child picks one up—and a few shared hours when glue on fingers counted as a good day.

Comments
Continue reading
Make Your Own Play Dough: A Kid-Safe Homemade Recipe
Cook a soft, colorful play dough from pantry staples—with clear kid-safe criteria, adult supervision rules, storage tips, and easy play prompts.
16 Weekend Art and Sensory Activities to Do with Kids
Sixteen kid-friendly weekend projects—finger knitting, potato stamps, sidewalk chalk, slime, rainbow ice, and more—using simple materials and clear setup tips.
DIY Valentine’s Day Crafts for Kids: Cards, Mailboxes, and Sensory Makes
Age-friendly Valentine crafts for kids—mailboxes, heart stamps, suncatchers, treat holders, stick puppets, and play dough—with adult-handled scissors, glue guns, and crystal safety.