
Fashion DIY: Sew a Tunic That Fits, Drapes, and Lasts
Practical sewing criteria for a DIY tunic—fabric, ease, neckline, slits, and hems—so the piece works with leggings for everyday wear and nights out.
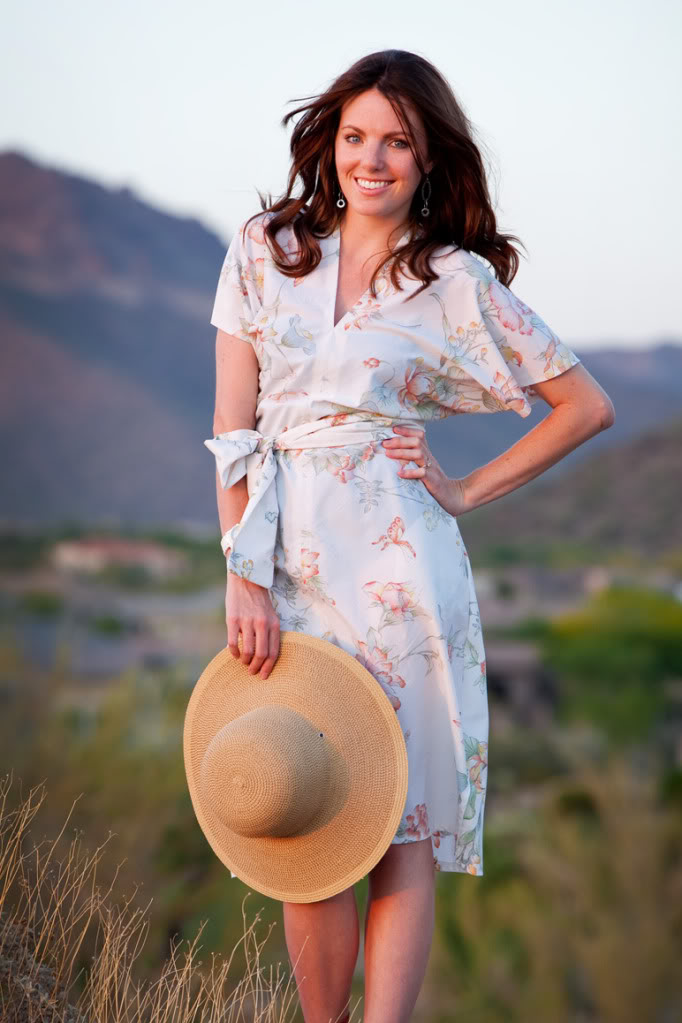
A tunic is not only maternity wear, and it is not only a bohemian costume piece. It is one of the most forgiving garments you can add to a wardrobe: long enough to wear with leggings, simple enough for errands, and adaptable enough for evenings when you want ease without looking unfinished. Ready-to-wear tunics are everywhere, but sewing your own—or altering a thrifted base—gives you control over length, sleeve, fabric hand, and neckline. This guide focuses on practical sewing criteria so your DIY tunic hangs well, wears comfortably, and survives the wash.
Decide the job before you cut
Start with use, not with a pretty print. A summer beach cover needs drape and breathability. A cold-weather tunic worn over leggings needs denser knit or a lined woven, plus sleeves that actually warm the arms. A concert or party tunic can handle showier fabric if the silhouette stays simple. Write down three constraints: season, bottom layer (leggings, jeans, bare legs), and how often you will wash it. Those three answers eliminate half of the bad fabric choices before you enter a shop.
Next, choose a silhouette family. Classic tunics fall roughly into A-line shifts, straight columns with side slits, kimono-style rectangles with open sleeves, and shirt-dress hybrids with a button front or placket. Beginners usually succeed fastest with a rectangular or gently A-line body and dropped or kimono sleeves, because those shapes forgive small measuring errors. Fitted princess seams and complex cowl necklines can wait until you trust your machine and your pressing habits.
Length is a design decision with practical consequences. Mid-thigh reads sporty with leggings. Knee-skimming is safer for bending and sitting in public. Below-knee starts to behave like a dress and may need more hem weight or a slight flare so it does not cling oddly at the calves. Measure a tunic or long tee you already like from high shoulder point to hem, then decide whether you want two to five centimeters more coverage.
Fabric criteria that actually matter
Fabric choice makes or breaks a tunic more than fancy stitching does. For knits, look for medium-weight jersey or French terry with recovery—pinch a swatch and see whether it springs back instead of staying bagged out. Lightweight slinky knits cling and highlight every underlayer seam; heavy sweatshirt knits can turn a tunic into a stiff sack. A modest amount of stretch (around 20–40% crosswise for many jersey tunics) helps necklines and armholes survive dressing.
For wovens, favor fabrics with soft drape: rayon challis, soft cotton lawn, washed linen, or light Tencel twill. Stiff quilting cotton can work for a structured A-line but will not give the fluid “tunic” fall many people expect. If the fabric frays aggressively, plan on clean finishes—zigzag, overlock, or French seams—especially at armholes and side slits. If it is translucent, plan a lining or an opaque underlayer rather than hoping the print will hide everything.
Pre-wash everything you intend to launder later. Tunics are high-wash garments. Skipping preshrinking is how hems climb and side seams twist after the first laundry day. Dry the fabric the way you will dry the finished piece. Then press it flat before pattern layout so your grainlines mean something.
Fit checkpoints before you commit to shears
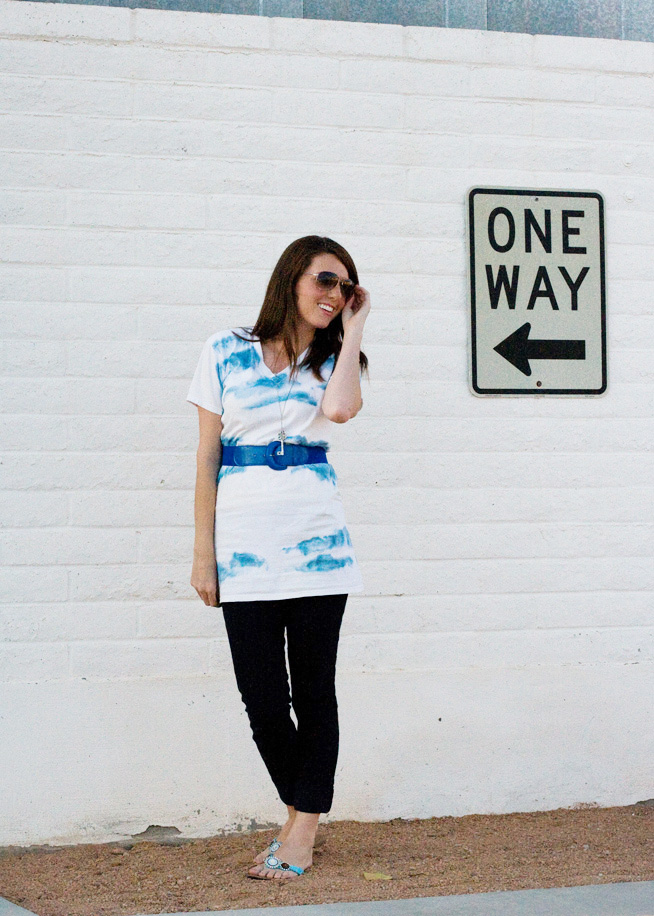
Even a loose tunic needs a few accurate numbers. Measure bust or chest at the fullest point, bicep if sleeves are fitted, and the shoulder width you want (especially for kimono styles that can slip off the shoulder). Compare those numbers to your pattern’s finished garment measurements, not only to the size chart’s body measurements. Ease is the difference: a wearable tunic often wants several centimeters of ease through the bust and more through the hip if you will sit, bike, or crouch in it.
Check armhole depth on a muslin or by pinning paper towels into a mock shape. Too high and you cannot lift your arms; too low and the tunic looks sloppy and catches on bra bands. Side slits should end above the fullest hip if you want modesty while walking, or higher if you want stride freedom with slim pants. Mark slit endings with tailor’s chalk and walk around before you cut them permanently.
Neckline depth deserves a mirror test. Scoop necks that look fine on a hanger can go too low once fabric drops with gravity. Bindings and facings change the final depth by a few millimeters; staystitch curved necks immediately so they do not stretch into wider shapes while you sew.
Construction sequence that keeps beginners out of trouble
A reliable order for many simple tunics looks like this: staystitch necks and any bias edges; sew shoulder seams; finish and attach neckline binding or facing; set sleeves flat or sew side seams then set sleeves in the round, depending on pattern; sew side seams, leaving slits; finish slits and hem; press at every major stage. Pressing is not optional decoration. A tunic’s long seams show every ripple.
Choose stitches for the fabric. Knits want stretch stitches or a narrow zigzag on seams that must move, plus a ballpoint or stretch needle. Wovens are happy with a straight stitch and a seam finish that matches fray level. Reinforce slit tops with a short bar tack or a small triangle of interfacing so daily movement does not tear the seam end. Hem knits with a twin needle, coverstitch, or a gentle zigzag so the hem can stretch over hips and thighs.
If you are converting an existing oversized shirt into a tunic, the same criteria apply. True the hem so it is level when worn, not when laid on the floor. Rebalance shoulders if the donor shirt slumps. Replace a tired neckband if it has waved out. DIY does not require starting from raw yardage; it requires intentional finishing.
Style choices that still respect sewing logic
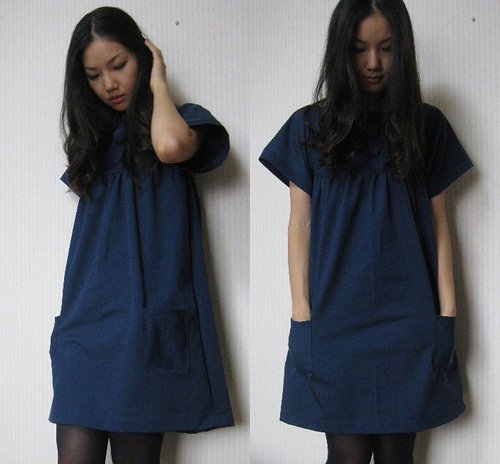
Leggings remain a natural partner for tunics because the long top covers the hip seam and creates a clean vertical line. That pairing only looks intentional when the tunic fabric has enough opacity and the hem is not so clingy that it rides up. If you plan concerts or parties, consider a slightly dressier fiber—viscose satin-back crepe, soft jacquard jersey, or linen with a neat facing—while keeping the same easy cut. Decoration do not require difficult sewing; they require fabric that matches the occasion.
No-sew versions exist (cut-and-tie knits, pinned hems, glue-stabilized crafts), but they are a different product. If you want a tunic that survives weekly laundry and still looks sharp after months, sewing criteria beat scissors-only shortcuts. Glue yellows; raw knit cuts ladder; temporary ties loosen. Use no-sew methods for costumes or one-weekend experiments, then graduate to seams for wardrobe pieces.
Final checklist before you call it finished
- Fabric washed, dried, and pressed the way the garment will be cared for
- Finished length tested while standing and sitting
- Neckline depth checked in a mirror with the underlayers you will actually wear
- Armholes allow a full overhead reach without strain
- Side slits reinforced at the top and even on both sides
- Hem level on the body; twin-needle or stretch finish used on knits
- Opacity confirmed in daylight against your chosen leggings or pants
- All loose threads clipped; final press from the wrong side where possible
If every item on that list passes, you do not merely “have a DIY top.” You have a tunic that earns a hanger in the regular rotation—casual enough for daytime, polished enough for nights out, and built on sewing decisions you can repeat the next time a beautiful length of jersey tempts you at the cutting table.

Comments
Continue reading
DIY Ideas for Old Socks: Rugs, Puppets, Mittens, and More
Sort leftover socks by fiber, then turn them into braided rugs, hand puppets, soft toys, mittens, and pin cushions with practical cutting and sewing tips.
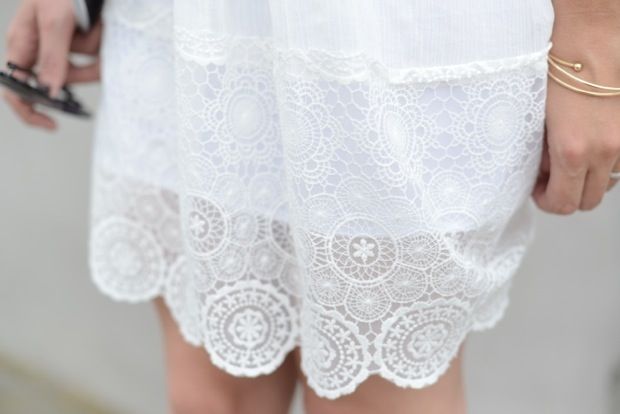
DIY Ideas with Lace Doilies
Upcycle heirloom lace doilies into framed art, runners, pillows, lamps, and more—practical craft projects that keep the crochet visible.
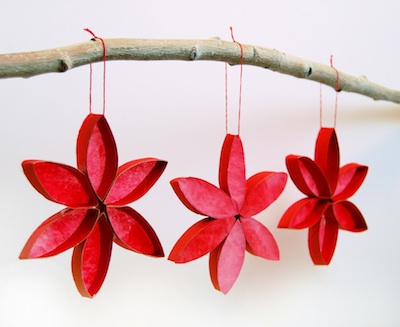
Toilet Paper Roll Crafts: Organizers, Toys, and Ornaments
Cardboard tubes become pencil holders, wreaths, cord cubbies, monsters, race cars, ornaments, and more—structural DIY distinct from magazine-page crafts.