
DIY Spring Paper Crafts for Kids: Flowers, Butterflies, and Banners
Kid-friendly spring paper projects—coffee-filter flowers, butterflies, banners, and cards—with age bands, safety notes, and cleanup habits for home or classroom.
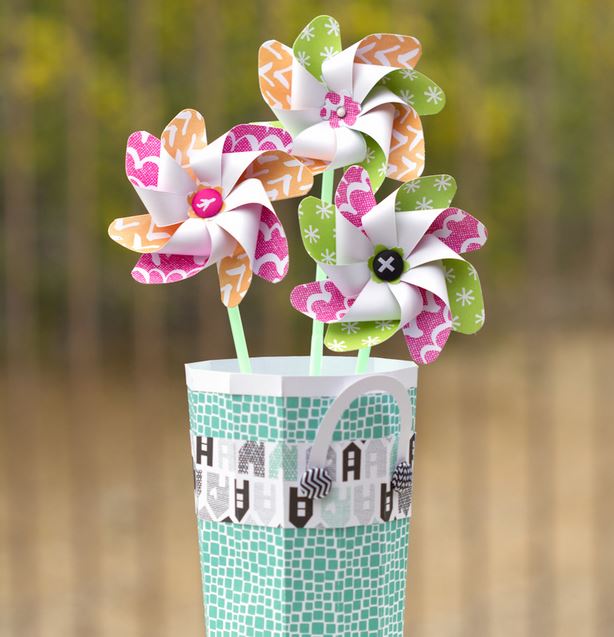
Spring paper crafts give kids a clear theme—flowers, butterflies, leaves, and bright banners—without expensive kits. A stack of construction paper, coffee filters, scissors with blunt tips, washable glue, and a protected table can fill a rainy afternoon or a classroom center. The projects below favor materials most households already have and steps that scale from preschool help-with-cutting to independent elementary work.
Adults should stay nearby for scissors, hot tools, and small embellishments. The point is cheerful spring décor and fine-motor practice, not a Pinterest-perfect race. Choose one project that matches attention span, finish it, and hang it where kids can see their work—fridge, window, or mantel—before starting another.
Set up for clean, safe sessions
Cover the table with newspaper or a washable mat. Put glue sticks and liquid glue in separate cups so lids do not wander. Offer child-safe scissors; keep craft knives and hot-glue guns as adult-only tools. Skip glitter if you hate vacuuming, or use glitter glue pens that stay on the paper. For markers and watercolors, add a damp cloth and a drying rack so wet pieces do not stack and smear.
Age-band the work. Toddlers can tear paper, press stickers, and dab glue where you point. Ages 4–6 can cut simple shapes with help, fold in half, and tape. Ages 7+ can follow multi-step flowers, simple pop-ups, and watercolor washes with less hovering. If a tutorial online shows a craft knife silhouette or a glue gun in a child’s hand, redesign that step for your house.
Theme vocabulary helps restless crafters. Name colors (daffodil yellow, leaf green), talk about symmetry on butterfly wings, and count petals. Craft time doubles as informal science and art language without a worksheet.
Coffee-filter and tissue flowers
Coffee-filter flowers are reliable crowd-pleasers. Stack two or three filters, fold into a wedge, snip scalloped edges, open, and pinch the center. Secure with a twist tie, pipe cleaner, or dab of glue on a green paper stem. For color, kids can drip diluted food coloring or watercolor onto damp filters and watch the pigment bloom—do this on a tray. Let filters dry fully before assembling or the stems will stain hands and shirts.
Tissue-paper blooms work the same way with larger sheets: accordion-fold, tie the middle, fan out, and separate layers gently. Crepe-paper flowers look fuller and suit Mother’s Day bouquets; adults may need to cut petal templates first for younger kids. Display finished flowers in a jar, tape them to a poster board garden, or poke stems into floral foam for a table centerpiece that costs pennies.
Criteria for a “done” flower: center holds, stem is long enough to hold, and colors are dry. Perfection is optional; lopsided petals still look like spring.
Butterflies, bugs, and garden stakes
Paper butterflies teach symmetry. Fold a sheet in half, draw one wing against the fold, cut, open, and decorate both sides so the patterns roughly match. Add a clothespin body, pipe-cleaner antennae, and a magnet or string for hanging. Plant-poke versions mount the butterfly on a stick or skewer (blunt the tip or use a straw) to stand in a potted herb. Supervise skewers around younger siblings.
Ladybug and caterpillar crafts from circles and ovals keep cutting simple. Red and black circles become ladybugs on green paper leaves; sequenced pom-poms or paper rounds become caterpillars that “crawl” across a mural. Pop-up card versions—where a butterfly lifts when the card opens—suit older kids who can manage mountain and valley folds. Practice on scrap paper before using the good cardstock.
If kids want 3D bugs, paper springs (accordion strips glued under the body) add bounce without electronics. Keep googly eyes large enough not to be choking hazards for under-threes, or draw eyes with markers instead.
Banners, garlands, and window color
Spring banners stretch a long wall or mantel. Cut triangles or flags from cardstock, let kids color patterns or stamp shapes, then punch holes and string on yarn. Printable coloring banners work if you prefer outlines ready to go—print, color, cut, hang. Leave empty flags for late arrivals at a party so every child contributes.
Leaf and watercolor garlands suit kids who like painting more than cutting. Paint loose washes on paper, dry, cut leaf or petal shapes, and clip to twine with mini clothespins. Hang in a window for stained-glass light. Contact paper “suncatchers” with tissue scraps pressed between clear sheets are satisfying for preschoolers; trim edges with adult scissors.
Tulip or pinwheel party decorations from folded paper make table scatter or cupcake toppers. Pinwheels need a brad in the center and adult help with the poke. Remind kids that paper pinwheels are decorations or gentle toys—not for faces or pets’ mouths.
Cards, wrapping, and bigger statement pieces
Watercolor flower cards are quick gifts. Tape a border on watercolor paper, paint loose blooms, dry, remove tape for a clean edge, and mount on a folded card. Younger kids can finger-paint dots and call them blossoms. Write a short note inside; the handmade part is the gift.
Spring gift wrap from stamped kraft paper or collage scraps beats plastic bags for small teacher presents. Kids stamp potato or foam shapes in green and pink, or glue torn tissue into abstract gardens. Quilled fringed flowers and paper pomanders are beautiful but fiddly—save those for patient older makers or adult–child teams with short sessions.
Giant paper-flower wall signs and dimensional blooms look dramatic for parties. Break the work into stations: one child cuts petals, another curls edges on a pencil, an adult hot-glues the centers. Never hand a hot-glue gun to a child who cannot hold still. Foam adhesive dots are a cooler alternative for many layers.
Difficulty map and cleanup checklist
- Easiest: torn-paper gardens, sticker butterflies, coffee-filter dyeing with adult drip help.
- Solid next step: cut-and-fold flowers, symmetry butterflies, simple string banners.
- Challenge: pop-up cards, multi-layer crepe bouquets, painted garlands with even spacing.
- Group-friendly: flag banners and window suncatchers where each child owns one piece of a shared display.
End every session with a five-minute reset: lids on, scissors counted, wet art on the rack, scraps into a “collage bag” for next time. Kids who help clean are more likely to be invited back to the table tomorrow. Hang today’s best piece in real light—morning window glow on a coffee-filter blossom is better feedback than any grade—and ask what they want to try next weekend while spring weather still keeps everyone half indoors.

Comments
Continue reading
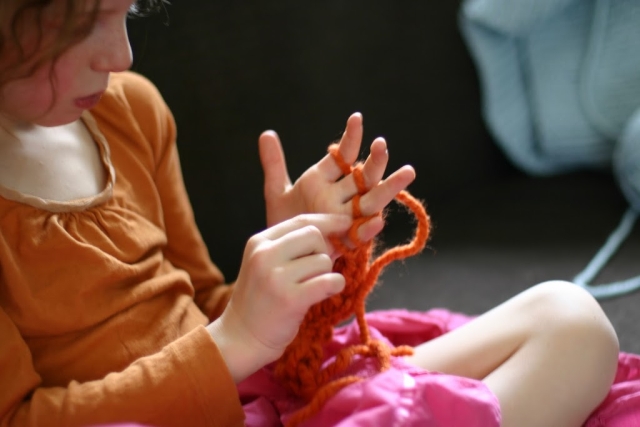
16 Weekend Art and Sensory Activities to Do with Kids
Sixteen kid-friendly weekend projects—finger knitting, potato stamps, sidewalk chalk, slime, rainbow ice, and more—using simple materials and clear setup tips.
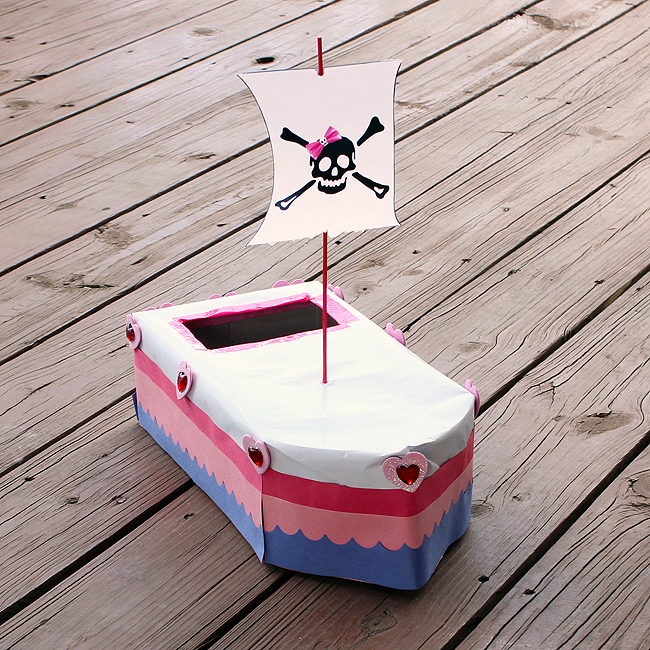
DIY Valentine’s Day Crafts for Kids: Cards, Mailboxes, and Sensory Makes
Age-friendly Valentine crafts for kids—mailboxes, heart stamps, suncatchers, treat holders, stick puppets, and play dough—with adult-handled scissors, glue guns, and crystal safety.
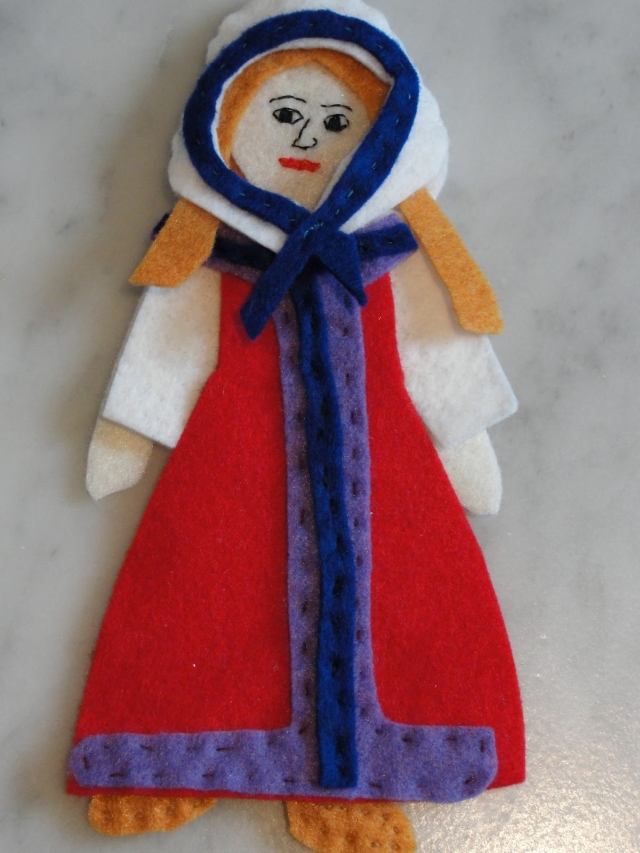
DIY Handmade Dolls: Felt, Fabric, Socks, and Topsy-Turvy Softies
Simple patterns and scrap-friendly methods for felt dolls, fabric rag dolls, sock softies, dollhouse figures, and upcycled doll clothes kids can help make.