
DIY Belts: Bow, Velvet, Scarf, and Knotted Styles to Make
Measure for your closure, then build leather bows, fabric sashes, velvet wraps, scarf belts, and knotted or tassel designs from scraps and thrifted hardware.
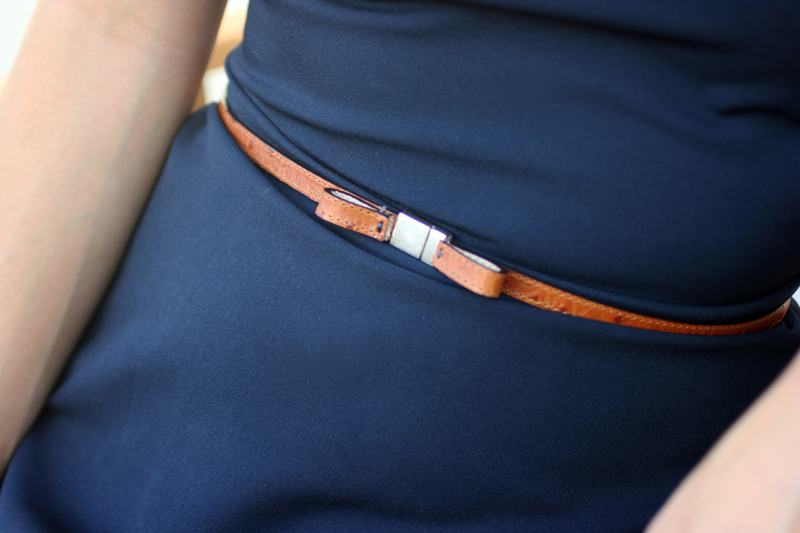
A belt is one of the fastest fashion updates you can make at home. It cinches a dress, breaks up a monochrome outfit, or finishes jeans when the waistband needs help. Store prices climb quickly for leather bows, velvet wraps, and statement tassels, yet many of those looks are built from leftover scraps, thrifted scarves, and a few hardware pieces. If belts are your favorite accessory, a small toolkit and an afternoon are enough to build several styles without stretching a credit card.
The projects that follow cover leather and faux-leather bow belts, soft fabric bow ties, velvet wraps for cooler weather, scarf conversions, knotted rope and fabric belts, tassel ends, and floral or brooch focal points. Some need a sewing machine; others need only scissors, glue designed for fabric or leather, and patience while adhesives cure. The point is variety you can wear, not a craft drawer full of almost-finished strips.
Measure first, design second
Wrap a soft tape around your waist or hips where the belt will sit, then add length for the closure style. A buckle needs extra for the tongue and holes; a tie belt needs generous tails so the knot looks intentional rather than skimpy; a bow belt needs enough overlap for a neat center wrap. Mark your size on a paper pattern before cutting expensive leather or limited remnant fabric.
Decide width early. Narrow belts near one inch suit soft dresses and layered looks. Mid-width belts define the waist on coats and blouses. Wide statement belts need stiffer materials or interfacing so they do not collapse into a rumpled band. Match stiffness to the garment: chiffon wants a soft sash; denim can take a structured leather strip; a coat often looks better with something that holds a clean edge.
Hardware options include ready-made buckles, D-rings, slide adjusters, and simple interlocking rings. For no-hardware styles, plan a strong knot, a covered button, or a hook-and-bar salvaged from a thrifted belt. Reusing a buckle you already like is often smarter than buying new when you only need the clasp and can cut a fresh band to fit.
Check how the belt will sit with belt loops. Jeans loops limit maximum width. Dresses without loops need a belt that grips fabric—slightly textured backs, a soft inner strip, or a secure knot—so it does not spin while you walk.
Leather and faux-leather bow belts
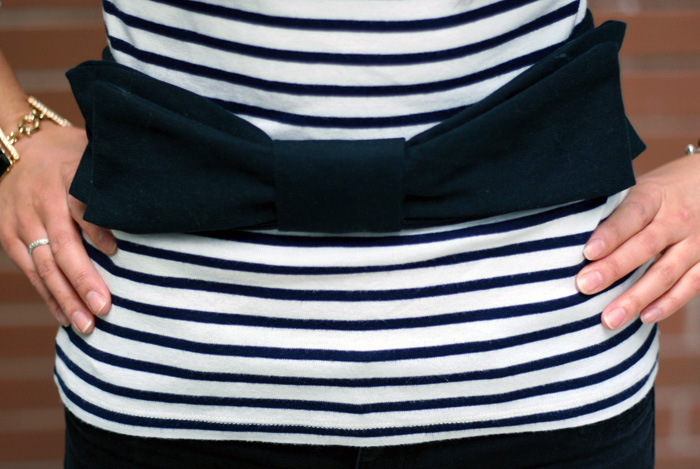
Bow belts look polished because the bow concentrates visual interest at the front while the band stays clean. Cut a long strip for the waist, a shorter rectangle for the bow loops, and a small center wrap. Soft leather or quality faux leather that accepts stitching or contact cement works best. Very thick saddle leather fights hand sewing and can look bulky once folded into a bow.
Finish edges by burnishing real leather with water and a slicker, or by folding and topstitching faux leather so raw foam cores stay hidden. Attach the bow to a separate carrier that slides on the belt, or stitch it permanently at center front if you always wear it in the same place. Sliding bows are more versatile across dresses and high-waisted pants.
If you prefer no sewing, use adhesives rated for leather and clamp until fully cured—rushing dry time is how bows peel at the first wear. Test glue on a scrap: some products darken light leather or leave a shiny halo. For pierced closures, punch holes evenly with a rotary punch; uneven spacing reads homemade in the wrong way. A simple tip: mark hole positions on masking tape stuck to the belt, punch through tape and leather, then remove the tape for clean spacing.
Faux leather remnants from bags or jackets can become narrow bow belts if you reinforce the back with a thin cotton strip. That sandwich keeps stretchy vinyl from growing longer after a few wears.
Fabric, velvet, and scarf belts
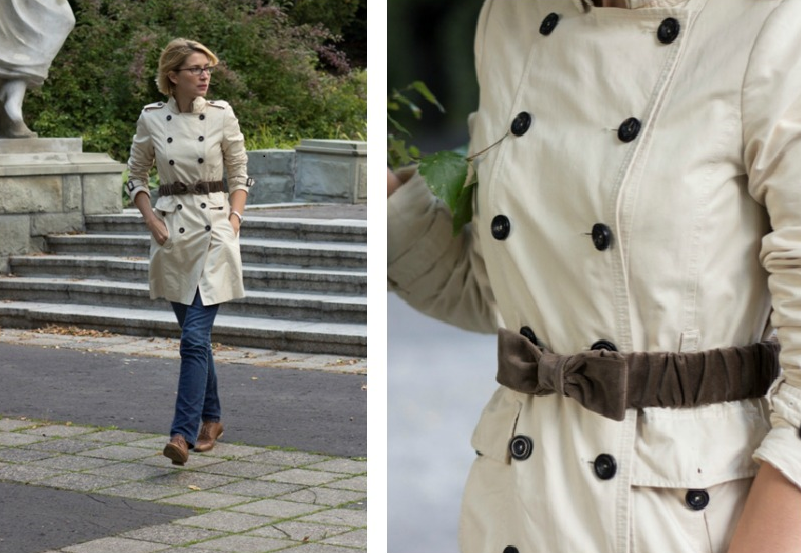
Velvet belts suit autumn dresses and evening layers. Cut velvet with sharp shears, sew with a walking foot or tissue under the feed if the pile creeps, and interface lightly so the band keeps shape without killing the drape. A covered buckle or a soft knot keeps the look romantic rather than sporty. Press from the wrong side with a press cloth; direct iron heat can crush pile into a shiny patch.
Scarf-to-belt conversions are nearly instant and perfect when you already love the print. Fold a long scarf into a band, thread it through belt loops or wrap the waist, and knot at the side or front. Square scarves can be folded on the bias for a smoother wrap. If the scarf is slippery, a hidden safety pin at the knot or a small silicone grip strip inside the band prevents constant retieing. Vintage scarves with hand-rolled edges look especially finished as sashes.
Cotton and linen sashes sew like simple tubes: sew right sides together, turn, press, and topstitch. Add pointed or angled ends for a tailored finish. Interfacing in the center third only can stabilize the waist while leaving soft tails for tying. For a reversible sash, use two coordinating fabrics and take care at the turning opening so the join disappears into a topstitched line.
Fabric bow belts follow the same geometry as leather bows but forgive mistakes more easily. Use interfacing behind the bow if the fabric is thin, or the center wrap will look limp by midday.
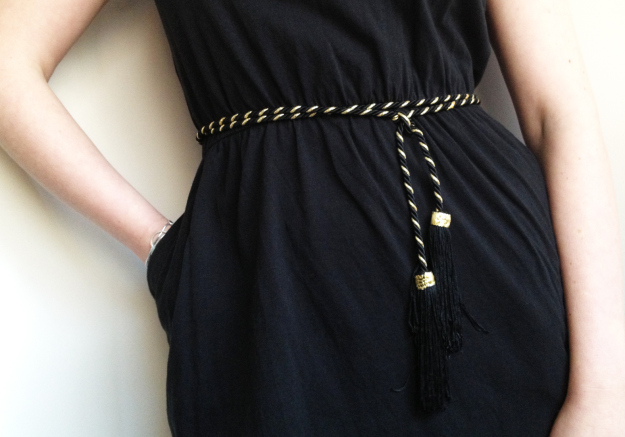
Knotted belts and tassel endings
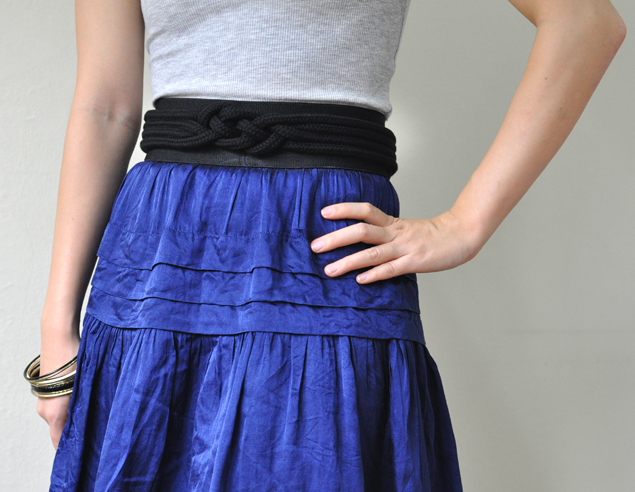
Knotted belts use rope, macramé cord, or fabric tubes finished with square knots, overhand clusters, or sliding knots that adjust to size. Keep knots symmetrical and trim ends cleanly. For fabric versions, stuff lightly or use multiple layers so the knot has body. Practice the knot sequence on scrap cord before committing to your final color—once tightened on soft rope, some knots are hard to undo without fray.
Tassel belts add movement. Make tassels from embroidery floss, yarn, or thin leather strips, then bind them tightly and sew or clamp them to belt ends or to a center charm. Balance matters: heavy tassels on a soft sash will drag the knot downward. Match tassel weight to band stiffness, and keep lengths short enough that they do not catch in chair arms or bike spokes.
Flower brooches and fabric blooms can sit at the buckle or replace a buckle entirely when pinned through layered sash ends. Use a secure pin back and reinforce the fabric underneath with a small interfacing patch so repeated pinning does not shred the belt. One focal bloom usually beats a crowded garden of competing charms.
Fit, comfort, and longevity
Try the belt over the actual garment weight you plan to wear. A belt fitted over a tee may be too tight over a sweater. Edges should not dig; if they do, round corners slightly or add a soft facing. For kids’ versions, avoid long tails that catch in doors and skip small detachable parts for young children.
Store leather belts coiled loosely or hung from a rack; fabric belts folded flat in a drawer. Wipe leather with a dry cloth; spot-clean fabric according to fiber content. Re-glue or restitch at the first sign of lift rather than waiting for a public failure. A five-minute repair after the first wear often doubles the life of a handmade belt.
If a belt stretches with wear—common with knit sashes and soft faux leather—add a non-stretch stay tape along the back center before the next version. Notes from your first attempt become the pattern for a better second belt.
Quick style map
- Minimal day look: narrow leather or faux strip with a small sliding bow.
- Soft dress: scarf wrap or linen sash with long tails.
- Evening: velvet band with covered buckle or discreet knot.
- Boho or festival: knotted cord with balanced tassels.
- Statement: wide band plus one focal brooch or bloom—not five competing charms.
Which of these will you wear tomorrow morning with what is already in your closet? Cut that one first. A single belt that leaves the house beats a drawer of unfinished strips still waiting for the perfect buckle.

Comments
Continue reading
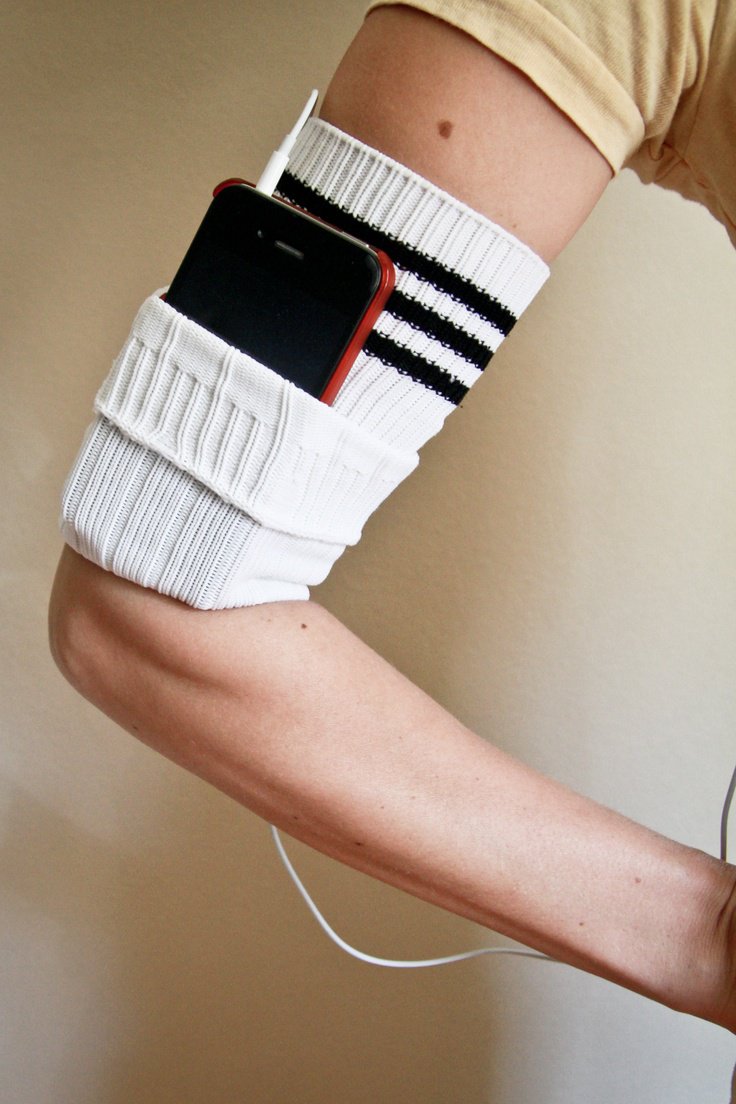
DIY Ideas for Old Socks: Rugs, Puppets, Mittens, and More
Sort leftover socks by fiber, then turn them into braided rugs, hand puppets, soft toys, mittens, and pin cushions with practical cutting and sewing tips.
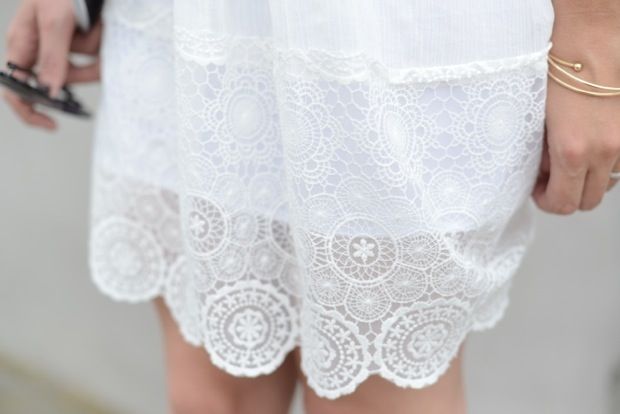
DIY Ideas with Lace Doilies
Upcycle heirloom lace doilies into framed art, runners, pillows, lamps, and more—practical craft projects that keep the crochet visible.
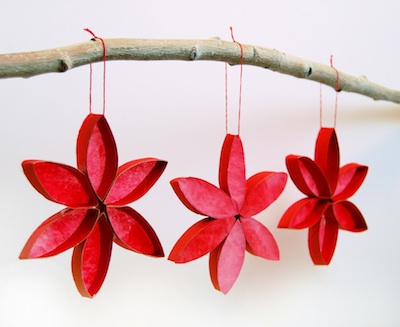
Toilet Paper Roll Crafts: Organizers, Toys, and Ornaments
Cardboard tubes become pencil holders, wreaths, cord cubbies, monsters, race cars, ornaments, and more—structural DIY distinct from magazine-page crafts.