
5 DIY Sandbox Ideas for Summer Play
Five inexpensive DIY sandbox builds—framed lumber, tire, seating-edge, deluxe covered, and furniture-style—to keep kids busy outdoors.
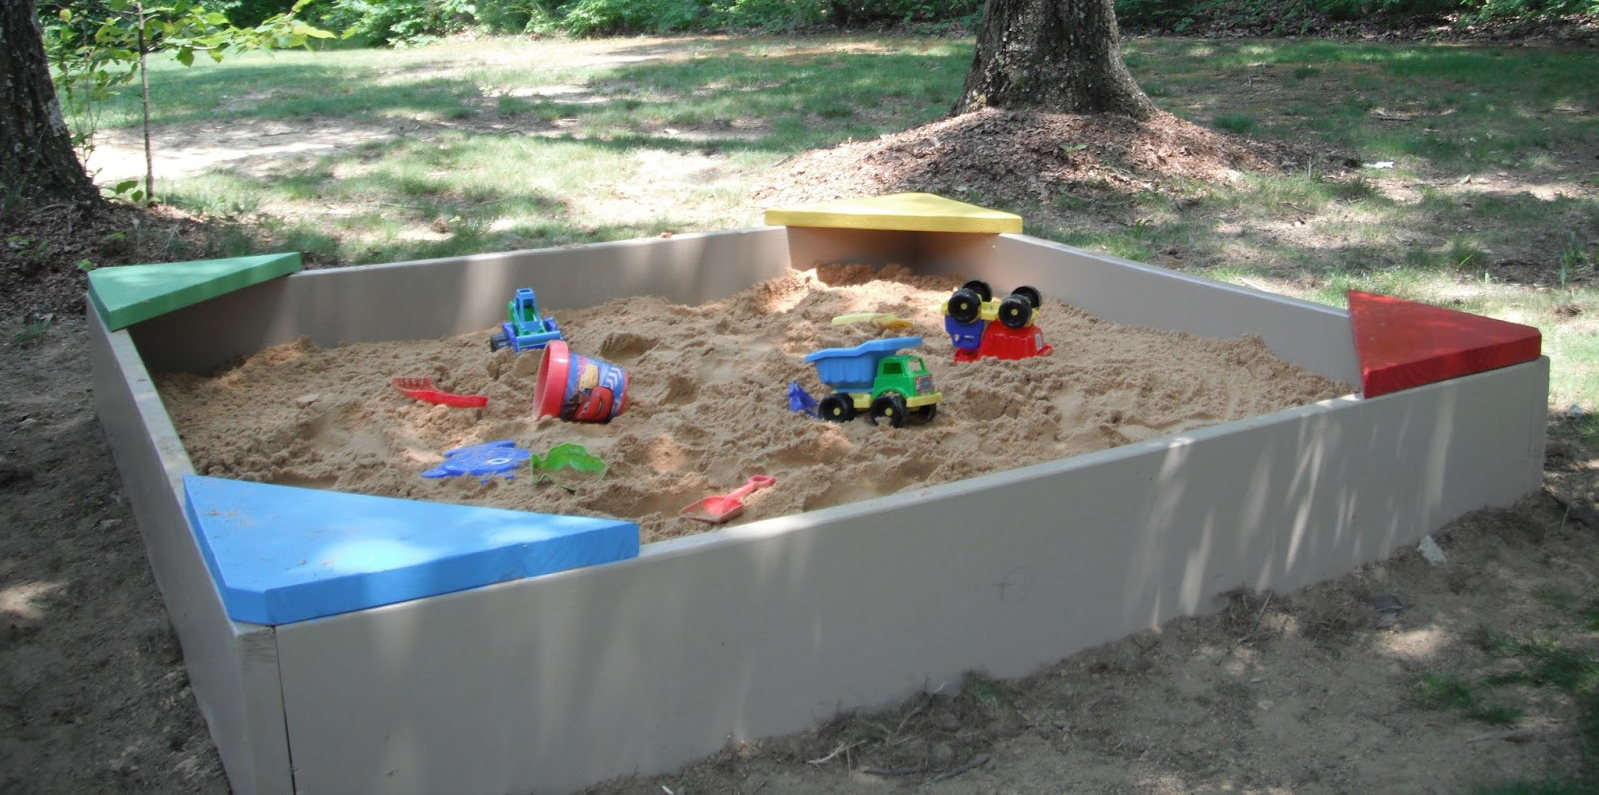
Long summer weeks ask for outdoor play that does not depend on screens or constant adult invention. A sandbox delivers that: digging, pouring, building, and quiet focus in a bounded patch of yard. You do not need a catalog playset. Five DIY approaches—from a simple framed box to a tire sandbox, a classic backyard build, a deluxe covered design, and a furniture-style look—cover most budgets and skill levels.
Whatever you build, put play sand labeled for sandboxes in the box, not construction sand or beach sand of unknown origin. Plan drainage so rain does not leave a swamp. Add a cover to keep out animals and debris. Site the box where you can see children from the house, on reasonably level ground, away from standing water and aggressive plants.
1. Classic framed lumber sandbox
A rectangular frame of boards is the most common DIY sandbox for a reason. It is straightforward to cut, square, and assemble with exterior screws. Choose lumber rated for outdoor contact; avoid finishes and preservatives that are not appropriate near children’s play. Sand splintery edges. Cap corners if they sit at kid height.
Size for your yard and age group. A compact square works for toddlers; a larger rectangle invites multiple kids and bigger scooping projects. Lay landscape fabric or a permeable base under the sand so water drains and weeds struggle, without creating a sealed tub that holds foul water. Leave a way for excess rain to escape.
Fill with enough depth for digging—shallow sand frustrates fast. Keep a tarp, fitted lid, or hinged cover nearby. After play, rake and cover. That habit extends the life of the sand and reduces cleanup surprises.
This build suits homeowners who want a permanent-looking feature without specialty kits. Materials are familiar; the weekend timeline is realistic if you measure carefully and work on a flat surface while assembling.
2. Tire sandbox for small yards
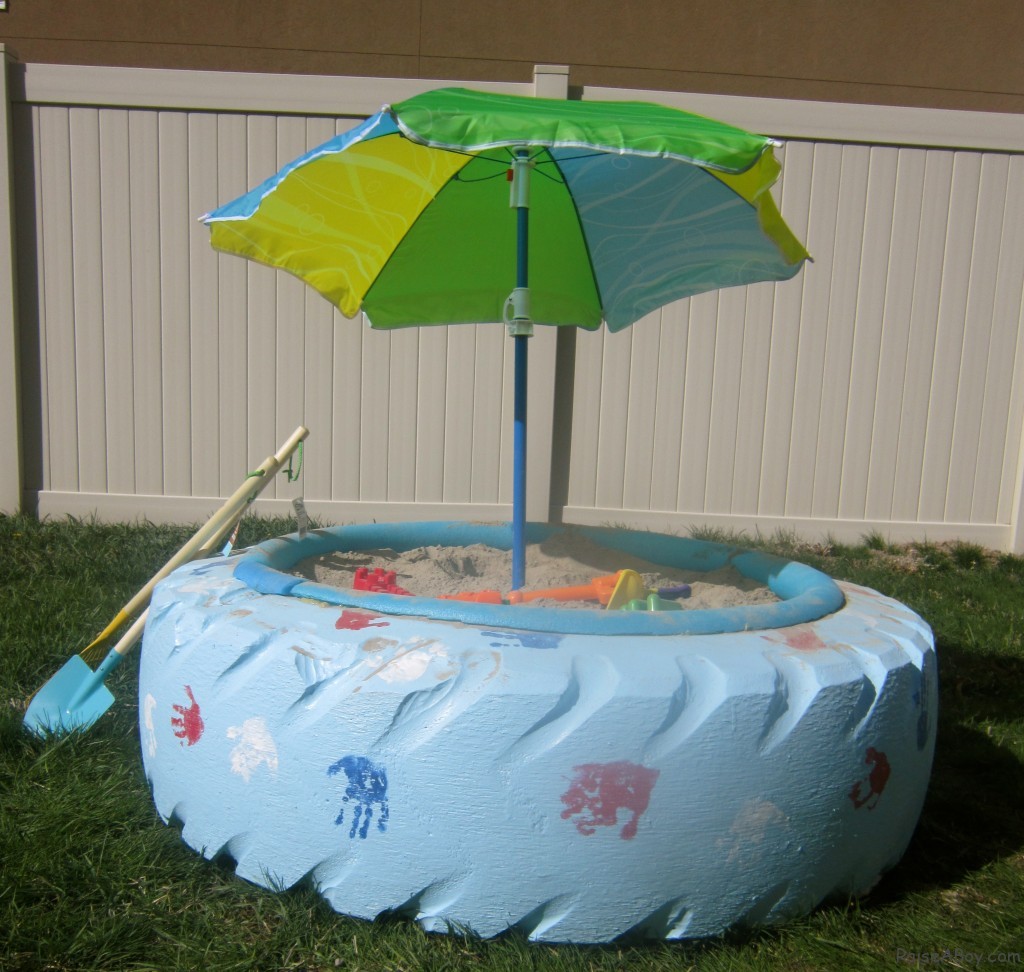
A large tire turned into a sandbox is the compact option. It uses a recycled form, needs little carpentry, and fits oddly shaped corners where a lumber rectangle would crowd the lawn. Clean the tire thoroughly inside and out. Scrub out debris. Soften sharp wire if any belts are exposed—discard tires that are damaged in ways that create cut hazards.
Set the tire on level ground. Some builders place a board or fabric base inside before adding sand. Fill with play sand to a comfortable depth. A round cover—wood disk, fitted tarp, or commercial lid adapted to the diameter—still matters; uncovered tires collect water and attract animals.
Paint is optional. If you paint, use coatings suitable for outdoor children’s play surfaces and let them cure fully before use. Bright colors help the sandbox read as intentional play gear rather than yard clutter.
Expect a smaller play area than a framed box. One or two young children usually fit; older kids may outgrow it. For apartments with a patch of yard or a first sandbox trial, the tire approach keeps cost and commitment low.
3. Simple backyard sandbox with seating edges
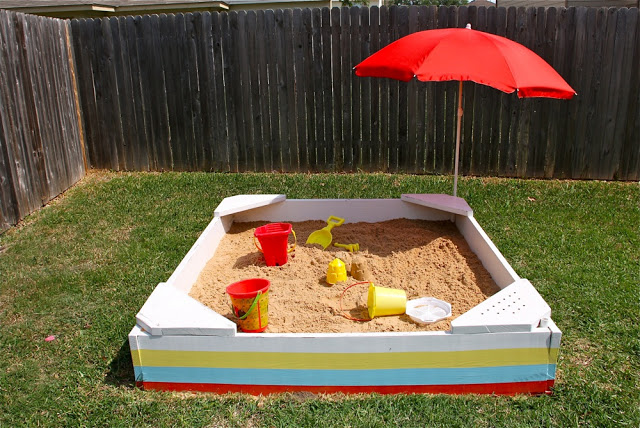
Many backyard tutorials add wide top boards so the frame doubles as a seat or toy shelf. Kids perch on the rim while they dig. Adults get a place to sit without dragging chairs across the lawn. Wider caps also hide screw heads and soften the look of raw framing.
Build the walls first, then attach seating boards that overhang slightly inward or outward depending on how you want the profile to read. Check that overhangs do not create head-bump corners at toddler height. Round or sand edges generously.
Place the sandbox where afternoon shade exists or add a nearby umbrella—hot sand and sunburn end play sessions early. Keep a rinse station or hose plan for sandy feet before kids reenter the house. A doormat and a bin for toys reduce the sand migration problem that makes parents regret the whole idea.
This middle design balances DIY effort and daily usability. It is more comfortable than a bare tire and simpler than a deluxe covered pavilion.
4. Deluxe sandbox with cover and storage thinking
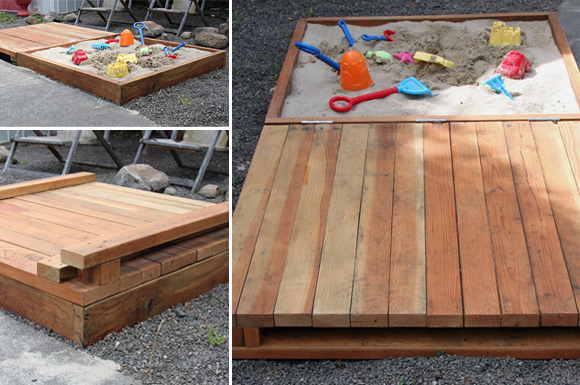
Deluxe DIY sandboxes borrow from play-area planning: hinged or removable covers, benches that store toys, and proportions that look finished from the patio. Covers are not a luxury. They keep leaves, rain, and animals out. A lid that one adult can lift safely is better than a beautiful lid that never gets used.
Design hinges and handles with wet wood and sandy grit in mind—hardware should be exterior grade. If the cover doubles as a play surface when closed, make sure it is sturdy and that children cannot trap fingers. Teach the rule: lids move only with adult help when weight or pinch points exist.
Storage benches along one side keep buckets and molds out of the rain and out of the lawn mower’s path. Label bins if multiple ages share the yard. The deluxe build takes more lumber and time; it pays back when the sandbox still looks intentional after two seasons instead of like a forgotten box of gray sand.
Budget for quality sand and a real cover before you budget for decorative extras. Fancy trim on an uncovered swamp helps no one.
5. Furniture-style sandbox with a polished look
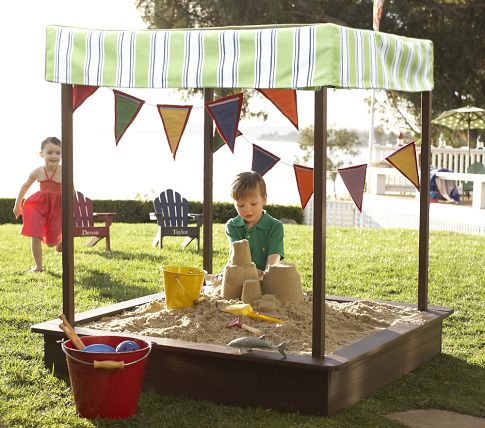
Some DIY sandboxes aim for the clean lines of store furniture—think catalog play tables translated into outdoor lumber. The goal is a piece that sits near the house without apologizing: even proportions, tidy joints, a lid that reads as a tabletop when closed, and finishes that match deck stain or exterior trim.
This style rewards careful measuring and patience with sanding. Visible screw patterns or pocket-hole joinery can look intentional when consistent. If you add a lid that becomes a water or art table, keep sand sealed underneath when in table mode so the two uses do not fight.
Place a furniture-style sandbox where it contributes to the outdoor room—near a patio rather than hidden behind the shed—so covering it and sweeping around it stays part of normal yard care. When play years end, a well-built box is easier to dismantle or repurpose than a rotting tire.
Match ambition to tools. If you lack a miter saw and outdoor finishing experience, a simpler framed box still makes kids happy. Save the furniture look for when you want the project itself to be part of the home’s design story.
Choosing and maintaining a DIY sandbox
Pick by space and season of life. Tire for tiny yards and young toddlers. Classic frame for most suburban lawns. Seating edges when adults will supervise up close. Deluxe when covers and storage will actually get used. Furniture-style when the sandbox sits in view every day.
Maintenance is short and non-negotiable: cover when not in use, refresh sand when it thins or soils, check for splinters and loose screws each spring, and watch for standing water after storms. Teach kids that sand stays in the box; provide tools that encourage pouring and molding so the play stays in bounds.
A sandbox will not fill every summer afternoon, but it will create a reliable outdoor habit—shoes off, hands busy, imagination running on grit and buckets. Build the version you will maintain. Happy kids follow from clean sand and a cover that closes, not from the most elaborate tutorial photo alone.

Comments
Continue reading
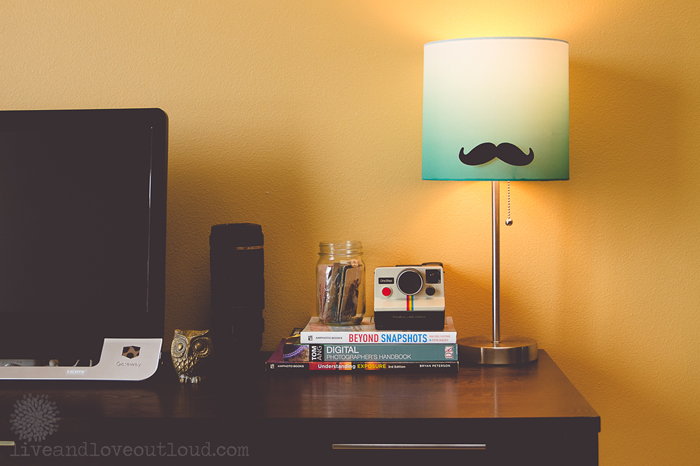
Lamp Shade Redesigns: Fabric, Paper, and Texture Makeovers
Recover or wrap an existing shade with fabric, maps, gift wrap, cork, or soft embellishments—safely spaced from the bulb—for a high-impact décor change.
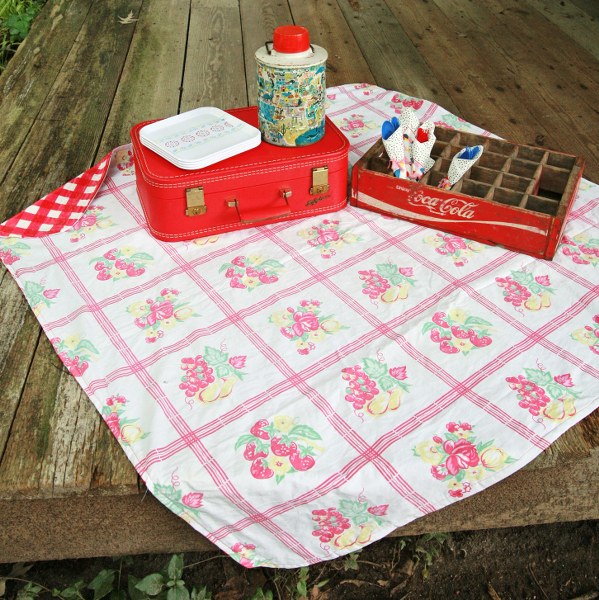
9 DIY Picnic Blanket Projects for Parks, Patios, and Beaches
Oilcloth classics, sunburst piecing, patchwork, roll-up straps, geometry, vintage tablecloths, and date-night sizes—nine DIY picnic blankets you can sew (or nearly sew) yourself.

5 DIY Scarf Tutorials You Can Finish This Weekend
Five DIY scarf projects—braided t-shirt, classic fabric, sewn infinity, easy tee infinity, and a soft wrap—for cool days without a big craft budget.