
5 DIY Scarf Tutorials You Can Finish This Weekend
Five DIY scarf projects—braided t-shirt, classic fabric, sewn infinity, easy tee infinity, and a soft wrap—for cool days without a big craft budget.
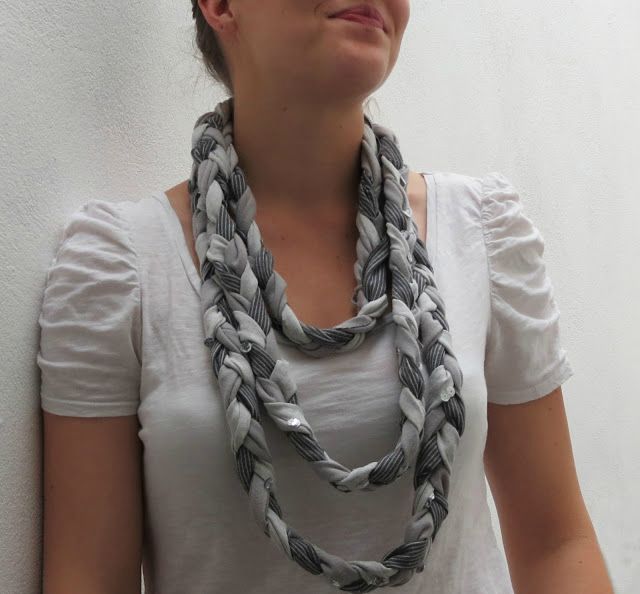
Cool mornings and breezy evenings keep scarves useful long after winter coats go away. You do not need advanced knitting skills or a craft-store haul to wear something handmade. Five DIY scarf tutorials—braided upcycled tees, a classic fabric scarf, a sewn infinity loop, a no-fuss t-shirt infinity, and a soft home-style wrap—cover beginners through weekend sewists.
Work with clean fabric. Pre-wash materials that will touch skin so shrinkage happens before you cut. Use fabric scissors or a rotary cutter for straight edges. When sewing knits, a ballpoint needle and a stretch stitch or zigzag keep seams from popping. None of these projects requires couture technique—only patience with measuring and finishing.
1. Braided scarf from old t-shirts
Old tees become scarf yarn when you cut them into continuous strips. Choose shirts with soft jersey and colors that play well together—three related tones often look more intentional than a random rainbow. Cut off hems and seams that interrupt the stretch, then slice loops or long strips depending on the braid method you prefer.
Stretch each strip gently so the edges curl into tubes. That curl hides raw cuts and gives the braid a finished look without sewing. Braid three or more strands, keeping tension even so the scarf does not look tight in some spots and loose in others. Secure ends by knotting, stitching, or wrapping with a small fabric band.
Length is personal. A short braid sits like a necklace; a longer one wraps twice. If the finished piece feels bulky, use fewer strands or thinner strips. If it feels skimpy, add a fourth color or a second braid joined at the ends.
This tutorial is ideal for people who want a project done in an evening with scissors and shirts already in the donation pile. No machine required.
2. Classic fabric scarf with clean edges
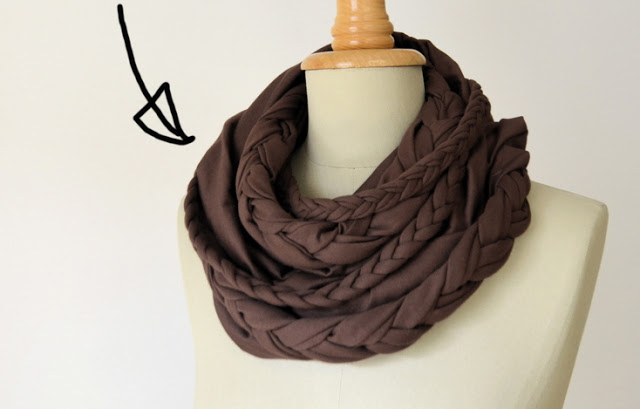
A rectangular fabric scarf teaches finishing skills you will reuse. Lightweight cotton, rayon challis, soft flannel, or knit yardage all work when matched to season. Cut a long rectangle—often in the range of five to seven feet long and eight to twenty inches wide, adjusted for how much drape you want.
Finish edges so they do not fray. Options include a narrow hem, a rolled hem on a machine or serger, bias binding, or a no-sew fabric adhesive for truly temporary fashion pieces. Press as you go; pressing is what makes a homemade scarf look bought.
Print and solid fabrics behave differently. Busy prints hide small stitching wobbles; solids show every line, so slow down. If you fringe the ends, cut fringe after hemming the long sides, and keep fringe depth even.
Wear it draped once, knotted loosely, or folded lengthwise for a narrower look. The same tutorial becomes gifts when you batch-cut several rectangles from remnant sales.
3. Sewn infinity scarf
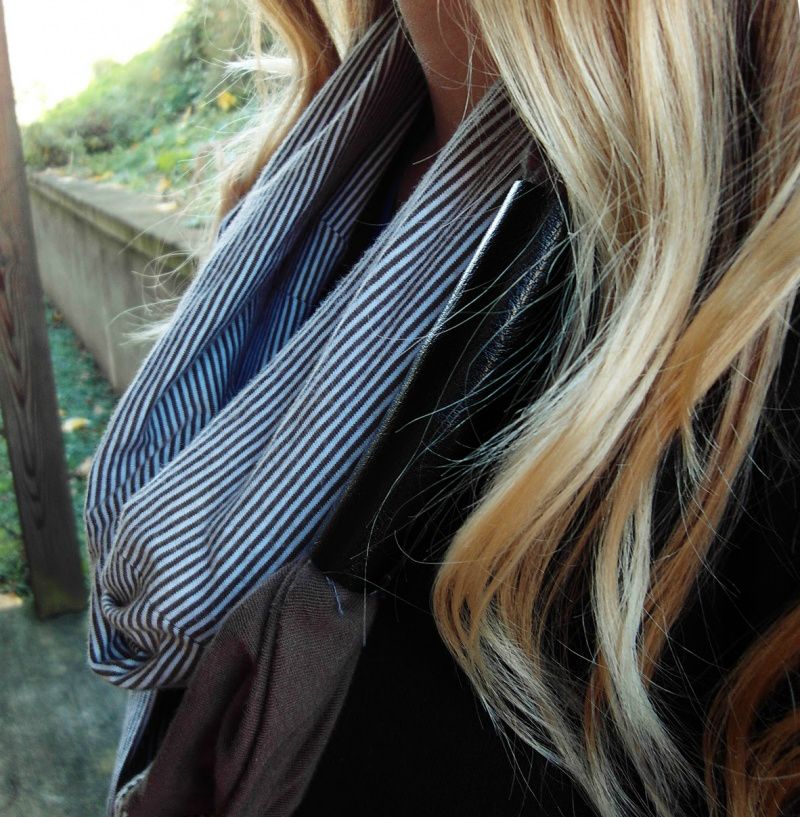
Infinity scarves form a continuous loop you can double around the neck. The sewn version usually starts as a long tube or a wide rectangle joined end to end. Knit fabrics forgive a bit of imprecision; woven fabrics need accurate seams and enough ease to pull over the head comfortably.
Decide circumference before you cut. Too small and it chokes when doubled; too large and it hangs like a loose sash. Many makers start around sixty inches of loop circumference for an average adult double-wrap, then adjust after a muslin test in cheap fabric.
Sew with right sides together, leave a small opening if you are turning a tube, turn right side out, and close the opening with a neat hand stitch or edgestitch. Press lightly. Avoid bulky seam allowances at the join—trim and grade so the loop feels smooth against skin.
Style by doubling for warmth or wearing long as a single loop over a coat. This is the tutorial that looks polished in photos and still only asks for basic straight-line sewing.
4. Easiest t-shirt infinity scarf
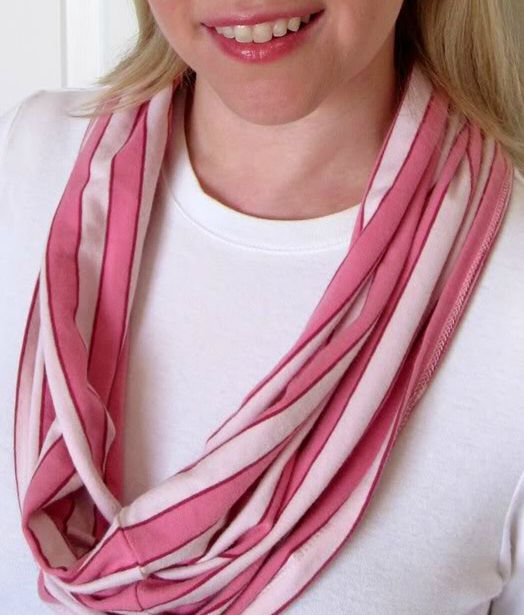
The t-shirt infinity scarf is the gateway project. A large tee already has stretch and a tubular shape. Cut off the bottom hem and the top (neck and sleeves) so you are left with a fabric tube. Trim to the width you want. That tube is already an infinity scarf—no seam required if the shirt’s side structure remains intact as a loop.
Some versions cut the tube open, stretch it into a longer single layer, then restitch into a loop for more circumference. Others leave the shirt tube as-is for a thicker, shorter wrap. Both are valid; try on before you commit to extra cuts.
Choose a soft shirt without stiff graphics across the middle, or place graphics where they become a feature. Wash and dry the finished scarf so any curling edges settle. If raw edges bother you, a single-fold hem or a quick zigzag finishes them in minutes.
Kids’ versions work the same way with smaller shirts. This tutorial is the one to teach beginners: scissors, optional few stitches, wearable result.
5. Soft wrap-style scarf for home and layering
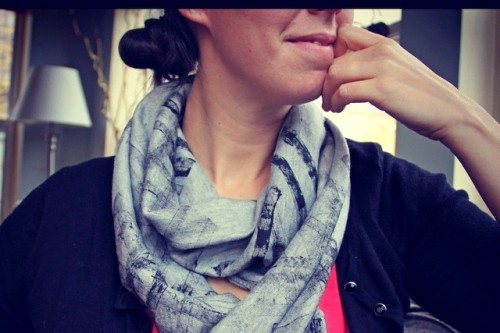
Not every scarf is meant for wind-bitten sidewalks. A softer wrap—lighter knit, gauze, or brushed fabric—works indoors, in offices, or as a travel layer on planes. The DIY approach mirrors the classic rectangle but prioritizes hand feel: fabrics you want against your neck for hours.
Keep dimensions generous so the piece drapes rather than ties tight. Finish edges with methods that stay soft—narrow hems, knit binding, or carefully sealed raw edges on fabrics that do not fray aggressively. Avoid stiff interfacing.
Color choice matters more when the scarf is visible in indoor light. Neutrals layer under coats; one saturated color brightens gray outfits. If you embroider or add a small label, place it where it will not scratch.
This fifth tutorial rounds out the set: upcycled braid for casual days, classic rectangle for tradition, sewn infinity for polish, tee infinity for speed, and a soft wrap for comfort-first wear.
Fabric, fit, and finishing tips
Match project to time. Braided and tee infinity scarves fit a single evening. Sewn infinity and hemmed rectangles fit a focused afternoon. Soft wraps take as long as your finishing standards demand.
Store scarves folded or hung so knits do not stretch into odd shapes. Wash gently; hang or lay flat to dry when labels call for it. If a braid loosens, tighten and re-secure ends rather than discarding the whole piece.
Handmade scarves succeed when they get worn. Pick the tutorial that matches the clothes you already reach for, finish the edges well enough that you forget they were DIY, and keep the next upcycled tee in a project basket for the first chilly weekend that asks for something new around your neck.

Comments
Continue reading
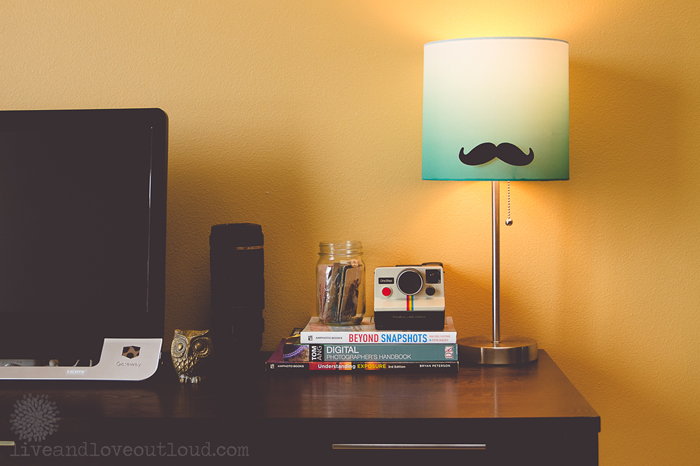
Lamp Shade Redesigns: Fabric, Paper, and Texture Makeovers
Recover or wrap an existing shade with fabric, maps, gift wrap, cork, or soft embellishments—safely spaced from the bulb—for a high-impact décor change.
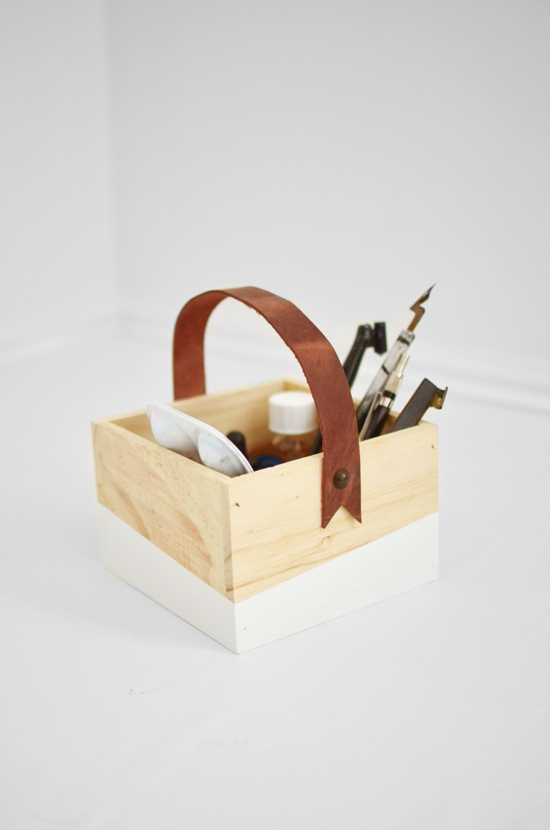
15 Adorable DIY Father’s Day Gifts Worth Making
Fifteen handmade Father’s Day ideas—from etched glasses and felt sleeves to a leather-handle box and grill cover—chosen for use, not just wrapping-paper moments.

5 DIY Sandbox Ideas for Summer Play
Five inexpensive DIY sandbox builds—framed lumber, tire, seating-edge, deluxe covered, and furniture-style—to keep kids busy outdoors.