
Lamp Shade Redesigns: Fabric, Paper, and Texture Makeovers
Recover or wrap an existing shade with fabric, maps, gift wrap, cork, or soft embellishments—safely spaced from the bulb—for a high-impact décor change.
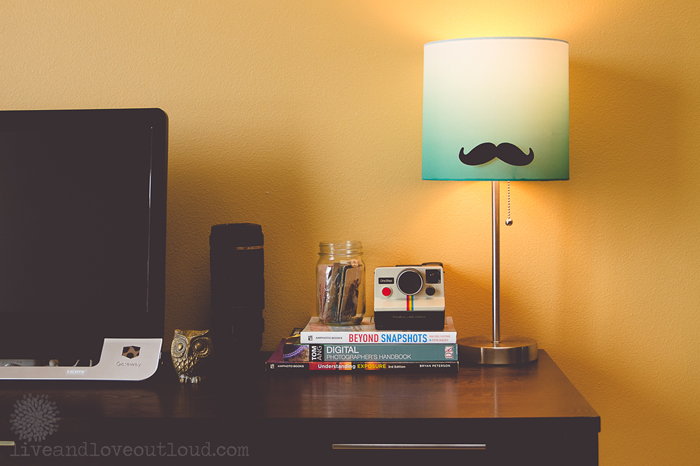
Lamp shades are one of the highest-impact, lowest-commitment upgrades in a room. Swap or restyle the shade and the light quality, color temperature on walls, and overall mood change—often for the cost of fabric remnants, paper, paint, or a thrifted frame. You do not need to redecorate the entire space to make a lamp feel intentional. A personalizeable shade sits at eye level and works hard every evening.
Whether your home décor is mostly finished or you are still experimenting, redesigning shades is a friendly DIY lane: measurable, reversible if you keep the original cover, and adaptable to maps, fabric, gift wrap, cork, felt shapes, and even playful silhouettes. The projects below focus on covering, wrapping, and embellishing existing structures rather than rewiring fixtures. Leave electrical work to proper lamp parts and safety standards; this is about the shade.
Safety and shade anatomy first
Before decorating, check that the shade sits securely on the harp or clip and that the bulb cannot touch paper, fabric, plastic, or glue blobs. Leave clearance recommended for your bulb type. Prefer LED bulbs for DIY shades; they run cooler than older incandescent bulbs and reduce scorch risk on paper and thin synthetics. If a vintage shade is brittle or smell of scorched dust, replace the liner or the whole shade rather than covering rot.
Note the shape: drum, empire, coolie, square, or irregular. Drum shades are easiest to wrap with continuous paper or fabric. Tapered empire shades need careful pattern pieces or overlapping panels so seams stay vertical. Measure circumference at top and bottom, plus slant height, and make a paper template before cutting good fabric.
Decide whether you are recovering (removing old fabric) or overlaying (adding a new layer on a still-sound shade). Overlaying is faster; recovering looks cleaner when the old cover is stained or torn. Spider fittings and washer fittings are not interchangeable—match replacements to your lamp base.
Fabric recover and soft embellishment
Fabric makeovers remain the classic route. Choose cotton, linen, or light canvas that diffuses light without disappearing into transparency unless you want a glow. Dark, heavy upholstery fabric can make a room feel cave-like unless the lamp is decorative more than functional. Iron fabric smooth, wrap with vertical tension, and secure on the inside with fabric glue or hand stitches to the existing rings. Trim excess neatly; frayed inner edges catch dust.
Rosette and flower embellishments turn a plain recovered shade into a focal piece. Make fabric yo-yos or folded petals, then stitch or glue them in a band—often along the bottom rim or in a climbing vine up one side. Keep heavy clusters away from the bulb zone. A single dense field of rosettes on one face can look intentional; scattering them everywhere often looks unfinished.
Painted bases paired with new shades multiply the effect. If you spray or brush an old brass lamp, mask the socket carefully, use primer made for metal, and let cure before reassembling. The shade redesign then sits on a base that no longer fights the new palette.
Paper, maps, and gift wrap
Map lamps suit desks, reading corners, and travel-themed rooms. Use maps you are willing to cut, or prints on similar weight paper. Adhesive spray or decoupage medium applied thinly prevents bubbles; work from the center outward and smooth with a soft cloth. Overlap seams slightly on tapered shades. A clear matte sealant reduces yellowing fingerprints, but test on a scrap—some sealers add unwanted gloss or haze.
Gift wrap and decorative papers follow the same method. Choose patterns that still read from a distance when lit. Tiny prints can muddy; large motifs may need careful placement so a face or word does not distort across a seam. Mod Podge-style crafts work well when coats stay thin; thick glue drips show as shadows when the lamp is on—always check your work with the bulb lit before declaring done.
Triangle and geometric overlays cut from contrasting paper or thin card add modern graphic punch. Trace a repeatable template, cut multiples, and adhere in a clean grid or staggered pattern. Precision matters more than material cost; uneven gaps shout DIY louder than the concept itself.
Texture plays: cork, felt, and novelty
Cork sheet or thin cork fabric wraps give a warm, office-friendly shade that also accepts pushpins for notes—useful beside a desk if you keep pins above areas that stay cool and never toward the bulb. Cut cork carefully; tearing leaves ragged edges that collect lint.
Felt and fabric shapes—mustaches, circles, letters—work as silhouettes when glued to a translucent shade. Lit from within, the shapes become shadow puppets on the walls. Keep adhesives minimal and materials flame-aware; felt should stay on the outer surface with breathing room from the bulb.
Novelty themes are fun in kids’ rooms and party corners. They age faster in formal living rooms. If you want personality without locking into a joke, prefer abstract pattern, texture, or a single restrained motif.
Color, light quality, and room match
White and cream shades maximize usable light. Colored shades tint the room—pink warms skin tones, green can feel restful or sickly depending on saturation, navy looks rich but needs a stronger bulb for task lighting. Test fabric or paper by holding it in front of a lit bulb before you commit to a full wrap.
Match shade proportion to base: a shade diameter roughly equal to the lamp height from base bottom to fitting often looks balanced, though rules flex for sculptural bases. A redesigned shade that is wildly oversized or undersized will still look accidental no matter how pretty the paper.
Consider neighboring finishes. A map shade beside walnut and brass reads curated; the same map beside five other competing patterns reads busy. Let the shade be the statement or the quiet diffuser—not both fighting the sofa print.
Work sequence that avoids remakes
- Clean the shade; repair loose rings with appropriate adhesive.
- Build a paper template; dry-fit materials with clips or low-tack tape.
- Test lighting with scraps and the actual bulb you will use.
- Adhere final material in manageable sections; smooth as you go.
- Finish inner edges; trim threads and glue strings.
- Reassemble, check clearance, and view the lamp on at night in its real corner.
If a seam bothers you after dark, that is the seam to redo—daylight hides faults that evening light advertises.
When to replace instead of redesign
Cracked spiders, bent washers, and warped frames fight every covering attempt. Replacement shades are inexpensive compared with hours spent coaxing a dying frame. Salvage trim or finials you love, but do not build a beautiful cover on a structure that cannot sit level.
For rented rooms or temporary spaces, clip-on shades and slipcovers you can remove protect your deposit and your effort. Keep a photo of the before state if you ever want to restore a thrift treasure.
Pick one lamp you actually switch on each night—the bedside reading light or the dark corner that feels unfinished—and redesign that shade first with a fabric or paper you already like in the room. Living with a single successful glow teaches more than stocking a closet of unused craft supplies for lamps you never click on.

Comments
Continue reading
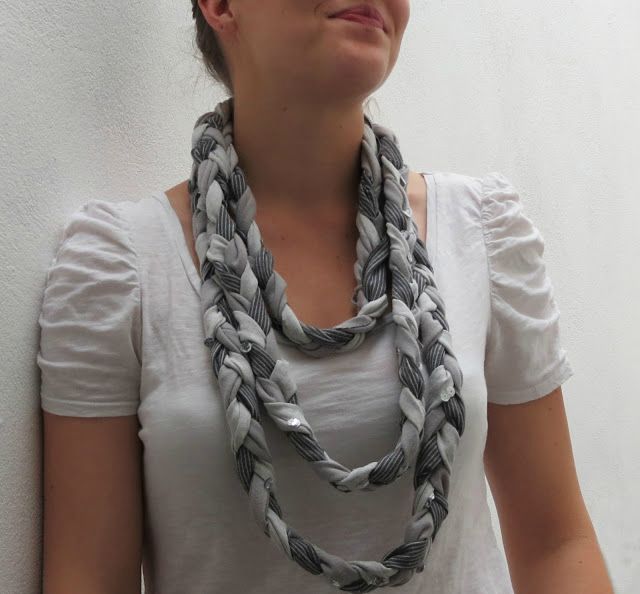
5 DIY Scarf Tutorials You Can Finish This Weekend
Five DIY scarf projects—braided t-shirt, classic fabric, sewn infinity, easy tee infinity, and a soft wrap—for cool days without a big craft budget.
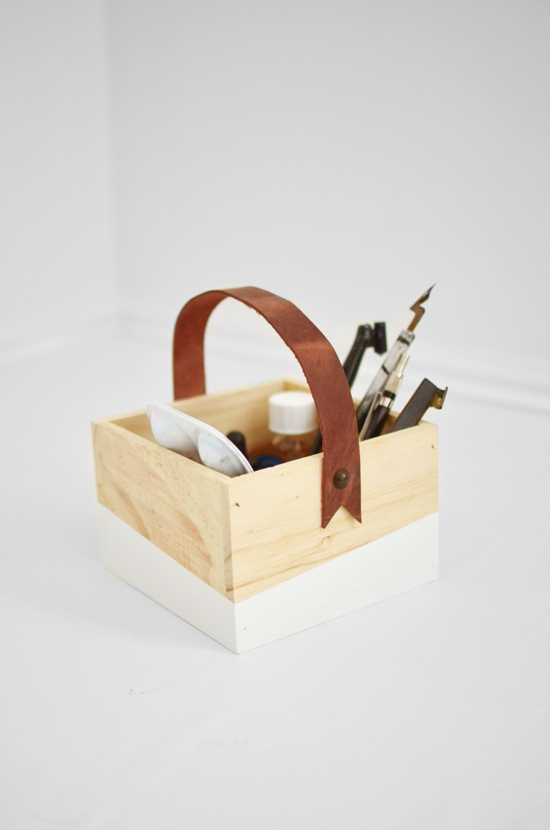
15 Adorable DIY Father’s Day Gifts Worth Making
Fifteen handmade Father’s Day ideas—from etched glasses and felt sleeves to a leather-handle box and grill cover—chosen for use, not just wrapping-paper moments.

5 DIY Sandbox Ideas for Summer Play
Five inexpensive DIY sandbox builds—framed lumber, tire, seating-edge, deluxe covered, and furniture-style—to keep kids busy outdoors.