
16 DIY Halloween Treat Bag Ideas for Parties and Trick-or-Treating
Sixteen handmade Halloween treat bag projects—ghost drawstrings, chevron totes, potion cartons, toxic-tape sacks, and more—using paper, felt, and simple no-sew methods.
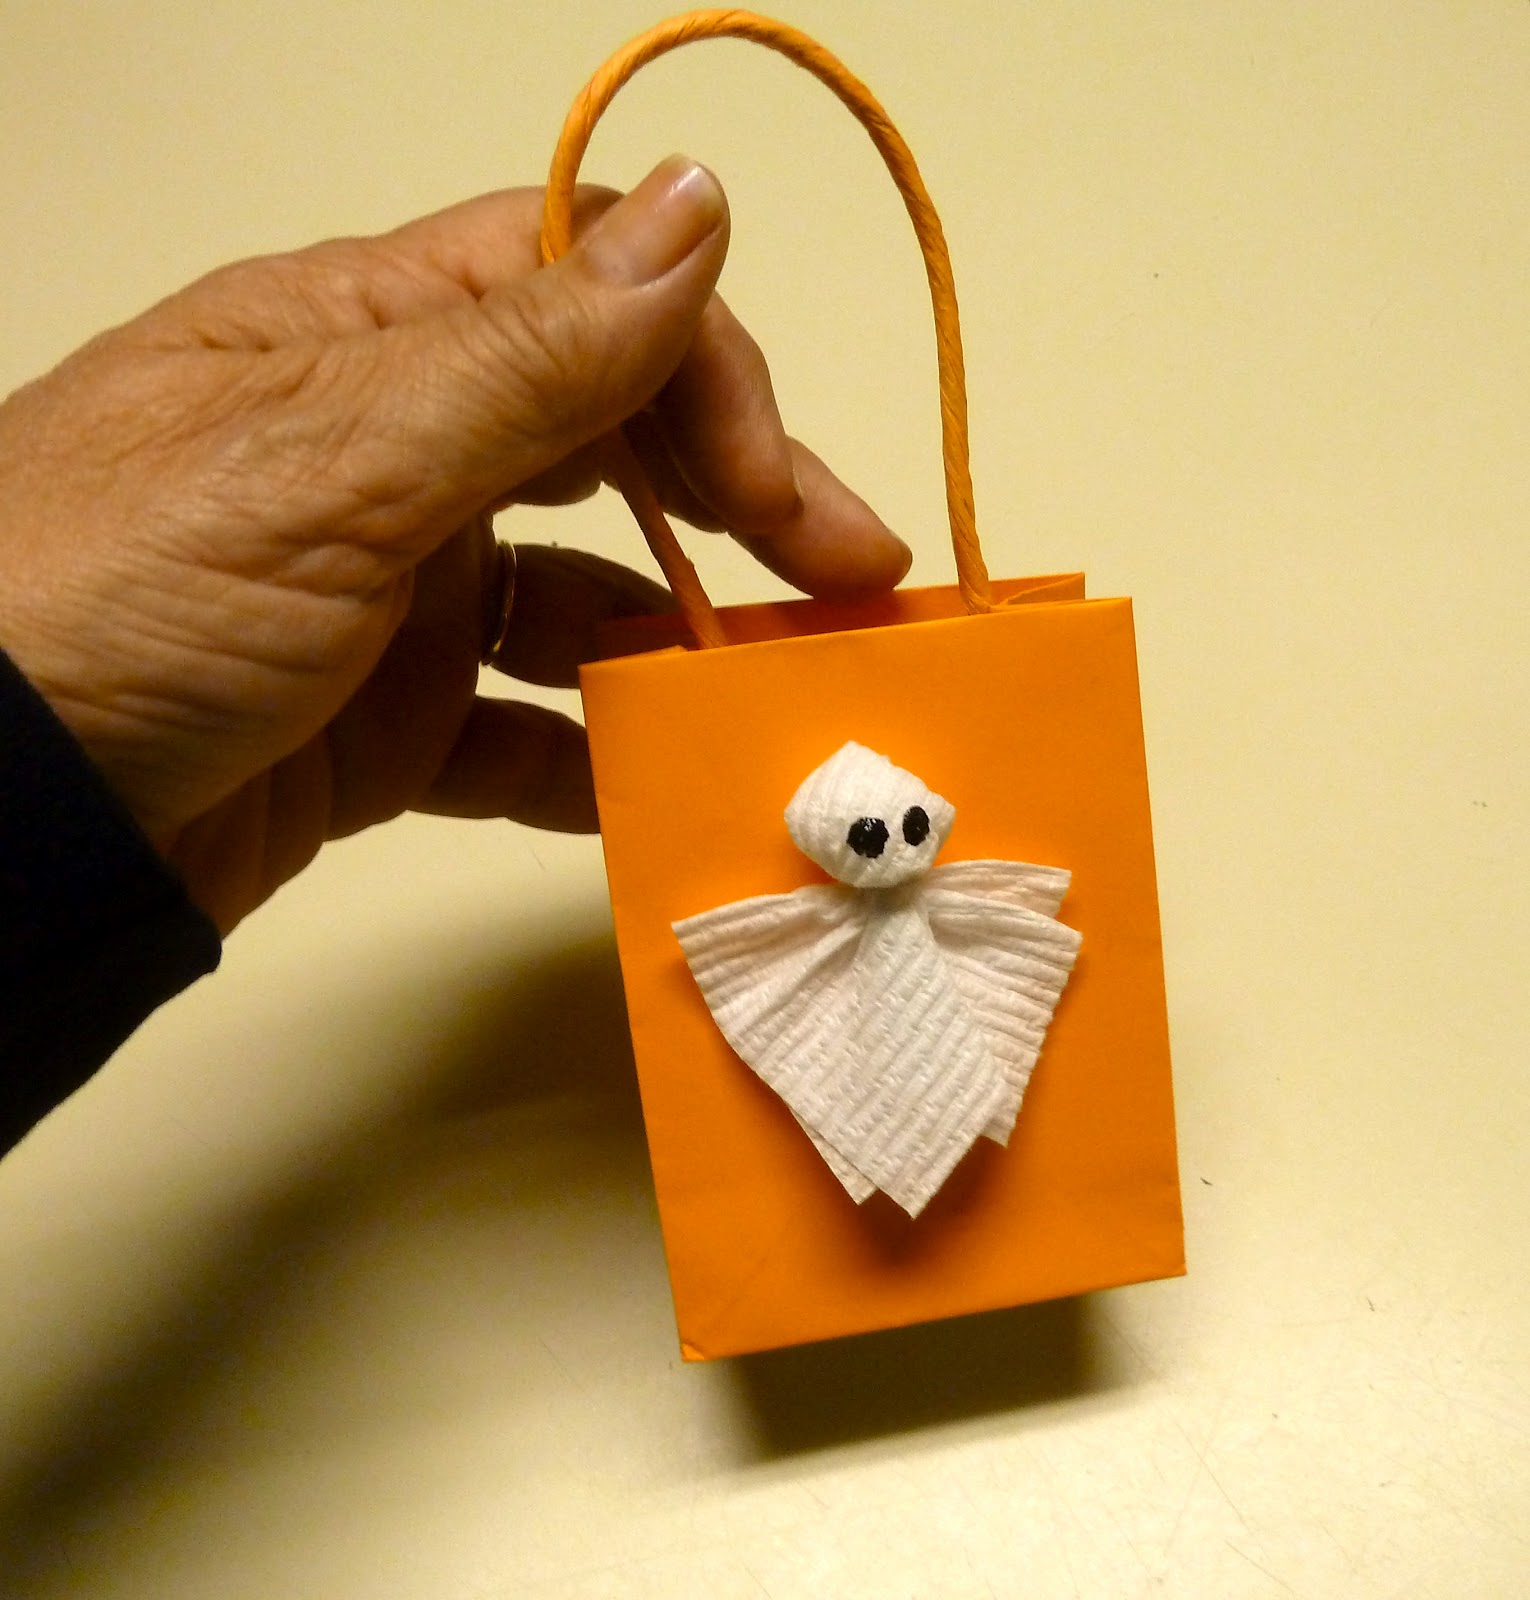
Halloween already brings costumes, porch lights, and a sugar rush; a handmade treat bag is the small extra that makes the night feel planned instead of improvised. Kids remember the sack they carried as much as the candy inside it. Adults hosting a party remember who went home with a favor that looked intentional. The sixteen ideas below stay inexpensive, kid-friendly where it counts, and flexible enough to match both princess capes and last-minute skeleton hoodies.
You do not need a craft room. Paper, felt, ribbon, a stapler, and a glue gun cover most of these projects. Work ahead on a weekend afternoon, or set up a simple station the morning of October 31 and let older kids decorate their own.
1. Little ghost drawstring bags
Cut white felt or cotton into rectangles, sew or glue two sides, and add a soft drawstring through a folded channel. Black felt circles become eyes; a smaller oval becomes a mouth. Keep faces simple so they read from the sidewalk. These bags wash gently if a chocolate bar melts against the fabric—always a Halloween possibility.
2. Monster mash paper sacks
Plain lunch bags turn into monsters with construction-paper teeth, googly eyes, and scrap yarn hair. Double-bag if the haul will be heavy. Let each child invent a creature so the pile of favors looks like a tiny parade instead of a matching set from a store aisle.
3. Treat cones for party tables
Roll patterned scrapbook paper into a cone, tape the seam, and punch two holes near the rim for a ribbon handle. Fill with wrapped candies and a tissue-paper tuft at the top. Cones sit neatly in a basket by the door for guests who are not walking the neighborhood but still want a sweet exit.
4. Chevron or stripe fabric totes
Orange-and-black chevron, purple stripes, or leftover Halloween quilting cotton make sturdy mini totes. Use a simple rectangle pattern with a boxed bottom if you want the bag to stand. Topstitch a ribbon handle twice for strength. Fabric totes survive more than one season if you shake out crumbs and store them flat.
5. Stamped kraft favor bags
Buy plain kraft bags and stamp bats, moons, or a single bold “BOO.” Pigment ink on kraft looks warm under porch light. Add a washi-tape stripe near the fold for color without painting the whole surface. These photograph well for party tables and cost almost nothing in batches.
6. Felt pumpkin pouches
Two orange felt circles, a green stem tab, and a short zipper or Velcro strip make a round pouch that looks like a pumpkin from across the room. Stuff with mini chocolates or stickers. Younger kids love the toy-like shape; parents love that it does not tear as easily as thin plastic.
7. Paper carton “potion” boxes
Small cardboard milk cartons (cleaned and dried) become potion boxes with black paint, handwritten labels, and a ribbon under the fold-top. Fill with wrapped sweets or temporary tattoos. They stack for transport and feel more like a prop than a bag, which is half the fun at a themed table.
8. No-sew fleece trick-or-treat sacks
Cut fleece rectangles, leave fringe along the top, and knot fringe pairs to close the upper edge into a handle channel—or knot the two top corners together for a simple sling. Fleece forgives uneven cuts. Choose black, purple, or mottled “monster green” so candy wrappers do not show through as loudly as white fabric would.
9. Lace and spiderweb doily bags
Layer a black paper bag with a white paper doily “web,” then add a plastic spider or a drawn silhouette. Soft and spooky without gore. These suit classroom parties where costumes stay mild and teachers appreciate favors that do not drip glue everywhere after assembly.
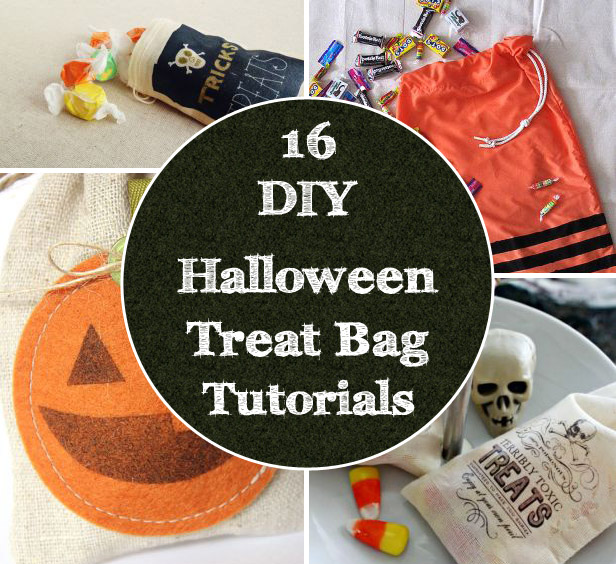
10. Stamped and embossed cardstock pouches
Score and fold cardstock into flat pouches with a scalloped flap. Emboss a spiderweb or leaf texture if you have a folder; if not, doodle a border in metallic marker. Seal with a sticker or a wax-seal-style glue dot. Ideal for a few special favors rather than a whole school class.
11. Sweet-revisited cellophane wraps
Not every “bag” needs handles. Stack cookies or candy in a clear cellophane sleeve, gather the top with baker’s twine, and tag it with a tiny bat cutout. Bundle several into a larger tote for the walk home. This hybrid approach keeps fragile treats from crushing under heavier chocolate bars.
12. Character silhouette bags
Trace a cat, bat, or witch hat onto black felt and fuse or stitch it onto a colored tote. One strong silhouette beats ten tiny stickers that peel by November. Keep edges clean and faces optional—silhouettes age better when they stay graphic.
13. Easy washi and sticker kits
For the night-before panic plan: plain bags, three rolls of Halloween washi, a sheet of stickers, and a marker for names. Set a ten-minute timer and decorate in a batch. Kids who finish early can help younger siblings. Perfection is not the goal; finished bags before sundown is.
14. Canvas tote with iron-on vinyl
A small blank canvas tote plus iron-on vinyl letters or a pumpkin shape becomes a reusable trick-or-treat bag that outlasts the holiday. Press carefully, peel warm or cool as the vinyl instructions say, and reinforce handles if the bag will carry a serious candy load. Embroider a name on the reverse if you want heirloom energy.
15. “Toxic treat” caution-tape sacks
Lime green or hazard-stripe duct tape across a black bag reads playful-poison without scaring little ones. Add a handwritten “HANDLE WITH CARE” tag. Great for tween parties where humor matters more than cute ghosts. Fill with sour candies to match the joke.
16. Family assembly-line bags
Pick one template—ghost, chevron tote, or kraft stamp—and run it like a kitchen assembly line: cutter, gluer, face-drawer, filler. Sixteen bags for neighbors or a whole sports team finish faster when nobody owns every step. Put a bowl of candy at the end of the table so filling becomes the reward for finishing decoration.
Materials that behave well outdoors
Trick-or-treating means wind, damp grass, and the occasional juice-box spill. Prefer felt, fleece, canvas, and doubled paper over single-ply tissue. If you love delicate paper cones, use them as indoor party favors and send walkers out with something sturdier. Reinforce handle holes with a second layer of cardstock or a metal eyelet if the bag will swing for an hour.
Allergies and classroom rules deserve a quiet check before you fill anything. Stickers, pencils, or sealed non-food treats keep inclusive parties easier. When candy is welcome, choose wrapped pieces only and avoid homemade unwrapped goods for door-to-door exchanges.
Timing and storage
Make bags a week early if glue needs to cure; make them the same day if you are using tape and stickers only. Store finished empties nested or hung by their handles so they do not crease. Fill close to event time so chocolate does not sit in a warm car all afternoon.
Photograph one finished sample before the sugar chaos begins. Next year you will thank yourself when you forget which handle length worked and which face style looked friendly instead of startled.
Halloween craft projects do not need to compete with costumes for drama. A sturdy bag, a clear motif, and enough room for the haul already beat a store plastic pail that cracks on the second porch. Choose one idea from the list, gather what you already own, and let the night do the rest.

Comments
Continue reading
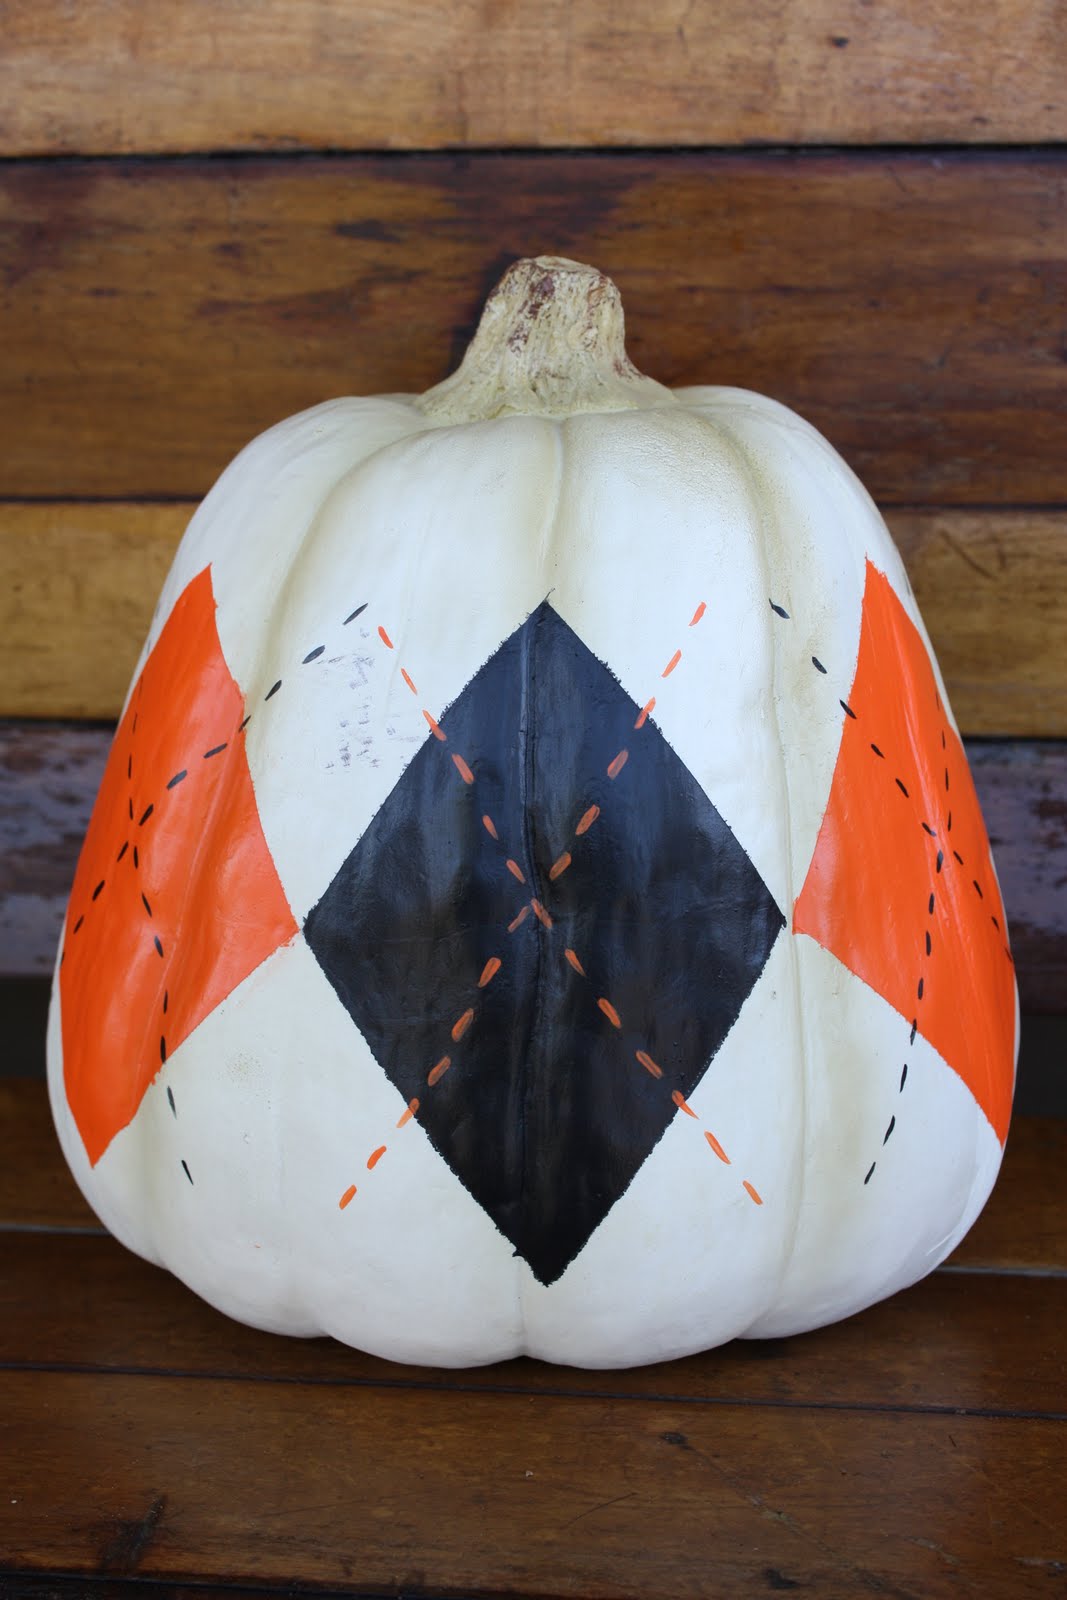
Easy Pumpkin Decorating Tutorials for Fall Tables and Porches
Paint argyle patterns, monograms, jewels, drip finishes, decoupage photos, and simple carves with craft or real pumpkins—practical steps for Halloween through Thanksgiving décor.
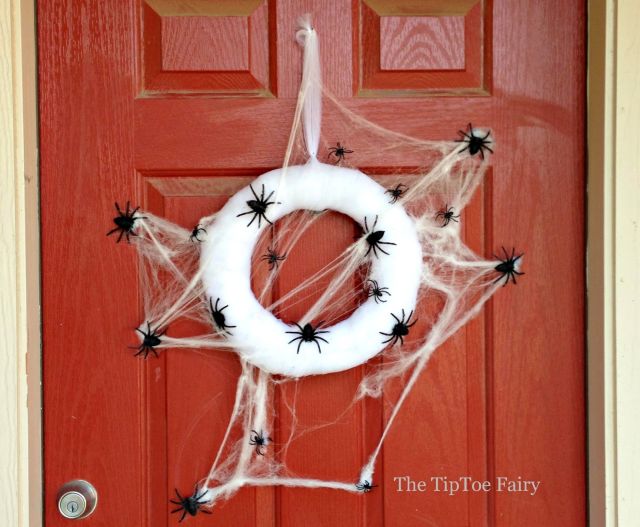
Spooky Halloween Wreath Ideas You Can Actually Make
Practical Halloween wreath methods—burlap wraps, googly eyes, ravens, glitter, ribbon, and snake coils—using leftovers, not a stack of spammy tutorial links.
16 Weekend Art and Sensory Activities to Do with Kids
Sixteen kid-friendly weekend projects—finger knitting, potato stamps, sidewalk chalk, slime, rainbow ice, and more—using simple materials and clear setup tips.