
Easy Pumpkin Decorating Tutorials for Fall Tables and Porches
Paint argyle patterns, monograms, jewels, drip finishes, decoupage photos, and simple carves with craft or real pumpkins—practical steps for Halloween through Thanksgiving décor.
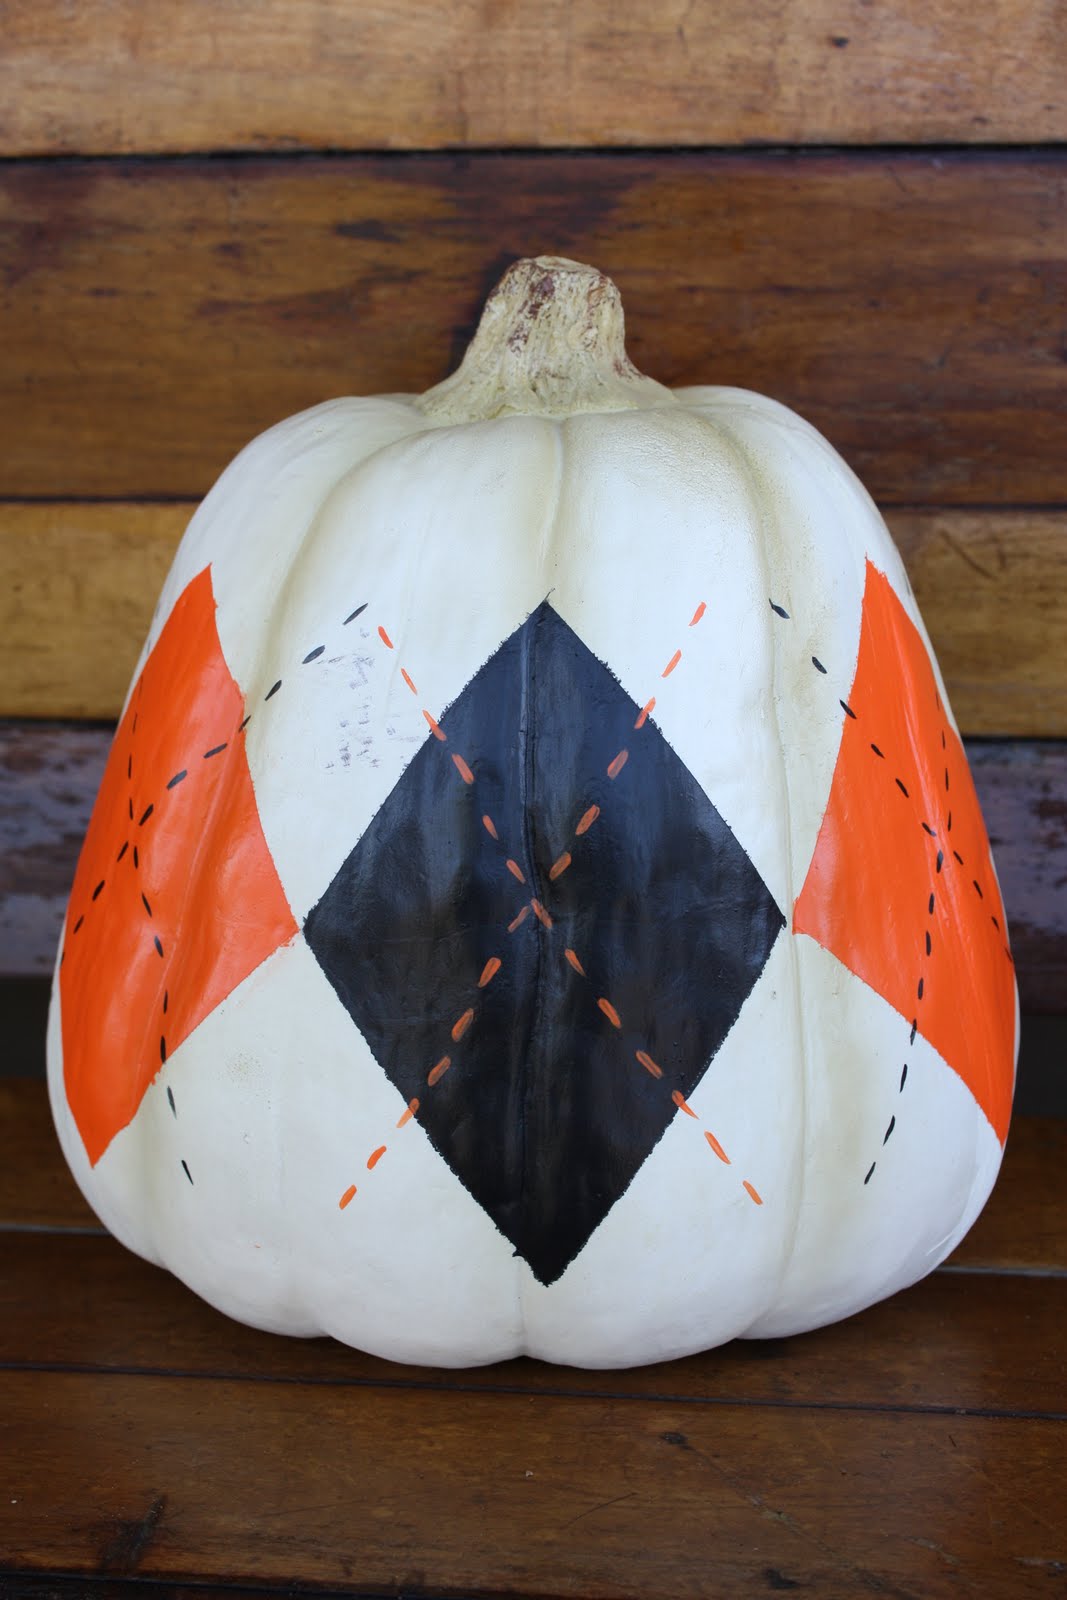
Fall decorating does not have to mean one frantic carving night and a porch full of collapsing jack-o’-lanterns. Pumpkins—real or craft foam—are blank forms you can paint, wrap, stitch, jewel, monogram, or photograph into seasonal pieces that last through Halloween and Thanksgiving. The projects below keep tools simple, favor mess-controlled methods when kids are involved, and show how a few pattern ideas stretch farther than a single carved face.
Work on newspaper or a drop cloth. Wipe real pumpkins dry before paint or glue. If you want décor that survives beyond a week, choose craft pumpkins for anything involving wet adhesives, heavy embellishment, or indoor display near heat vents. Real fruit still wins for porch drama and candle light; just plan for shorter life and cooler placement.
Argyle and geometric paint patterns
Argyle pumpkins look polished because the pattern is familiar: diamonds, crossing lines, and a limited color set. Start with a base coat in cream, soft gray, or muted orange and let it dry fully. Lightly pencil a diamond grid with a ruler or wrap rubber bands as temporary guides. Fill alternate diamonds with a second color, then add thin contrasting lines with a liner brush or paint pen. A third accent—tiny dots or short dashes at diamond intersections—finishes the classic look without crowding the surface.
Keep the palette to three colors maximum. High-contrast black and white reads graphic and modern; sage, cream, and terracotta feels softer for living-room tables. Seal outdoor pieces with a clear matte spray once paint cures. Geometric work rewards patience more than talent: straight lines and even spacing matter more than freehand flourish.
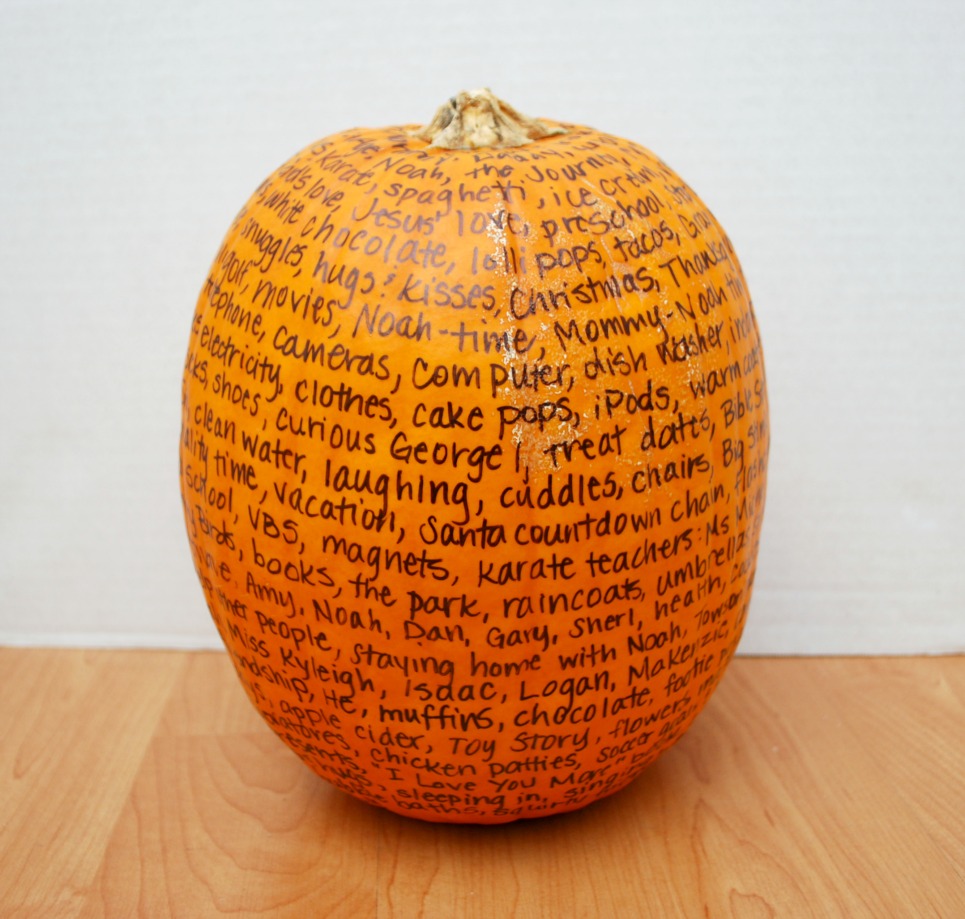
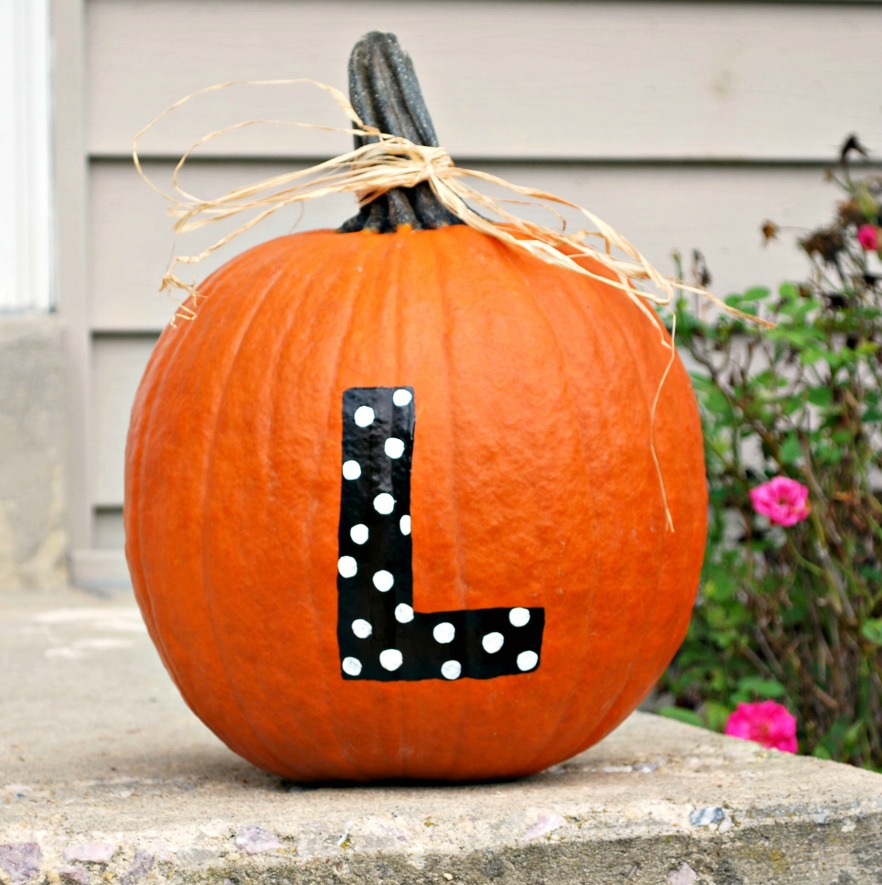
Thankful messages and monograms
A “thankful” pumpkin turns décor into a guest book. Paint a smooth base, then leave a clean face for writing. Guests add one word or short phrase with a paint pen each time they visit through November. Use a craft pumpkin if the piece will live indoors for weeks; ink and fingerprints wear better on a sealed faux surface than on soft rind that softens in warm rooms.
Monograms work the same way with less text. Trace a large initial from a printed template, fill with acrylic, and outline once dry for sharpness. Script letters look elegant on tall pumpkins; block letters read clearer from across a room. Pair a monogram pumpkin with two smaller plain ones in matching colors so the letter becomes the focal point instead of competing with busy patterns on every side.
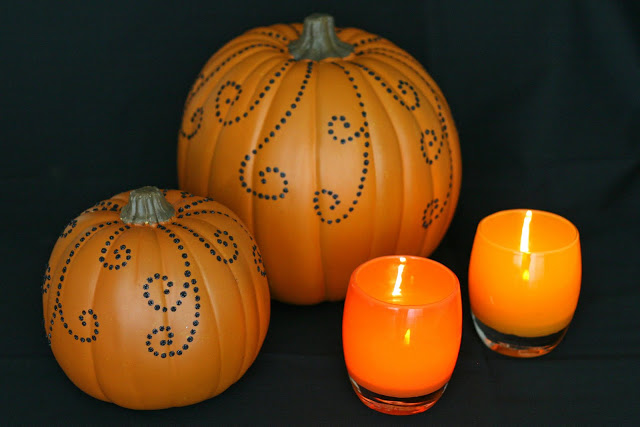
Jewels, stitches, and textile detail
Jeweled pumpkins are glue-and-press projects: flat-back crystals, pearl cabochons, or thrift-store brooch pieces arranged in swirls, vines, or clustered “crowns” around the stem. Hot glue works on craft pumpkins; on real ones, use a strong craft adhesive and keep the piece indoors so stones do not loosen in rain. Start at the stem and work downward in repeating motifs so the design feels intentional rather than randomly sparkled.
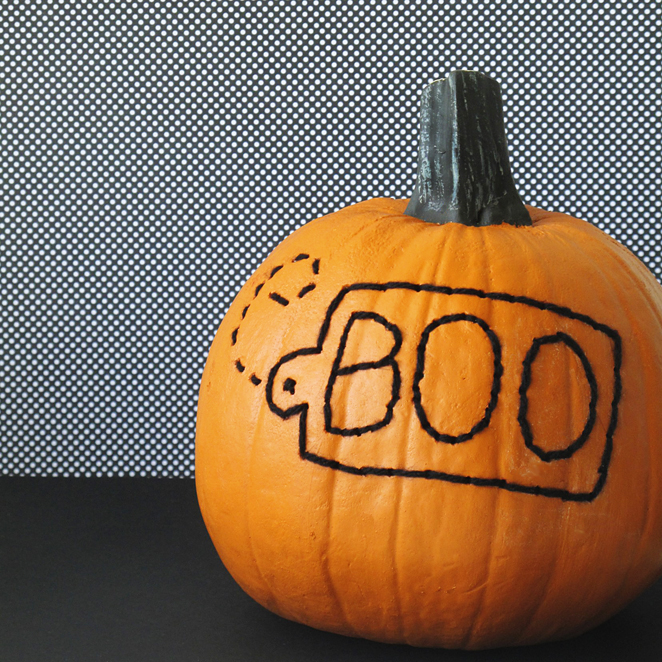
Stitched pumpkins borrow embroidery logic. On a foam or fabric-covered form, mark a simple outline—leaf, spiderweb, or concentric circles—then pierce with a needle and pull yarn or embroidery floss through in running or backstitch. For real pumpkins, some makers score shallow channels and tuck yarn into the grooves with glue, which reads as stitch without needing deep punctures. Keep the motif large and graphic; tiny stitches disappear on orange rind under evening light.
Character pieces and mess-free kid crafts
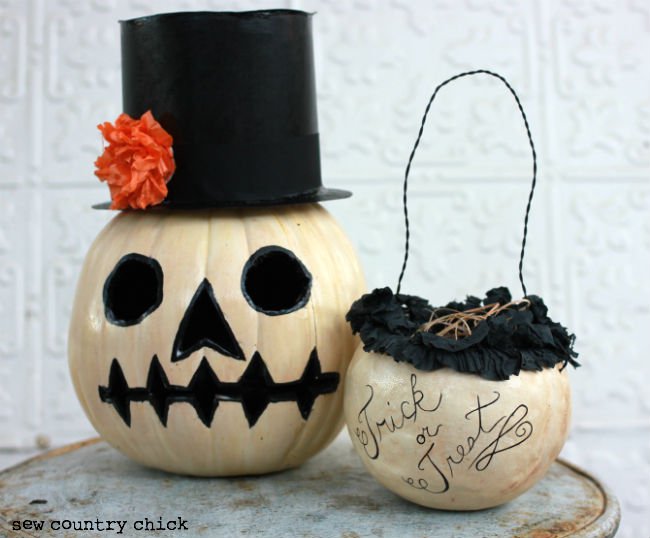
A top-hat pumpkin is character décor more than carving: a black cardstock or felt cylinder, a brim circle, a ribbon band, and optional fake glasses or a bow tie. Hot-glue the hat to a craft pumpkin so it sits level. Add a painted mustache or monogram on the face if you want a storybook host for the entry table. These pieces photograph well and survive handling better than fragile carved shells.
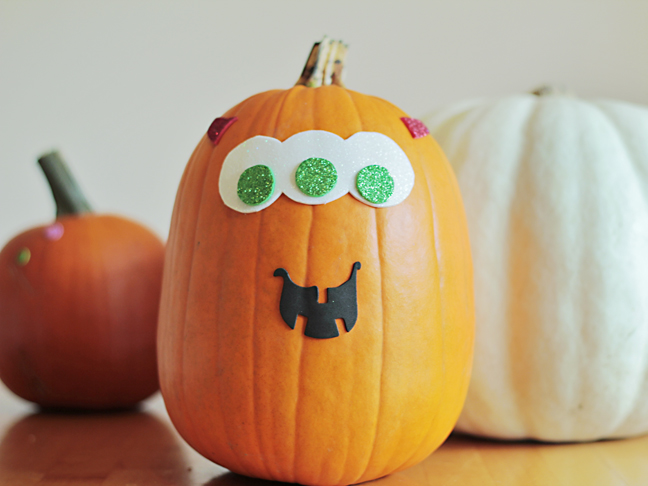
Mess-free painting for kids usually means contained techniques: pour a little tempera into a zip bag with a small pumpkin, seal, and let children squish color around; or roll pumpkins in a shallow tray of paint using gloves. Another clean approach is painter’s tape stripes—kids dab color between taped bands, then adults peel the tape for crisp lines. Dry thoroughly before stacking or bagging for school displays. Choose washable paints and cover the table; “mess-free” is relative, not absolute.
Drip paint and bold graphic surfaces
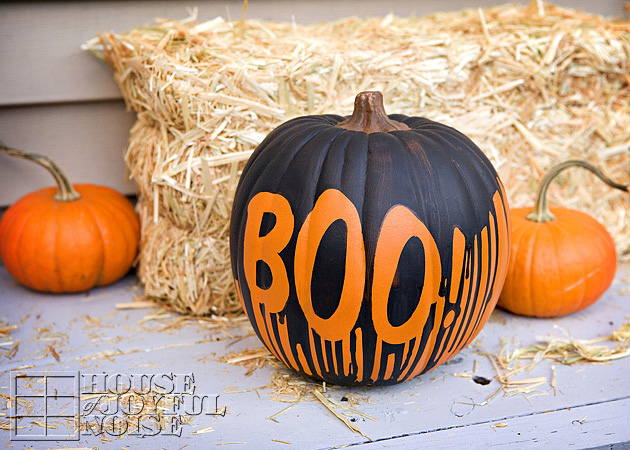
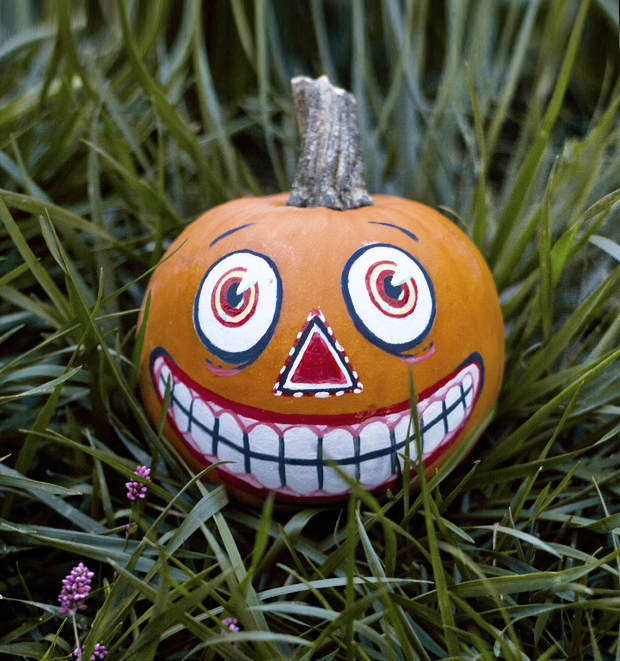
Dripping paint pumpkins look energetic because gravity does part of the design. Elevate the pumpkin on a jar inside a box. Thin acrylic slightly with water, load a brush, and touch the crown so color runs in controlled rivulets. Rotate the pumpkin between colors. Stop before the entire surface turns muddy; leave some base color visible so drips read as intentional. Matte black drips on white, or white on deep teal, feel more designed than rainbow overload.
Bold graphics—stripes, color blocks, silhouette shapes—need the same restraint. Mask large areas, paint, remove tape, and accept imperfect edges as handmade character. If a line wobbles, thicken it evenly rather than trying to erase it. These pieces sit well with patterned siblings because they give the eye a resting place.
Decoupage photos and thrifty materials
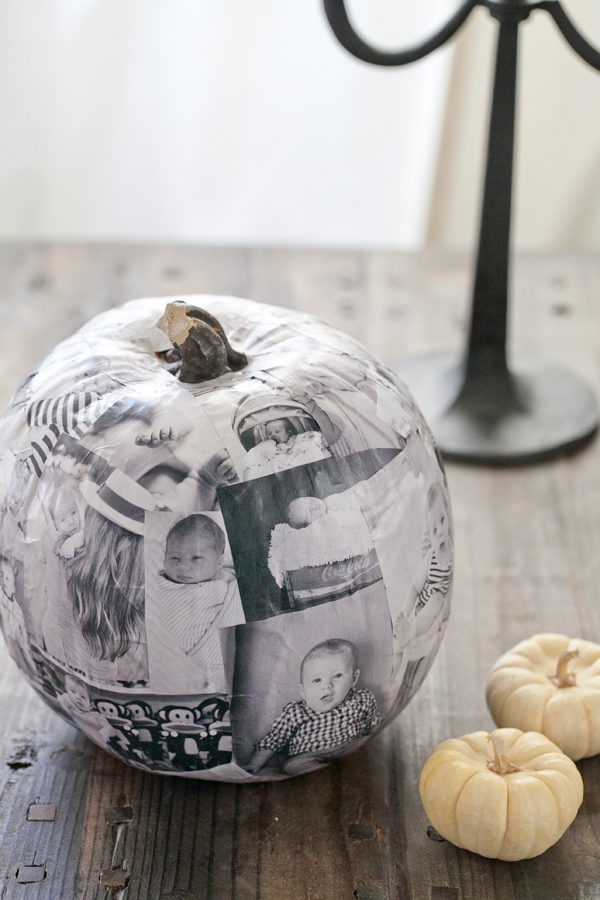
Photo pumpkins turn a craft into a keepsake. Print images on lightweight paper, cut closely, brush decoupage medium onto a clean craft pumpkin, lay the photo, and seal with another coat. Smooth bubbles from the center outward. Black-and-white portraits on muted orange or gray bases look especially calm for Thanksgiving tables. Avoid heavy photo paper that refuses to curve; thinner prints wrap better.
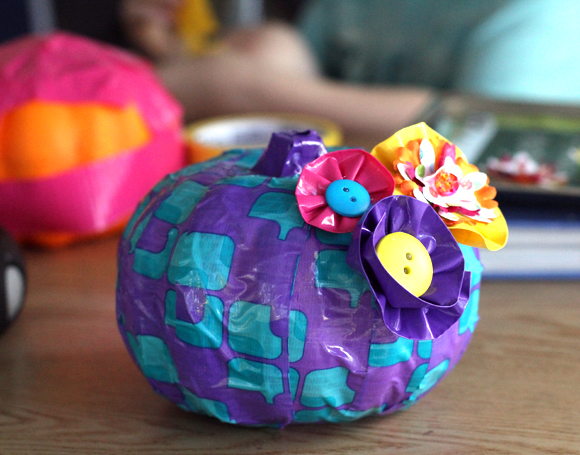
Duct tape and button flowers are thrift-store logic: wrap a pumpkin in patterned tape for instant texture, then glue button centers with felt petal rings or layered tape petals. The look is playful and durable for kids’ rooms. Mix tape widths and directions—vertical strips on one pumpkin, diagonal on another—so a grouping feels designed rather than identical.
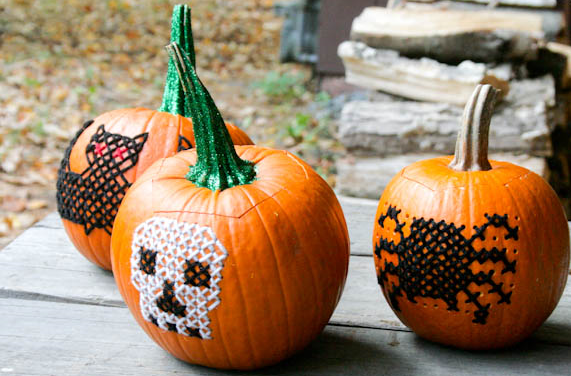
Pixel play and embroidered surfaces
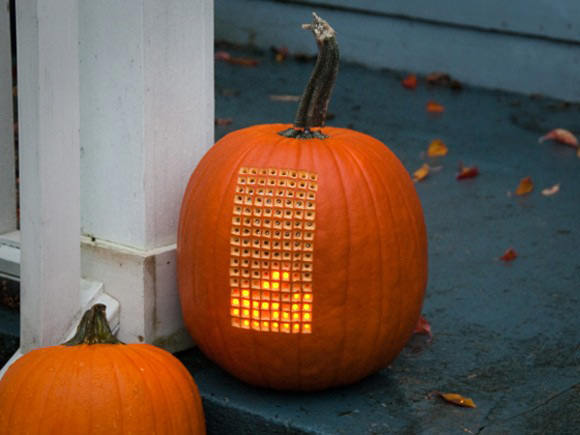
Game-inspired or pixel pumpkins use a grid. Draw light squares, then fill with paint markers in a limited palette so a simple shape—heart, ghost, block letter—reads from a distance. You do not need a perfect recreation of a screen; a few recognizable blocks are enough. These make strong conversation pieces on teen shelves and game-night snack tables.
Embroidered yarn surfaces can cover an entire foam pumpkin: wrap yarn densely from stem to base, securing with glue at intervals, or stitch larger motifs through a fabric skin. Solid yarn wraps in cream or mustard feel cozy and textile-forward next to wood bowls and plaid runners. Leave the stem natural or wrap it in twine for a finished edge.
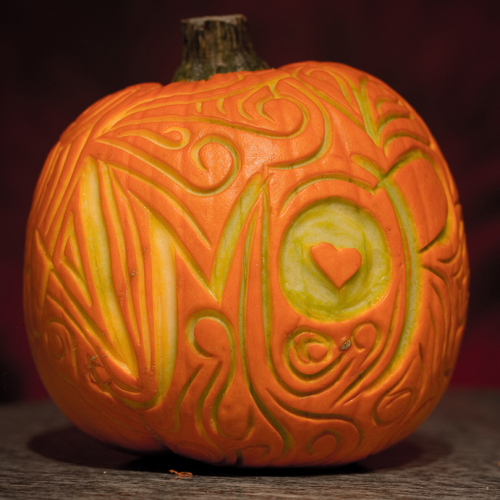
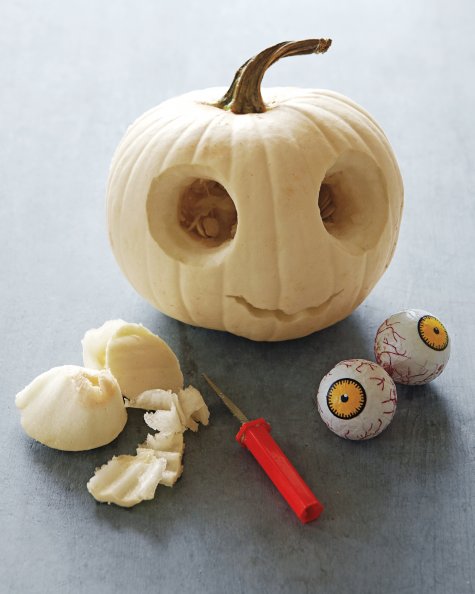
Carving with restraint
Carving still belongs in the mix, but treat it like drawing with light. Thin the wall behind your design so a candle or LED puck glows evenly. Prefer large shapes and negative space over tiny fretting that collapses. Transfer patterns with poke-through dots, then connect cuts with a thin saw. Scrape a flat “canvas” on one face if you want etched line work instead of full cutouts.
Dramatic “undead” or theatrical faces work best when you exaggerate one feature—eyes, grin, or hollow cheeks—and keep the rest simpler. Place carved pumpkins outdoors or on trays; moisture and pulp shorten indoor life and invite fruit flies. Battery LEDs are safer near curtains and dry leaves than open flames.
Grouping and display
Three to five pumpkins at varied heights beat a single lonely gourd. Mix one pattern hero, one monogram or photo piece, and one quieter solid or lightly textured pumpkin. Stagger heights with books, crates, or cake stands. Odd numbers usually look more natural. Indoors, protect surfaces with trays; outdoors, elevate off wet soil so bottoms do not rot as quickly.
Store leftover paint pens and sealant together so next year’s batch matches this year’s palette. Photograph your setups before composting real pumpkins—you will remember which patterns earned a permanent craft-pumpkin remake.
If you only have one afternoon, paint two craft pumpkins in the same base color, monogram one, and drip-paint the other. Set them with a candle and a scrap of fabric runner. That small trio already reads as intentional fall décor—and you can add jewels, photos, or a carved porch pumpkin when time allows.

Comments
Continue reading
Spooky Halloween Wreath Ideas You Can Actually Make
Practical Halloween wreath methods—burlap wraps, googly eyes, ravens, glitter, ribbon, and snake coils—using leftovers, not a stack of spammy tutorial links.
16 DIY Halloween Treat Bag Ideas for Parties and Trick-or-Treating
Sixteen handmade Halloween treat bag projects—ghost drawstrings, chevron totes, potion cartons, toxic-tape sacks, and more—using paper, felt, and simple no-sew methods.
DIY Ideas for Old Socks: Rugs, Puppets, Mittens, and More
Sort leftover socks by fiber, then turn them into braided rugs, hand puppets, soft toys, mittens, and pin cushions with practical cutting and sewing tips.