
Plastic Bead Crafts: Bracelets, Coasters, Ornaments, and Charms
Practical fuse-bead projects—pegboard basics, jewelry, holiday ornaments, coasters, and open-melt experiments—with ironing tips for clean pixel edges.
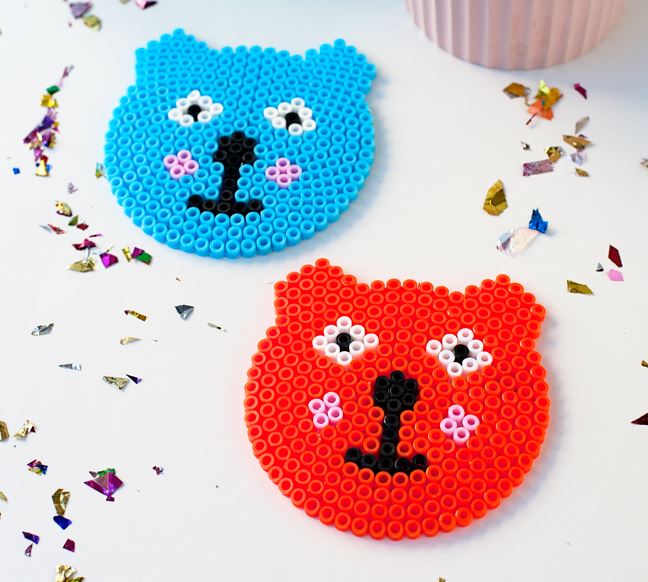
Fuse beads—also sold as Perler, Hama, Nabbi, and similar brands—are small plastic cylinders that melt together under an iron. You arrange them on a pegboard, cover with parchment or the maker’s ironing paper, press with a medium iron until the beads fuse, cool the sheet, then peel. The result is a flat, pixel-like form you can leave as wall art, turn into jewelry, hang as an ornament, or glue to a coaster base. The material is familiar; the projects below treat it like a design tool, not only a kids’ rainy-day kit.
Work on a heat-safe surface. Keep fingers off the iron and the hot beads. Adults should handle ironing for young makers. Ventilate briefly after a long session. Store spare beads by color in shallow trays so you can rebuild patterns without hunting for a single blue cylinder under the table.
Buy once with a plan: a pegboard set, parchment, a dedicated craft iron if your clothing iron must stay lint-free, and a basic palette of primaries plus black, white, and skin tones. Specialty glitter beads look festive and scratch more easily—save them for ornaments that hang, not for bracelets that rub desk edges all day.
Pegboard layouts ready for ironing
Pegboard basics that save a project
Use a board large enough for a one-bead border around your design. Gaps between beads become weak points after melting. For wearable pieces, keep shapes under about three inches so they stay light on a necklace or keyring. For ornaments and coasters, larger boards are fine—just iron in overlapping passes so the center fuses as firmly as the edges.
Tape a sheet of parchment over the finished layout before you move the board; that trick keeps beads from jumping when you carry the project to the ironing station. Iron until beads look evenly glossy through the paper—usually ten to twenty seconds with firm pressure—then flip and touch-fuse the reverse if the piece still feels loose. Over-ironing flattens the pixel look into a plastic smear; stop when neighboring beads share walls but still show circular outlines.
If a corner lifts after cooling, return parchment to that spot and give a short second press rather than reheating the whole sheet. Warped pieces often cool unevenly—slide the hot sheet onto a flat cutting board and set a heavy book on top for a few minutes. For multi-layer builds, fuse each layer separately, then glue with a plastic-safe adhesive; trying to melt two full sheets together usually destroys the pixel grid.
Toys, charms, and small gifts
Small character shapes make excellent desk toys and stocking stuffers. Build the figure on a small square board, fuse, and optionally add a second fused layer glued to the back for stiffness. Leave a clear hole of one or two missing beads if you plan to thread ribbon through later.
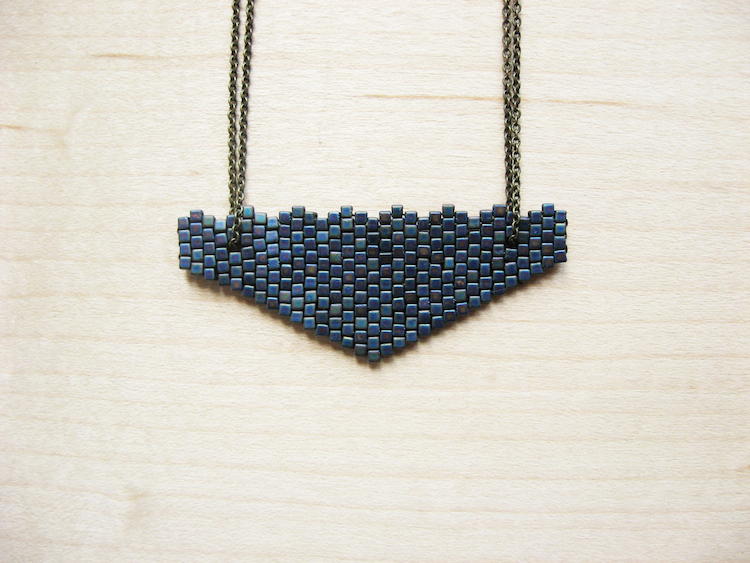
Triangle pendants and geometric charms work the same way: map a clean silhouette, fuse, drill or leave a bead gap for jump rings, and hang on a simple chain. Seasonal motifs—candy corn, pumpkins, snowflakes—read clearly because the color blocking is bold. Three horizontal bands of white, orange, and yellow are enough for candy corn if the outline is sharp.
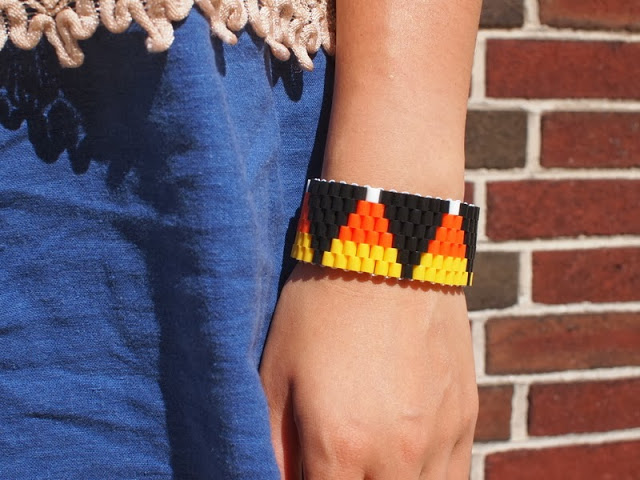
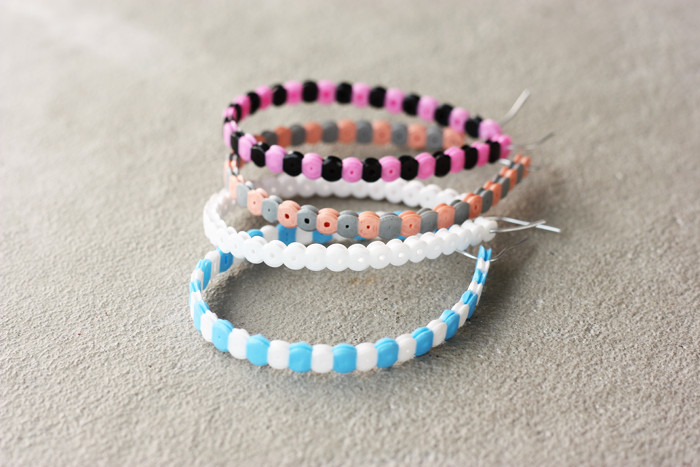
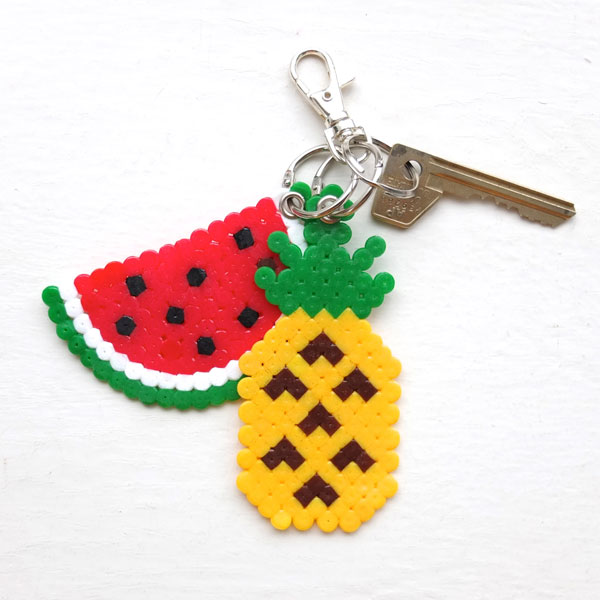
Fruit keyrings and other gift charms follow the same method: fuse, add a split ring, and bag as a set. Pixel fruit reads well even at one-inch scale because the colors are familiar.
Bracelets and wearable bands
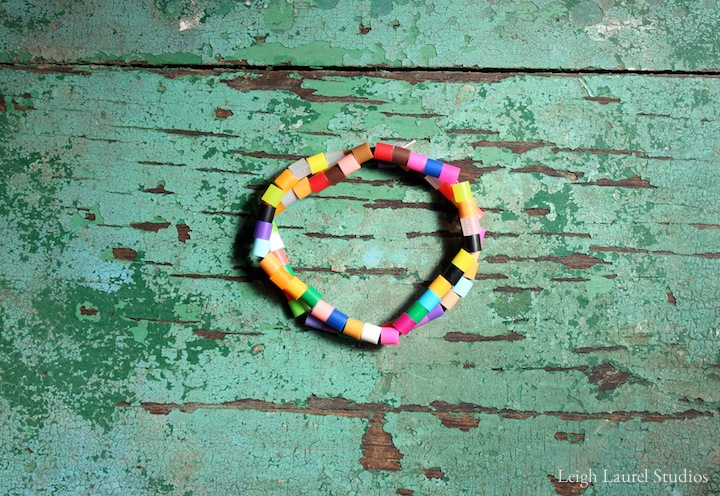
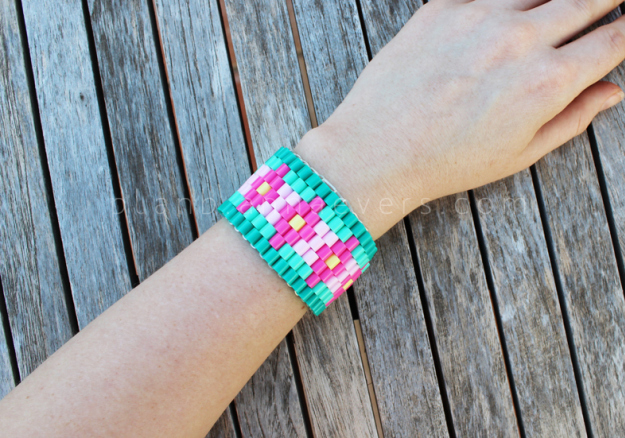
Bracelet builds usually use a long strip or linked small motifs. For a continuous cuff, fuse a rectangle, cool it under a book so it stays flat, then gently warm and curve it around a jar to set a slight arc before attaching a ribbon tie or snap. For linked styles, fuse individual squares or circles, leave holes, and join with jump rings or embroidery floss. Soft cord against skin beats raw melted plastic edges—sand lightly with fine emery if a bead ridge feels sharp.
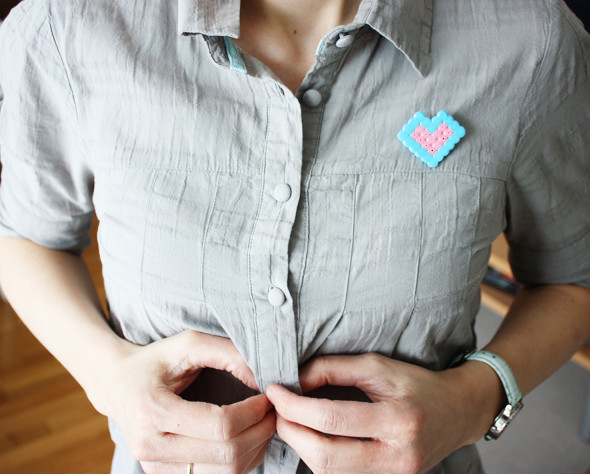
Brooches are a fast upgrade from flat charms: fuse a small motif, glue a pin back with strong craft adhesive, and let it cure overnight. Keep the design under two inches so jackets and bags do not snag on oversized corners.
Cards, tags, and holiday ornaments
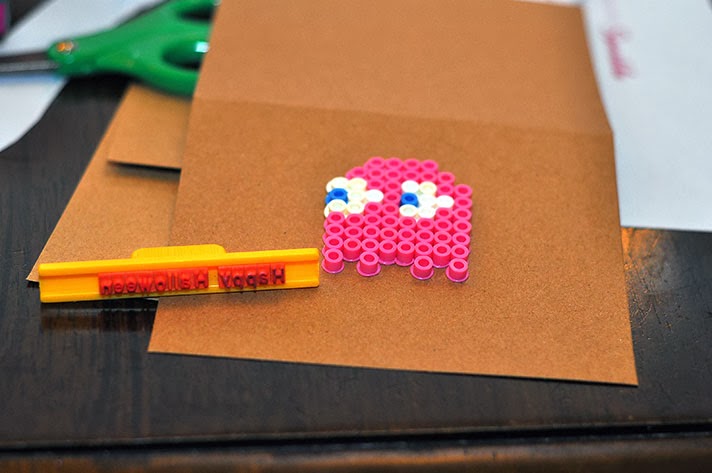
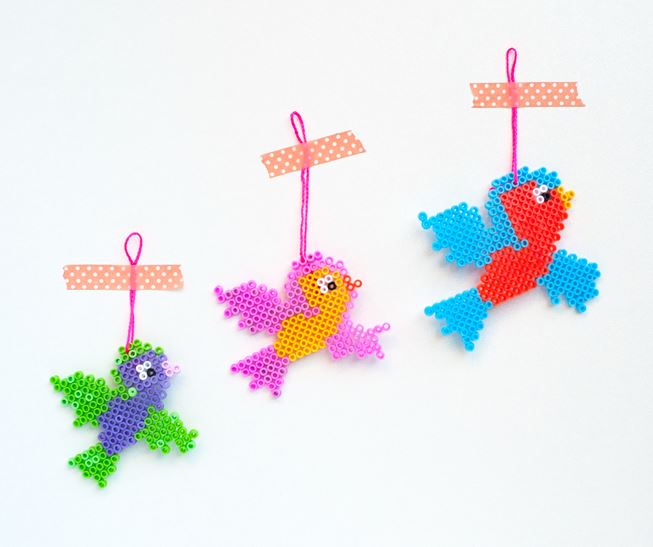
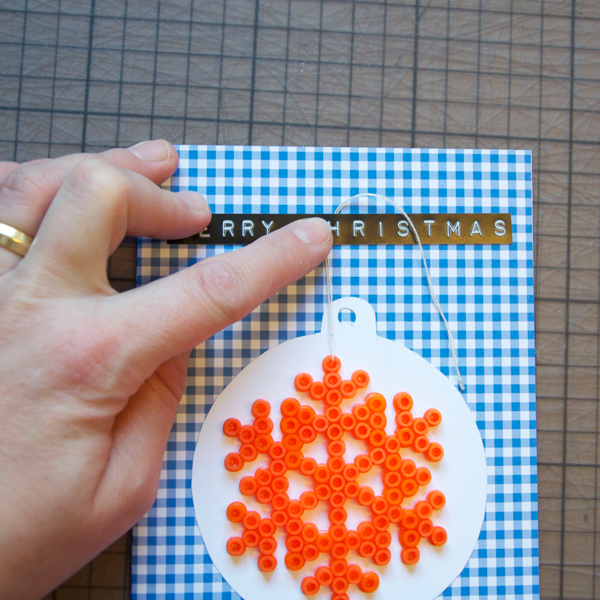
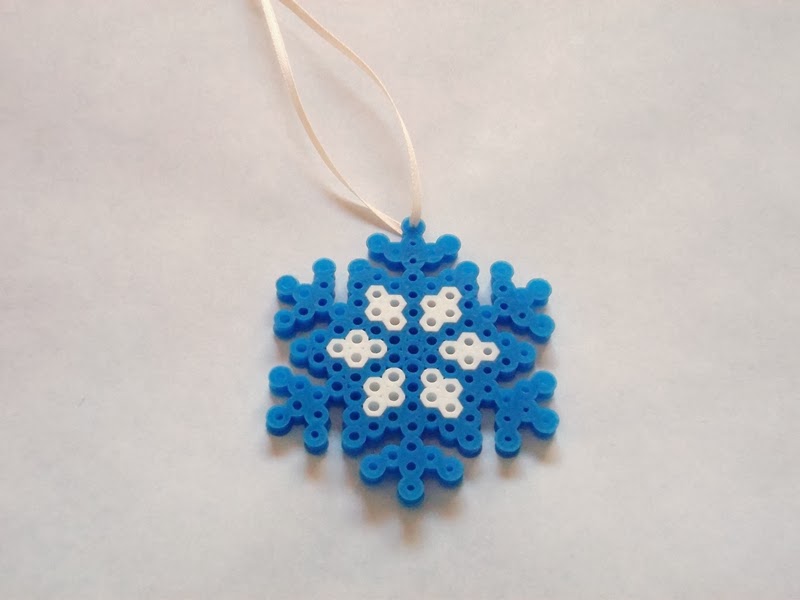
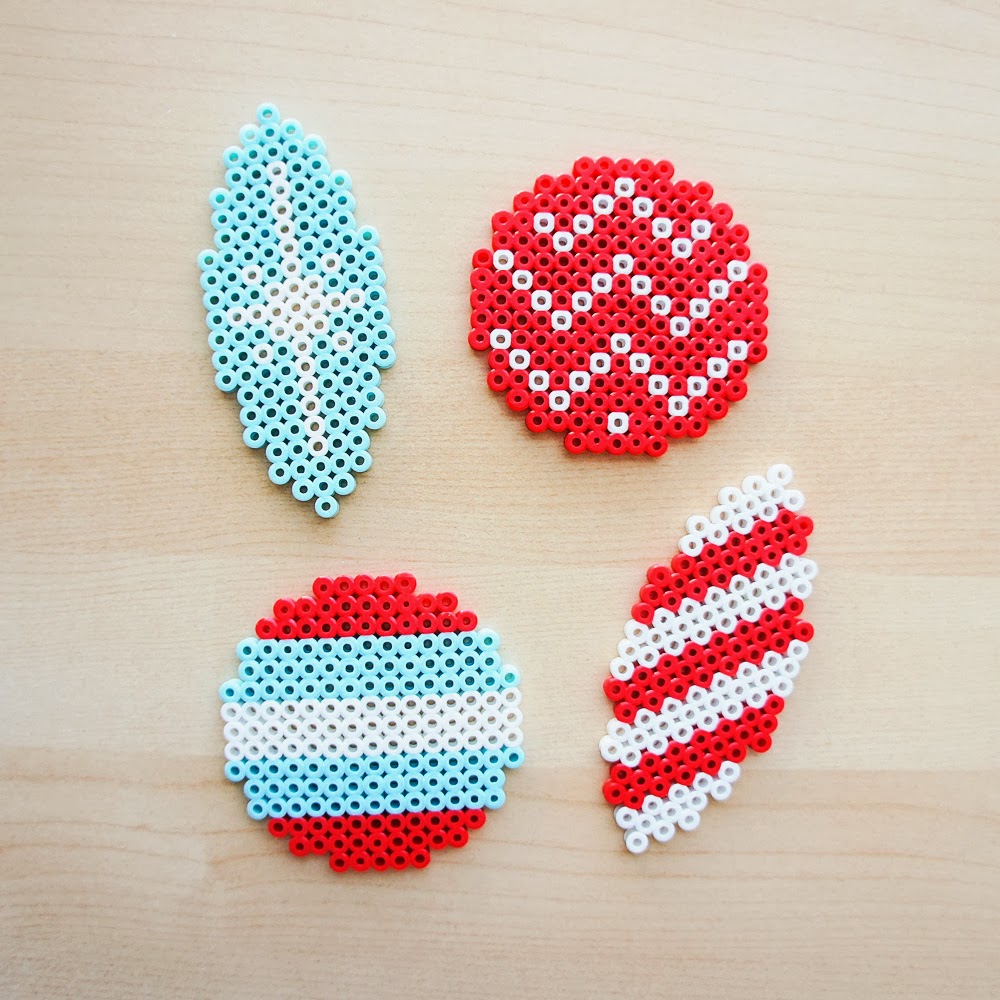
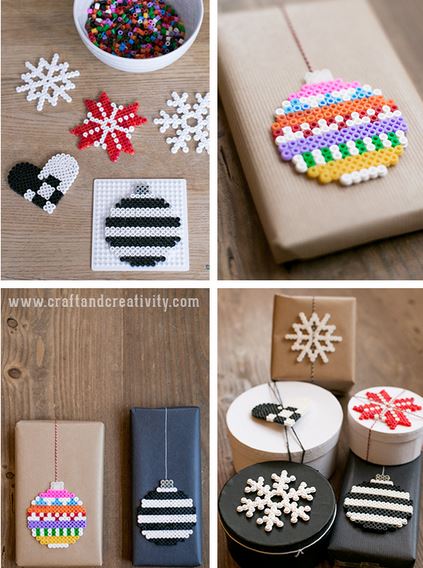
Fused shapes glue cleanly onto cardstock. For Halloween or holiday cards, fuse a small icon, cool it flat, then attach with craft glue rather than wet glue that warps paper. Christmas tags and ornaments need a top hole and a ribbon loop; double-sided designs look finished when hung in a window. Snowflake patterns reward careful counting—build one arm, then rotate the board and mirror it so all six arms match before you commit to ironing.
Coasters and table pieces
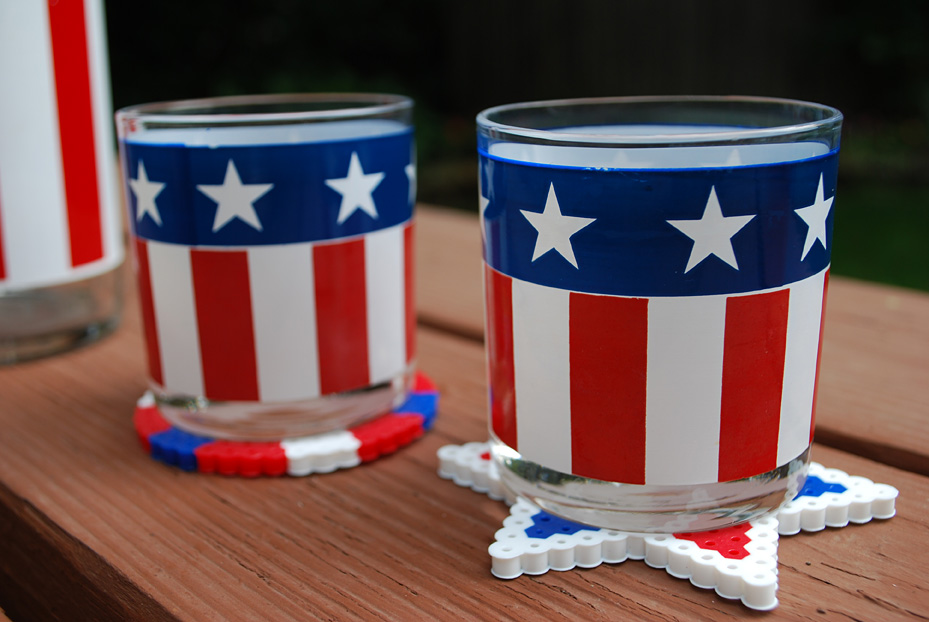
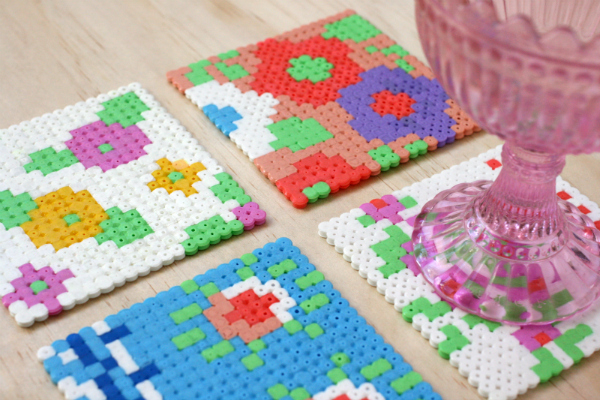
Coasters need stiffness and heat resistance beyond a thin single layer. Fuse a solid square or circle, then either glue the sheet to cork or felt, or fuse a second matching layer and sandwich them. Leave no open gaps in the drinking surface—condensation finds weak spots. Vintage-fabric looks come from carefully planned color grids that mimic woven patterns rather than cartoon icons; map the pattern on graph paper first if you want symmetry. Patriotic or holiday coasters work the same way: bold stripes and stars photograph well and teach kids to count rows.
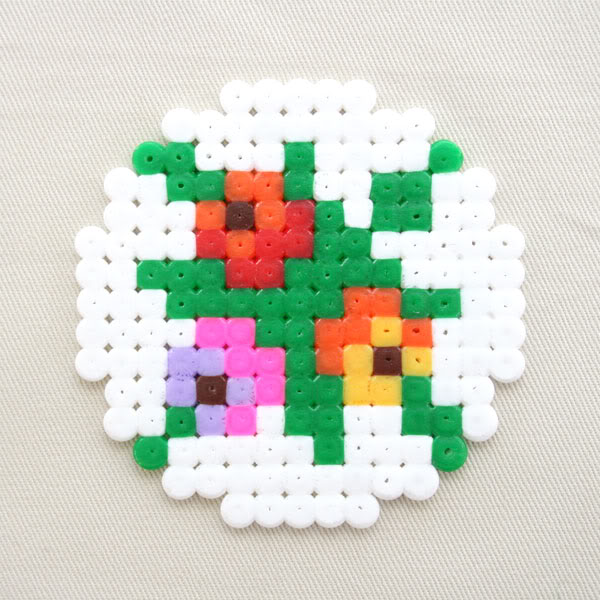
Open melt experiments
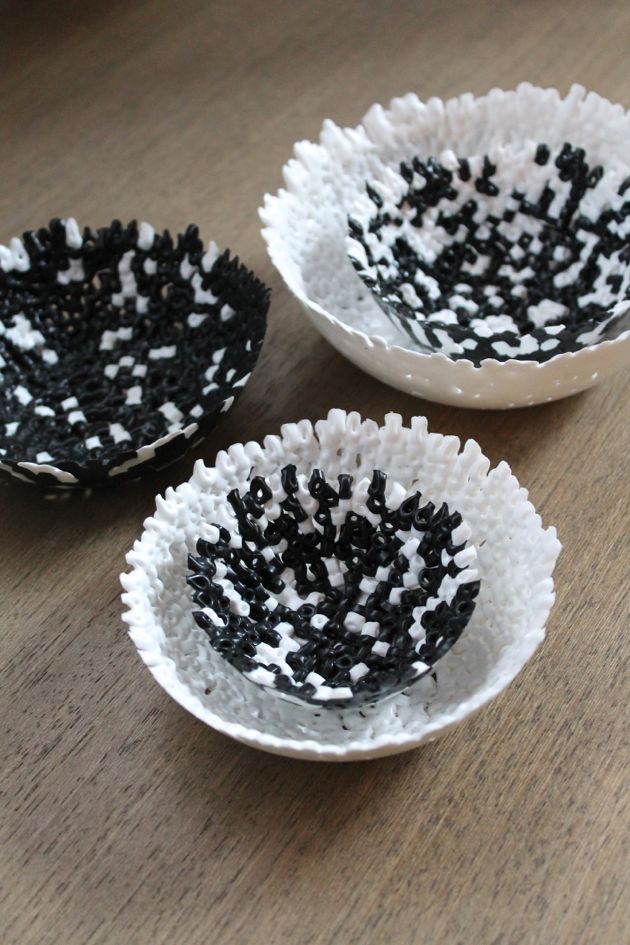
Not every project stays on the pegboard. Some makers pour beads into a metal tin or silicone mold and melt them into a free-form sheet—useful for abstract trays and “melting pot” color studies. Use an oven-safe tray only, follow temperature guidance for your bead brand, and never leave the oven unattended. Cool completely before demolding. These pieces are thicker and more unpredictable than pegboard work; treat them as experiments, not precision jewelry blanks.
A simple session plan
- Sort beads by color; sketch the motif on graph paper or count pegs on the board.
- Build the outline first, then fill—outlines catch errors early.
- Iron under parchment; cool under a heavy book for flatness.
- Finish: sand edges, add hardware, or mount on cork or cardstock.
Batch nights work best when you separate building from ironing. Fill three boards while a movie plays, then iron all three in one focused stretch so heat timing stays consistent. Label bags of finished charms by holiday so December you are not rebuilding snowflakes from scratch. Keep a small “repair kit”—extra jump rings, ribbon scraps, cork squares, and sandpaper—beside the bead trays.
Pick one wearable and one household piece for your first evening—say a bracelet and a coaster—so you practice both light and heavy fusing. Once the iron timing feels familiar, snowflake ornaments and pixel coasters stop being special projects and become a repeatable craft you can batch for gifts without buying a new hobby shelf.

Comments
Continue reading
DIY Ideas for Old Socks: Rugs, Puppets, Mittens, and More
Sort leftover socks by fiber, then turn them into braided rugs, hand puppets, soft toys, mittens, and pin cushions with practical cutting and sewing tips.
DIY Ideas with Lace Doilies
Upcycle heirloom lace doilies into framed art, runners, pillows, lamps, and more—practical craft projects that keep the crochet visible.
Toilet Paper Roll Crafts: Organizers, Toys, and Ornaments
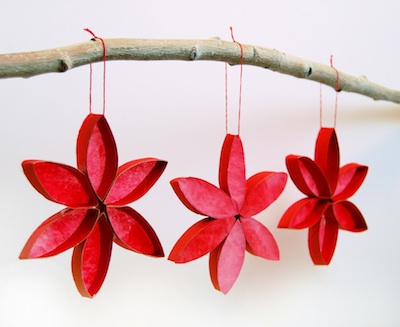
Cardboard tubes become pencil holders, wreaths, cord cubbies, monsters, race cars, ornaments, and more—structural DIY distinct from magazine-page crafts.