
One-of-a-Kind DIY Tablet Cases You Can Actually Sew
Measure your device, pick fabrics and padding, then build a sleeve, wrap, envelope, or soft folio that protects glass without another store-bought black cover.
A tablet or e-reader already costs enough. A case should protect the glass, survive a bag, and feel like something you chose—not another anonymous black sleeve from a checkout rack. Making your own case is practical craft: you control size, padding, closure, and fabric, and you can repair it when a seam finally gives. This guide walks through approaches that match the classic DIY tablet-case ideas people have sewn and folded for years—soft sleeves, wrap covers, envelope clutches, and simple folios—without turning the page into a shopping maze.
Measure twice, cut once
Start with the device on the table, not with a Pinterest fantasy. Measure height, width, and thickness including any slim keyboard folio you actually use daily. Add ease: typically 1–2 cm (about ⅜–¾ inch) total beyond the device footprint for a snug sleeve, more if you want room for a thin microfiber cloth. For wrap or envelope styles, measure the path the fabric will travel around the tablet—front, spine edge, back—and add seam allowance plus overlap for the closure.
Trace the outline onto paper to make a reusable pattern. Mark which edge is the opening. If your tablet has an uneven camera bump, note it so padding does not press a hard spot into the lens. Write the model name on the pattern; devices change size quietly across generations, and “iPad” is not a measurement.
Materials that earn their keep
Outer fabric takes abrasion: canvas, denim, upholstery remnants, waxed cotton, or sturdy quilting cotton all work. Lining should be smooth so the device slides without catching—broadcloth, quilting cotton, or a soft flannel for e-readers. Between them, add protection: fusible fleece, thin foam, or a layer of batting. Too much bulk fights zippers and flap closures; too little turns the case into a fabric envelope with optimism.
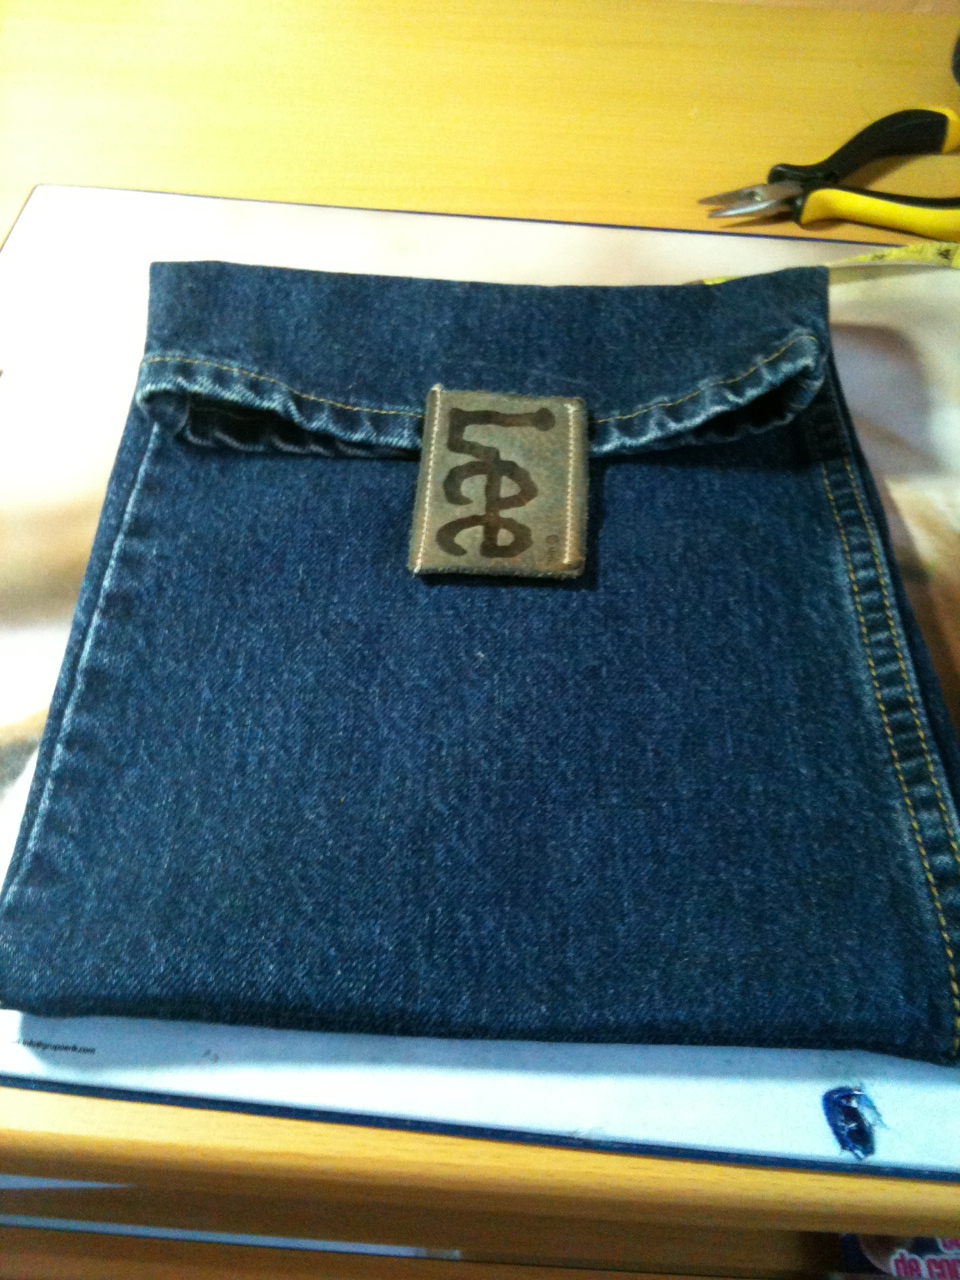
Hardware is optional but useful: a zipper for dust resistance, a magnetic snap or button for envelopes, elastic for wraps, ribbon ties for soft closures. Avoid metal parts that can scratch glass if they sit against the screen face. If you recycle leather from an old bag or jacket, skive thick edges and round corners so they do not dig into the tablet.
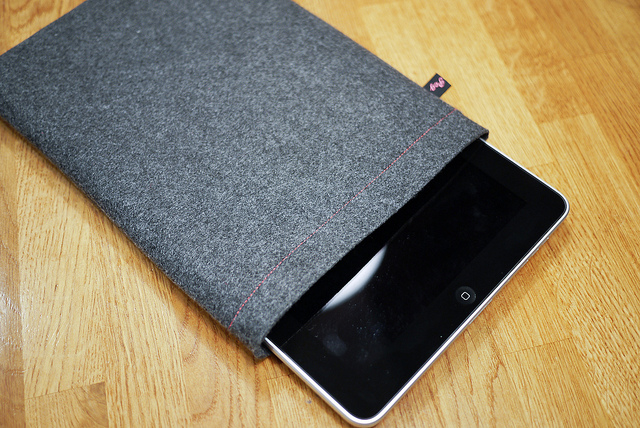
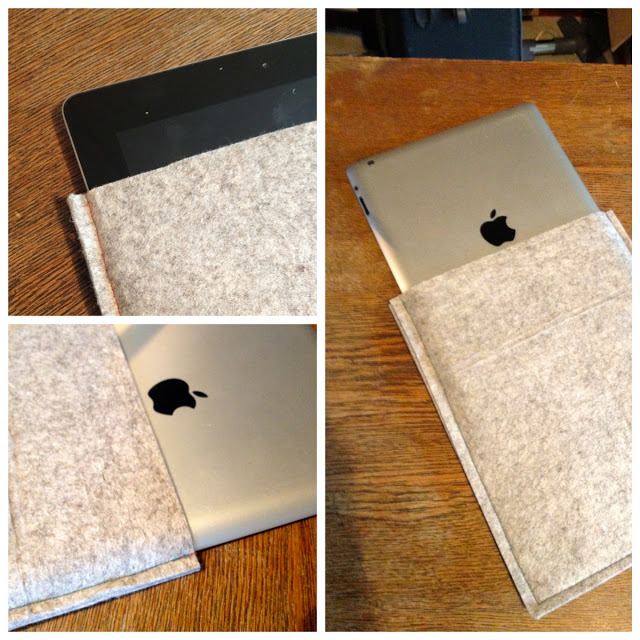
Style 1: The padded slip sleeve
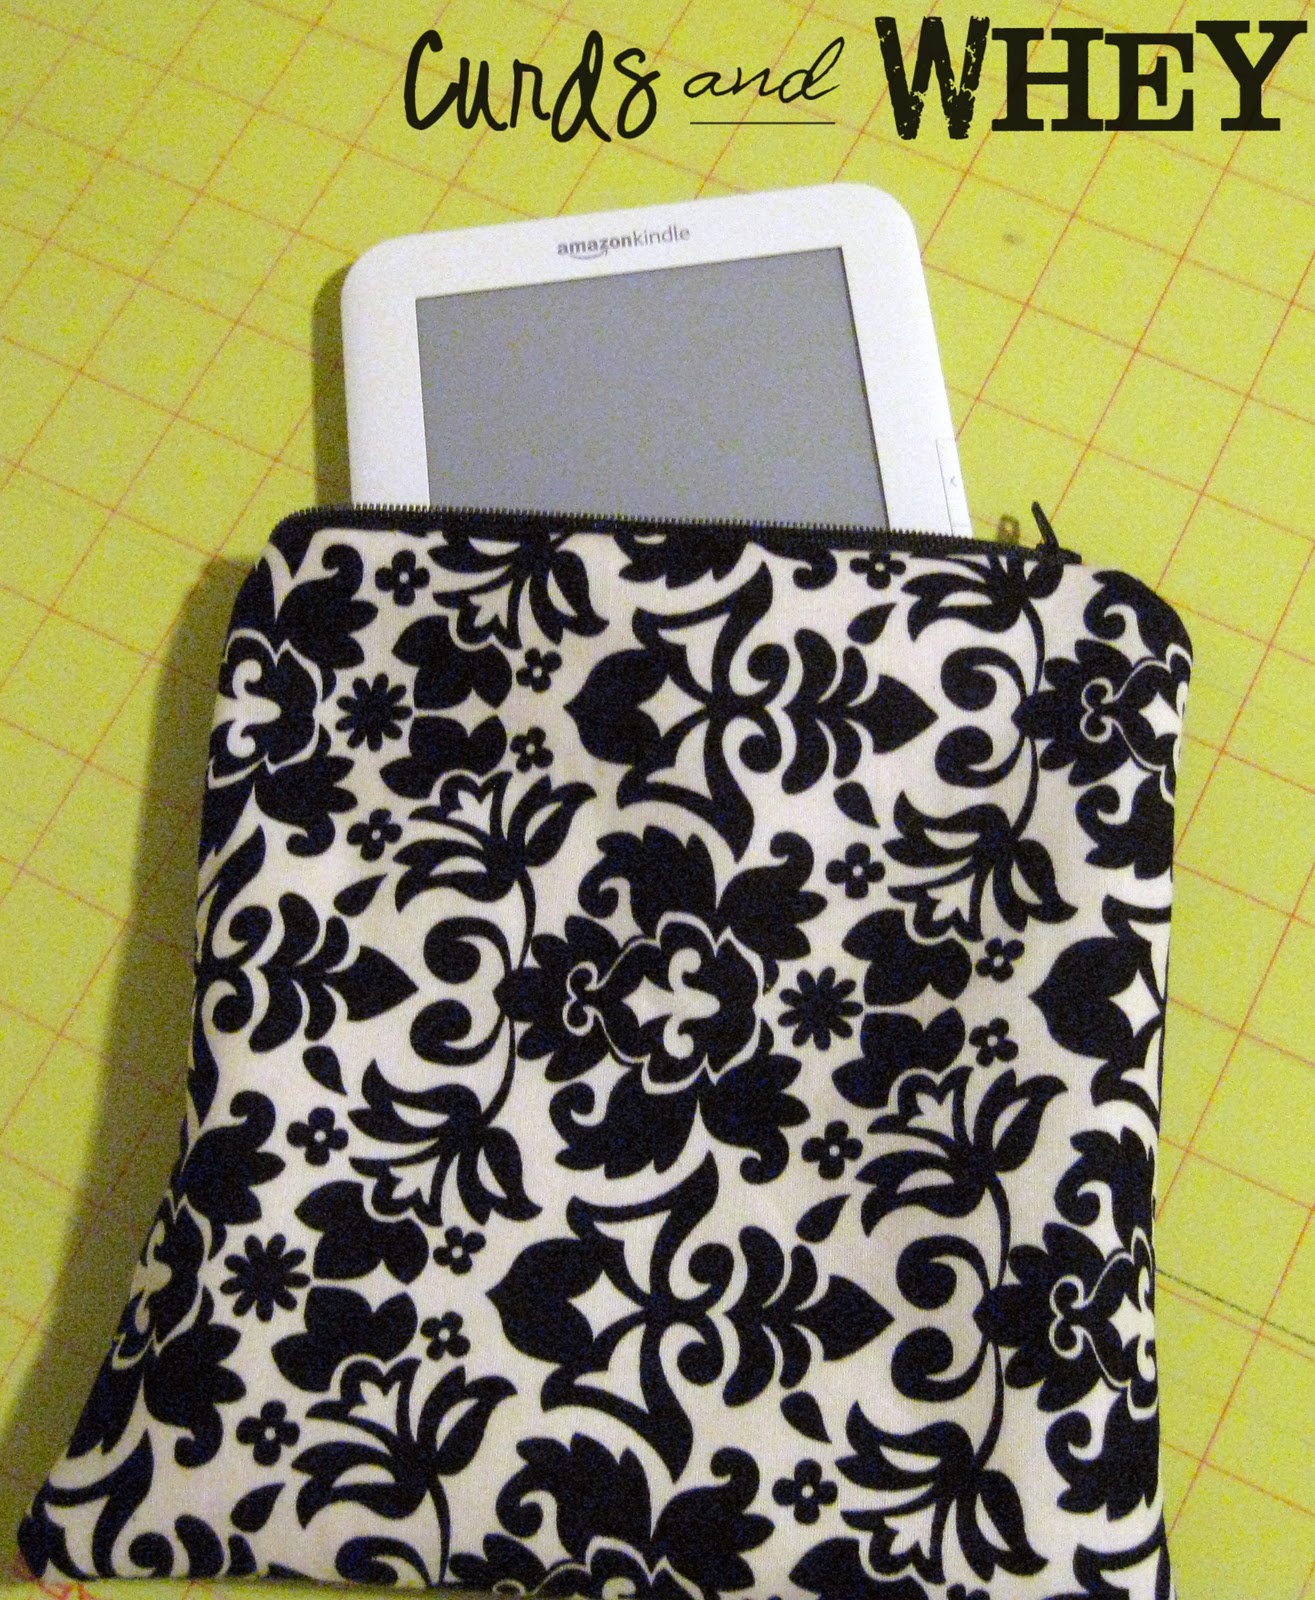
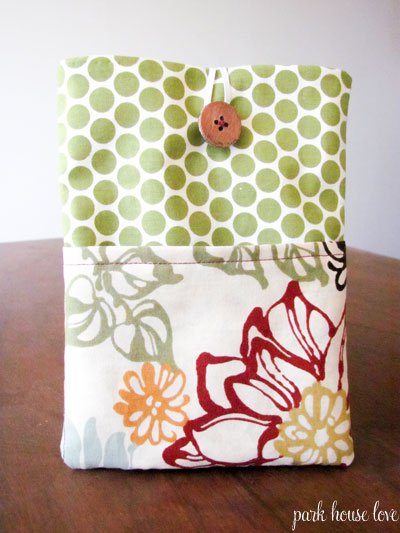
This is the fastest useful case. Cut outer, batting, and lining rectangles to your pattern. Quilt or baste the batting to the outer fabric so it does not shift. Sew outer pieces right sides together along three sides; repeat for lining, leaving a turning gap if you will bag the lining. Nest lining into outer, finish the opening with a clean binding or a turned hem, and topstitch. Optional: a short zipper across the opening, or a flap that folds over the top edge.
Test fit early with scrap fabric. A sleeve that needs a wrestling match will eventually stress ports and buttons. A sleeve that flops around will let corners take impacts. Aim for a firm handshake, not a straitjacket.
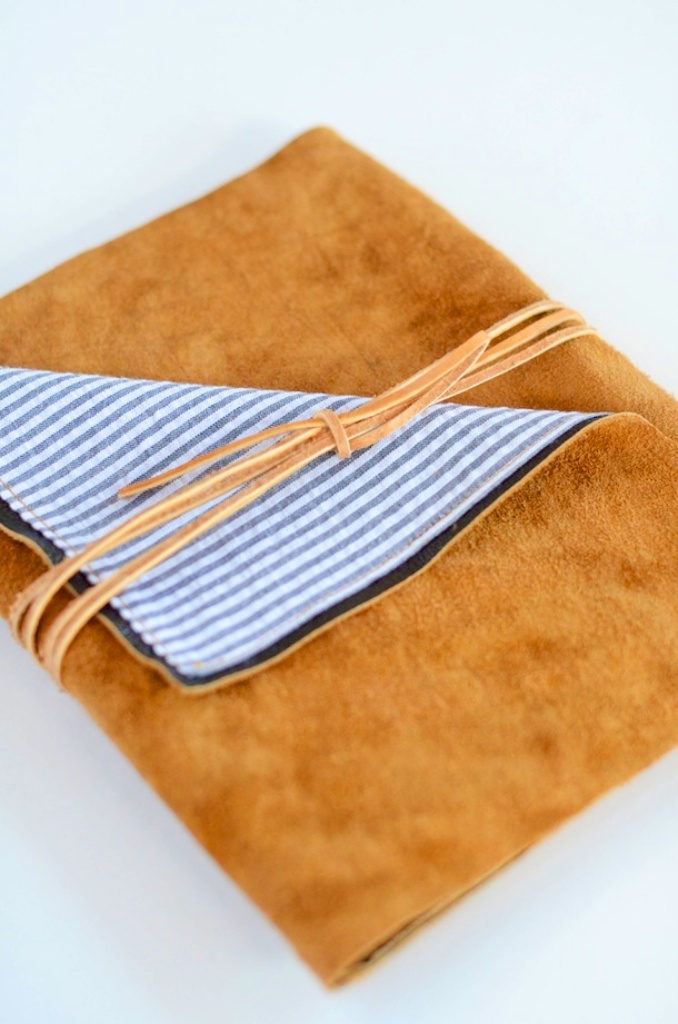
Style 2: The wrap cover
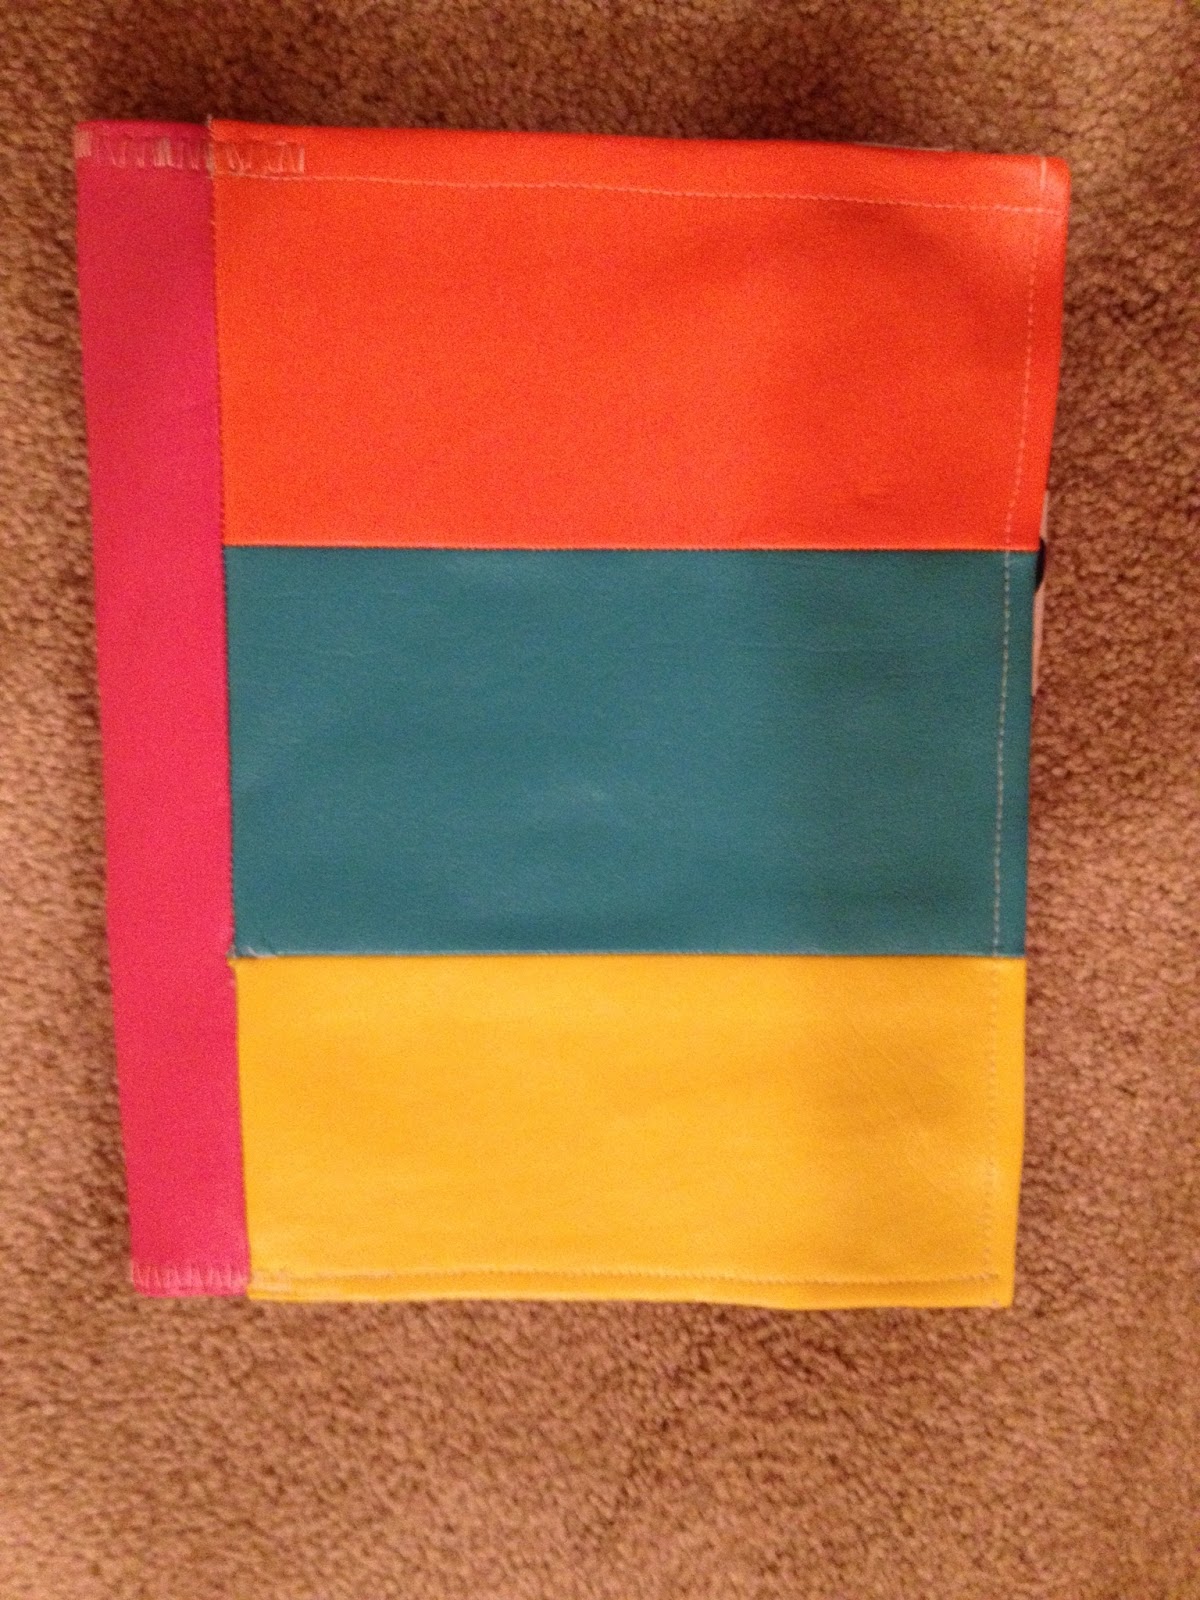
Wraps shine when you want something that opens flat like a book cover or rolls around the device with a strap. Cut a long rectangle: tablet width plus margins, by a length that covers front and back with overlap. Interface the outer fabric if it is soft. Add an interior pocket or elastic corners to hold the tablet. Close with a band, tie, or snap tab.
Leather and pleather wraps look sharp and age well if edges are finished. Cloth wraps wash better. Either way, keep the inner face free of abrasive seams. A wrap is also forgiving for odd sizes—Kindles, older tablets, small Android slates—because you adjust overlap instead of rebuilding a boxy sleeve.
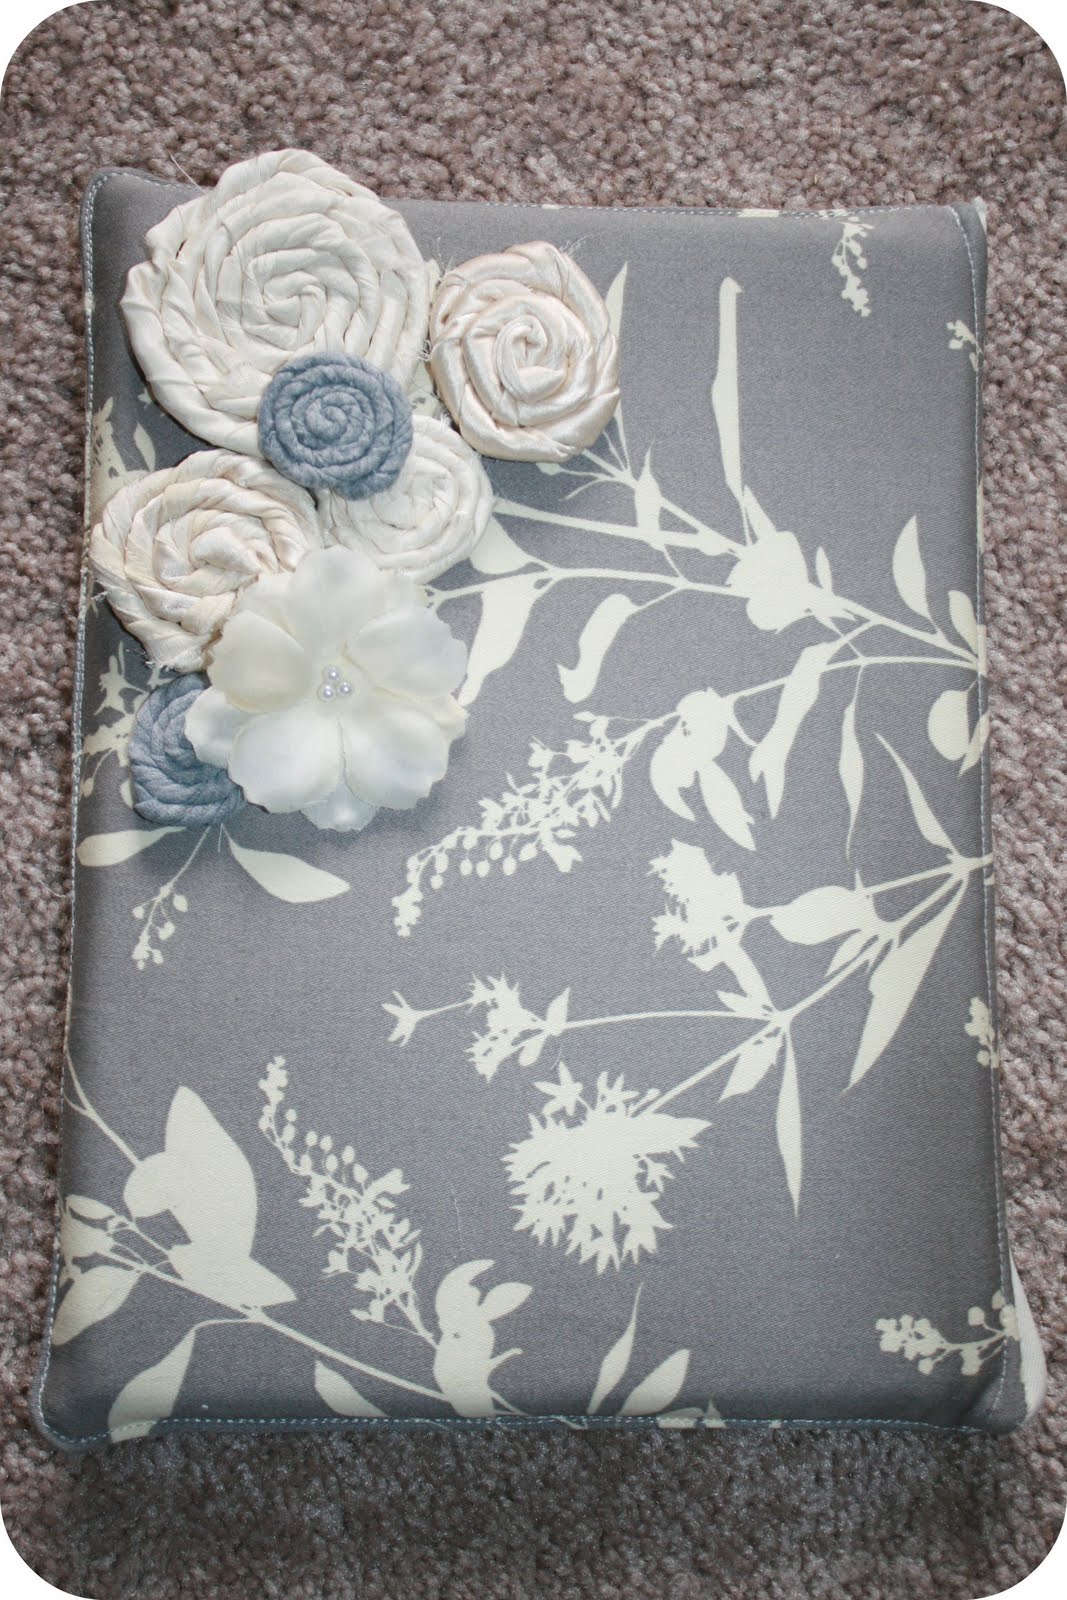
Style 3: Envelope and clutch forms
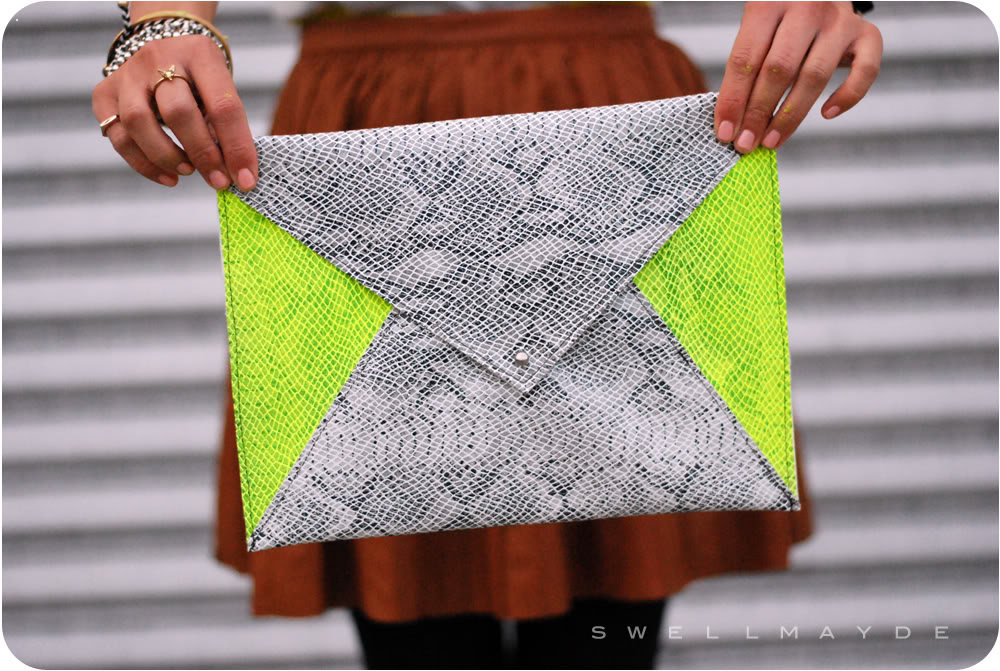
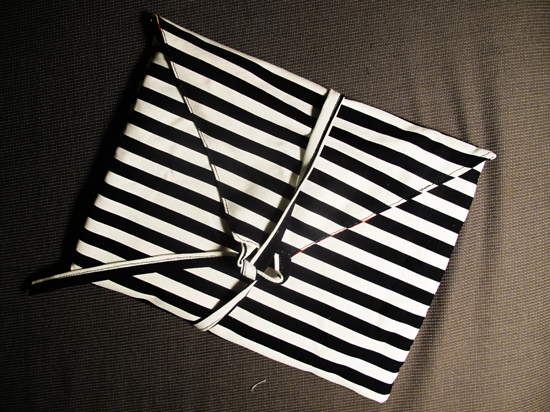
Envelope cases borrow from clutch construction: a folded body, a triangular or rectangular flap, and a single closure. They look intentional on a desk and slide into larger bags. Reinforce the flap fold with interfacing so it does not collapse. If you want standing stability on a table, add a firmer insert—thin plastic sheet or cardboard covered in fabric—only on the back panel, never where it can press hard against the screen without padding.
Neon trims, contrasting flaps, and bold prints work especially well here because the silhouette is already familiar. Keep interiors calm and smooth; save the visual noise for the outside.
Style 4: Simple folio with stand option
A soft folio mimics commercial covers: front and back panels hinged along one long edge, tablet held by elastic corners or a shallow tray pocket. If you want a viewing stand, sew a discreet strap or triangular fold on the back panel that props the folio at a reading angle. Do not force a rigid origami stand out of fabric that cannot hold shape; use a stiffened panel or accept a sleeve-only design.
Folios are excellent for note-taking tablets because they open like a notebook and protect the screen face-to-face with the front cover. Add a pen loop only if you will actually use it; empty loops catch on bag zippers.
Sewing sequence that prevents headaches
- Make a muslin or scrap mockup and test the device fit.
- Cut fashion fabric, lining, and padding; transfer opening marks.
- Apply interfacing or quilt batting to outer pieces.
- Install zipper or closure hardware while pieces are flat whenever possible.
- Assemble outer shell, then lining; check corners for bulk and trim.
- Join shell and lining, turn, press with a press cloth, topstitch openings.
- Insert the tablet gently and check camera clearance and button access.
Press seams as you go. Bulk at corners is the enemy of a professional look; grade seam allowances and clip curves. If you are new to zippers, practice on scrap before committing to your good canvas.
Protection details people forget
Corners take the hits. Extra batting triangles or a slightly thicker foam at corners pays off. Keep hard embellishments away from the screen face. If you add a shoulder strap, reinforce the attachment with a square of interfacing so stitches do not tear out after a month of commuting.
Cleanability matters. Removable device + wipeable outer fabric beats a white linen showpiece that fears coffee. For kids’ tablets, choose darker outers and skip delicate trims. For e-readers, prioritize soft linings that will not polish scratches into the screen over time.
Finish checklist
- Device slides in and out without force.
- Screen never rests against zippers, snaps, or raw seams.
- Closure stays shut when the bag tips.
- No loose threads inside that can catch ports.
- You can identify your case in a pile of black sleeves from three meters away.
If the first attempt is slightly loose, add a thin foam shim or sew a dart rather than abandoning the project. If it is too tight, open a side seam, recut with more ease, and treat the first version as the pattern teacher it was. Handmade cases improve on the second try—and that second try is still cheaper than most name-brand covers, with the added pleasure of fabric you actually like touching every day.

Comments
Continue reading

DIY Summer Dresses You Can Sew on a Budget
Maxi conversions, tank-top bodices, sheet wraps, and low-seam knits—practical ways to sew cool weather dresses from what you already have.
15 Adorable DIY Father’s Day Gifts Worth Making
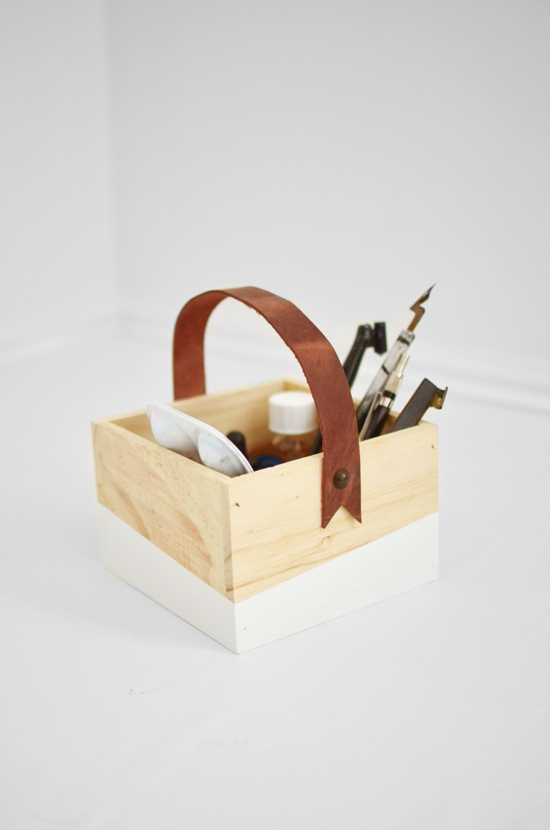
Fifteen handmade Father’s Day ideas—from etched glasses and felt sleeves to a leather-handle box and grill cover—chosen for use, not just wrapping-paper moments.
Easy Cheap Mason Jar DIY: Luminaries, Terrariums, Lamps, Dispensers, and Vases
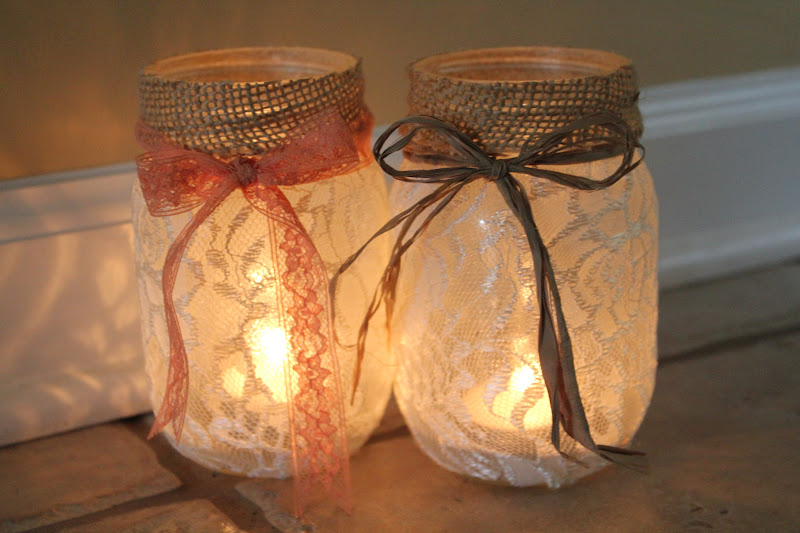
Repurpose mason jars into luminaries, terrariums, drink cups, lamps, ornaments, soap dispensers, herb planters, and vases with simple, low-cost steps.