
Cute Paper Crafts You Can Finish in an Afternoon
Practical paper-craft methods—pop-ups, frogs, flowers, stars, boxes, and cards—using scraps and clear steps, not spammy tutorial links.
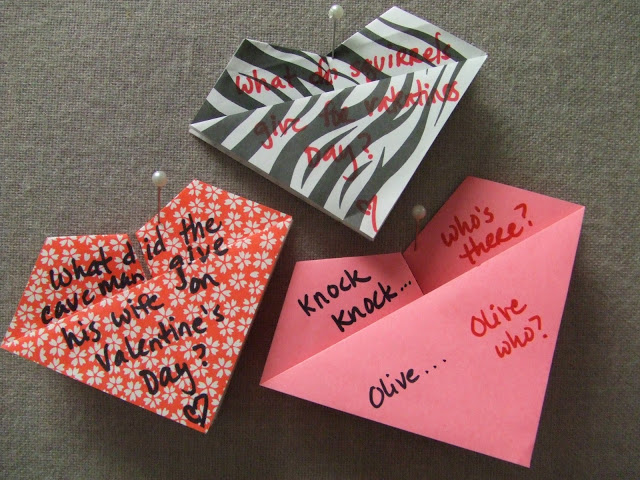
Paper crafts earn their reputation the honest way: low cost, low mess, and a finished object you can hold before the afternoon is over. You need sheets, scissors, a flat table, and patience measured in folds rather than shopping carts. Kids and adults meet in the middle—origami animals, pop-up cards, folded flowers, modular stars, simple boxes—because the material is familiar and the stakes stay kind. The projects below are practical methods you can run from scrap paper and basic tools, without a stack of outbound tutorial tabs competing for attention.
Choose paper before you choose a project
Thin origami paper folds crisply and holds sharp creases; it tears if you force wet-folds or thick layers. Printer paper works for practice animals and jumping frogs when you cut it to squares. Cardstock suits pop-up invitations, clocks faces, and wall pieces that must stand up to handling. Patterned scrapbook sheets look festive for valentine cards and hanging decorations, but score heavy folds with a bone folder or the back of a butter knife so the print side does not crack.
Start with one sheet size and stick to it for a session. Mixing tiny scraps with large panels usually produces frustration, not charm. Keep a discard pile for mis-creases; paper is cheap, and a clean second attempt looks better than a repaired first one.
Pop-up dinosaur invitations and playful cards
Pop-ups look complex and are mostly geometry plus glue control. For a dinosaur invitation, fold a card base, cut a parallel slit pair on the inner spine fold, and push the resulting strip inward to form a step. That step becomes the dinosaur’s body platform. Attach a simple silhouette—triangles for plates, a long tail, a round eye—so the creature stands when the card opens and lies flat when closed.
Test the mechanism with scrap before decorating. Glue only the tabs that must lock; excess glue welds the card shut. Write the party details on the outer panels so the interior stays a reveal. The same step-fold method builds other animals; change the silhouette and keep the engineering.
Jumping frogs and kinetic toys
A jumping frog teaches spring. Fold a square into the classic body, then build a back-leg accordion that stores energy when you press and slides when you release. Heavier paper jumps less; thin paper jumps farther but crumples sooner. On a smooth table, aim the frog at a finish line and let kids compete for distance rather than decoration perfection.
If folds wander, unfold and refold with firmer creases. Soft folds leak energy. A fingernail run along each crease is underrated technique.
Flowers, kusudama balls, and mother’s-day bunches
Paper flowers scale from a single stem in a bottle to a full bouquet. Simple versions use squares folded into petal modules, then glued at the bases around a wire or wooden skewer wrapped in floral tape. Vary paper color by layer: darker underneath, brighter on top, so the bloom has depth instead of poster flatness.
Kusudama-style balls assemble many identical petal units into a sphere. They take time and reward consistency—each unit must match, or the ball gaps. Use them as hanging ornaments or table centerpieces. For a faster win, make three flowers well rather than twelve loose ones.
Valentine hearts, joke cards, and book-page bookmarks
Heart folds are ideal short sessions. Corner bookmarks cut from book pages or scrapbook paper protect reading habits and use leftovers. A heart that peeks over a page corner needs accurate 45-degree thinking more than artistic drawing skill. Press creases flat under a heavy book for a few minutes if the paper wants to spring open.
Joke or punch-line cards can hide a second heart or a tiny folded note behind a flap. Keep text short. The fold is the entertainment; the joke is seasoning.
Stars, garlands, and hanging decorations
Modular origami stars and paper garlands turn repetition into décor. Fold many small units—lucky stars from strips, or pointed modules from squares—then string them on thread or fishing line. Alternate two colors for rhythm. Hang above a table, in a window, or along a mantel where air movement gives slight motion.
For wall art from folded paper, mount finished modules on a backing board with small foam dots so shadows appear. A grid of identical folds in shifting hues reads as intentional design; a random scatter often reads as leftover craft night. Decide the grid first, then fold toward that count.
Boxes, boats, elephants, and other object folds
A single-sheet box is one of the most useful origami skills: lids for small gifts, trays for paper clips, containers for earrings. Practice the base until your proportions stay square. Love boats and simple animal folds—elephants, cows, frogs—work as place cards or kid’s-table toys. Choose models with clear photo sequences in any standard origami book you already own; the method is the same whether the animal is cute or geometric.
Bonsai-style paper trees and Christmas tree modules lean modular: many identical leaves or branches attached to a central cone or stick. Work in batches. Assembly is where people quit; folding units while listening to something makes the pile grow without drama.
Clocks, mosaics, and lights: paper as surface
Not every paper craft is pure origami. An origami-flower clock uses folded blooms as hour markers on a plain clock mechanism from a craft aisle. Colorful paper mosaics—small folded or cut pieces arranged into a pattern—suit frames and coasters if you seal the surface. Faceted pendant-light ideas from folded geometry need fire-safe thinking: use LED bulbs only, keep paper away from heat, and treat the piece as decorative shade craft rather than a heavy lamp rebuild.
These projects shift paper from toy to household object. Measure twice. Dry-fit before glue. Leave access to batteries or bulbs.
A simple session plan that actually finishes
Pick one category for the afternoon: kinetic toy, card, flower, or décor string. Lay out paper, scissors, glue stick, ruler, and a bone folder. Fold a practice piece in plain paper, then switch to the pretty sheet. Photograph the result in daylight near a window—paper craft looks best in soft side light—and stop while you still like the hobby.
Store flat finished cards in a folder. Hang garlands in a closet where they will not crush. Keep a small envelope of spare modules for repairs. The goal is not twenty abandoned tutorials. The goal is one frog that jumps, one card that opens with a surprise, or one string of stars that makes a room feel briefly handmade.
When the table is cleared, leave a single finished piece where you will see it tomorrow. That small proof—that paper became an object—beats a browser history full of unfinished inspiration every time.

Comments
Continue reading
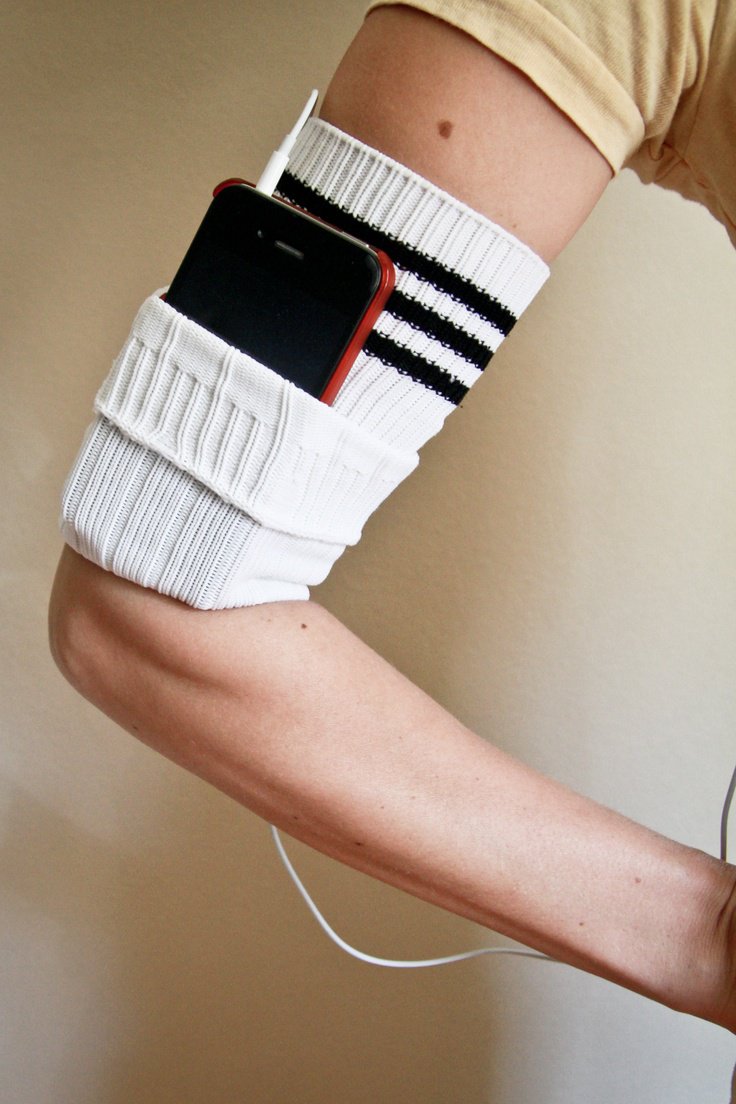
DIY Ideas for Old Socks: Rugs, Puppets, Mittens, and More
Sort leftover socks by fiber, then turn them into braided rugs, hand puppets, soft toys, mittens, and pin cushions with practical cutting and sewing tips.
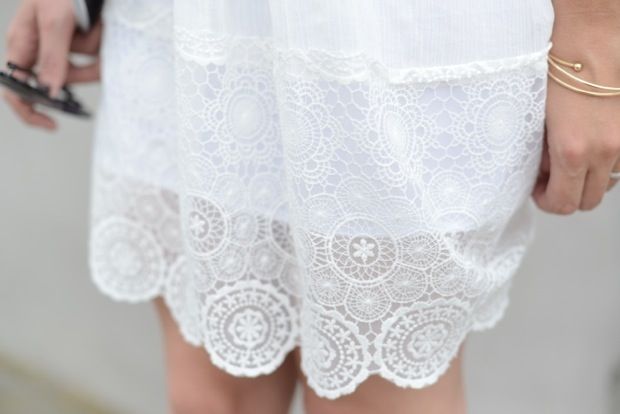
DIY Ideas with Lace Doilies
Upcycle heirloom lace doilies into framed art, runners, pillows, lamps, and more—practical craft projects that keep the crochet visible.
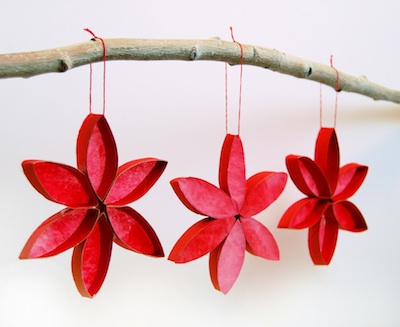
Toilet Paper Roll Crafts: Organizers, Toys, and Ornaments
Cardboard tubes become pencil holders, wreaths, cord cubbies, monsters, race cars, ornaments, and more—structural DIY distinct from magazine-page crafts.