
Refashion Sunglasses You Already Own
Paint, stones, florals, embroidery, and stripes: practical ways to customize plastic frames at home without buying a new pair every season.
A good pair of sunglasses does two jobs at once: it shields your eyes from glare and finishes an outfit the way a belt or bag does. Buying a new pair every time your wardrobe shifts is expensive, and most drugstore frames look interchangeable. Refashioning frames you already own—or a cheap base pair you do not mind altering—turns that problem into a short craft session. You keep the lenses and shape you like, then change color, texture, and detail so the glasses feel deliberate instead of generic.
This guide walks through practical ways to customize sunglasses at home: what to buy, how to prep frames, which embellishments hold up to heat and sweat, and how to keep the lenses usable. The techniques match the spirit of classic DIY sunglasses projects—embroidery, florals, rhinestones, stripes, polka dots—without needing a store haul of branded accessories.
Choose a frame worth decorating
Start with plastic or acetate frames. Metal rims can work for paint and thin adhesive details, but embroidery, heavy rhinestones, and fabric wraps grip better on plastic. Avoid frames with peeling coatings, cracked temples, or loose hinges—decoration will not fix structure. If the lenses are scratched beyond comfort, replace the pair first; pretty frames with unusable lenses are wasted effort.
Pick a silhouette that already suits your face. Round, cat-eye, wayfarer-style, and oversized squares all take embellishment differently. Busy details look cleaner on simple shapes. If the frame is already loud (tortoiseshell with thick logos), keep additions minimal: a thin painted edge or a few stones at the outer corners beats covering every millimeter.
Clean thoroughly before any adhesive or paint. Wash with mild soap and warm water, dry completely, then wipe the areas you will decorate with isopropyl alcohol. Oils from sunscreen and fingers are the main reason gems and paint flake off after a week.
Paint: dots, stripes, and color blocks
Nail polish and acrylic craft paint both work on plastic frames. Nail polish gives a glossy finish and thin control for polka dots; acrylics are better for stripes and larger color fields. Use painter’s tape for clean stripe edges. Remove the tape while the paint is still slightly tacky so you do not peel a dried film.
For polka dots, dip the tip of a bobby pin, toothpick, or stylus into polish and stamp lightly—do not drag. Space dots evenly along the upper rim or temples. Two thin coats beat one thick blob that never cures. Let each coat dry fully; sunglasses live in hot cars and beach bags, and soft paint will imprint on whatever they touch.
Mask the lenses carefully. Painter’s tape cut into small pieces is safer than trying to paint around glass freehand. If paint creeps onto a lens, wipe immediately with a soft cloth dampened with the solvent recommended for that paint—do not scrape.
Florals and fabric accents
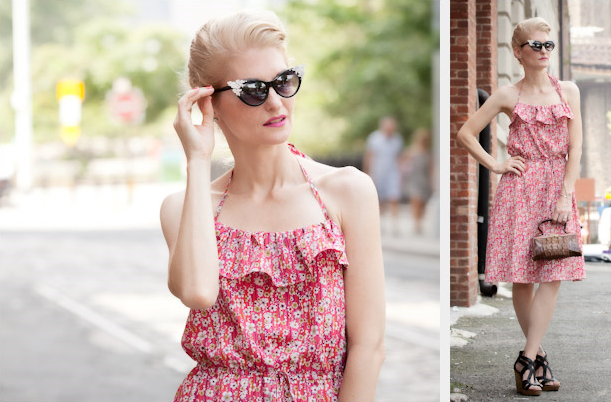
Small silk or synthetic flowers, lace scraps, and fabric leaves turn plain frames into statement pieces for festivals, photos, or a single bold outfit. Keep weight low. Glue only to the outer upper corners and temple tops so the glasses do not tip forward on your nose.
Use a clear-drying jewelry or plastic-safe adhesive, not school glue. Press each piece for thirty seconds, then leave the frames upright overnight. Trim flower stems flush so nothing pokes your forehead or hair. If you want a softer look, wrap a narrow ribbon around each temple once and secure the ends underneath where they will not rub skin.
Floral work reads best when the palette is limited—two flower colors plus the existing frame color. Matching every blouse in your closet is unnecessary; think of the glasses as one accessory that repeats a color you already wear.
Rhinestones, studs, and light sparkle
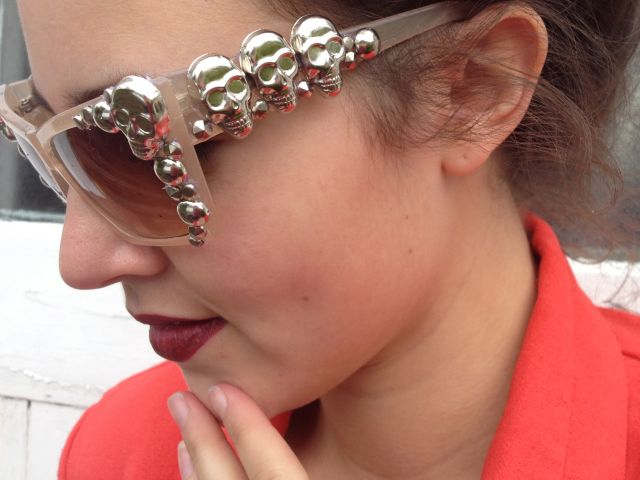
Flat-back rhinestones and small metal studs are the fastest upgrade from “basic” to “finished.” Map the layout before glue. Common patterns: a tapered line from the outer corner toward the brow, a cluster only at the hinges, or a single row along the upper rim. Symmetry matters—do one side, then mirror with a photo on your phone if your eye is unreliable.
Use gem glue or E6000-style adhesive sparingly. Excess squeezes out and dulls the stone faces. Place with tweezers, not fingers. Cure time is not optional; wearing them after an hour often means finding stones in your bag later.
Skip glass-heavy clusters on the bridge and nose pads. Anything that contacts skin should stay smooth. If a stone catches hair or clothing, sand a tiny bit of excess glue or remove that piece—comfort wins over density.
Embroidery and thread wraps
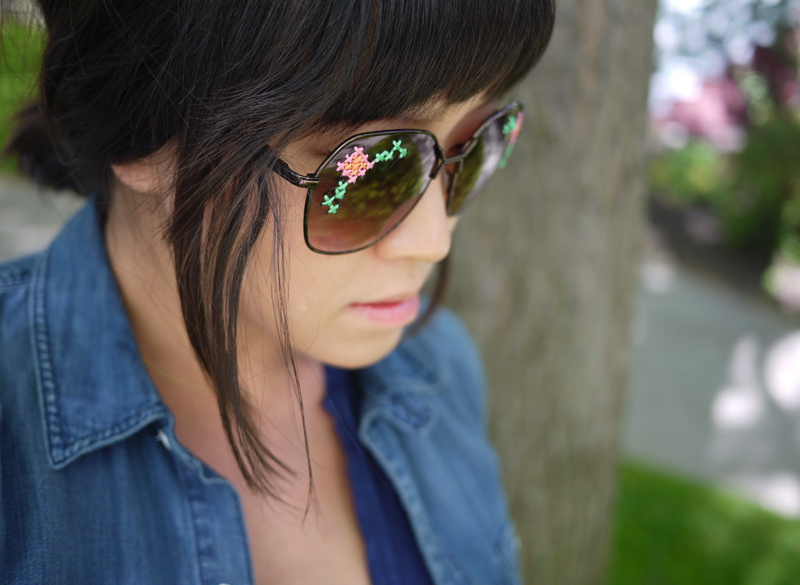
Embroidered sunglasses look intricate but use a simple idea: wrap or stitch colorful thread around the plastic rim where the frame is thick enough to hold. Some makers drill tiny holes along the upper rim and stitch through; others wrap tightly without drilling. Drilling is permanent—practice on a junk frame first, use a small bit, and go slowly so you do not crack the acetate.
Choose embroidery floss or thin cotton that will not fuzz badly. Secure the starting end with a dab of clear glue under the wrap so it does not unravel. Keep tension even; loose wraps slide and look unfinished. Cover only zones that do not rest heavily on your cheeks, or the thread will wear and discolor from skin oils.
Stripes and graphic temples
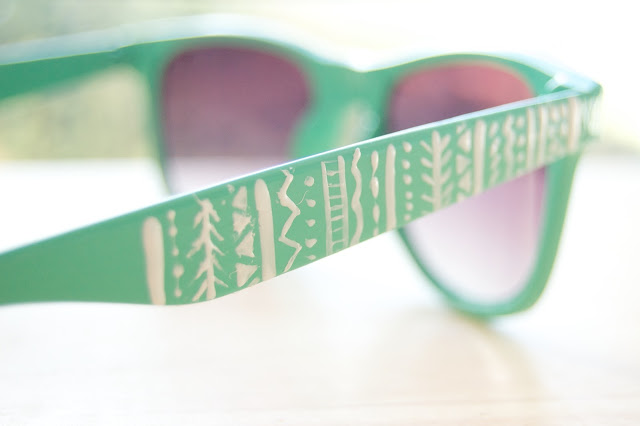
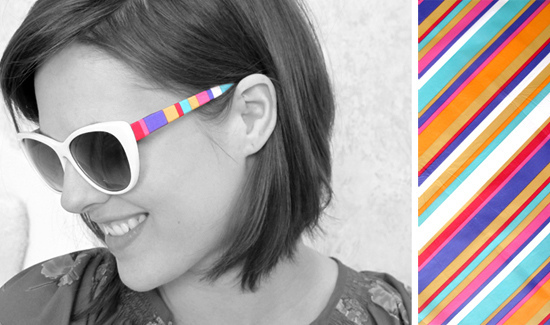
Graphic temples are ideal when you want personality that shows in profile photos but stays quiet from the front. Tape off alternating bands, paint, peel, and seal. Metallic markers designed for plastic can sketch thin lines for a lighter hand, though they scuff sooner than cured paint under a clear topcoat.
A clear acrylic sealer (matte or gloss) helps outdoor wear. Spray lightly in thin passes outdoors or in a ventilated space, holding frames so overspray does not fog the lenses. Seal after all paint and glue work is fully cured.
Fit, comfort, and everyday durability
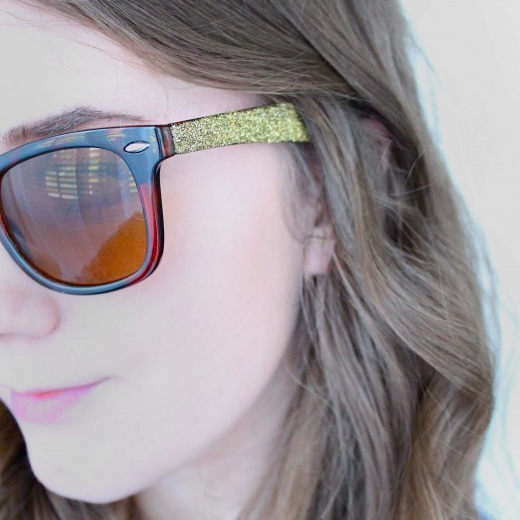
After decorating, try the glasses on for ten minutes indoors. Check for pressure points where glue ridges or thread ends meet skin. File or trim anything sharp. Confirm the arms still fold and the lenses sit level—uneven weight from one-sided embellishment can twist cheap hinges over time.
Store decorated sunglasses in a hard case when possible. Soft pouches let stones snag fabric. Do not leave freshly painted pairs on a dashboard; heat softens adhesives. Clean lenses with a microfiber cloth and lens spray, not paper towels that catch on gems.
UV protection still matters. Decoration do not change lens quality. If your base pair has no real UV filtering, treat the project as a fashion piece for shade and photos, not as eye protection for long beach days. For driving and high glare, keep a plain pair with verified UV coating.
Quick project menu
- Twenty minutes: polka dots with nail polish on black frames.
- One evening: rhinestone outer corners plus clear sealer.
- Weekend: floral temples or embroidered upper rim.
- Graphic look: taped stripes on temples only.
Work on one pair until you like the result before buying a stack of blanks. The goal is a pair you reach for because it looks like you—not because a tutorial promised a brand-name look. When the season changes, you can strip some adhesives carefully with heat and solvent, or start a second pair and keep the first as your bold option.

Comments
Continue reading
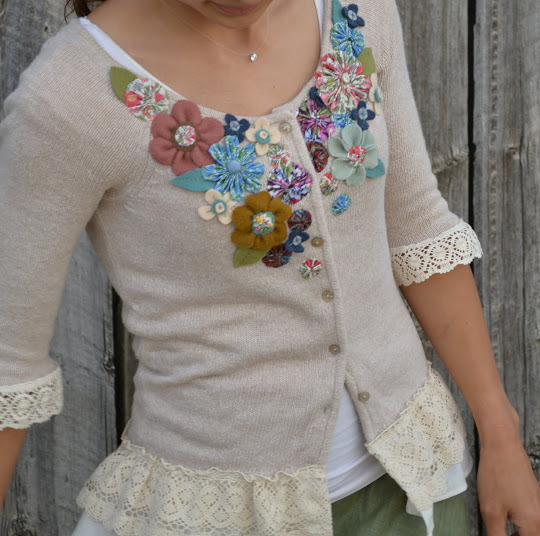
DIY Elbow Patches: Felt, Leather, Lace, and Sequin Ways to Refresh Knits
Place patches on the true elbow bend, then choose felt, leather, lace, or sequins to refashion tired pullovers and cardigans without buying new ones.
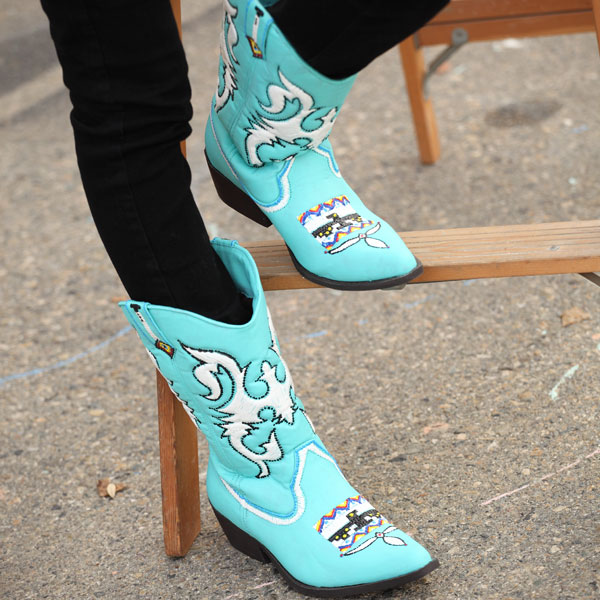
How to Refashion Old Boots: Belts, Paint, Cutouts & More
Practical ways to update boots you already own—belts, cutouts, paint, fabric, knit cuffs, and embellishment—with wearability and weather sense in mind.
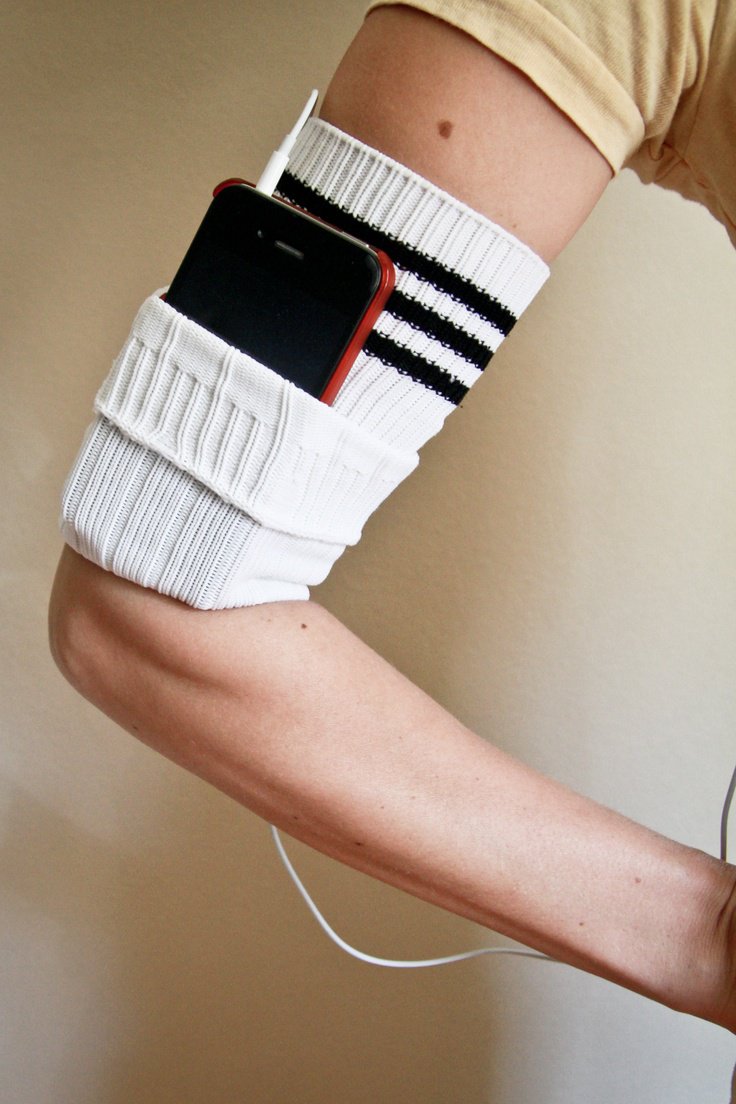
DIY Ideas for Old Socks: Rugs, Puppets, Mittens, and More
Sort leftover socks by fiber, then turn them into braided rugs, hand puppets, soft toys, mittens, and pin cushions with practical cutting and sewing tips.