
How to Refashion Old Boots: Belts, Paint, Cutouts & More
Practical ways to update boots you already own—belts, cutouts, paint, fabric, knit cuffs, and embellishment—with wearability and weather sense in mind.
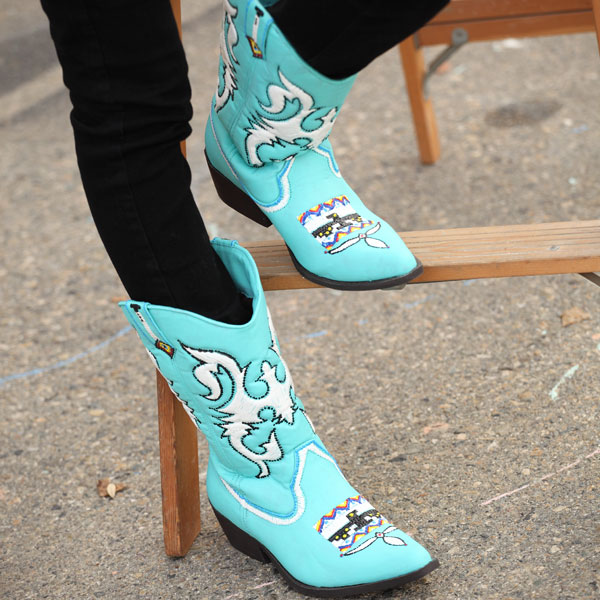
A closet clean-out often ends with one stubborn pair of boots: still solid, still wearable, somehow no longer “you.” Throwing them out feels wasteful. Buying a replacement feels dull when the leather or suede already fits. Refashioning old boots sits between those options—small changes that shift silhouette, color, and attitude without starting from scratch.
This guide gathers practical ways to update boots you already own: belts and straps, cutouts, paint and fabric, hardware, sweater sleeves, fur toppers, and bohemian layering. The goal is wearable DIY, not a craft project that never leaves the table.
Decide what the boots need
Before you cut or glue, diagnose the problem:
- Dated shaft: Too plain, too stiff, or too tall for how you dress now.
- Tired color: Scuffs, faded dye, or a shade that fights your wardrobe.
- Missing interest: The shape is fine; the surface feels blank.
- Season mismatch: Cold calves in winter, or boots that look unfinished with skirts.
Match the fix to the diagnosis. A belt cinch will not hide cracked leather; paint will not fix a broken zipper. If the sole is gone or the upper is splitting at stress points, repair first—or accept that the pair is costume-only.
Belted and strapped boots
Old belts are an easy hardware kit. Wrap a narrow belt around the ankle or mid-calf, buckle it to the side or back, and you instantly change proportion. Wide belts create a Western or moto read; thin straps feel more delicate. Use belts you no longer wear so you can punch new holes without guilt.
Tips that keep belted boots wearable:
- Choose leather or faux leather that matches or intentionally contrasts the boot.
- Avoid crushing soft suede with a belt that is too tight; pad with a thin scarf if needed.
- Secure the buckle so it does not catch skirts or coat hems while walking.
If you prefer permanence, stitch or rivet a dedicated strap through existing belt loops on the shaft—or add tiny loops with a leather needle and strong thread—so the strap stays put without daily wrapping.
Cutouts and silhouette edits
Some boots look heavier than they are because the shaft is a solid tube. Carefully planned cutouts—teardrops, arches, or a scalloped top edge—lighten the profile and show a flash of sock or skin. This works best on boots you are willing to commit to; cutting is not reversible.
Safety checklist for cutouts:
- Mark the design with chalk or removable marker while wearing the boots (or on a paper template taped on).
- Stay clear of seams, zippers, and the ankle flex zone if you need structure.
- Use a sharp craft knife on a firm insert; go slowly in multiple shallow passes.
- Finish raw edges with leather edge paint, clear sealant, or carefully melted synthetic edges only if the material allows.
If permanent cutting feels risky, start with temporary “fake” cutouts: tape a contrasting fabric panel behind a paper window template and photograph the look before you commit.
Paint, dye, and patterned fabric
Color is the fastest personality change. Leather paints and suede dyes designed for footwear hold up better than craft acrylic alone. Clean the surface, lightly scuff shiny leather, apply thin coats, and seal. Floral motifs, geometric blocks, or a dipped ombré toe can turn a basic pair into a statement without altering fit.
Patterned fabric is another route. Cut motifs from cotton or silk scraps, adhere with fabric glue or iron-on adhesive meant for flexible surfaces, and seal edges so fraying does not start at the first rain. Keep fabric patches above the sole line and away from deep creases at the ankle, where flex will crack stiff glue.
Test every product on the inside tongue or a hidden heel edge first. Suede drinks dye differently from smooth leather; what looks soft on a scrap can go blotchy on a shaft.
Buttons, lace, and “bling”
Surface jewelry is low commitment. Sew or glue vintage buttons in a climbing line up the outer shaft. Lace overlays—especially leftover from sewing projects—can wrap the cuff or cascade from the top like a temporary gaiter. Rhinestones, studs, and metal cones work on cowboy and moto styles when applied with adhesives rated for footwear vibration.
Keep weight low. Heavy chains look dramatic in photos and bruise your calves by lunch. Distribute embellishments so the outer side carries more sparkle than the inner, where rubbing against the other boot wears finishes off.
Sweater sleeves and knit cuffs
A no-sew sweater boot trick remains one of the warmest refashions: cut the sleeves from a thrifted sweater, stretch them over the shafts, and fold a cuff. The knit softens a hard silhouette and bridges the gap between boot and skirt in cold weather. Choose a sweater with some stretch so you can remove the sleeves for washing.
If you sew, baste the knit to the inner top edge with a few hidden stitches so the cuff does not migrate downward while you walk. Avoid covering vents or decorative pull tabs you still want to use.
Fur toppers and bohemian layering
Faux-fur boot toppers—bought or DIY from remnant trim—add height and coziness. Pin or snap them on so you can remove them for rain. Bohemian stacking works similarly: fringe, beaded strands, and thin scarves tied at the ankle create a festival look over plain boots. Keep knots on the outside of the leg so they do not press into bone.
These styles photograph well and also shed. If you share a sofa with pets or pale coats, choose tightly woven faux fur and shake toppers outdoors before coming inside.
Western and statement paint jobs
Cowboy and ankle boots with large flat panels invite illustration—flowers, stars, color blocking, or hand-lettered mottos. Sketch lightly, paint in layers, and seal. If the boots will see mud, keep fine detail higher on the shaft and use tougher color blocking near the toe.
Remember comfort: thick paint layers can stiffen leather. Flex the ankle while the paint is still slightly workable, and avoid sealing the flex crease into a hard ridge.
Materials that behave outdoors
Refashioned boots still need weather sense:
- Seal porous paint and fabric before wet sidewalks.
- Skip water-based glues on areas that will soak.
- Reapply waterproofing sprays compatible with your finish (test first).
- Store upright with boot shapers so new straps and cuffs keep their intended drape.
Quick decision checklist
- Is the structure sound enough for daily wear?
- Will the change still work with three outfits you already own?
- Can you reverse or tone it down if you hate it in a week?
- Did you test adhesives and dyes on a hidden spot?
- Have you sealed anything that will meet rain or salt?
If you answer yes to structure, wardrobe fit, and a tested finish, the pair deserves a second life. Start with the smallest reversible tweak—a belt, a knit cuff, a temporary lace wrap—and escalate only when that version earns its place by the door.

Comments
Continue reading
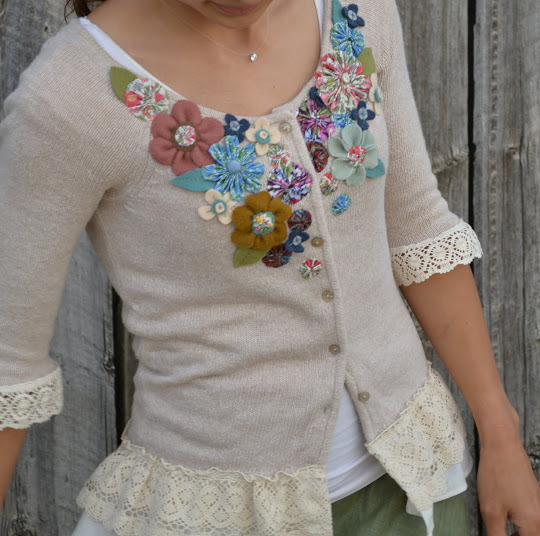
DIY Elbow Patches: Felt, Leather, Lace, and Sequin Ways to Refresh Knits
Place patches on the true elbow bend, then choose felt, leather, lace, or sequins to refashion tired pullovers and cardigans without buying new ones.
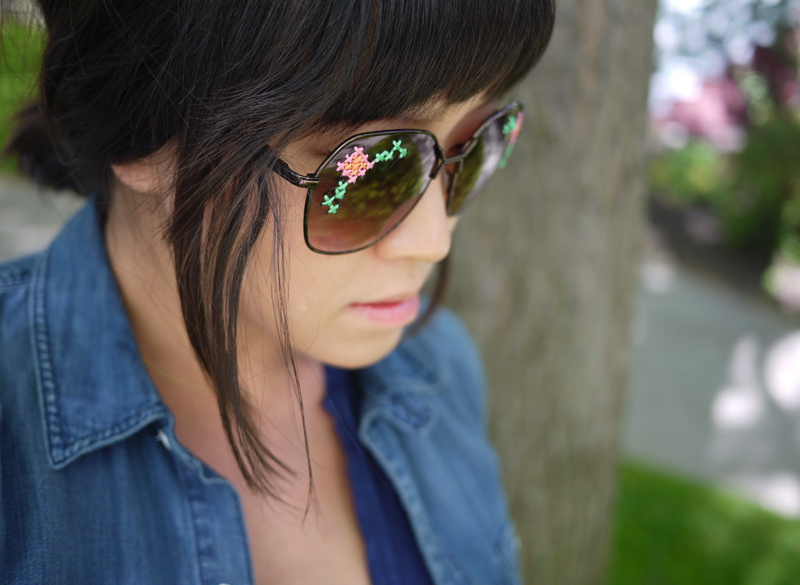
Refashion Sunglasses You Already Own
Paint, stones, florals, embroidery, and stripes: practical ways to customize plastic frames at home without buying a new pair every season.
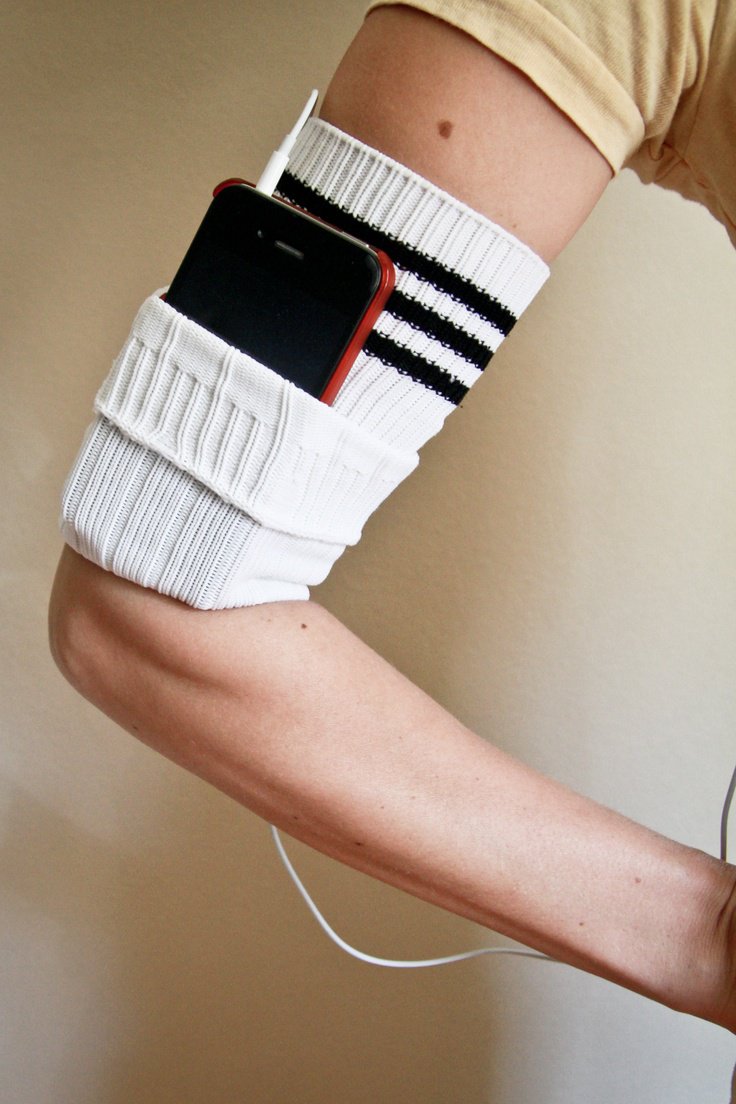
DIY Ideas for Old Socks: Rugs, Puppets, Mittens, and More
Sort leftover socks by fiber, then turn them into braided rugs, hand puppets, soft toys, mittens, and pin cushions with practical cutting and sewing tips.