
Easy Messy Bun Hair Tutorial
Step-by-step messy bun: texture, gather, wrap, pin, and loosen—plus height choices, hair-type tweaks, and a claw-clip option without a hard product sell.
A messy bun is meant to look casually gathered, not carefully sculpted. The style works for second-day hair, quick mornings, and evenings when you want length off your neck without a tight sleek knot. You do not need a long product routine—just a brush or comb, a few elastics, bobby pins, and optional texture from dry shampoo or a light mist if your hair is very silky.
The look fails when it is either too tight (a ballet bun) or too loose (a ponytail that collapses). Aim for a soft mound with a few face-framing pieces and a crown that is not painfully pulled. Practice once in good light; the second attempt is usually faster.
What you need
- A brush or wide-tooth comb
- One or two soft elastics
- Bobby pins that match your hair color
- Optional: dry shampoo, texturizing spray, or a light hairspray
- Optional: a claw clip for an alternate finish
Skip heavy gels and thick pomades if you want the unfinished look. A little grit helps; a helmet of product fights the messiness you want. If your hair is freshly washed and slippery, wait until it is fully dry or add a small amount of dry shampoo at the roots first.
Step 1: Start with workable texture
Brush through tangles, then flip your head or lightly tousle the lengths with your fingers. If the hair is glassy, mist a texturizing spray through mid-lengths and ends, or rub a pinch of dry shampoo at the crown and brush it through. You are creating friction so the bun holds without five elastics.
Decide height now. A high messy bun sits near the crown and feels sporty. A mid bun sits at the back of the head and suits most face shapes. A low messy bun at the nape looks softer and works under coats and scarves. Point to the spot with two fingers and keep that target while you gather.
Step 2: Gather without smoothing everything
Collect hair loosely toward your chosen height. Do not brush it into a perfect ponytail—leave the surface slightly uneven. Hold the hair with one hand and wrap an elastic once or twice until secure but not scalp-tight. If you feel a headache starting, loosen and rewrap.
On the last wrap, pull the hair only partway through so you form a loop (a half-bun) rather than a full ponytail. That loop is the core of many messy buns. If all the hair slipped through, no problem—you will twist the ponytail into a bun next.
Step 3: Shape the bun
Twist the ponytail or loop gently and wrap it around the elastic base. Pin as you go: insert bobby pins in the direction of the wrap, opening each pin slightly, sliding it through bun and base hair, then closing. Alternate pin directions for a stronger hold. Leave ends sticking out a little; tucking every strand creates a formal bun.
If you used a loop, fan the loop open with your fingers into a rounded shape, then pin the loose end underneath. Pull gently at the sides of the bun to widen it. Pull too hard and the elastic will slide; small tugs are enough.
Step 4: Add the “messy” on purpose
Pinch small sections at the crown and tug upward for soft volume. Pull a few short pieces free around the hairline and ears. If a section looks too perfect, twist it once and pin it slightly off-center. The goal is controlled irregularity, not bedhead that collapses by lunch.
Check the profile in a mirror. The bun should sit as a rounded shape, not a flat pancake. If it looks flat, loosen two pins, lift the center, and repin. If it looks like a ballerina knot, pull width into the sides and free more face pieces.
Step 5: Secure for your day
For desk work or a commute, add two more pins at the base where the bun feels heaviest. A light mist of hairspray on pins and surface helps without freezing every strand. For workouts, use a stronger elastic and more pins, or choose a mid bun that does not bounce as hard as a high one.
Claw-clip variation: twist hair loosely, fold it up, and clamp a medium claw clip over the twist. Pull edges for messiness. This is faster and kinder to hair than repeated elastic use, though it can slip on very fine hair—match clip strength to your density.
Adjustments by hair type
Fine hair: add dry shampoo or texturizer first; use a smaller bun so it does not look sparse; consider a thin foam doughnut only if you want more size, covering it incompletely so it still looks casual. Thick hair: secure with a strong elastic and plenty of pins; you may wrap in two stages. Curly hair: gather gently without brushing out the curl pattern; pin coil by coil; embrace irregular shape. Straight long hair: twist more firmly before wrapping so the bun does not unravel, then loosen visually with face pieces.
Short layers will spring free. That is fine—pin only the pieces that bother your eyes, and let the rest soften the style. Layers are often what make a messy bun look expensive rather than accidental.
Common mistakes
- Starting with soaking-wet hair (it stretches, then loosens as it dries)
- Using a tight sleek pony as the base, then wondering why it looks formal
- Too few pins in heavy hair
- Over-spraying until the bun looks crunchy
- Placing the bun dead-center when a slightly off-center mid bun flatters more
When to redo versus refresh
Midday collapse usually means the elastic was weak or the hair was too clean. Redo the gather rather than stacking elastics on a sliding base. Overnight, sleep on a silk or smooth pillowcase if you want to keep volume; a full redo in the morning is normal and takes under five minutes once you know your height and pin pattern.
For events, set the bun, then wait ten minutes and check for slip before you leave. Walk up and down stairs if you can; movement reveals weak pins better than a still mirror pose.
Quick reference sequence
Texture the hair. Choose high, mid, or low. Gather loosely and elastic once or twice. Twist and wrap, or open a loop into a bun. Pin through the base. Tug crown and free face pieces. Add pins where it feels soft. Mist lightly only if you need hold.
Wear it with the rest of your look kept simple—clean neckline, ordinary earrings—so the undone hair reads as intentional. If the bun feels like a chore, switch to the claw-clip twist for weekdays and save pinned versions for longer days. The style should save time, not become another perfection project.

Comments
Continue reading
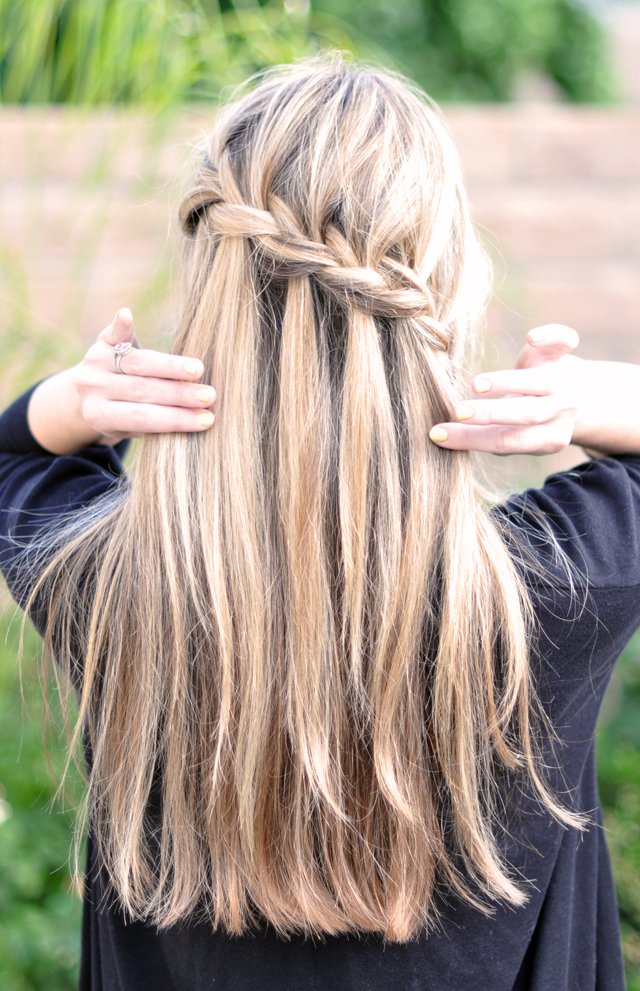
20 Easy Hairstyle Tutorials You Can Do at Home
Twenty easy styles—fishtails, twisted ponies, bow buns, victory waves, side braids, and sleek updos—with clear mirror-friendly steps for each.
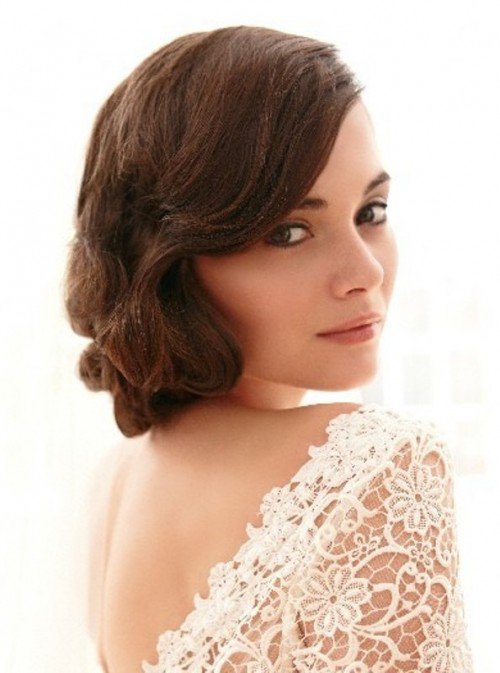
15 Vintage Wedding Hairstyles: Finger Waves, Bouffants, and Birdcage Veils
Fifteen vintage bridal hair looks—from 1920s finger-wave faux bobs to 1960s bouffants, victory rolls, and Hollywood waves with birdcage veils.
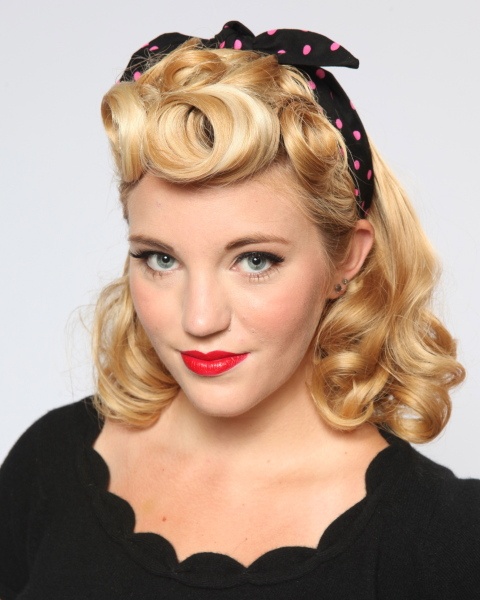
Vintage Hairstyles by Decade—Waves, Rolls, Flips, and Wearable Volume
A practical tour of 1920s waves through seventies feathers: silhouettes, tools, and how to wear period hair without a full costume.