
Mini DIY Christmas Trees for Mantels, Tables, and Small Spaces
Paper, felt, pom-pom, pine-cone, spoon, and upcycled mini trees—materials, display tips, and a simple weekend plan for a handmade holiday forest.
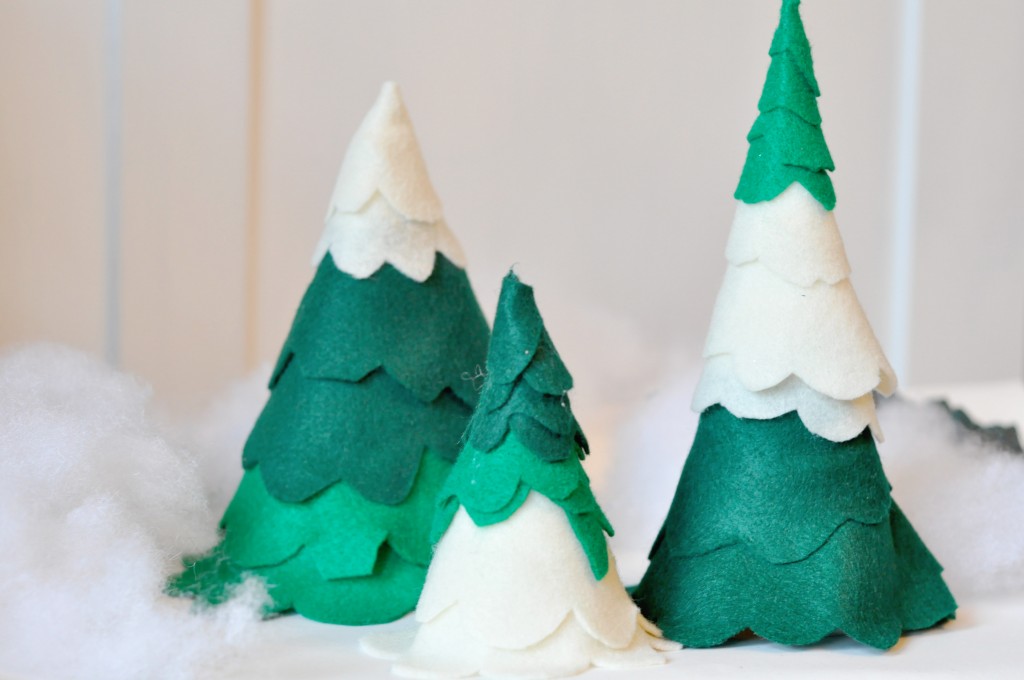
Mini Christmas trees earn their space when the full tree is already decorated, the apartment is small, or you want a centerpiece that does not shed needles on the soup. They also make good family crafts: one person cuts, another paints, someone else stacks layers while music plays in the background. Materials range from paper and felt to plastic spoons, pine cones, corks, and yarn—almost everything can become a tiny evergreen if you keep the silhouette triangular and the base stable.
Use them on mantels, bookshelves, place settings, gift stacks, and window sills. A group of three at different heights usually looks more intentional than a single lonely cone. The methods below cover fast kids’ versions, sewn and crocheted keepsakes, paper architecture, and a few upcycled oddballs that guests will ask about. Pick one technique for a calm evening or run a mixed “tree factory” weekend and fill a whole tray.
Paper, origami, and magazine trees
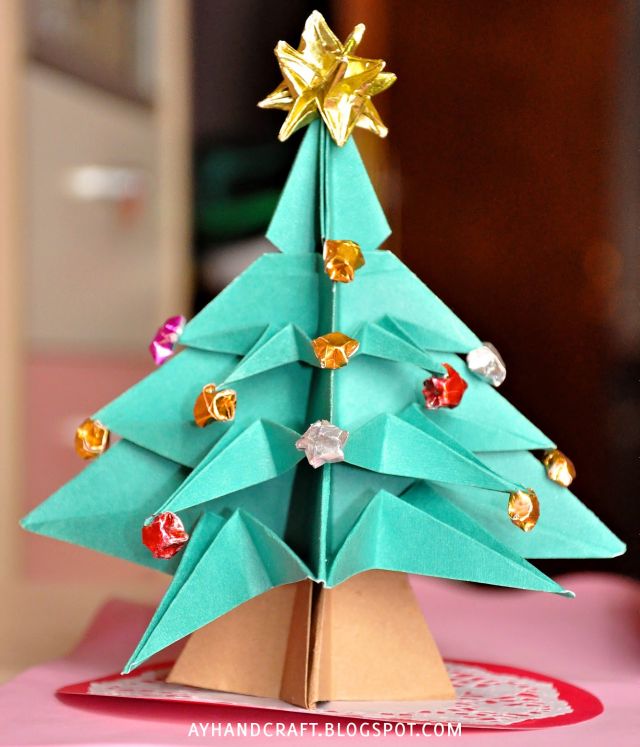
Folded paper trees are the fastest path to a forest. Stack graduated squares or circles of green cardstock on a skewer or dowel, largest at the bottom, and finish with a star punch or a bead. Accordion-fold fans glued into cones work when you want volume without a pattern. Origami modular trees reward patience: crisp creases matter more than fancy paper, though metallic or patterned scrapbooking sheets photograph beautifully for holiday cards. Score folds with a butter knife and ruler if kids’ creases wander; sharp edges stack cleaner.
Magazine trees recycle reading material into spiral or stacked forms. Roll pages into tight cones, trim into tiers, or fold pages of an unwanted catalog into a standing tree shape and spray with a light sealant if you want less smudging. Keep these away from open candles; paper and flame are a poor pairing on a dining table. Number the trees with small tags if you are making place cards—guests can take theirs home as favors.
Scrapbook-paper and chevron trees look graphic on a modern table. Cut triangles, score a center fold for dimension, and mount on painted wood blocks or corks. Ombre gold or white-to-green gradients read festive without traditional prints. If you are making a dozen for place cards, cut with a template and write names on the base rather than the foliage. A dab of hot glue under each base stops a draft from the door from toppling the row.
Felt, fabric, and yarn
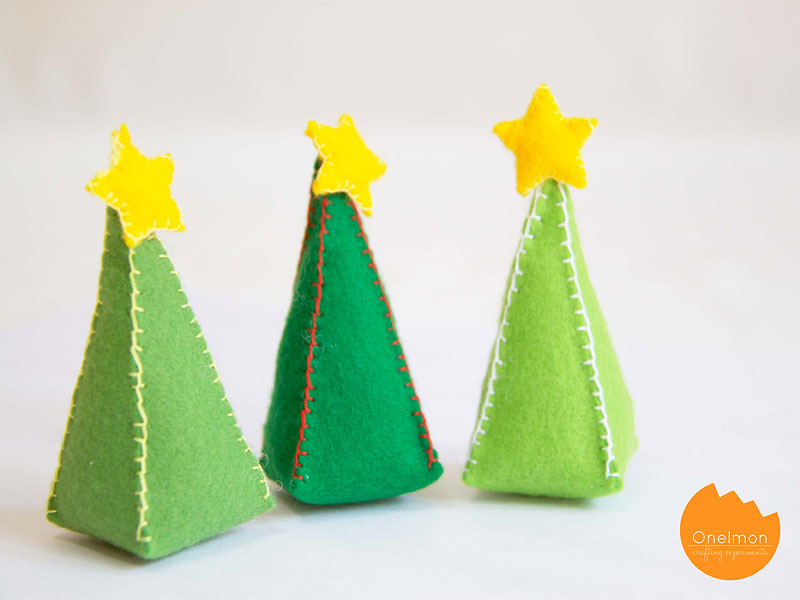
Felt trees sew up quickly and survive packing boxes year after year. Cut identical tree shapes, stitch around the edge, and stuff lightly—or layer felt “shingles” on a cone form for a textured silhouette. Leave a loop if you want some as ornaments and others freestanding on wooden discs. No-sew versions use fabric glue; reinforce stress points with a few hidden stitches if kids will handle them. Mix two greens in one tree for depth without buying fancy prints.
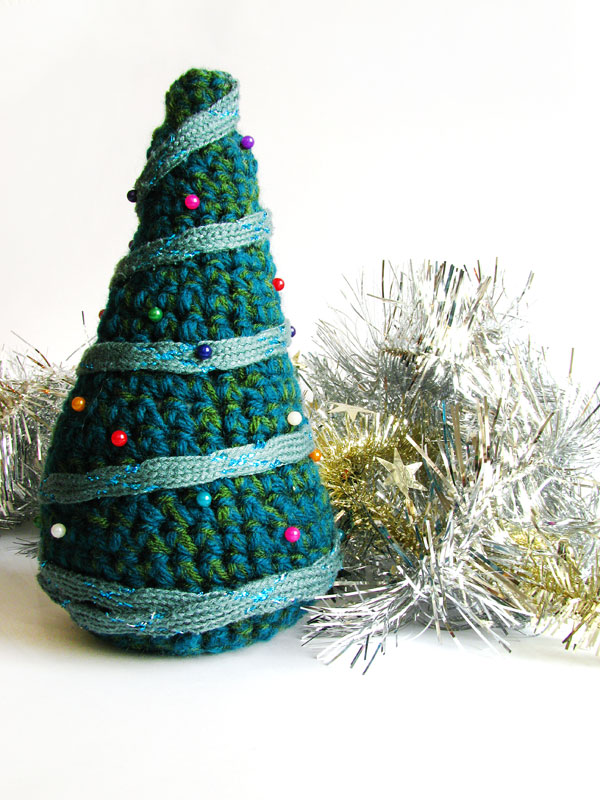
Pom-pom trees are pure texture: make graduated green pom-poms, stack on a stick in a pot of pebbles or floral foam, and add a tiny star. Crocheted cones or stacked crochet circles suit makers who already have yarn out for gifts. Choose washable fibers if the tree will live near a kitchen where spills happen. Fabric scrap trees—raw-edge triangles on a cone—use leftover quilting cotton and look charmingly imperfect. Save leftover yarn tails for a tiny garland wrapped around the finished stack.
Faux bottle-brush or flocked mini topiaries from craft stores can be customized: spray a light flocking, add tiny ornaments, or nestle them in painted terra-cotta. They bridge store-bought speed and handmade character when December weekends disappear. A single painted pot unifies mixed tree styles so the tray reads as a set rather than leftovers.

Upcycled and nature-based trees
Plastic-spoon trees sound unlikely until you see the layered petals of white or green spoons hot-glued around a foam cone. Paint the spoon backs first, work from the bottom up, and wear eye protection if spoons snap. Stick trees—twigs bound into a triangular frame or glued flat onto cardstock—suit forest walks and kids who like collecting. Pipe-cleaner trees twist in minutes: spiral green cleaners around a pencil, flare the branches, plant in a clay base. These are ideal for classrooms where drying time has to be short.
Pine-cone trees need only upright cones, a wash of white paint or glitter on the tips, and a star bead. Sort cones by size for a mantel row. Cork forests plant short twigs or tiny bottle-brush sprigs into wine corks for a table scatter that doubles as place markers. Book-page or sheet-music trees suit readers who cannot bear to toss damaged volumes—fold pages, trim a tree profile, and leave the spine as a stand when the method allows. Seal glitter projects outdoors or over newspaper; December vacuuming is festive enough already.
Where and how to display them
- Cluster odd numbers on a tray with battery tea lights (never open flame beside paper or felt).
- Use mini trees as gift toppers tied with twine; the recipient gets décor and wrapping in one.
- Line a windowsill with matching heights for a simple street-facing display.
- Give kids one “messy materials” station (glue, glitter) and keep sewing projects at a second table.
- Store flat paper trees in envelopes labeled by year; store 3D trees in shoeboxes with tissue so tips do not crush.
- Vary height with books or cake stands under some trees instead of buying risers.
Color stories help a mixed-material forest feel planned: all white and silver, all natural wood and kraft, or classic green with one red accent per tree. Mixing every craft-drawer color at once usually looks chaotic rather than collected. If relatives are visiting, put the sturdiest trees at the front of the mantel and fragile paper ones toward the back.
A weekend plan for a whole set
Friday night: gather cones, corks, scrap paper, and any leftover felt. Saturday morning: cut templates and paint bases while coffee brews. Saturday afternoon: assemble one technique per person so you end with variety instead of five identical cones. Sunday: arrange the mantel, photograph the group for next year’s inspiration folder, and wrap one tree for a neighbor.
You do not need thirty trees to feel festive—five well-made ones on a tray will carry the room. If a glue step goes sideways, trim the attempt into a gift tag or flat ornament and start the next silhouette fresh. Keep a small tin of stars, beads, and leftover ribbon by the craft table so finishing details do not require another store run. By the time guests arrive, the mini forest should look like it grew there on purpose.

Comments
Continue reading
20 DIY Advent Calendar Tutorials to Make Before December
Twenty handmade advent calendar projects—felt envelopes, shipping tags, take-out boxes, sock lines, jars, magnets, and pocket walls—for a crafty Christmas countdown.

Homemade Christmas Gifts Worth Making
A practical guide to DIY Christmas gifts—wearables, home projects, kids’ crafts, batchable jar gifts, and upcycled ideas—built around people, not link lists.
13 DIY Christmas JOY Sign Tutorials for Mantels and Walls
Thirteen ways to make Christmas JOY signs—Mod Podge, glitter, string art, plaid letters, chalkboard, tin luminaries, yarn wrap, and more—with materials and steps for each.