
13 DIY Christmas JOY Sign Tutorials for Mantels and Walls
Thirteen ways to make Christmas JOY signs—Mod Podge, glitter, string art, plaid letters, chalkboard, tin luminaries, yarn wrap, and more—with materials and steps for each.
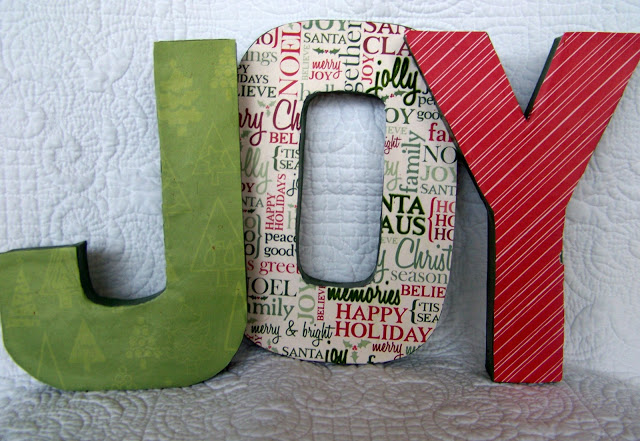
Holiday décor does not need a full craft room or a big budget. A simple Christmas “JOY” sign—three letters, a board, and a finish you already like—can anchor a mantel, fill an empty wall, or greet guests by the door. The word is short enough for beginners and flexible enough for almost any material: wood, yarn, tin, chalkboard, lights, or glitter.
Here are thirteen tutorial-style approaches to pretty Christmas JOY signs. Each one walks through materials, steps, and styling notes so you can make a version that matches your home. Keep the local image below as a mood reference, then pick the technique that fits your tools and timeline.
Christmas JOY sign inspiration
1. Mod Podge paper collage JOY sign
Start with a flat wood plaque or scrap board sanded smooth. Cut festive scrapbook paper, sheet music, or gift wrap into letter shapes using stencils or printed templates for J, O, and Y. Brush a thin coat of decoupage medium on the board, lay each letter, smooth out bubbles, and seal with two more coats. Dry thoroughly between layers.
Edge the board with a contrasting paint stripe or ribbon. Hang with sawtooth hangers or lean it on a mantel beside greenery. This method is forgiving: small tears disappear under another coat of medium.
2. Glue-and-glitter holiday JOY
Trace large letters on cardboard or thin wood, cut them out, and cover the fronts with white craft glue. While the glue is wet, pour fine glitter over each letter, shake off excess, and let dry overnight. Seal with a clear spray so glitter does not shed onto furniture.
Mount the letters on a painted board or hang them individually on a garland. Silver and gold read classic; red glitter pops against white walls. Work over newspaper and wear an apron—glitter travels.
3. Simple painted wood JOY board
Cut or buy a rectangular board, sand, and paint a solid base—cream, charcoal, or soft green. Transfer letter outlines with carbon paper or a stencil, then fill with acrylic craft paint. A flat brush keeps edges crisp; a liner brush fixes corners.
Distress lightly with sandpaper on the edges for a farmhouse feel, or leave the paint sharp for a modern look. Add a small evergreen sprig tied with twine at one corner for texture without clutter.
4. Lighted JOY letters
Use hollow paper-mâché or wood letters with room for battery fairy lights. Drill or punch small holes along the letter faces, feed a thin light strand through, and hide the battery pack on the back with tape or a small pouch. Choose warm-white bulbs for a soft glow.
Display on a mantel where cords are not a trip hazard, or hang against a dark wall so the letters read clearly at night. Never use plug-in lights on flammable paper without proper fixtures and supervision.
5. JOY string art on wood
Paint a board, print a JOY template, and tape it in place. Hammer small nails along the letter outlines at even spacing, then remove the paper. Wrap embroidery floss or thin yarn from nail to nail until the letters fill with color.
Red thread on white wood feels classic Christmas; cream thread on stained wood feels Scandinavian. Trim ends and dab glue on knots so the wrap stays tight. String art takes patience but looks handmade in the best way.
6. Plaid fabric JOY letters
Wrap chunky wood or cardboard letters in tartan or buffalo-check fabric. Cut fabric slightly larger than each face, pull taut, and glue or staple on the back. Add a thin ribbon bow at the top of the O or a jute hanger through small eye hooks.
Plaid pairs well with pinecones and plaid ribbons already in your décor. If fabric frays, run a thin line of clear glue along cut edges before wrapping.
7. Ornament-and-greenery JOY plaque
Paint a board, stencil JOY in the center, then decorate around—not over—the letters with mini ornaments, faux berries, and clipped evergreen. Hot-glue heavier pieces; use floral wire for stems you may want to refresh next year.
Keep the letter color high-contrast so the word still reads from across the room. This style suits entry tables where a flatter sign would look sparse.
8. Mini chalkboard JOY sign
Coat a small frame or board with chalkboard paint, let it cure per the label, then write JOY with a chalk pen for clean lines or regular chalk for a softer look. Draw a simple wreath, stars, or snowflakes in the corners.
The advantage is reuse: wipe and rewrite for New Year or a family name. Seal chalk-pen lettering lightly if you want it to last the season without smudging.
9. Tin luminary JOY letters
Clean empty tin cans, fill with water, and freeze so the metal stays firm while you punch. Draw letter shapes or pierce decorative patterns that suggest J, O, and Y when lit from within. Thaw, dry, and drop in battery tea lights.
Line three luminaries on a porch step or window sill. Smooth any sharp punch edges with a file. This project is best for adults or older teens because of metal tools and cold cans.
10. Distressed barn-wood JOY sign
Use reclaimed fence boards or new lumber with a weathered stain. Arrange three horizontal planks, screw from the back to cleats, and paint JOY in a bold sans-serif or serif style. Sand through the paint on edges and letter peaks for age.
Hang with heavy-duty hardware—wood signs are heavier than they look. Lean a smaller version on a shelf if you prefer not to put holes in the wall.
11. High-contrast painted JOY with clean edges
For a graphic look, use painter’s tape or vinyl stencils on a smooth board. Roll or dab paint so it does not bleed under the edges; peel tape while paint is slightly tacky. Black letters on white, or white letters on deep green, photograph well and read from a distance.
Skip extra embellishment; let typography be the decoration. A thin frame or painted border is enough finish.
12. Family-craft painted JOY with handprints or names
Paint a base board, stencil large JOY letters, then invite kids to add small handprints, fingerprints as ornaments, or written names along the bottom edge. Use washable craft paint for little hands and seal when dry.
These signs become keepsakes more than trends. Date the back with the year so you remember which Christmas made it.
13. Yarn-wrapped holiday JOY sign
Cut sturdy cardboard or foam letters and wrap them tightly with yarn—chunky wool for a cozy look, thinner cotton for neater edges. Secure the starting and ending tails with hot glue on the back. Mount on a fabric-covered board or hang as a horizontal trio with equal spacing.
Mix textures: velvet ribbon on the O, metallic thread accents on the Y. Yarn wrapping is quiet, portable, and easy to pause between holiday errands.
Styling and hanging tips
Group a JOY sign with greenery, candles, and one metallic accent so the word does not float alone on a large wall. On a mantel, center the sign and balance height with stockings or lanterns on either side. Outdoors, use sealed wood and outdoor-rated adhesives; bring paper and chalkboard pieces inside in wet weather.
Measure twice before drilling. A level and painter’s tape marks save crooked hangings. If you make several signs as gifts, assemble an assembly line: cut all boards, paint all bases, then letter in one sitting so finishes match.
Pick one of the thirteen methods, gather what you already own, and give yourself an evening—not a whole weekend—unless you are chasing a complex light or tin project. A single well-made JOY sign can carry more holiday feeling than a cart full of store décor, especially when the letters were wrapped, painted, or punched by hand in your own kitchen.

Comments
Continue reading
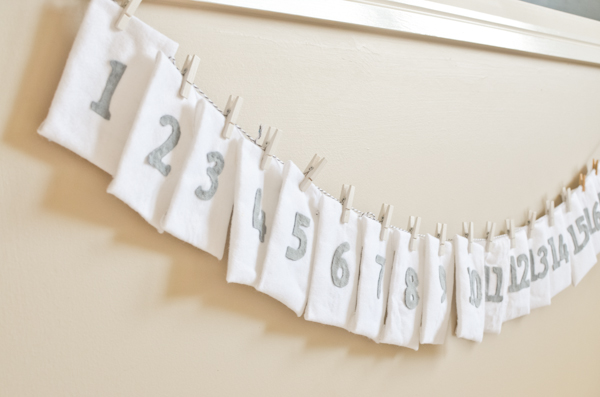
20 DIY Advent Calendar Tutorials to Make Before December
Twenty handmade advent calendar projects—felt envelopes, shipping tags, take-out boxes, sock lines, jars, magnets, and pocket walls—for a crafty Christmas countdown.

Homemade Christmas Gifts Worth Making
A practical guide to DIY Christmas gifts—wearables, home projects, kids’ crafts, batchable jar gifts, and upcycled ideas—built around people, not link lists.
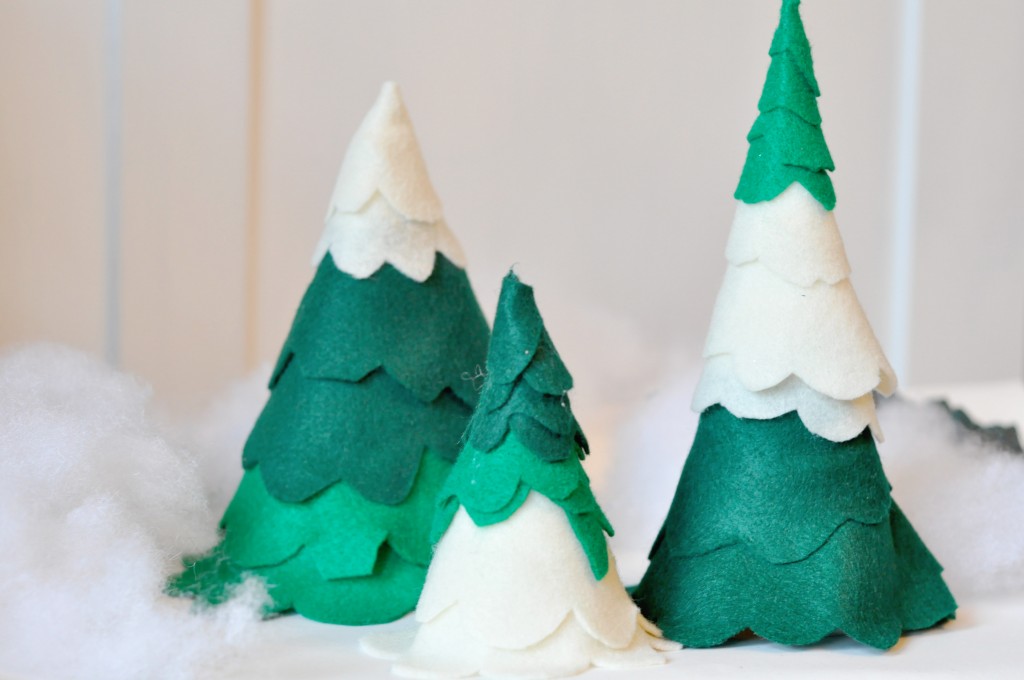
Mini DIY Christmas Trees for Mantels, Tables, and Small Spaces
Paper, felt, pom-pom, pine-cone, spoon, and upcycled mini trees—materials, display tips, and a simple weekend plan for a handmade holiday forest.