
DIY Headbands from Fabric, Ribbon, Scarves, and Scraps
Ruffles, braids, T-shirt bands, scarf turbans, flower accents, and no-slip workout styles—fit, grip, and finishing tips for headbands you will actually wear.
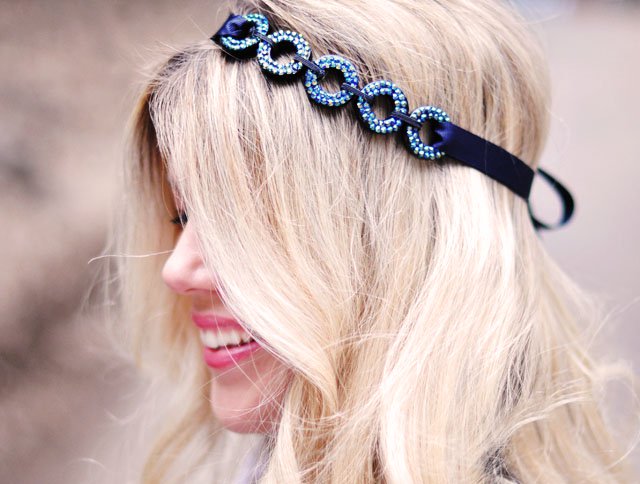
A handmade headband can do more than hold hair off a warm neck. It finishes an outfit, softens a bad hair day, and makes a small gift that still feels personal. Fabric scraps, ribbons, old T-shirts, scarves, and a few findings from a craft drawer are usually enough. You do not need couture skills—only patience with measuring, a willingness to try the piece on before you call it finished, and a habit of reinforcing glue with a few stitches wherever the band will flex.
The styles below cover the range most people actually wear: ruffled fabric bands, braided and woven versions, turban and scarf wraps, flower accents, ribbon and feather details, and no-slip workout bands. Pick one that matches how you style hair on ordinary mornings, not only how a photo looks on a craft table.
Fit, grip, and materials that behave
Comfort decides whether a headband leaves the drawer again. Measure around the head where the band will sit—usually just behind the hairline and above the ears—and subtract a little for stretch if you are using knit or jersey. Hard plastic or metal bases need soft covering and a slight curve that follows the skull; a band that stands away from the head will slide the moment you turn or bend.
Match fabric to purpose. Jersey and T-shirt knit hug without digging in. Quilting cotton looks crisp for ruffles but needs an elastic insert or ties so it does not cut. Grosgrain ribbon holds shape for bows; satin looks dressier and frays, so heat-seal or stitch raw ends. For workouts, choose absorbent knits and avoid heavy embellishments that bounce. Kids’ bands should skip small glued charms that can be pulled off and mouthed.
Tools stay simple: sharp fabric scissors, needle and thread (or a basic machine), pins, a measuring tape, covered elastic, hot glue used sparingly, and jewelry adhesive when you attach metal or crystals. A felt backing under glued pieces spreads stress and lasts longer than glue on bare plastic alone.
Ruffles, loops, and soft fabric bands
Ruffled headbands read playful and gift-friendly. Cut a fabric strip longer than the finished circumference, gather or pleat it onto a narrower base strip or elastic, and stitch in place so the gathers stay even. Double ruffles stack two gathered layers for extra volume—keep the bottom layer slightly wider so the top sits centered. Press seams flat where you can; bulky joins at the nape are where bands twist.
Looping-circle styles use fabric tubes or ribbon formed into stacked loops and stitched to a covered band. Work dry first: arrange loops until the silhouette balances left to right, then stitch through the stack into the base. If loops flop after an hour of wear, the fabric was too soft or the center wrap too narrow—stiffen with a second layer or a thin interfacing strip rather than adding more glue.
T-shirt headbands are the thrift-bin classic. Cut long strips from a clean shirt, stretch them so the edges curl, braid or twist, and join the ends with a small elastic bridge so the band expands. Three-strand braids look intentional; a single wide twisted tube is faster for kids’ craft days. Wash the shirt first so dye does not bleed onto hair or pillowcases.
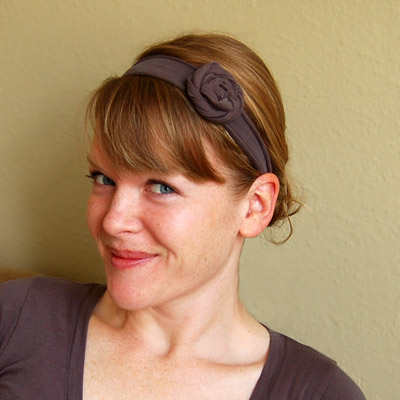
Braids, weaves, and workout-ready grip
Braided headbands can be soft fabric, ribbon, or a mix. Keep strand lengths even before you start; uneven starts show at the crown. For double braids, make two parallel braids and join them side by side on a shared elastic insert. Weave styles—ribbon laced through slits in a base band, or strips woven on a cardboard loom then transferred—look intricate but are mostly patience. Secure every free end with a hidden stitch; woven pieces unravel from one loose tip.
No-slip workout bands need texture against the hair and enough width to distribute pressure. Knit tubes stuffed lightly with scrap fabric create a padded band that stays put during a run or yoga class. A woven athletic version can use grippy ribbon or silicone-backed elastic on the inner face. Test by shaking your head hard in front of a mirror; if it migrates, add grip before you decorate the outside.
Vintage-chic and satin-ribbon bands work well for parties and photos. Cover a plain plastic headband with bias tape or satin at a slight angle, overlapping carefully so no plastic shows. Stitch or glue focal pieces—a small bow, a cluster of loops, a cord wrap—near one side rather than dead center if you wear a side part. Side-weighted bands stay seated better when hair is half-up.
Turbans, scarves, and wrap styles
Scarf turbans and hair wraps need practice more than sewing skill. A square scarf folded into a triangle, or a long rectangular scarf, can be wrapped, twisted, and tucked into a soft bun or twist. Silk slides; cotton grips. A hidden bobby pin at the nape prevents mid-afternoon slips. For a sewn twisted-scarf headband, stitch a fabric tube, turn it, insert a soft filler or leave it flat, twist once in front, and join the ends with elastic so the twist sits at the hairline without strangling.
Summer wraps that leave some hair visible look less formal than a full turban and work over loose waves or a low pony. Keep the fabric lightweight so scalp heat does not build. If you are making several as gifts, cut a paper pattern for your favorite wrap width so every band matches.
Fabric hair wraps that cover more of the head—useful for bad-hair days or protective styles—should use breathable cotton and secure with ties or a gentle elastic rather than tight knots. Avoid adhesives near the scalp; stitch embellishments to the outer fabric only.
Flowers, feathers, and dressy accents
Fabric flower headbands are classic shower and wedding-party gifts. Cut petal layers from felt or cotton, stack from large to small, stitch through the center, and attach to a covered band or alligator clip on a soft base. Felt does not fray and survives backpacks; silk petals look softer in photos but need careful edges. One bold flower usually beats a crowded row that catches on coat collars.
Feather accents lean festival or evening. Use craft feathers with secure quills, wrap the base in floral tape or ribbon, and stitch to a felt pad before attaching to the band. Keep feathers angled slightly back so they do not poke eyes when you lean forward. For kids’ costumes, choose soft feathers and skip anything that sheds heavily.
Ribbon-and-cord “hat headband” looks—satin ribbon woven with cord or braid—read polished when proportions stay slim. Too much bulk at the temples creates headaches. Finish ends cleanly on the underside and reinforce with hand stitches at stress points.
A practical build order
- Choose a base: soft knit band, covered plastic band, or elastic-backed fabric strip.
- Fit the bare base for ten minutes of normal movement before decorating.
- Add structure (ruffles, braid, wrap) and secure ends with thread, not glue alone.
- Attach one focal detail; wear for a day; then decide if you need a second accent.
- Trim threads, check for scratchy spots, and store flat so embellishments do not crush.
Batch gifts by cutting all bases first, then sewing decoration in an assembly line. Matching sets in two colors take little extra time once the pattern is set.
What to make first
If you have never sewn a headband, start with a T-shirt braid or a simple ribbon-covered plastic band. Both teach fit and finishing without fighting slippery satin or fragile feathers. Once those stay put through a commute and a meal, move to double ruffles, woven workout bands, or a scarf turban for events. The best DIY headband is the one you reach for on a rushed morning—not the one that only looked perfect in the craft-room mirror.

Comments
Continue reading
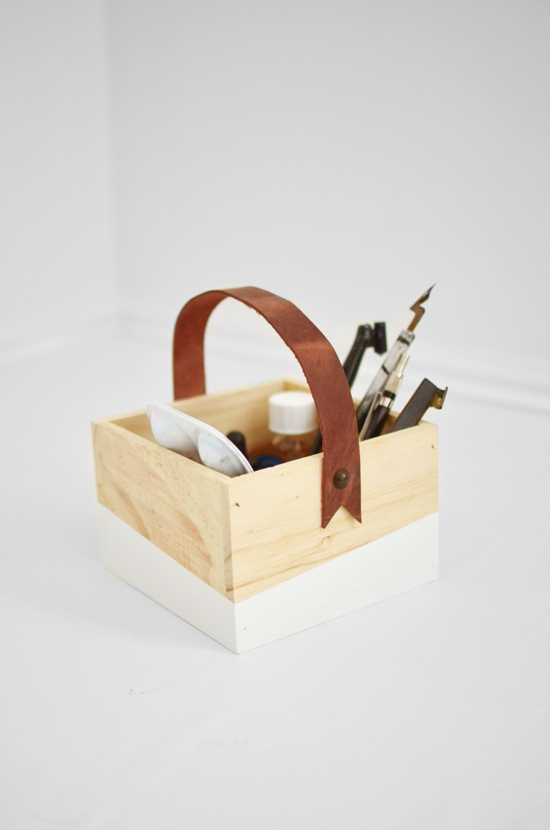
15 Adorable DIY Father’s Day Gifts Worth Making
Fifteen handmade Father’s Day ideas—from etched glasses and felt sleeves to a leather-handle box and grill cover—chosen for use, not just wrapping-paper moments.
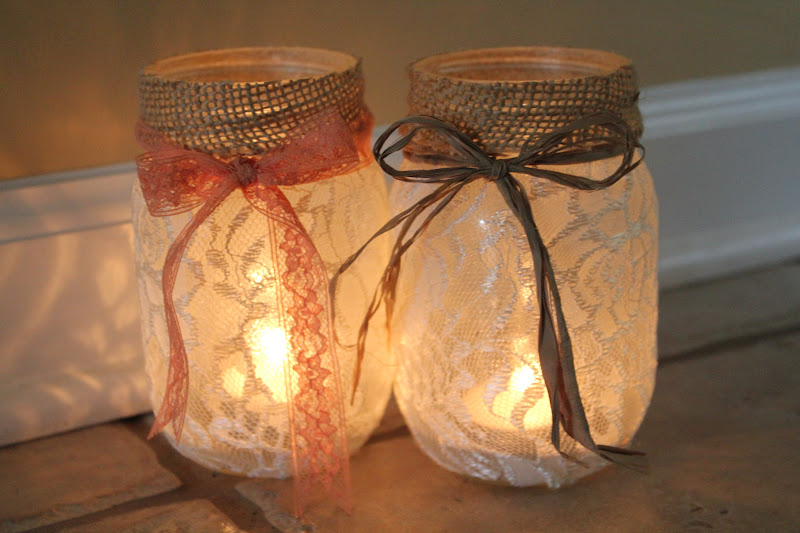
Easy Cheap Mason Jar DIY: Luminaries, Terrariums, Lamps, Dispensers, and Vases
Repurpose mason jars into luminaries, terrariums, drink cups, lamps, ornaments, soap dispensers, herb planters, and vases with simple, low-cost steps.
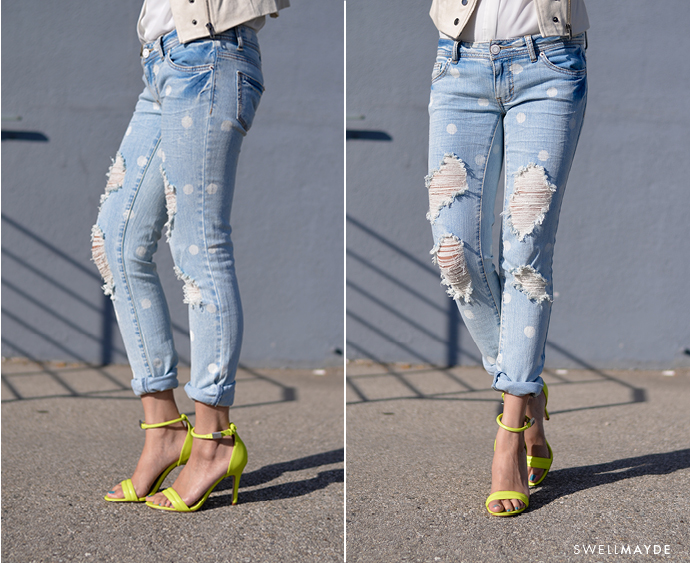
How to Refashion Old Jeans at Home
Practical DIY jean makeovers—paint and prints, rips and patches, lace inserts, cut-offs, bleach, and dye—with tools, steps, and a weekend plan.