
DIY Backpack Projects: Sew School Bags That Hold Up
From drawstring packs to lined kid bags, pick sturdy fabric, reinforce straps, and build a backpack you can decorate after the structure already works.
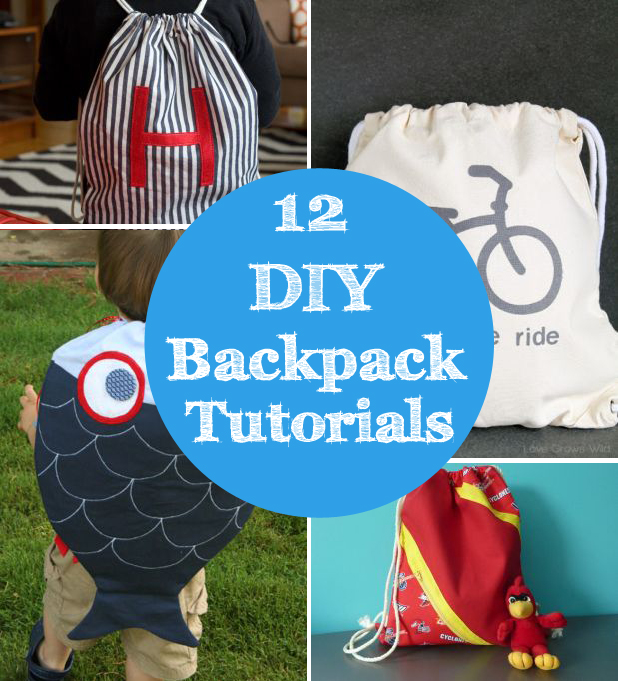
A handmade backpack does not need to look homemade in the apologetic sense. With sturdy fabric, clean straps, and a closure that actually closes, a sew-it-yourself bag can carry books, lunch, and a change of clothes for school or weekend trips without the boutique price tag. Beginners can start with drawstring styles; intermediate sewists can add zippers, lined pockets, and shaped backs. Denim from worn jeans, leftover canvas, and cotton prints all work if you match the fabric weight to the job.
Back-to-school season is a natural deadline, but these projects are useful year-round. The ideas below cover character-shaped kids’ packs, toddler sizes, sporty drawstring bags, bias-tape straps, placemat conversions, animal motifs, printed canvas, and simple fabric-marker decoration when you want custom without complex construction.
Choose fabric and hardware for real use
School and daycare bags take abrasion. Mid-weight canvas, twill, denim, and outdoor nylon outlast quilting cotton for the main body. Quilting cotton still works for lined interiors, pocket bags, and decorative panels. If you upcycle jeans, pick pairs with intact seams and enough leg width for your pattern pieces; bartack stress points the way ready-to-wear denim does.
Interfacing stiffens straps and flap edges so they do not collapse. Fusible fleece or foam can soften a back panel against the body. For drawstring bags, a casing wide enough for a soft cord or ribbon prevents gathering that fights you every morning. Metal eyelets look finished; carefully finished fabric channels are quieter and often kinder for kids’ fingers.
Hardware checklist: zipper length that matches your opening, D-rings or rectangles if you want adjustable straps, and a buckle or clip for a chest strap on larger packs. Buy strap webbing rated for bags, not craft ribbon alone, when the pack will carry textbooks. Ribbon and bows belong as decoration on a structure that already holds weight.
Drawstring packs: fastest path to a wearable bag
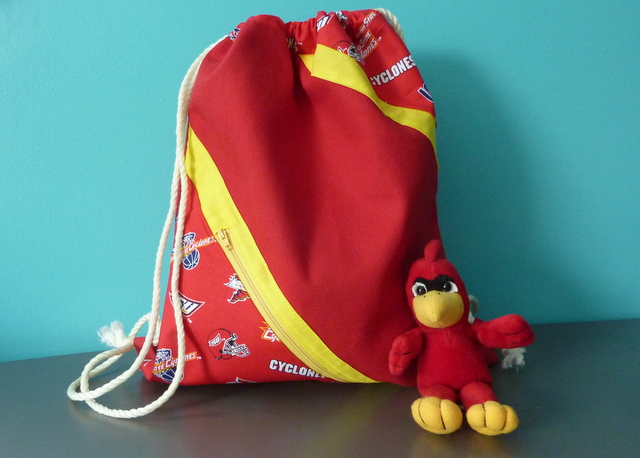
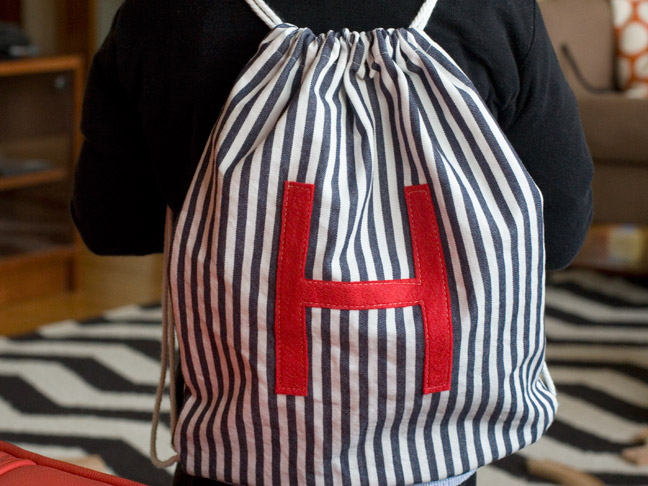
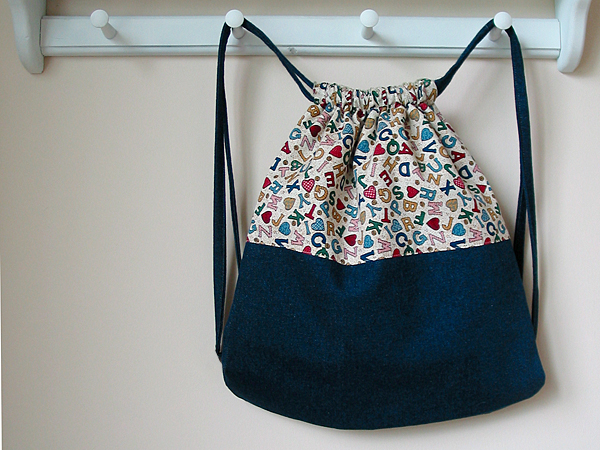
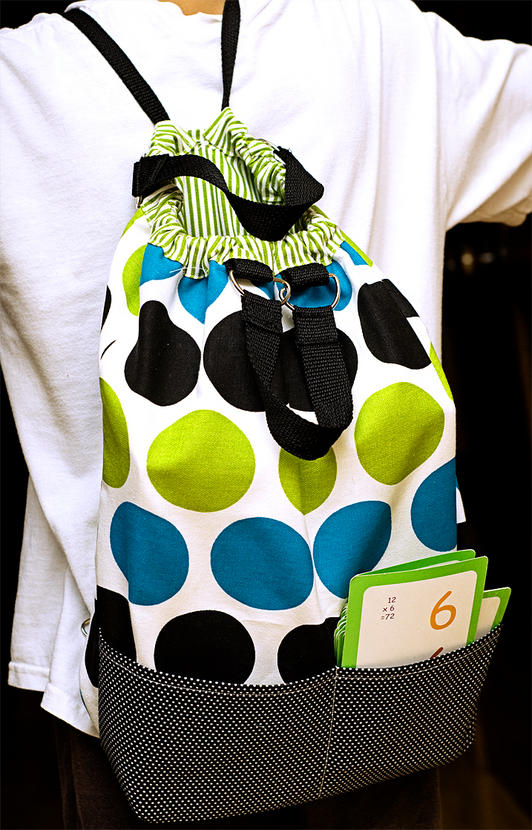
A rectangle of fabric, a casing, and two cords can become a backpack in an afternoon. Fold and sew side seams, leave openings for the cord exits, stitch the casing, thread cords so each cinches from opposite sides, and knot or toggle the ends. Add a simple front pocket before you sew the sides if you want phone or snack access without opening the main bag.
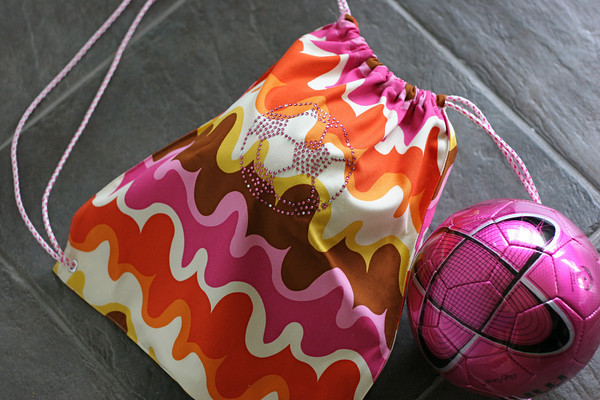
Sporty drawstring versions suit gym clothes and swim gear. Use water-resistant fabric or a wipeable lining, and keep interior seams finished so damp towels do not fray raw edges. Placemat and tea-towel conversions are clever shortcuts: the finished edges already exist, so you mainly add a casing and straps. Check that the placemat is large enough for the child’s torso; a bag that sits too high or too low will be abandoned.
Bias-tape straps are a friendly option when you lack webbing. Fold and stitch wide bias into a strong flat strap, or cover cotton tape with bias for color. Anchor straps with a boxed stitch (a square with an X) rather than a single line of sewing. That reinforcement is the difference between a cute bag and a bag that dumps homework on the sidewalk.
Structured packs and kid-sized patterns
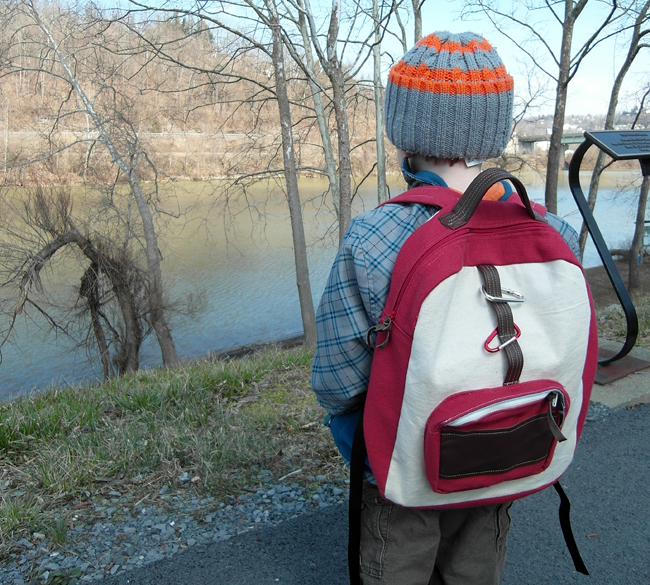
Once you are comfortable with rectangles, move to patterns with a defined back, front, and gusset or boxed corners. Boxing the bottom corners adds volume so lunch boxes fit without stretching seams. A zipper across the top or on a flap keeps contents safer than a drawstring alone for school use.
Measure the wearer. Toddler packs should sit high enough that the child can walk without the bag swinging into the backs of their knees, with straps that adjust as they grow. Leave seam allowances consistent; small bags magnify mistakes. Clip curves carefully on animal ears, rounded flaps, and appliqué so the silhouette stays crisp after turning.
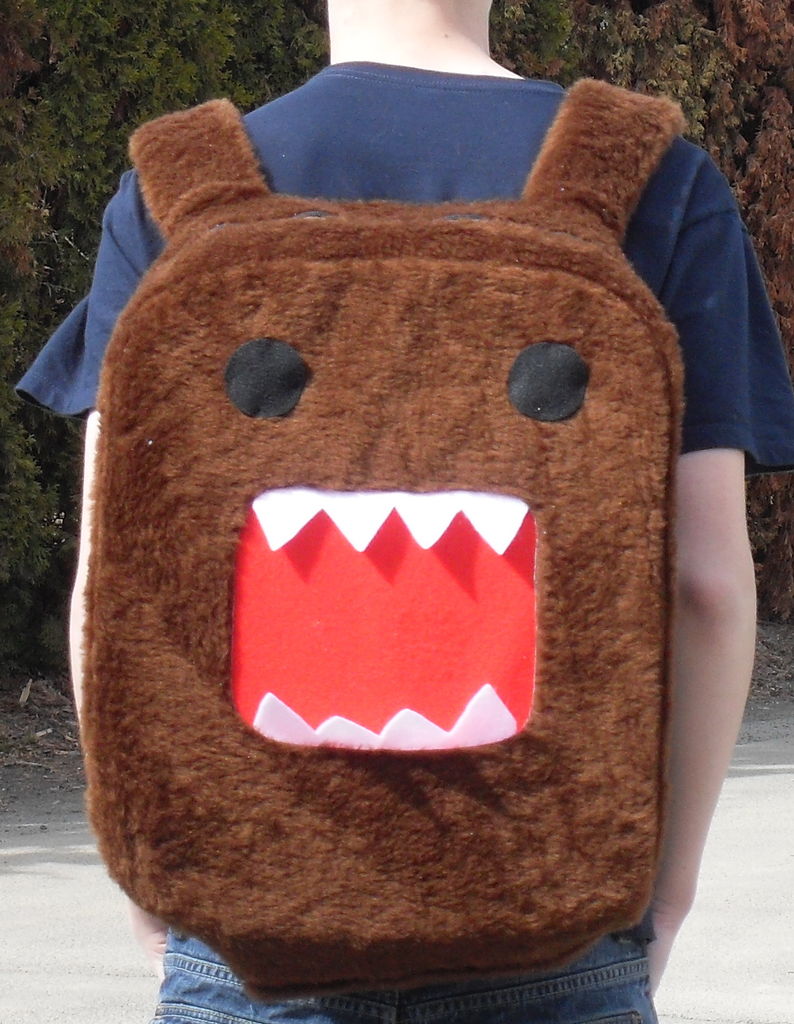
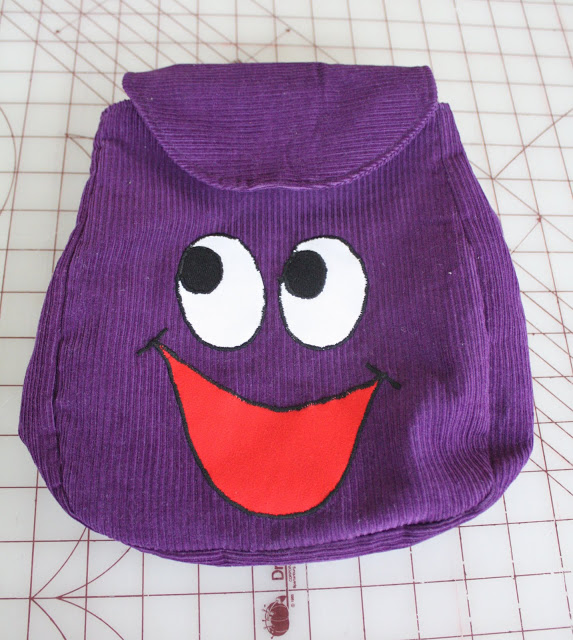
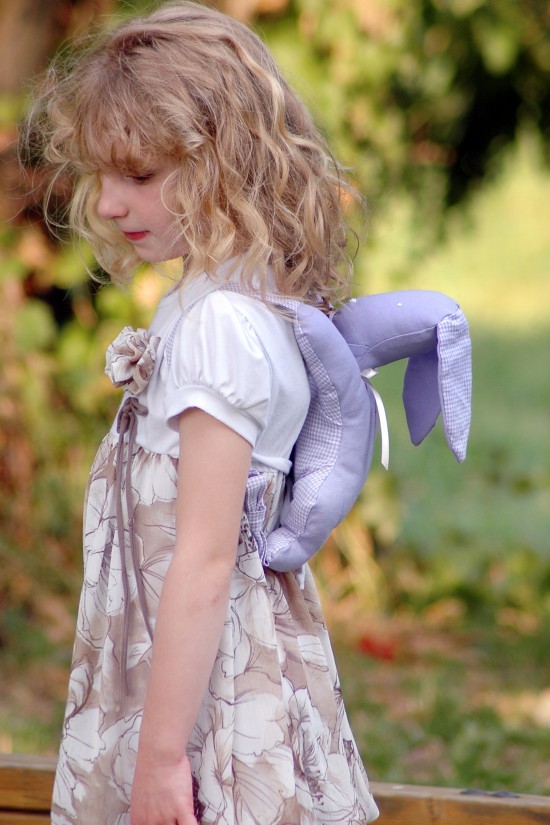
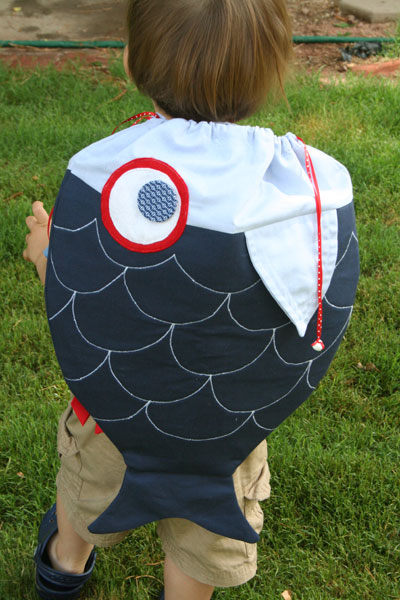
Animal and character packs—bunny ears, cartoon faces, soft appliqué—work best when decoration is stitched securely before assembly. Glue-only embellishments peel. Eyes and small parts should be embroidered or tightly sewn, especially for younger kids. If you love a bold print, let the fabric do the talking and keep the shape simple.
Decoration without weakening the bag
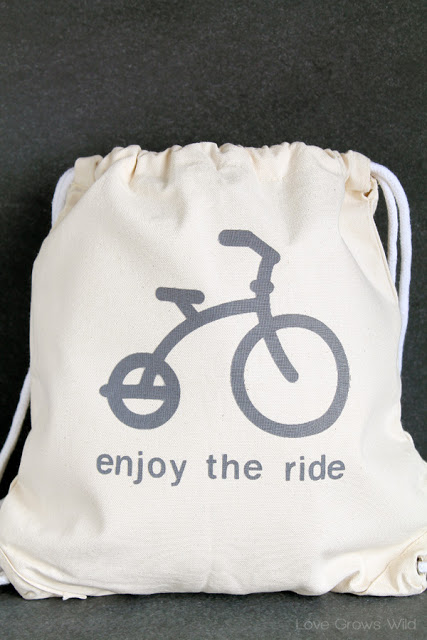
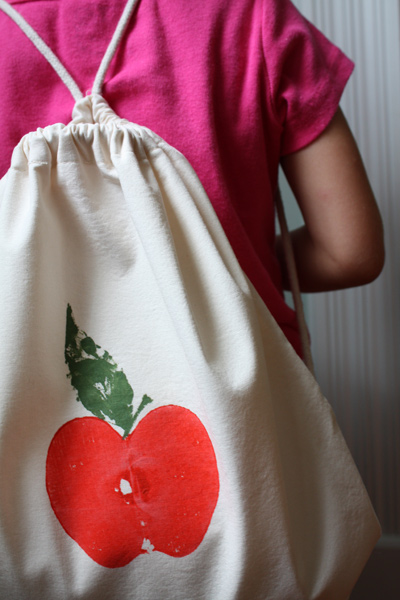
Fabric markers, stamps, and apple-print paint techniques turn a plain canvas pack into a one-of-a-kind piece. Heat-set paints according to the product directions so laundry does not erase the design. Mask areas you want to keep clean; practice strokes on scrap first. Silhouette appliqué and interfaced patches add graphic punch; fuse and then topstitch so edges survive washing.
Ribbons, bows, and pins are fine as removable accents. Permanent trim should be tested for snagging—school bag straps catch on cubbies. Avoid heavy beads at stress points. If you add a name tag pocket, place it where it will not rub the wearer’s back raw.
Construction habits that improve every version
Press as you go. Flat seams make zipper installation and strap attachment far easier. Finish raw edges with a zigzag, overlock, or binding if the fabric frays. Reinforce strap bases with a second fabric layer or webbing patch on the inside. For zippers, baste first; check that the zipper pull sits where a child can reach it.
Linings hide seams and protect contents. A partial lining—back and base only—still upgrades durability without doubling every piece. Leave a turn opening in an inconspicuous seam if you assemble bag-in-bag style, then stitch it closed neatly.
Fit test before you commit to final topstitching. Load a few books or a water bottle and have the wearer walk. Adjust strap length and attachment angle if the bag pulls sideways. A backpack that looks perfect empty can still fail the walk test.
Project picker by skill level
- First sew: rectangle drawstring bag from cotton canvas; ribbon or cord casing; no zipper.
- Next step: add a front pocket and bias or webbing straps with boxed reinforcement.
- Intermediate: lined pack with zipper, boxed corners, and adjustable straps.
- Playful: animal ears or appliqué on a proven base pattern—decorate after the structure works.
- No-pattern fun: placemat conversion or fabric-marker design on a plain purchased blank you reinforce yourself.
Pair a backpack project with a matching pencil case or lunch tote if you want a set, but finish the bag first. A complete pack in the cubby beats three half-made accessories in the sewing basket.
If you only make one this season, sew a simple canvas drawstring with boxed corners and solid strap anchors, then decorate it after a week of real use. You will learn which pocket you wish you had—and that is the best brief for the next backpack you cut.

Comments
Continue reading
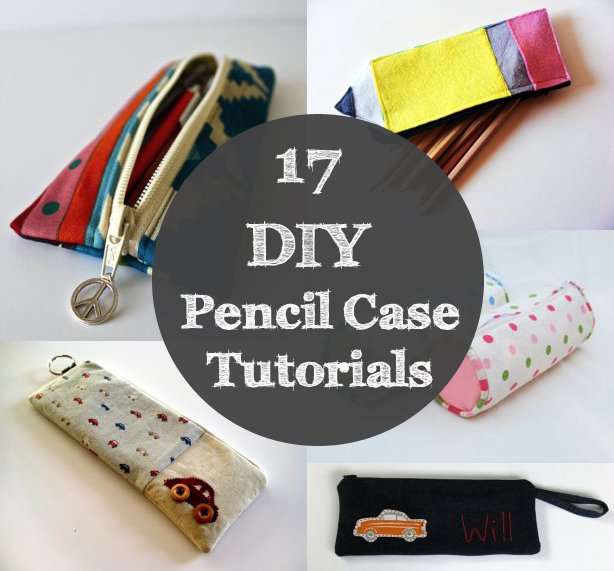
17 DIY Pencil Case Tutorials: Zip Pouches, Felt Sleeves, and Back-to-School Sewing
Seventeen handmade pencil case projects—floral zip pouches, felt pencil shapes, oilcloth sleeves, box bottoms, and patchwork scraps—with all gallery photos kept and outbound tutorial spam removed.
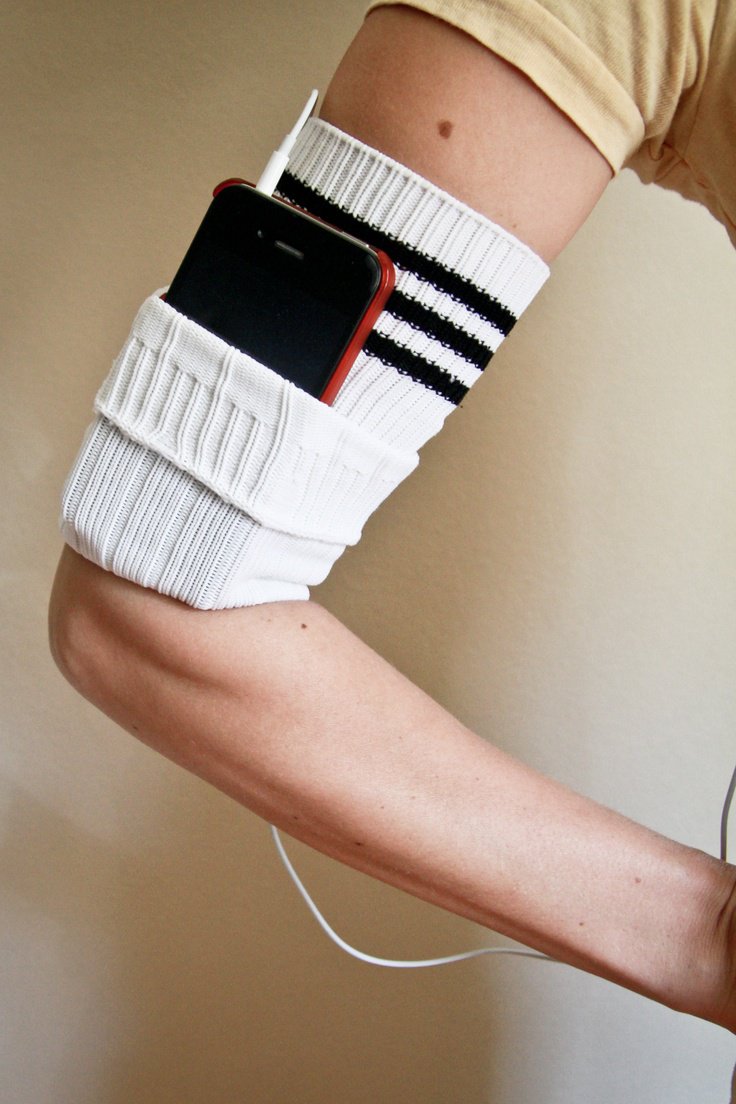
DIY Ideas for Old Socks: Rugs, Puppets, Mittens, and More
Sort leftover socks by fiber, then turn them into braided rugs, hand puppets, soft toys, mittens, and pin cushions with practical cutting and sewing tips.
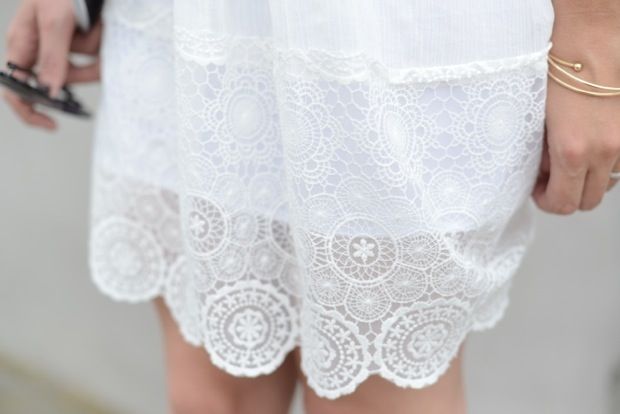
DIY Ideas with Lace Doilies
Upcycle heirloom lace doilies into framed art, runners, pillows, lamps, and more—practical craft projects that keep the crochet visible.