
Craft Room Design and Organization Ideas That Actually Work
Zone your studio, protect a clear work surface, store fabric and notions by how you use them, and use lighting, labels, and a weekly reset to keep crafting inviting.
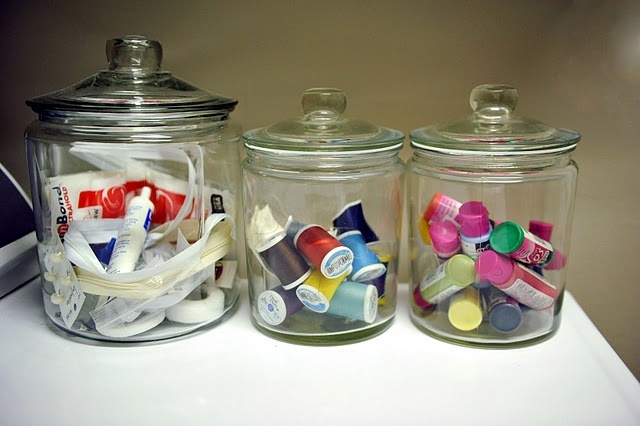
A craft room earns its keep when you can find ribbon, needles, and the right scrap of fabric without emptying three drawers first. Fabrics, felt, glitter, glue, paper pads, and unfinished projects tend to colonize every flat surface. The goal is not a sterile showroom. It is a working studio with clear zones, honest storage, and enough calm that starting a project feels inviting instead of exhausting.
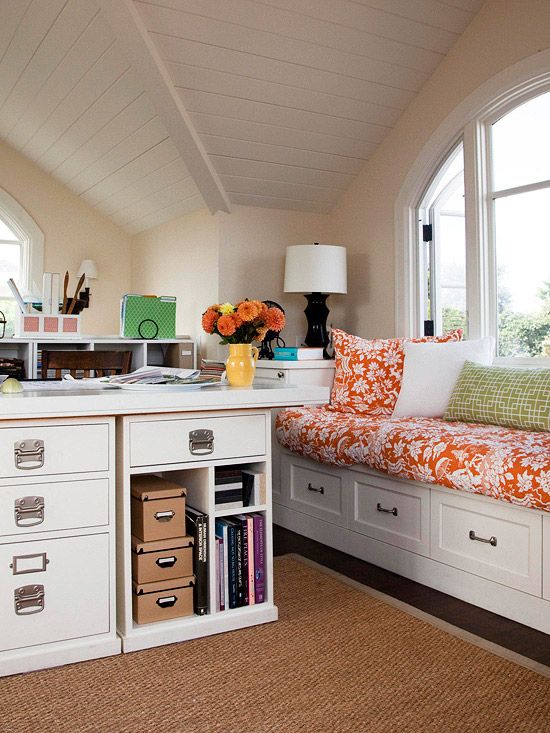
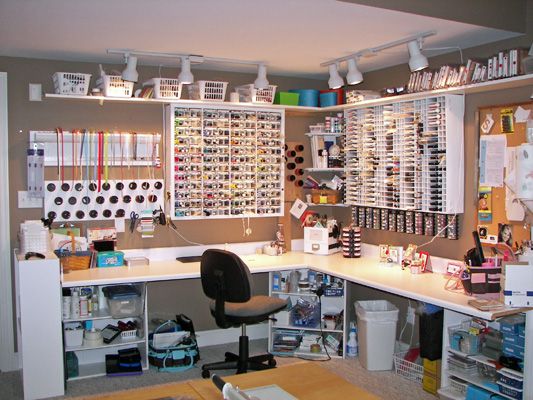
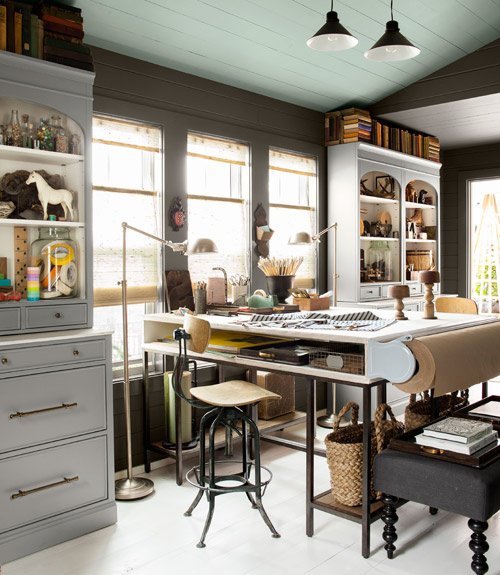
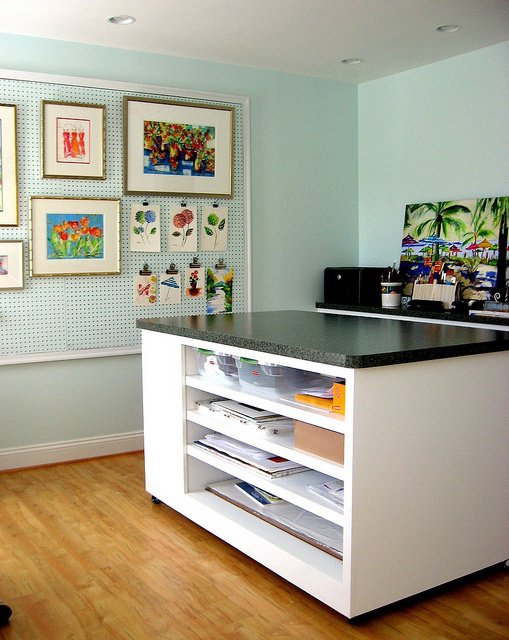
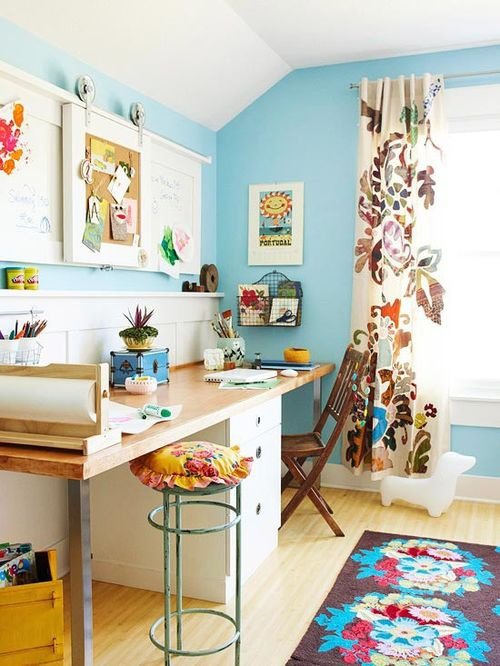
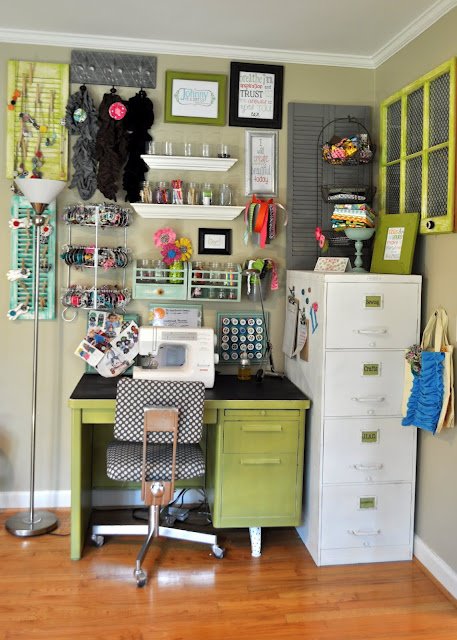
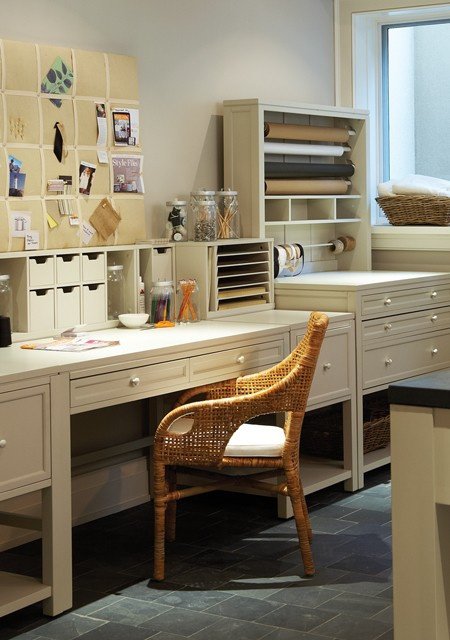
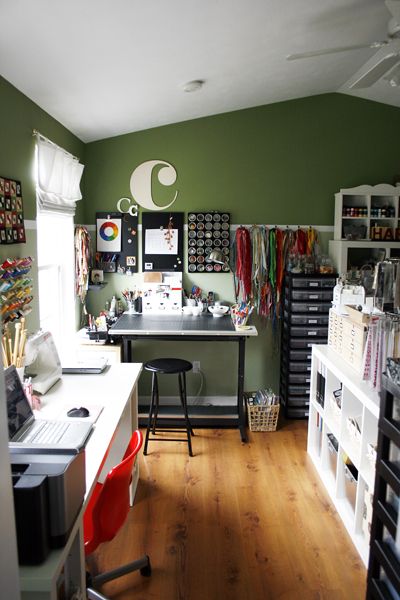
Whether you already have a dedicated room or you are carving a corner from a spare bedroom, the same principles apply: protect daylight for detail work, put daily tools within arm’s reach, store bulk materials vertically or in labeled containers, and leave a clear work surface you refuse to use as temporary parking. The rooms below show how different makers solved those problems with shelves, pegboards, window seats, and color-coded systems.
Decide what the room is for
Before buying more bins, write down the crafts you actually finish. Sewing, scrapbooking, jewelry, painting, and kids’ projects each need different surfaces, lighting, and mess control. A quilter wants long cutting space and fabric storage by color or size. A paper crafter wants shallow drawers, stamp ink protection, and a scrap station. Mixed-media makers need a wipeable table and sealed containers for wet media.
If the room doubles as guest space or homework overflow, plan for a closeable system: cabinet doors, rolling carts that tuck under a desk, or a cover for the sewing machine. Visibility motivates some people and overwhelms others. Open shelves look beautiful in photographs; closed storage keeps glitter out of clean laundry. Choose based on how you work, not only on how a styled photo looks.
Measure the room and sketch zones on paper: cutting/sewing, wet media, packing/shipping if you sell, and “parking” for works in progress. Leave walking space so you can pull a chair out without knocking over a thread rack. A pretty layout that traps you against a wall will not survive a busy week.
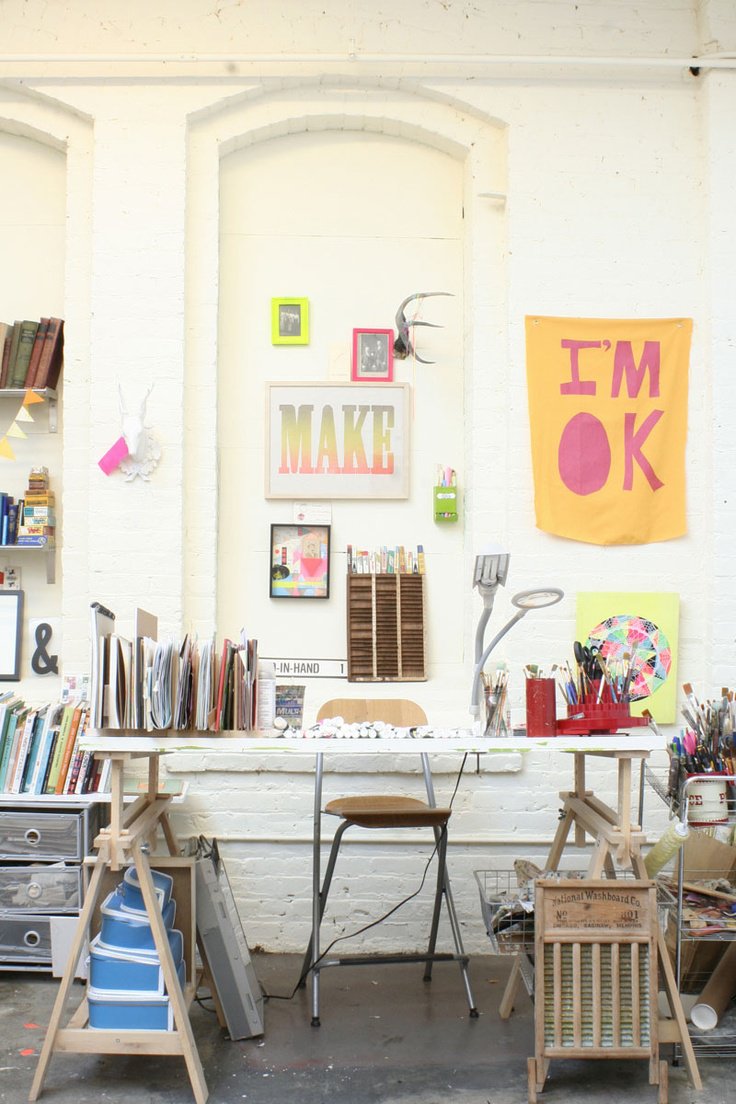
Lighting, seating, and the work surface
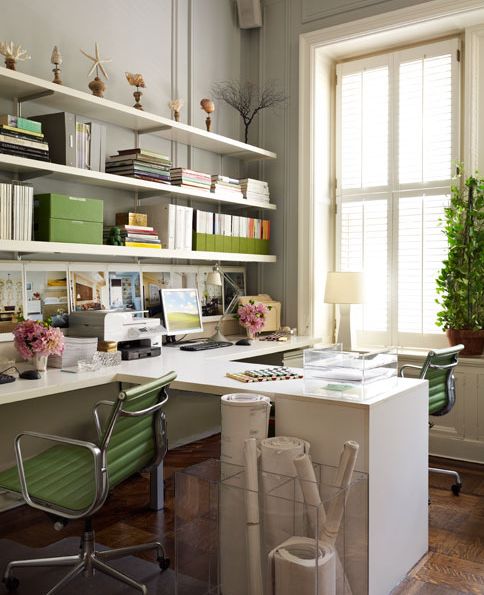
Natural light near a window reduces eye strain for color matching and fine stitching. A window seat—one of the most loved ideas in craft-room layouts—adds storage underneath and a soft perch for handwork that does not need the main table. If your only window faces harsh afternoon sun, add a sheer or adjustable shade so fabric colors stay true without glare.
Task lighting matters as much as architecture. A daylight-balanced lamp on the sewing table, a clip light for the cutting mat, and overhead ambient light prevent the classic “finished at night, wrong color in daylight” problem. Avoid relying on a single ceiling fixture that casts shadows under your hands.
Choose a work surface that matches your dominant craft. Sewing benefits from a table height that keeps shoulders relaxed; standing cutting stations spare the back during large pattern layouts. Cover porous wood with a self-healing mat or a sheet of tempered glass if you use blades and adhesives. Keep at least one surface permanently clear—treat it like a kitchen counter, not a shelf.
Comfortable seating with lumbar support pays off during long sessions. If you switch between machine and handwork, a chair on casters helps, provided the floor can take the wear. Soft rugs under rolling chairs become lint traps; hard floors with a small washable mat near the sewing area are easier to maintain.
Storage that matches how supplies behave
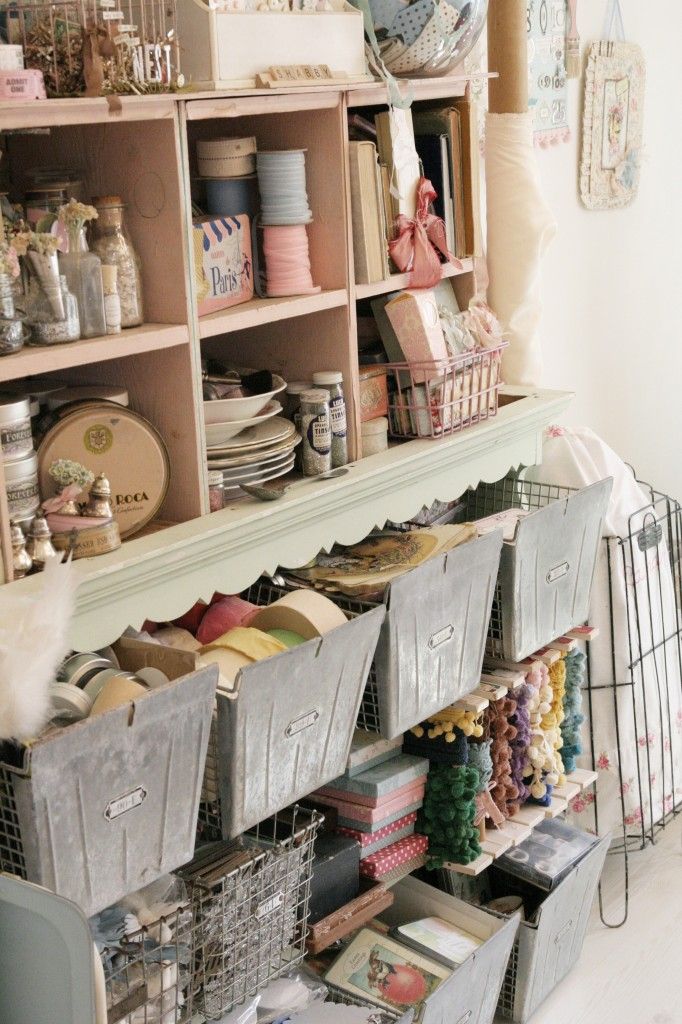
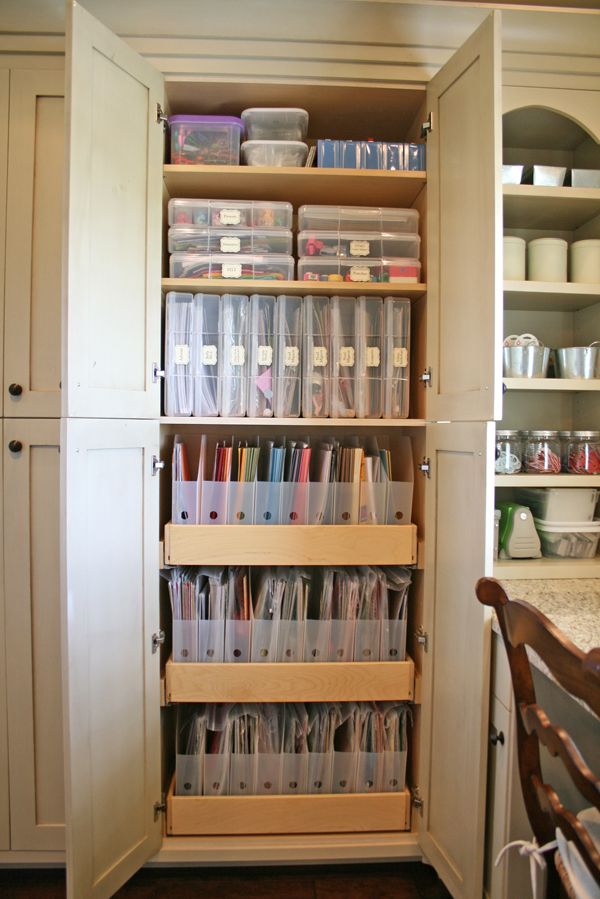
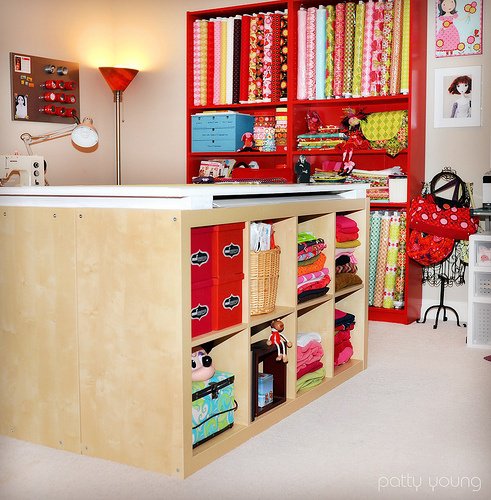
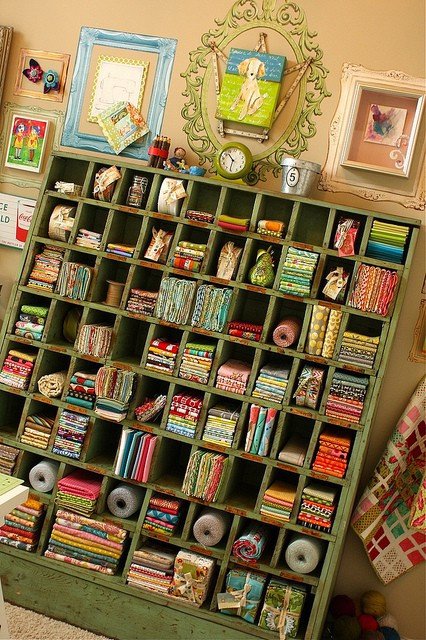
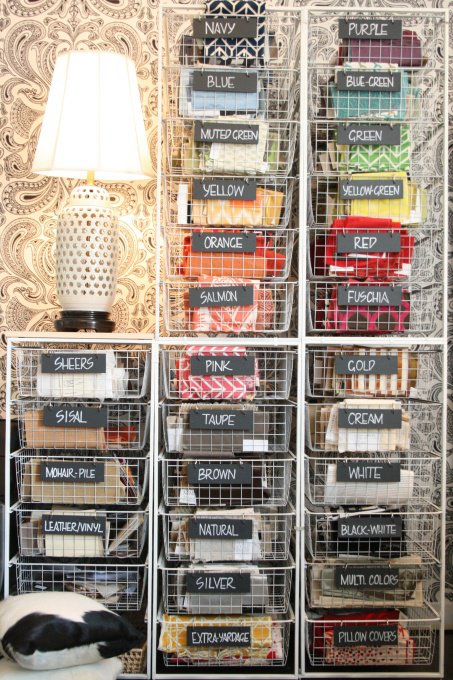
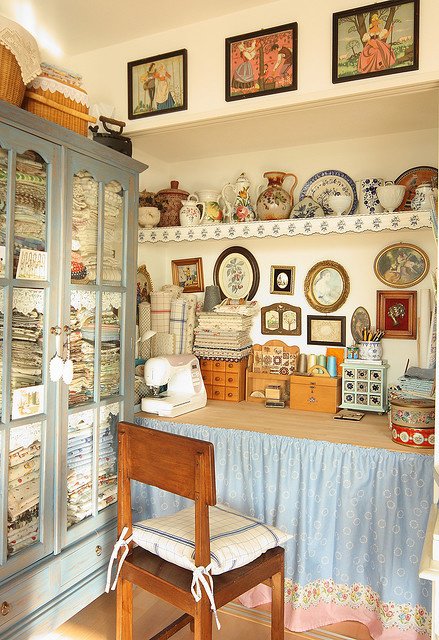
Fabric wants foldable volume and protection from dust and sun. Bolt ends and fat quarters store well on open shelves or in clear bins sorted by color family. Quilting cotton stacks neatly; knits and slippery silks may need separate drawers so they do not slide into chaos. Label shelves so guests—or future you—put things back in the right place.
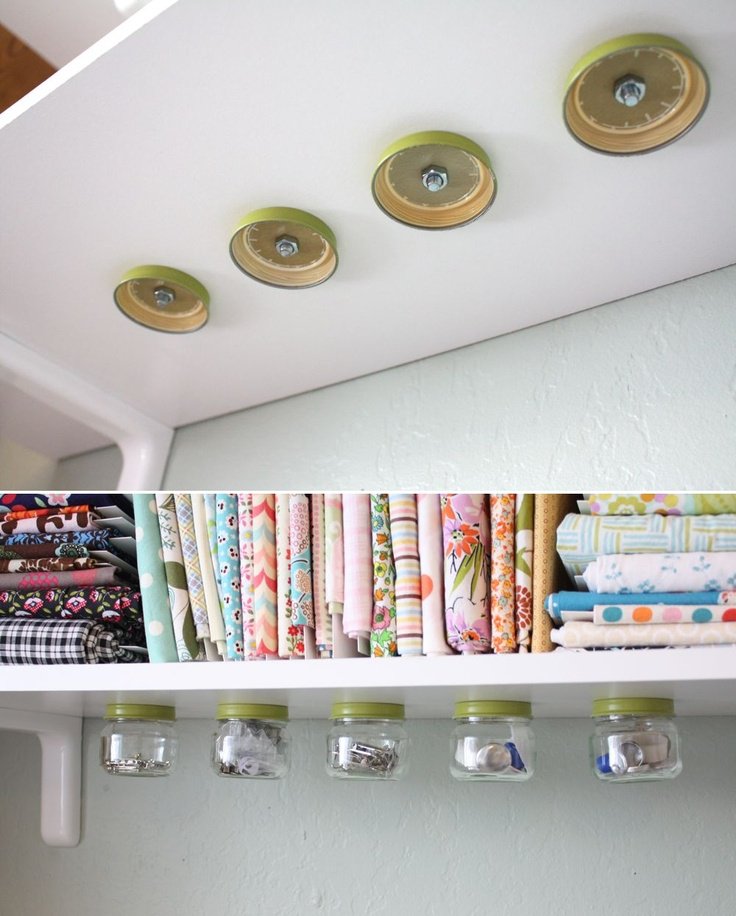
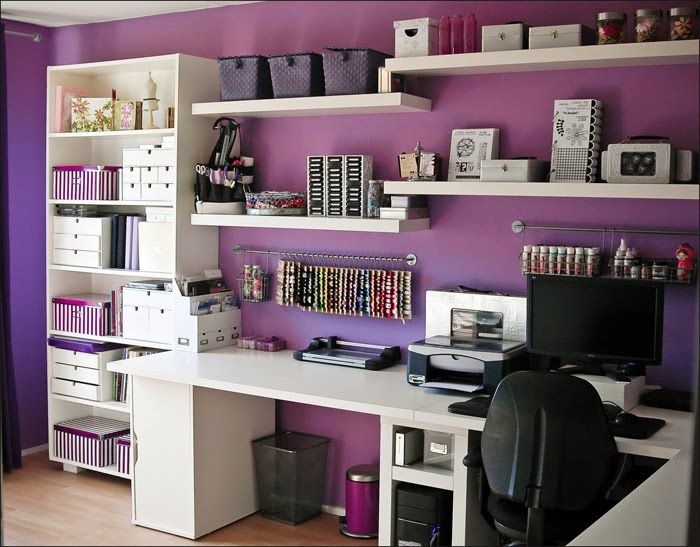
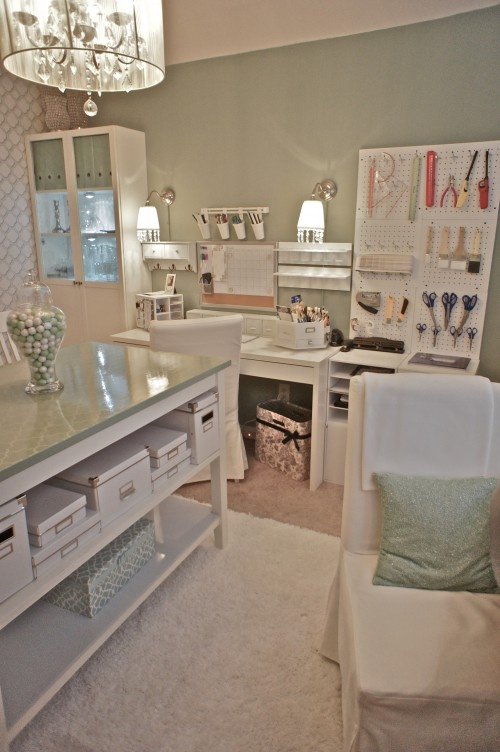
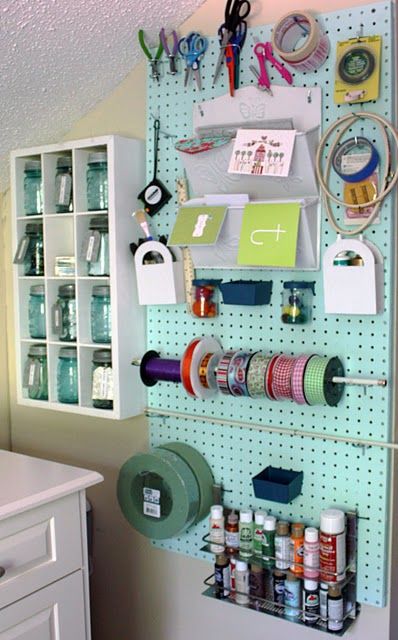
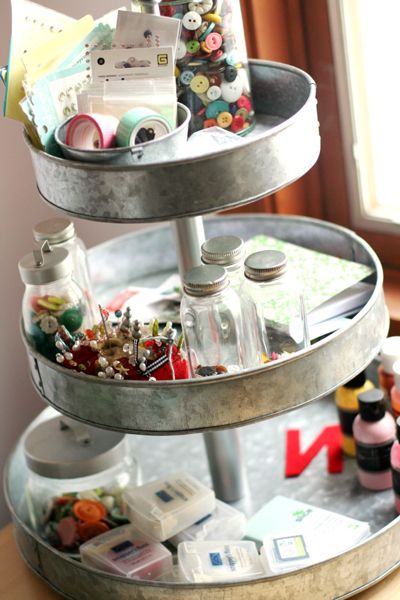
Small notions are where craft rooms fail. Spools, buttons, beads, needles, and washi tape disappear into mixed jars. Use shallow drawers, compartment trays, or wall-mounted racks so you can see inventory at a glance. Pegboards and hanging rails keep scissors, rulers, and rotary cutters visible without eating desk space. Magnetic strips hold metal tools; cork boards hold patterns and inspiration without covering every wall in paper.
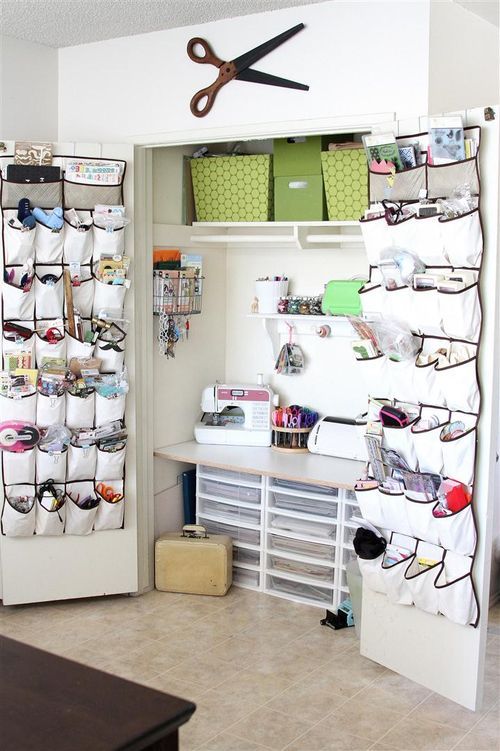
Vertical storage multiplies a small footprint. Tall bookcases for paper pads, hanging organizers for ironing tools, and over-door racks for ribbon spools reclaim floor area. Rolling carts become mobile satellite stations: pull one beside the table for today’s project, then roll it away when you need the full surface.
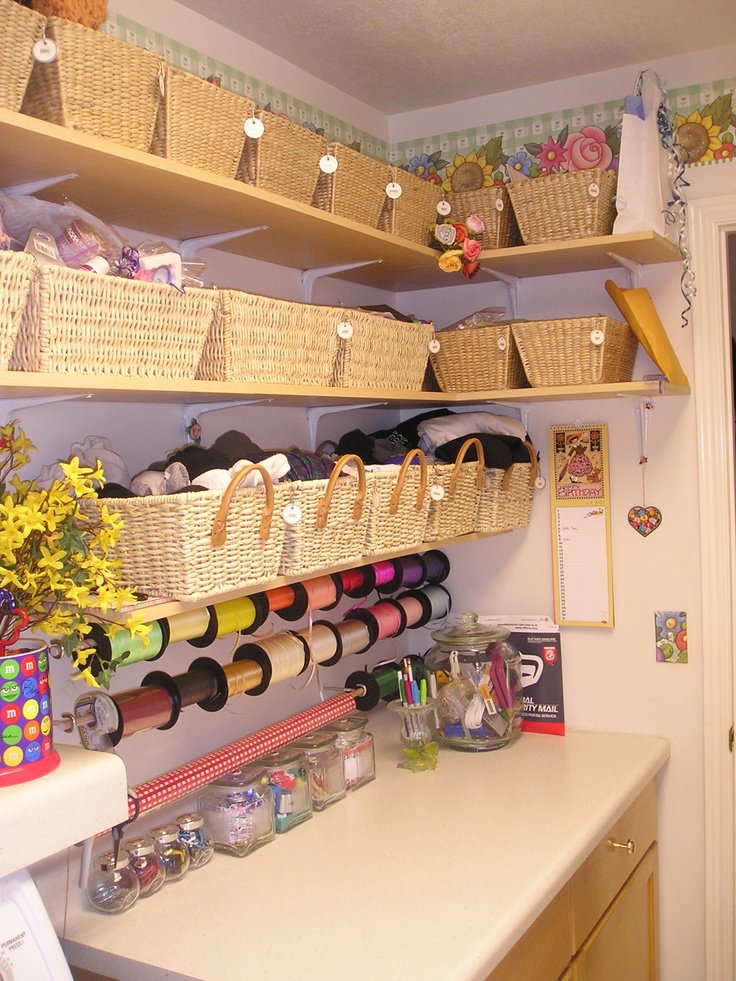
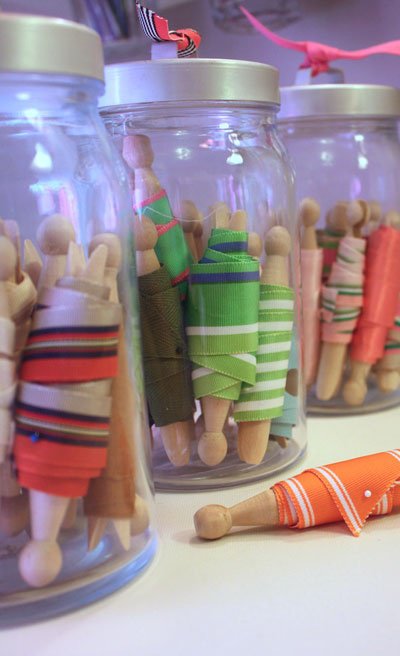
Ribbon, yarn, and glitter deserve sealed or dedicated systems. Open glitter is a long-term decision you will regret on every dark garment in the house. Yarn bowls and cubbies prevent tangles; ribbon on dowels or in divided drawers keeps ends from nesting into one impossible knot.
Color, calm, and visual noise
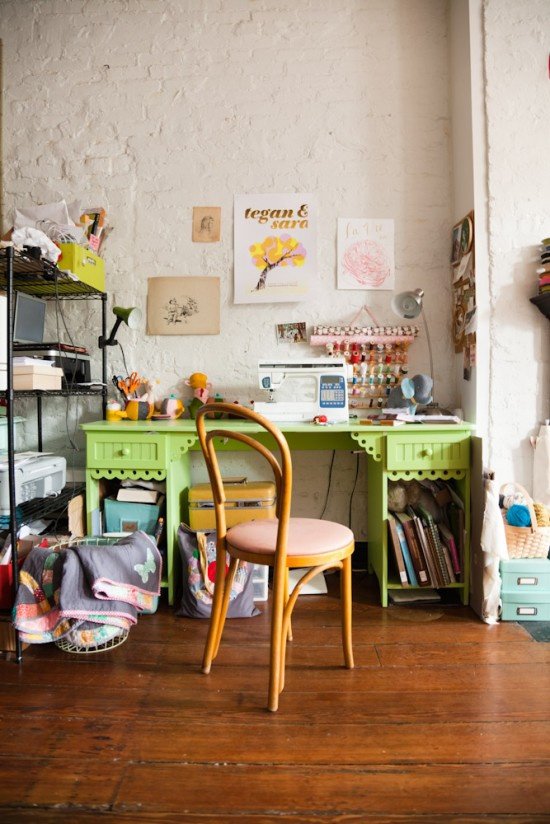
Some makers thrive in rainbow chaos; others need white walls and hidden storage to think clearly. Both are valid. If visual noise drains you, choose closed cabinets, matching boxes, and a limited palette for furniture even if the supplies inside stay colorful. If color energizes you, open shelving sorted into spectrum order can become both storage and décor.
Paint and flooring should tolerate real use. Washable paint near the glue station, a floor that forgives dropped pins, and a trash bin within reach of the table reduce cleanup friction. A small laundry basket for fabric scraps and a separate bin for recyclable packaging keep the work zone from becoming a landfill.
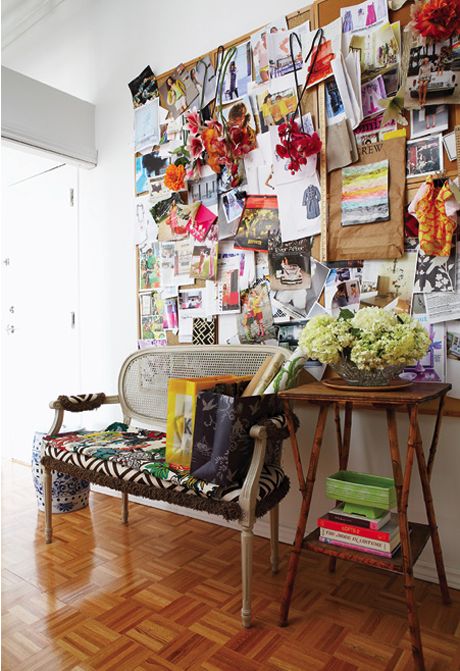
Inspiration boards are useful when they are curated. A rotating selection of sketches, swatches, and one active project photo beats a wall so crowded that nothing registers. Photograph finished work and archive it digitally so the physical room stays about making, not displaying every past win.
Works in progress and the weekly reset
Unfinished projects are not failure; unmanaged piles of them are. Assign a shelf, cart, or set of project bags with a note of what is missing (zipper, lining, third coat of paint). Limit active projects to a number you can name without checking. When a bag sits untouched for months, decide: finish, gift the materials, or dismantle and reclaim the parts.
A short weekly reset keeps the room usable. Put tools back, empty the scrap bin, wipe the table, restock thread and adhesives, and clear the floor path. Fifteen honest minutes beat a seasonal purge that takes a weekend and still leaves the same habits intact.
If children share the space, create a low shelf with washable materials and keep sharp tools, hot tools, and small beads at adult height. Shared rooms succeed when boundaries are physical, not only verbal.
Small-space and budget adaptations
No spare room? A closet with a fold-down desk, a hallway niche with shallow cabinets, or a rolling cart that lives beside the dining table can still be a craft “room” in function. Prioritize: one solid work surface, one lighting upgrade, and labeled homes for the supplies you touch weekly. Everything else can live in under-bed bins until you expand.
Budget upgrades with high return include a good task lamp, clear bins you can see through, a pegboard, and a secondhand bookcase. Fancy furniture is optional. Consistent labeling and a clear table are not. Shop your house first—kitchen jars, shoe boxes wrapped in paper, and unused trays often solve more than a new specialty product.
A practical layout checklist
- Work surface stays clear at the end of each session.
- Daily tools live within one arm’s reach of the main seat.
- Bulk fabric, paper, and yarn have labeled homes off the table.
- Lighting includes daylight-quality task light for detail work.
- Active projects are limited and bagged or shelved with notes.
- Floor paths stay open enough to move a chair without collisions.
- Wet media, heat tools, and blades have safe, separate parking.
Walk the room once with the checklist in hand. Fix the first gap you notice—clear the table, add a lamp, or label three bins—before planning a full redesign. Momentum in a craft room comes from usable order, not from waiting until every shelf matches a photograph.

Comments
Continue reading
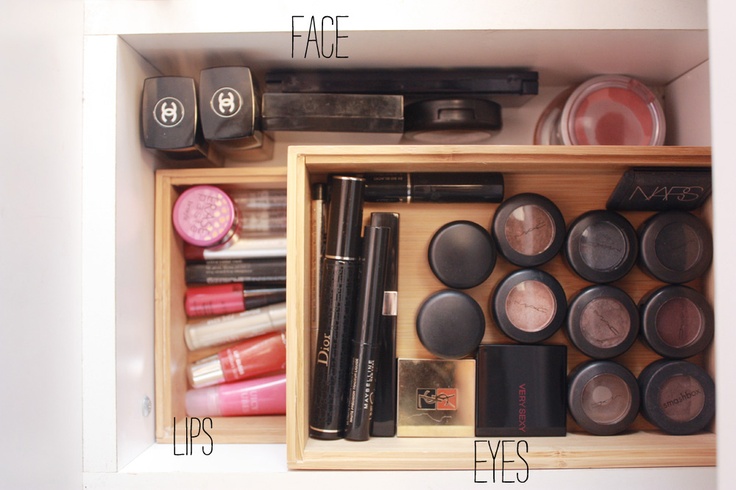
How to Organise Your Makeup Drawer in One Weekend
Empty, edit, zone, and divide: a practical weekend reset that turns a chaotic makeup drawer into a morning-ready kit.

DIY Ideas for Old Socks: Rugs, Puppets, Mittens, and More
Sort leftover socks by fiber, then turn them into braided rugs, hand puppets, soft toys, mittens, and pin cushions with practical cutting and sewing tips.

DIY Ideas with Lace Doilies
Upcycle heirloom lace doilies into framed art, runners, pillows, lamps, and more—practical craft projects that keep the crochet visible.