
5 DIY Friendship Bracelets: Classic Patterns, Minimal, Beginner Knots, Beads, Weaves
Five DIY friendship bracelet approaches—classic floss patterns, fashion-minimal styles, beginner knot projects, beaded upgrades, and traditional weaves—to make and trade.
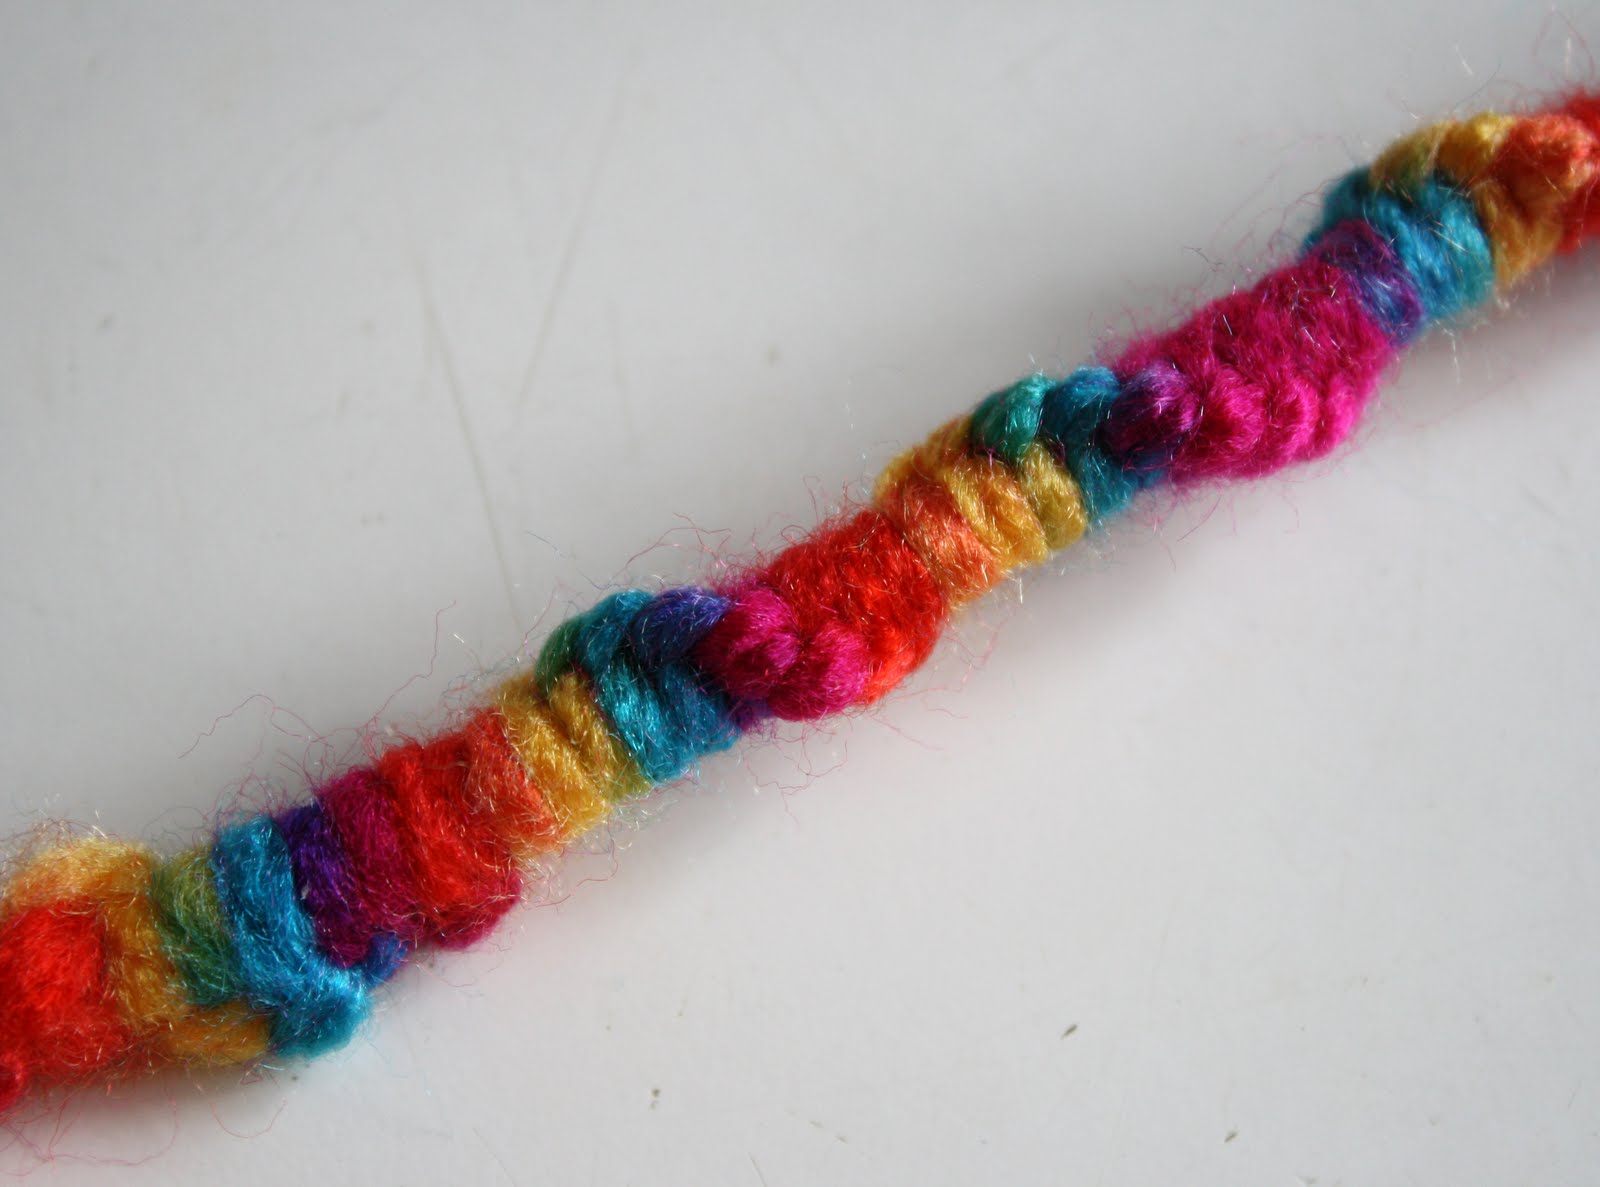
Friendship bracelets thrive on color, repetition, and the quiet agreement that handmade beats store-bought for this particular job. Embroidery floss, a few beads, and patience are enough to build patterns you can trade, gift, or stack on one wrist until the summer looks intentional. The five DIY approaches below move from classic knotted patterns to fashion-leaning styles, kid-friendly knot play, beaded upgrades, and a small library of traditional weaves worth learning once and repeating forever.
Cut floss longer than you think you need—knots eat length. Tape the top to a table or clip it to a clipboard so tension stays even. Work under good light. Uneven tension, not uneven talent, is what makes early bracelets look wobbly.
1. Classic patterned floss bracelets
The archetype is simple: multiple strands of cotton embroidery floss, forward and backward knots, and a pattern that emerges row by row—stripes, diamonds, arrows, or initials if you are ambitious. This is the camp-and-classroom classic for a reason. Materials are cheap, portable, and forgiving when you undo a mistake.
Start with four to six colors if you are new. More strands mean wider bracelets and more chance to tangle. Arrange colors in the order you want them to appear before you knot; the starting layout is half the design. Learn the forward knot until it is automatic, then add the backward knot so you can reverse direction and build shapes.
Measure the recipient’s wrist and add finishing length for ties or a loop-and-braid closure. Tight bracelets dig; loose ones rotate and fray against desks. Wash hands before pale floss projects—coffee and ink transfer more than people admit.
Classic patterns reward slow evenings and shared making. Two people knotting side by side will finish mismatched bracelets that still feel like a set. That mismatch is part of the charm.
2. Fashion-forward minimal bracelets
Not every friendship bracelet needs neon. A fashion-leaning version uses a tighter palette—cream, black, rust, olive—or mixes floss with thin chain, silk cord, or a single metal bead as a focal point. The structure can still be knotted; the styling simply leaves camp and enters everyday jewelry.
Keep width modest so the piece layers under watches and bangles. Matte floss reads modern; high-sheen rayon reads dressier. If you add chain segments, use jewelry pliers and secure jump rings properly so the “friendship” part does not fail on a subway pole.
These bracelets suit adults who want the ritual without the rainbow explosion. Gift them in pairs with coordinated but not identical colors—one warmer, one cooler—so each person keeps a distinct object that still belongs to the same story.
Photograph finished pieces on skin, not only on a white table. Fashion-style bracelets live or die by how they sit against a wrist in real light.
3. Knots, string, and first-time makers
Some of the best friendship-bracelet sessions are not about complex charts. They are about knots, string, friends, and the satisfaction of finishing something small together. Beginner projects—candy-stripe diagonals, simple braids with a knotted band, or three-strand twists finished with beads—teach hand memory without frustration.
For kids or absolute beginners, pre-cut and pre-sorted bundles remove the hardest part of starting. Use larger-diameter craft cord if tiny floss feels fiddly. Celebrate straight stripes before attempting letters. A finished simple bracelet worn immediately beats an abandoned masterpiece in a drawer.
Group making needs ground rules: shared scissors stay in the middle, tangled floss gets a calm detangling pause, and nobody “improves” someone else’s work without asking. The social design matters as much as the knot design.
When a first bracelet succeeds, introduce one new knot on the next session. Skill stacks. Confidence stacks faster when early wins are visible on the wrist by dinner.
4. Beaded friendship bracelets
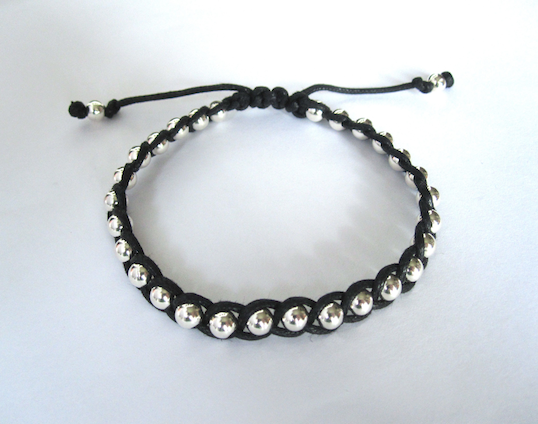
Beads turn a soft band into something that catches light. You can knot floss through seed beads as you go, braid cord with beads pre-strung on one strand, or finish a knotted bracelet with beaded tails. Chic versions often use a limited bead mix—metallic seed beads, one stone accent, or letter beads that spell a short word.
Match bead hole size to cord. Forcing thick floss through tiny beads frays everything. A beading needle or waxed thread helps for dense patterns. Tie stopper knots so beads cannot escape while you work. If you use letter beads, plan the message before you commit; mid-bracelet spelling corrections are painful.
Balance weight. A heavy run of glass beads on a thin floss band will twist around the wrist. Either widen the band, use lighter acrylic beads, or keep beads as end accents rather than a full sleeve of glass.
Beaded bracelets photograph well and gift well because they feel slightly more “finished” than floss alone. They also snag sweaters—warn wearers with fuzzy knits, or keep bead sections small.
5. Traditional weaves worth repeating
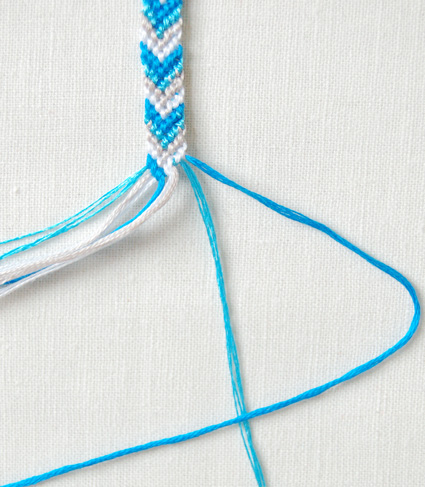
Once basic knots are comfortable, a short list of traditional patterns will cover most of what people want from friendship bracelets: candy stripe, chevron, diamond, and zigzag variations. Learning these from clear diagrams—or from a trusted tutorial series—builds a repertoire you can customize with color alone.
Candy stripe teaches consistent direction. Chevron teaches mirroring. Diamonds teach counting and patience. Work a sample swatch of each in scrap floss before starting a gift in precious colors. Muscle memory from practice rows saves friendships from last-minute frogging.
Keep a notebook of color orders that worked. The same chevron in black-and-gold feels formal; in pastels it feels spring break. Pattern is structure; palette is personality. Advanced makers add alpha patterns for names, but names need graph paper and steady counting—attempt them after the classics feel easy.
Finish cleanly. Braided ties, folded loops, or adjustable sliding knots all work. Seal knot ends with a tiny drop of clear fabric glue if fray is a problem, and trim only after the seal dries. A gorgeous weave with a messy exit still looks unfinished.
Making, trading, keeping
Pick classic patterns when you want pure nostalgia. Pick minimal fashion styles when the bracelet has to survive an office. Pick beginner knot projects when the point is time spent together. Pick beads when you want sparkle. Pick traditional weaves when you are ready to level up without abandoning the friendship-bracelet brief.
Store floss wound and labeled. Keep a small kit—scissors, tape, clipboard, needle—in one pouch so projects actually start. Replace bracelets when they fray; retirement is normal, not failure. The point was never permanence in fiber. The point was the making, the trade, and the weeks the colors lasted against your pulse.
If you only weave one band this month, make it for someone who would not expect it. Slide it across a table without a speech. The best friendship bracelets do not need a caption. They only need two wrists and a little string.

Comments
Continue reading
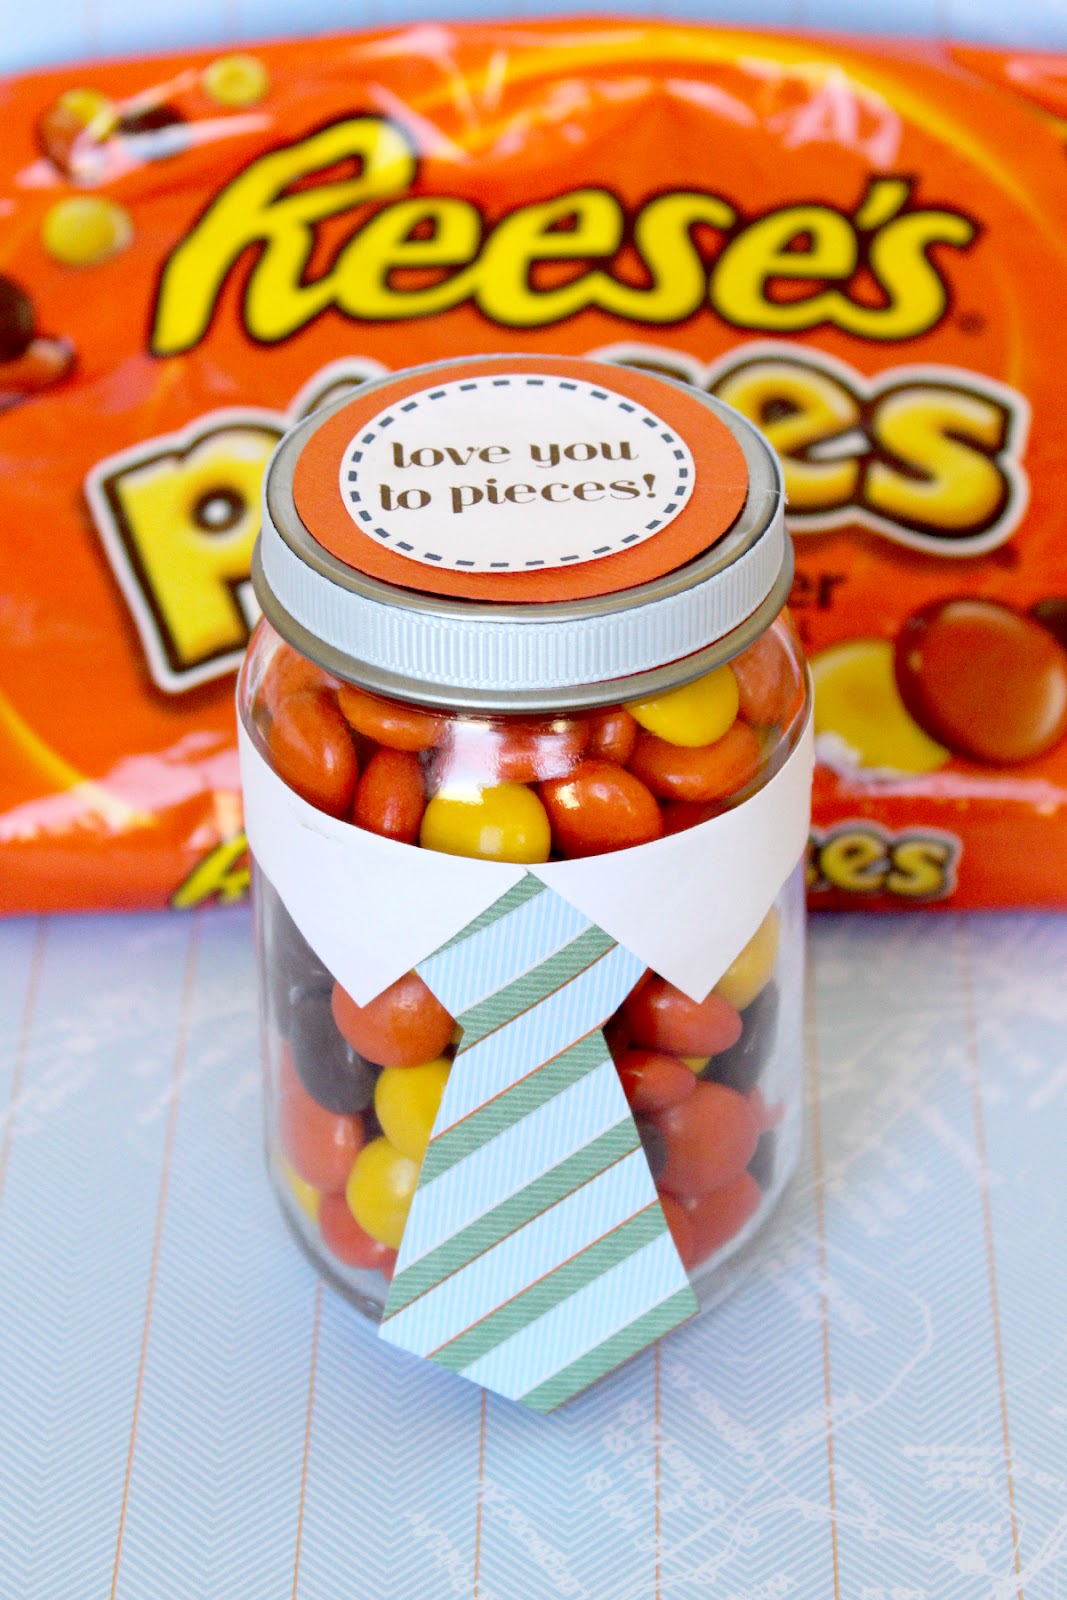
DIY Father’s Day Gifts Kids Can Help Make
Inexpensive, personalized projects—treats, stitched notes, shirt pillows, tie boxes, and desk sets—planned so kids can join in before Father’s Day.
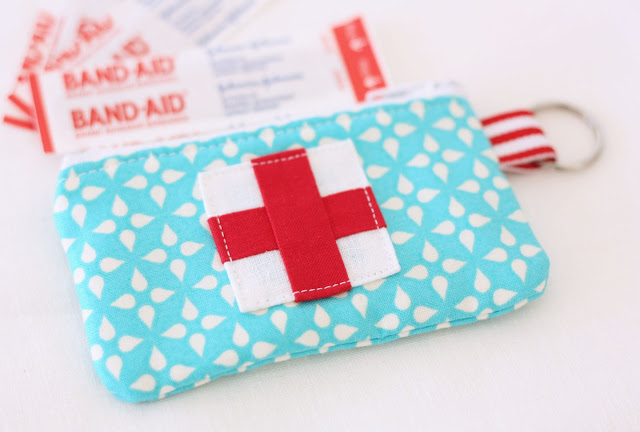
16 DIY Travel Kits and Journals to Make Before You Pack
Sixteen handmade travel projects—emergency kits, cord wraps, passport covers, sleep masks, journals, games, and more—to pack smarter before the trip starts.
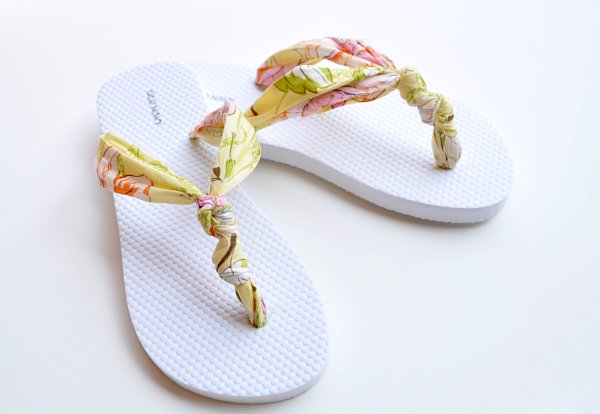
DIY Summer Sandals and Flip-Flops You Can Actually Wear
Upgrade basic flip-flops with fabric wraps, gladiator laces, macrame, fringe, and beads—plus fit checks and glue tips so handmade sandals last.