
10 Simple DIY Jewelry Projects You Can Finish in an Evening
Ten approachable handmade jewelry ideas—braids, pearls and leather, memory wire, floral bangles, bead rings, and gold-dipped earrings—with tools, tips, and wear advice.
Handmade jewelry does not need a bench full of specialty tools or a weekend lost to frustration. The projects below stay in that sweet spot: recognizable finished pieces, materials you can find at a craft store, and techniques that reward careful hands more than expensive equipment. Work through them in any order. Start with the braid or memory-wire bracelet if you want a quick win; save the dipped earrings and bead ring for when you are ready for a little more precision.
Before you begin, clear a flat surface, use good light, and keep a small dish for findings so jump rings do not vanish into the carpet. Soft cloth under your work protects beads and table alike. Measure twice when cutting cord or wire—jewelry that sits slightly short is harder to fix than a strand you can trim.
1. Folkloric Braid Necklace
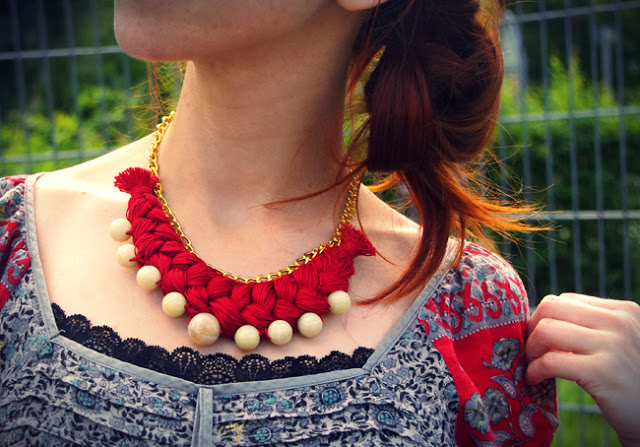
A folkloric braid necklace builds presence from texture rather than from a single statement pendant. Choose three or more cords in related hues—cotton embroidery floss, thin leather lace, or satin rattail all work—and cut them longer than your finished length so the braid can settle. Anchor one end under a heavy book or clip it to a clipboard, then braid with even tension. Too tight and the necklace will curl; too loose and it will look unfinished.
Finish with a simple clasp or by tying the ends into a secure knot and tucking the tails. If you want extra weight at the front, slide a few large beads onto the cords before you braid, or stitch a small charm onto the finished plait. The look reads handmade without looking unfinished—exactly the balance folk-inspired pieces need.
2. Pearl and Leather Necklace
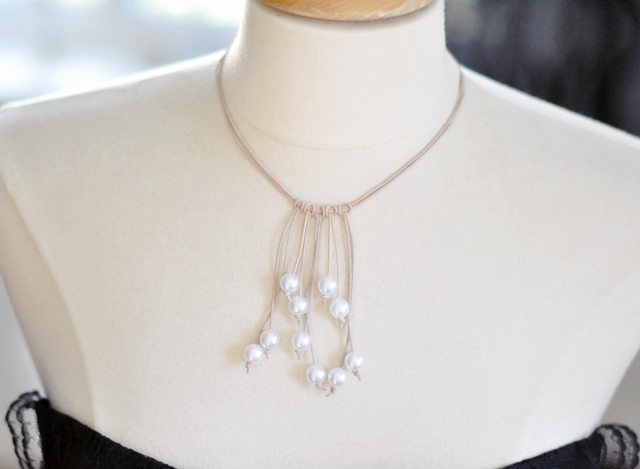
Pearl and leather is a classic contrast: soft sheen against matte hide. Use a flat or round leather cord thick enough to feel substantial, then thread freshwater pearls or glass pearl beads so they sit as a short cluster, a center drop, or a spaced rhythm along the strand. Knotting on either side of each pearl keeps beads from sliding; a dab of clear jewelry adhesive on knot ends helps them stay put without looking glued.
Leave enough leather at the back for a sliding knot or attach a lobster clasp with fold-over cord ends. Wear it alone against a simple tee, or layer it with a thinner chain so the leather becomes the visual anchor. The project is forgiving: if spacing feels wrong, slide the knots and try again before you commit to glue.
3. Anthro-Inspired Statement Necklace
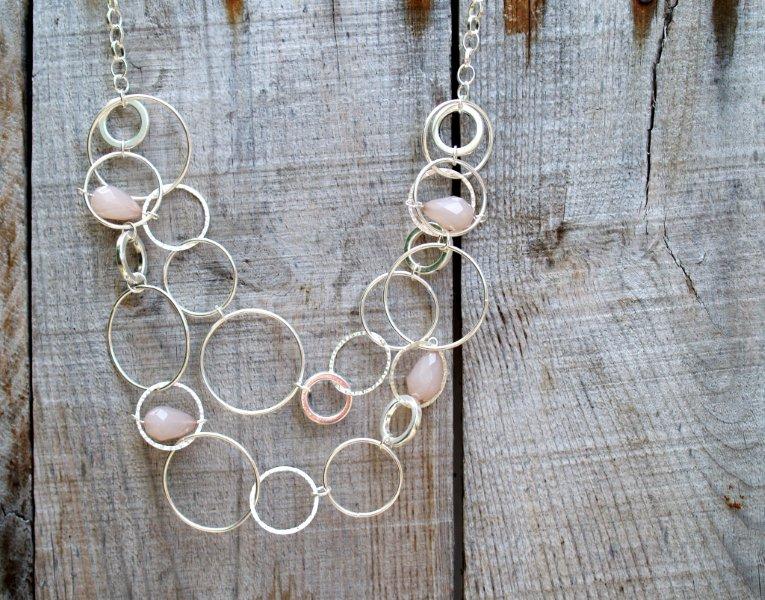
Catalog-style statement necklaces often look complicated because they mix shapes, but the construction is usually a wire or chain base with carefully placed charms, beads, and links. Sketch a rough layout on paper first: center motif, then balancing elements that step down toward the clasp. Use jump rings of a matching metal tone so the hardware disappears into the design.
Work from the center outward so both sides stay symmetrical. Open jump rings sideways with two pairs of pliers rather than pulling them apart; that keeps their round shape and closes gaps that snag clothing. When the front looks right, adjust the chain length so the lowest point sits where you want it—collarbone for daytime, a little lower for evening. A piece like this turns a plain dress into an outfit without needing anything else sparkly.
4. Ashore Necklace
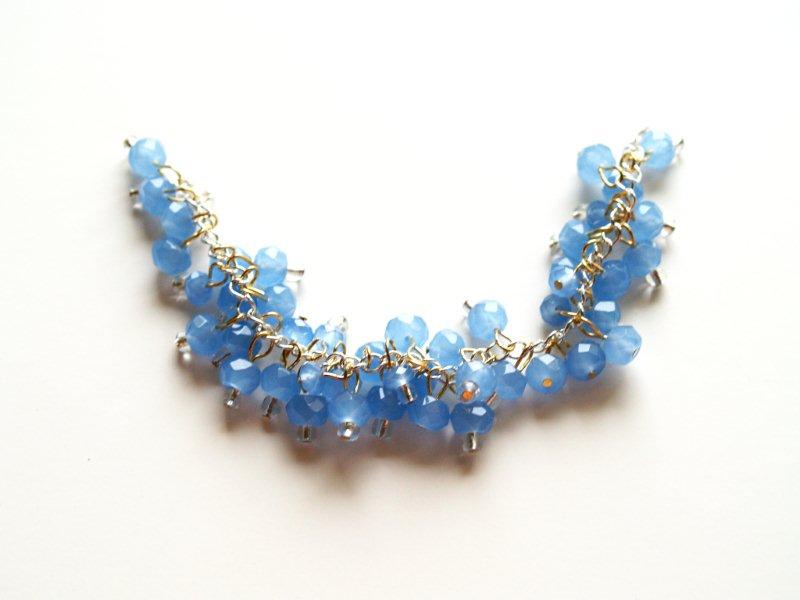
The ashore necklace leans coastal: soft neutrals, shell or stone accents, and a silhouette that feels collected rather than manufactured. Driftwood beads, small shells with drilled holes, or matte ceramic rounds all fit the mood. String them on beading wire with crimp beads at the ends, or knot them on waxed linen if you prefer a more organic drape.
Keep the palette limited—sand, cream, pale blue, weathered gray—so the piece does not look like a souvenir jar emptied onto a cord. One slightly larger center element is enough drama. If you use real shells, rinse and dry them thoroughly before stringing so salt and grit do not wear the cord. The finished necklace should feel like something you might find on a quiet beach walk, not like a costume prop.
5. Braided Bangle Bracelet
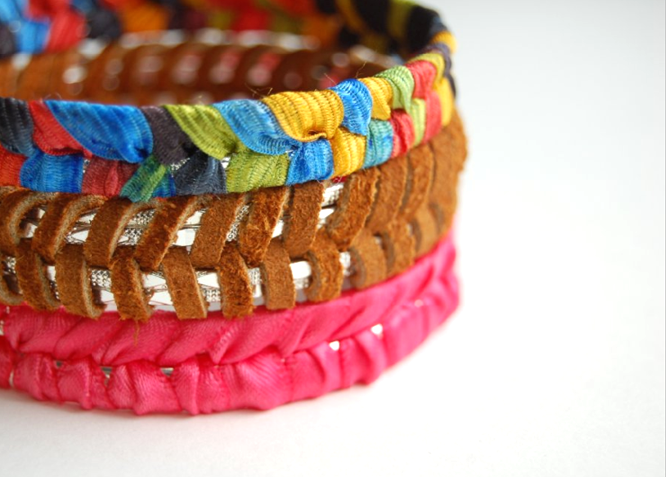
A braided bangle works best when the cords are stiff enough to hold a round shape once joined. Embroidery floss over a wire core, thin leather strands, or satin cord wrapped around memory wire all produce a clean circle. Measure your wrist, add a little ease, and braid to that length before joining the ends with strong adhesive inside a metal tube connector—or stitch them closed if you are using fabric cord and prefer a soft join.
Stack two or three in related colors for a custom cuff look. Because bangles do not clasp, make sure the diameter is generous enough to slide over the hand without stretching the braid until it loosens. If a braid starts to fray at the join, wrap a short piece of matching thread tightly around the seam and seal with a tiny drop of clear adhesive.
6. Memory Wire Bracelet
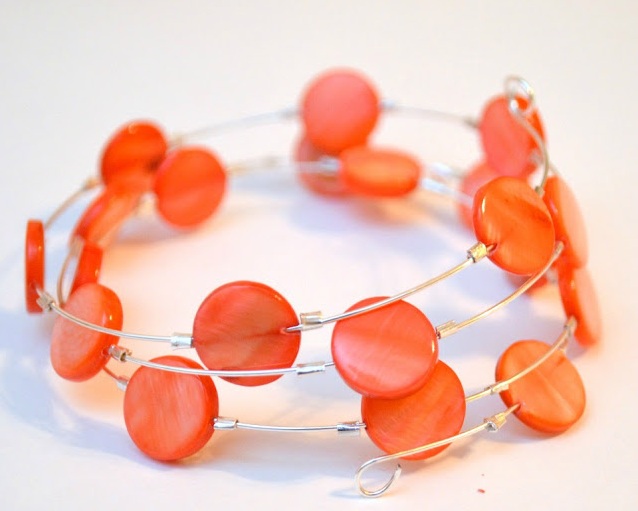
Memory wire is coiled steel that keeps its spring, which makes it ideal for beginners who do not want to fuss with clasps. Cut one to three loops with heavy wire cutters—ordinary scissors will be ruined—and form a small loop at one end with round-nose pliers so beads cannot slide off. String a mix of seed beads, chips, or coral-toned rounds until you nearly fill the coil, then close the other end with a matching loop or an end cap.
Vary bead sizes in a repeating pattern so the bracelet looks intentional rather than random. Leave a little breathing room; packing every millimeter can make the coil stiff and uncomfortable. Memory wire bracelets make excellent gifts because one size fits most wrists, and they stack cleanly with watches or thinner bangles.
7. White Pearl Necklace
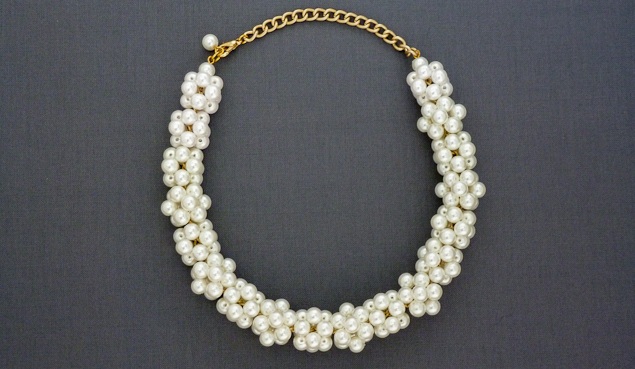
A white pearl necklace can be classic or fashion-forward depending on how you group the pearls. For a clean look, string graduated or uniform pearls on silk or nylon beading thread with a knot between each bead—the knots protect pearls if the strand breaks and add a subtle rhythm of tiny spaces. For a more modern take, cluster pearls at the front on a short section of chain and leave the back minimal.
Use a bead reamer gently if holes feel rough, and always wipe pearls with a soft cloth after wearing so skin oils and perfume do not dull them. A simple box clasp or magnetic clasp finishes the piece without competing with the pearls. This is the project that teaches patience: even spacing and secure knots matter more than speed.
8. Floral Bangle Bracelet
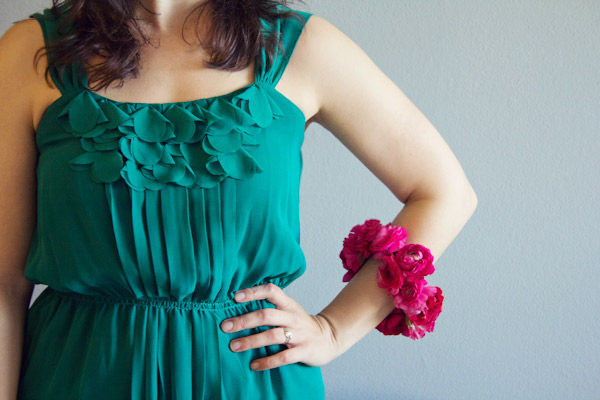
Floral bangles start with a plain metal or wood base and add flowers made from fabric, polymer clay, or ready-made embellishments. Hot glue works for temporary wear and gifts; E6000-style jewelry adhesive holds better for pieces you plan to keep. Arrange blooms around part of the circumference rather than crowding every inch—negative space keeps the bracelet wearable instead of bulky.
Color story matters. Soft pastels read spring bridal; deep reds and creams feel more vintage. If you use fabric flowers, seal fraying edges with a tiny amount of clear nail polish or fray check before attaching them. Pair the finished bangle with a simple watch on the other wrist so the florals stay the focus. These also photograph well as party favors when you make a small matching set.
9. Bead Ring
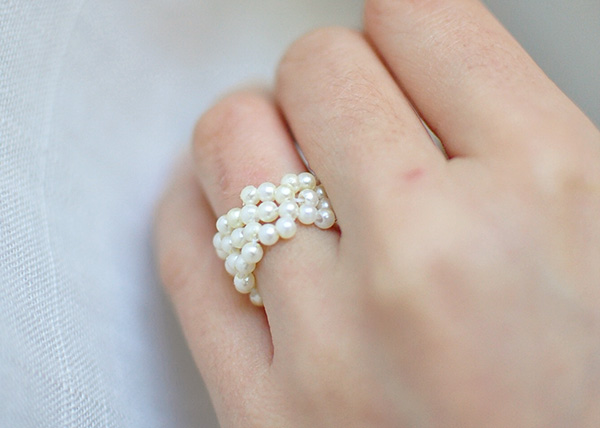
A bead ring is small-scale jewelry at its most satisfying. Use thin gauge wire and a ring mandrel or a marker of the right diameter as a form. Create a simple band, then wrap a focal bead—or a tiny flower of seed beads—so it sits stable on top of the finger. Eight-petal and flower-style arrangements look intricate but are mostly repetition: same loop, same count, same tension.
Trim wire ends flush and tuck them so they cannot scratch. If the ring feels loose, a gentle squeeze with nylon-jaw pliers can narrow the band slightly. Make a few in different bead colors and keep them on a small dish by the door; they are the kind of piece you grab when an outfit needs one more detail. Because materials are inexpensive, this is also a good project for practicing wire control before larger wire-wrapped pendants.
10. Gold-Dipped Earrings
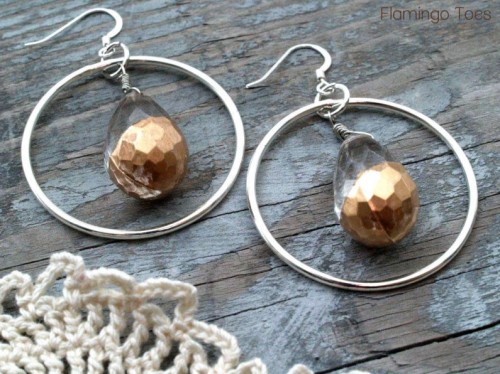
Gold-dipped earrings look polished with almost no hardware. Choose lightweight shapes—wood discs, acrylic geometrics, or matte beads—and dip the lower third into gold leaf adhesive, then apply imitation gold leaf or brush on metallic paint if leaf feels fussy. Let each coat dry fully so the edge stays crisp rather than muddy. Attach ear wires with a single jump ring, matching the metal tone of the dip.
Work in a dust-free spot; leaf and wet metallic paint pick up lint instantly. Make a pair that matches, then a mismatched pair with different dip heights for a more editorial look. Hang them overnight before first wear so any residual tackiness disappears. Lightweight bases matter: heavy earrings that look beautiful on the table will not stay in for a full day.
A practical finishing kit
Across all ten projects, a short list of tools covers most needs: round-nose and chain-nose pliers, flush cutters rated for memory wire, a bead mat, crimping pliers if you use beading wire, and a ruler. Store findings by size in a divided box. Label leftover cord lengths so your next braid starts faster. When a clasp fails or a jump ring opens, fix it immediately—small repairs prevent lost beads and broken strands.
Safety is simple but worth stating. Ventilate when using adhesives. Keep cutters and wire ends away from children and pets. Do not use industrial solvents on pearls or porous stones. If you have metal sensitivities, choose niobium or surgical-steel ear wires and test a small patch of leather dye or adhesive against your skin before a long wear.
How to wear what you make
Handmade jewelry looks best when it has a job in an outfit. Let the folkloric braid or ashore necklace carry a neutral linen shirt. Stack the memory-wire and braided bangles with a watch for everyday texture. Save the anthro-inspired statement piece for evenings when the neckline is clean. Pearl and leather bridges casual and dressed-up; gold-dipped earrings do the same for hair worn up or down.
Photograph your finished pieces in natural light against a plain background before you gift or sell them. You will see uneven knots and open jump rings more clearly in a photo than on the worktable, and fixing those details is what separates a craft-night experiment from something you are proud to wear out of the house. Ten projects is enough to build a small personal collection—and enough practice to invent an eleventh of your own.

Comments
Continue reading
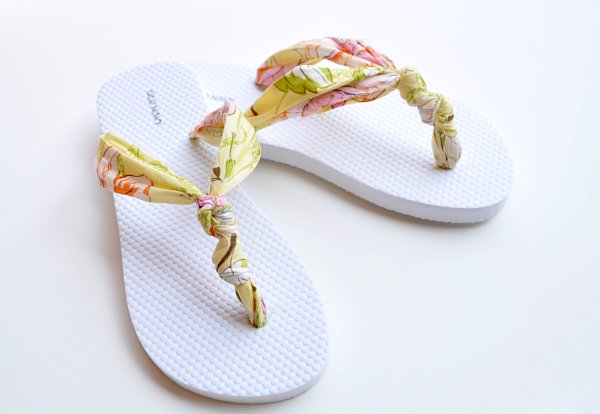
DIY Summer Sandals and Flip-Flops You Can Actually Wear
Upgrade basic flip-flops with fabric wraps, gladiator laces, macrame, fringe, and beads—plus fit checks and glue tips so handmade sandals last.
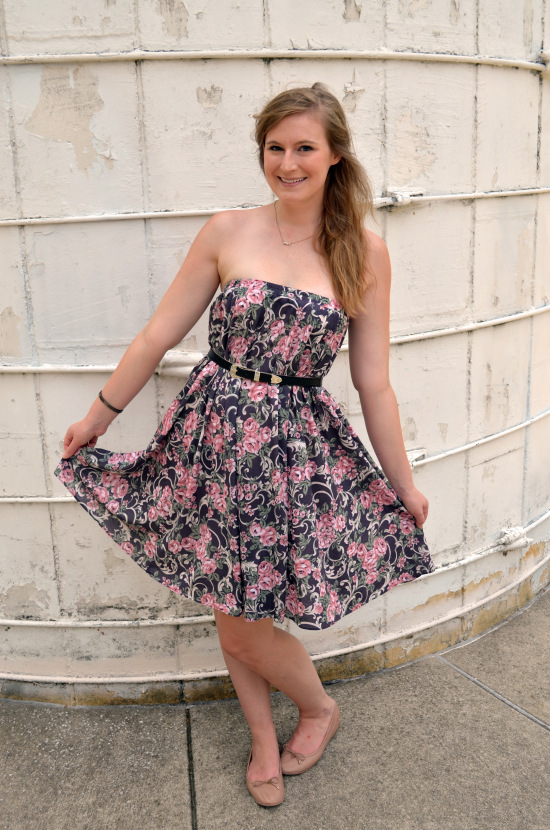
DIY Summer Dresses You Can Sew on a Budget
Maxi conversions, tank-top bodices, sheet wraps, and low-seam knits—practical ways to sew cool weather dresses from what you already have.
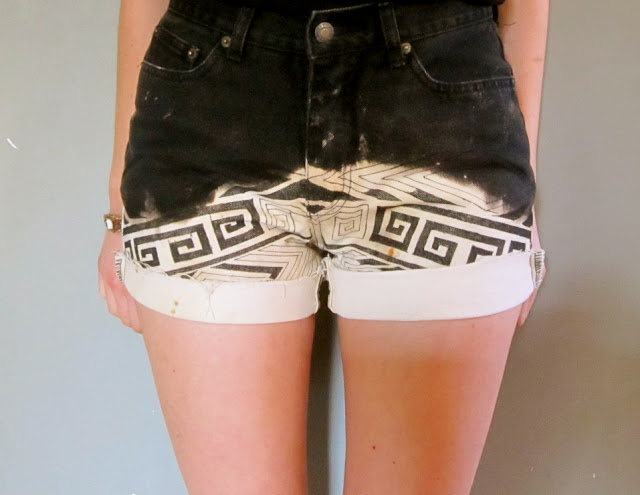
DIY Shorts Redesigns You Can Finish at Home
Turn old shorts into dip-dye, print, lace, bleach, scallop, and no-sew refashions with practical steps, fabric tips, and a weekend plan—no affiliate hard sell.