
DIY Headboard Tutorials That Actually Shape a Bedroom
Upholstered nailhead boards, pallet and barnwood panels, woven upcycled frames, light-up silhouettes, and shelf niches—practical ways to build a headboard that sets the room’s style.
A bed anchors a bedroom more than almost any other piece of furniture. Comfort decides whether you sleep; the headboard decides whether the room feels finished. Change the board behind the pillows and the whole space can shift from hotel-bland to personal—modern, rustic, soft, graphic, or quietly theatrical—without replacing the mattress or rebuilding the frame.
Buying a ready-made headboard is the fast path. Building one is the interesting path. DIY headboard projects range from weekend upholstery to salvaged wood assemblies, woven panels, and light-up frames. The tutorials that circulate among craft and design blogs share a useful truth: most home versions succeed when they start from a simple structure, then add one strong material idea. Below is a practical guide organized by approach, so you can pick a method that matches tools, budget, and the look you want.
Decide the job before you buy lumber
A headboard can be purely visual, or it can be a soft backrest you lean against while reading. Soft upholstered boards want batting, foam, and fabric that can take friction. Hard wood or pallet boards want smooth edges, solid mounting, and finishes that do not snag pillowcases. Measure the bed width first—twin, full, queen, king—then decide how tall you want the silhouette. Tall boards look dramatic in rooms with high ceilings; shorter ones keep small rooms from feeling crowded.
Also decide how the board will attach. Freestanding floor-supported frames are forgiving for renters. Wall-mounted panels look cleaner but need studs or heavy-duty anchors. Frame-mounted boards bolt to the bed itself and move with the mattress. Choose the mounting method early; it affects thickness, weight, and hardware.
Upholstered boards with nailhead polish
Classic padded headboards remain popular because they soften acoustics and photograph well. The usual build is a plywood rectangle, foam glued or stapled on top, batting wrapped over the foam, and fabric pulled tight and stapled on the back. Nailhead trim along the perimeter adds a tailored edge that reads as furniture rather than a craft experiment.
Fabric choice matters more than fancy tools. Mid-weight upholstery fabric or a sturdy linen blend holds shape; thin quilting cotton wrinkles and shows every staple. If you want a patterned look, center the motif before you staple. For a quiet modern room, solid charcoal, oatmeal, or deep green usually ages better than trend colors that fight the bedding every season.
Time budget: a first upholstered board can take an afternoon once the plywood is cut. Mistakes show as baggy corners or crooked nail lines, so mark the trim path with chalk and work from the center of each side outward.
Light-up and statement silhouette boards
Some DIY makers treat the headboard as a light fixture. A frame with a cutout silhouette—city skyline, geometric lattice, or simple rectangular recess—can hide LED strips so the wall glows behind the bed. The effect is especially strong in rooms that otherwise rely on harsh overhead bulbs. Use low-heat LED tape, a proper power supply, and cable management that keeps wires away from bedding.
Silhouette boards also work without lights. A painted plywood shape, a metal screen, or a layered wood cutout can create a focal point while remaining thin enough for small apartments. The design rule is restraint: one silhouette idea, one finish, and bedding that does not compete with the outline.
Pallet and barnwood warmth
Pallet headboards and salvaged barnwood panels bring texture without much upholstery skill. Disassemble pallets carefully, sand until splinters are gone, and arrange slats horizontally or vertically for different rhythms. Horizontal lines widen the wall visually; vertical lines add height. Seal with a clear matte finish or a light stain so the wood grain stays the star.
Barnwood projects follow the same logic with more character already built in—weathered grey, nail holes, saw marks. The craft challenge is structure: uneven boards need a flat backing sheet or a sturdy frame so the finished piece hangs true. Always check that reclaimed wood is free of pests and loose hardware before it sits inches from your pillow.
These wood boards pair naturally with linen bedding, wool throws, and simple nightstands. If the rest of the room is already rustic, keep the headboard relatively clean in composition so the wall does not become a scrapyard.
Woven, upcycled, and soft-structure ideas
Woven headboards—fabric strips, webbing, or upcycled materials laced across a frame—add pattern and a handmade rhythm. They suit craft-forward rooms and work well when you want color without committing to a full upholstered slab. Tension is everything: loose weaving sags; overly tight weaving can warp a light frame. A rectangular hardwood or metal frame with evenly spaced attachment points keeps the grid honest.
Upcycled approaches also include old doors, shutters, and fence panels converted into headboard faces. A door can become a tall, architectural board with minimal cutting; shutters create louvered texture and shadow play. Sand, prime, and paint to match the room, or leave aged paint if the chips are sealed and stable. These projects reward patience more than expensive tools.
Book shelves and storage-minded boards
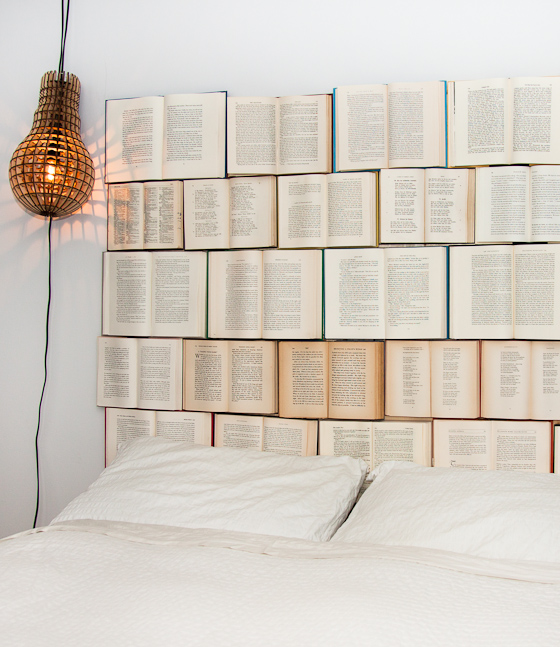
Some DIY headboards double as shallow shelves or book niches. A grid of cubbies behind the pillows keeps novels, glasses, and a small lamp within reach—useful in rooms too tight for bulky nightstands. Build depth carefully: deep shelves eat floor space and can make sitting up feel cramped. Shallow ledges or narrow vertical niches usually feel better than a full bookcase pressing into the mattress zone.
If you store books there, leave clearance so hardcovers do not jab your shoulders. Round over exposed edges. Keep heavier objects lower and centered so the wall mount stays safe. A storage headboard is only clever until it becomes a hazard.
A simple build order that prevents mid-project panic
- Measure the bed and wall, then sketch height and width on paper.
- Choose material family: padded fabric, reclaimed wood, woven panel, or silhouette/light frame.
- Build or buy the structural panel first—plywood, frame, or door—before decorating.
- Finish the face (upholstery, stain, paint, weave) while the piece is still easy to flip on a table.
- Install mounting hardware last, with a level and a second pair of hands for heavy boards.
- Style with bedding only after the board is secure; pillows reveal whether height and softness feel right.
Style notes that make DIY look intentional
The easiest way to make a homemade headboard look accidental is mixing too many ideas: nailhead plus barnwood plus LED plus patterned fabric. Pick one primary gesture. Let bedding, a rug, and art do the secondary work. Color-wise, echo one tone already in the room—wood that matches the floor, fabric that matches a curtain, paint that matches a trim—so the new piece feels inevitable rather than dropped in.
Scale also decides success. A queen bed with a twin-width board looks unfinished. A king with a towering padded rectangle can overwhelm a low-ceiling room. If you are unsure, mock the outline with painter’s tape on the wall and live with the ghost shape for a day before cutting wood.
Maintenance is part of the design brief. Removable covers help with fabric boards. Wipeable finishes help with wood. Avoid untreated rough surfaces that shed grit onto sheets. If you rent, prefer freestanding or lightly anchored solutions you can reverse without patching half the wall.
What to try first
If you have basic tools and one free weekend, an upholstered plywood board or a sanded horizontal wood-slat board are the most forgiving starters. If you enjoy textile craft, try a woven panel. If you want drama with minimal bulk, a silhouette or light-up frame can transform a plain wall. Storage niches and full reclaimed-door builds are better as second projects, once you are comfortable with measuring and mounting.
Lay out your fabric swatches or wood samples against the actual pillows you use most nights. Whichever material still looks good when you are half-asleep—soft enough to lean on, calm enough not to shout—is the tutorial worth following all the way through.

Comments
Continue reading
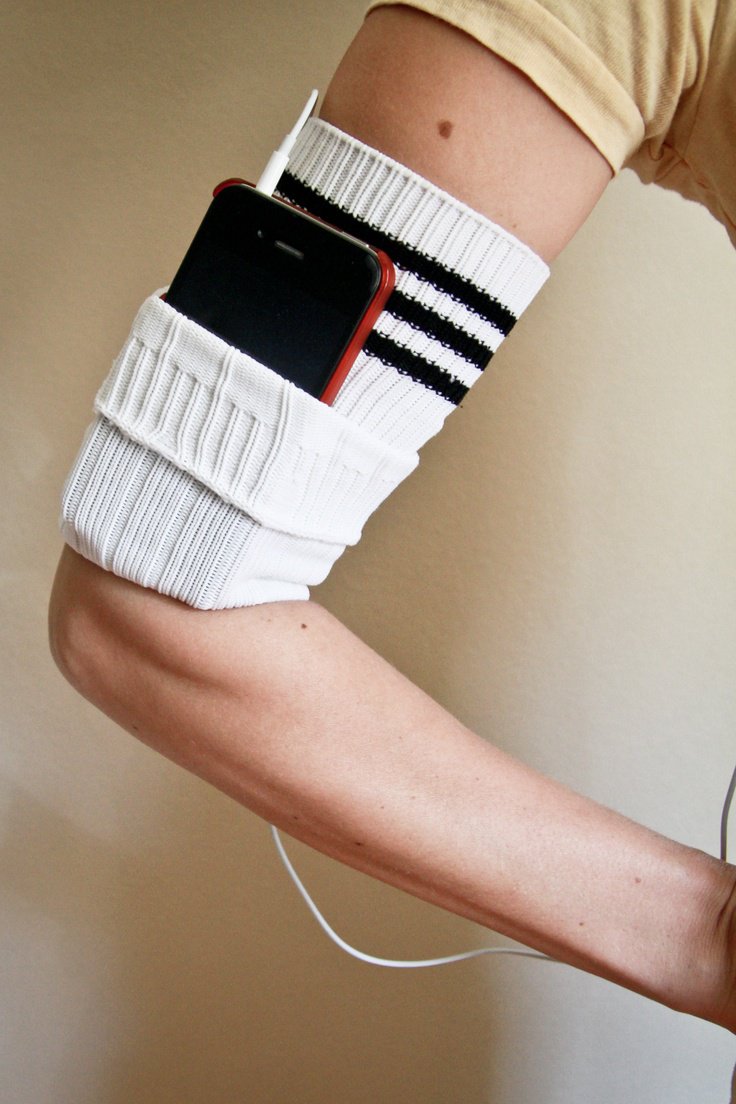
DIY Ideas for Old Socks: Rugs, Puppets, Mittens, and More
Sort leftover socks by fiber, then turn them into braided rugs, hand puppets, soft toys, mittens, and pin cushions with practical cutting and sewing tips.
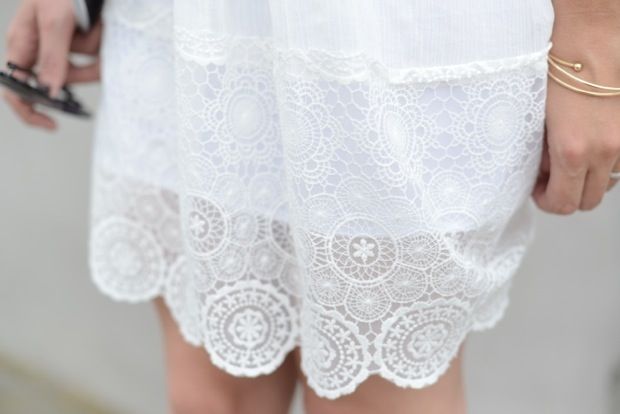
DIY Ideas with Lace Doilies
Upcycle heirloom lace doilies into framed art, runners, pillows, lamps, and more—practical craft projects that keep the crochet visible.
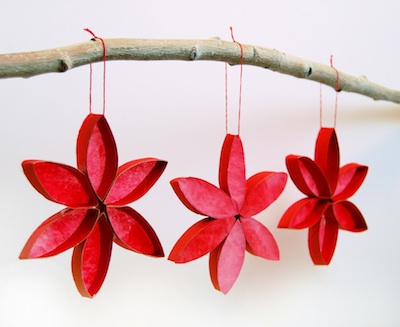
Toilet Paper Roll Crafts: Organizers, Toys, and Ornaments
Cardboard tubes become pencil holders, wreaths, cord cubbies, monsters, race cars, ornaments, and more—structural DIY distinct from magazine-page crafts.