
Day-to-Night Makeup: How to Transition Your Look
A practical technique guide for converting daytime makeup into evening intensity—reset, deepen eyes and lips, and pack a small transition kit without starting over.
Day makeup and night makeup are not two unrelated faces. The useful skill is learning how one look can travel from daylight into evening without a full wipe-down. A day-to-night transition keeps what already works—even skin, defined brows, a soft eye—and adds intensity where light and context change. Offices, cafés, and afternoon errands ask for polish that does not announce itself. Dinner, a gallery opening, or a late gathering asks for more contrast: deeper lids, a clearer lip, maybe a sharpened liner. The bridge between those moods is technique, not a second kit.
This guide focuses on that bridge. It is not a five-minute dash and not a “barely there” natural face. It assumes you have already built a wearable daytime base and want a reliable way to escalate it. Product categories matter; specific brand SKUs do not. Use what you own. Match formulas to your skin’s habits under stress: oil, dryness, crease, or fade.
Build the day face as a convertible base
Start with skin that will still look intentional eight hours later. Cleanse, moisturize, and give sunscreen time to settle if you are wearing it under makeup. A light primer only where you need grip—T-zone, eyelids, or around the nose—beats a full-face silicone coat that traps heat. Foundation or tinted moisturizer should be sheered enough for daylight. Full coverage at noon often reads heavy by dusk, especially under warm restaurant bulbs.
Set strategically. Powder only where you shine or where eyeshadow will sit. Leaving cheeks slightly dewy keeps the day look alive and leaves room for cream blush or highlighter later. Contour, if you use it, stays soft: a cool or neutral shade blended under the cheekbone and along the jaw, never a hard stripe. Day contour that already looks carved will fight you when you add evening depth on the eyes.
Brows should be filled and brushed before anything dramatic happens. They frame both versions of the face. A clear or tinted gel locks hairs so evening liner and shadow do not disturb them when you lean over a sink mid-transition.
For day eyes, keep the lid clean: a wash of neutral shadow close to your skin tone, a slightly deeper shade in the crease for mild definition, and mascara on upper lashes only if you want restraint. Skip heavy lower-lash mascara until night if you tend to smudge. Lips can be balm, stain, or a muted rose. The day lip is a placeholder you will either deepen or replace.
Plan the transition before you leave home
Day-to-night fails when the evening products live in five different bags. Pack a small kit with intention: one cream or powder eyeshadow deeper than your day shade, a dark brown or soft black pencil or gel liner, a travel mascara, a blotting paper or pressed powder, a cream blush or a brighter powder blush, and one lip color with more saturation than your day tone. Optional extras: a mini highlighter, cotton swabs, micellar water on a pad, and a clean fingertip sponge.
Choose your evening direction in advance. Smoky taupe, bronze, plum, or soft charcoal each need different midtones. If your day lid is warm beige, a cool gray smoke can look muddy unless you neutralize first with a thin wash of taupe. Warm day lids transition cleanly into bronze or soft brown. Cool day lids welcome charcoal or soft plum. Deciding the lane early prevents the mid-transition panic of mixing every product you packed.
Also decide what stays. Many people keep foundation and brows untouched, refresh under-eyes lightly, and put all new drama on lids and lips. That rule alone prevents the “new face” look that photographs as costume rather than evolution.
The mid-day reset
Before you add intensity, edit. Blot oil; do not pile powder on top of shine or you will get cake. If concealer has settled into lines, press a tiny amount of moisturizer on a fingertip, tap to revive, then spot-conceal only where needed. Clean up mascara flakes with a dry swab. If blush has vanished, that is fine—you will replace it with a stronger evening application.
Check the crease. Day shadow that has migrated into a muddy line should be blended out with a clean brush before you deepen. Evening makeup on a dirty lid looks older and dirtier, not glamorous. Thirty seconds of cleanup buys you cleaner depth.
Escalate the eyes without starting over
Work from the crease outward. Deepen the outer corner and the crease with your darker shadow using windshield-wiper motions, then circular blends so there is no hard edge. Keep the center of the lid slightly lighter unless you are aiming for a fully smoked closed lid. That lighter center keeps the eye open under dim light.
Liner comes next. For a convertible look, tightline the upper waterline and draw a thin line along the upper lash line, then smoke the edge with a small brush or fingertip so it does not sit like a graphic stamp unless that is your style. Lower-lash soft smoke—shadow or a gently smudged pencil—adds evening weight fast. Keep lower liner thinner than upper so the eye does not shrink.
Mascara: wipe the wand, coat upper lashes from root to tip, and add a careful lower coat only if your formula does not flake. If lashes look sparse, a second thin coat after thirty seconds of dry time beats one wet clump. False lashes are optional and usually unnecessary for a transition look; they read as a full reset.
If you want more drama without more product, change the wing. A short daytime flick can be extended and thickened at the outer corner. Extend first with pencil, then set with matching shadow so the wing survives humidity and conversation.
Cheeks, highlight, and the evening light problem
Evening light is often warmer and dimmer. Colors that looked vivid at noon can disappear. Reapply blush a shade deeper or more saturated than your day choice, placed slightly higher on the cheekbone so it catches overhead lamps. Cream blush layered under a whisper of powder blush lasts through dinner.
Highlighter belongs on high points that still receive light: tops of cheekbones, brow bone, and a tiny touch on the cupid’s bow if you like. Avoid the center of the nose if you are oily; it becomes a grease spotlight in photos. Matte skin with targeted sheen usually photographs cleaner than an all-over glow under mixed restaurant lighting.
If your day contour vanished, reinstate it softly. Evening photos flatten faces; a little structure helps, but chalky contour under flash looks like dirt. Blend until you almost cannot see where it starts.
Lips as the final switch
Lips often do more night-signaling than eyes. A medium berry, warm brick, deep rose, or soft wine can convert a whole face in under a minute. Exfoliate gently with a tissue if skin is flaky, apply a thin balm, blot, then color. For longevity, fill lips with a matching pencil first, then apply lipstick or a creamy stain. Gloss is fine for short evenings; for long dinners, a satin finish survives glasses and conversation better.
If your eyes went very dark, keep the lip one step quieter than your boldest option. If eyes stayed medium, the lip can carry more of the evening story. Balance prevents the face from competing with itself.
Common transition mistakes
Starting over in a bathroom stall wastes time and usually worsens texture. Adding black shadow on an unblended warm lid creates mud. Skipping blot-and-clean before powder creates patchiness. Matching foundation in artificial bathroom light after sunset often leads to a mask that is too dark or too orange. Carry a small mirror and use the most neutral light you can find, or step near a window if one exists.
Another mistake is treating day-to-night as maximalism. Intensity is relative. Going from sheer skin and soft brown lid to a defined crease, smoked liner, and richer lip is already a full evening shift. You do not need glitter, cut creases, and contour theater unless that is your personal style.
A simple practice loop
Practice the transition once at home with a timer. Do your day face, wait an hour so products settle, then run the reset-and-escalate sequence. Note which steps take longest. For most people, eye deepening and blending steal the minutes; lip and blush are quick. Adjust your kit so the slow steps have the right brushes packed.
Photograph yourself in daylight and again after the transition under warm indoor light. You are training for how others will see you, not for bathroom mirror perfection. If the evening version looks like a stranger, dial back depth in the crease and strengthen the lip instead—or the reverse. The convertible face should still look like you, only better prepared for the room you are entering.
Day-to-night makeup is a planning habit more than a party trick. Build a day face that leaves room, pack a short kit with a decided color lane, reset texture before you add pigment, and escalate eyes and lips with intention. Do that consistently and the evening version stops feeling like a second job. It becomes a calm, repeatable shift you can finish before the check arrives.

Comments
Continue reading
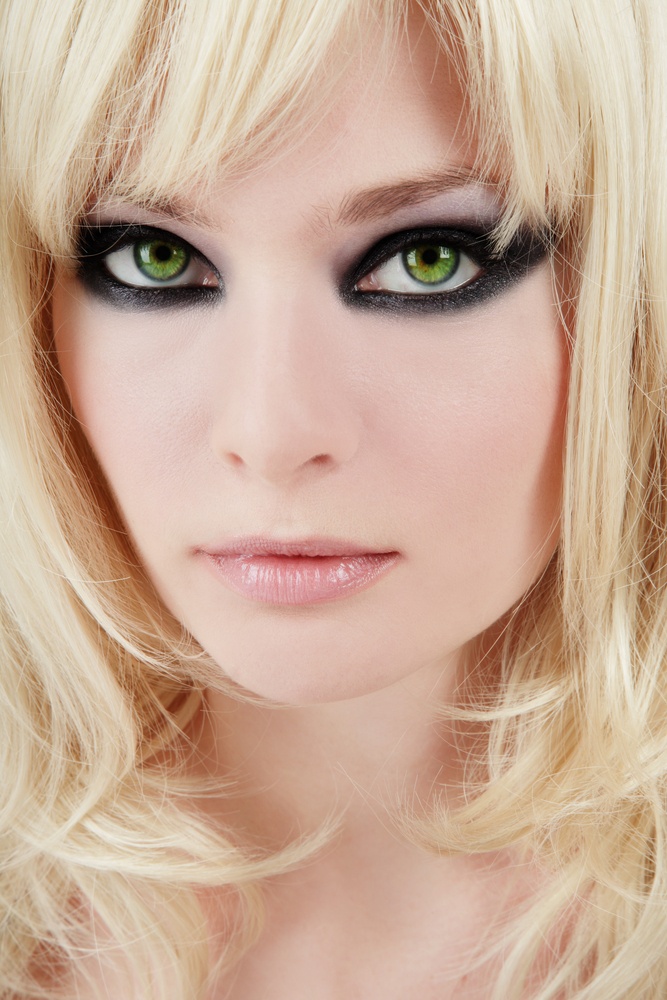
Striking Makeup Ideas for Green Eyes: A Practical Color Guide
How to make green eyes read clearer—complementary plums, warm neutrals, charcoal definition, liner and mascara tips, plus three buildable everyday-to-evening looks.

Makeup Ideas for Halloween
Practical Halloween faces—vampire, animal, skull, zombie, witch glam, clown—plus prep, quick looks, and removal tips that survive a party night.
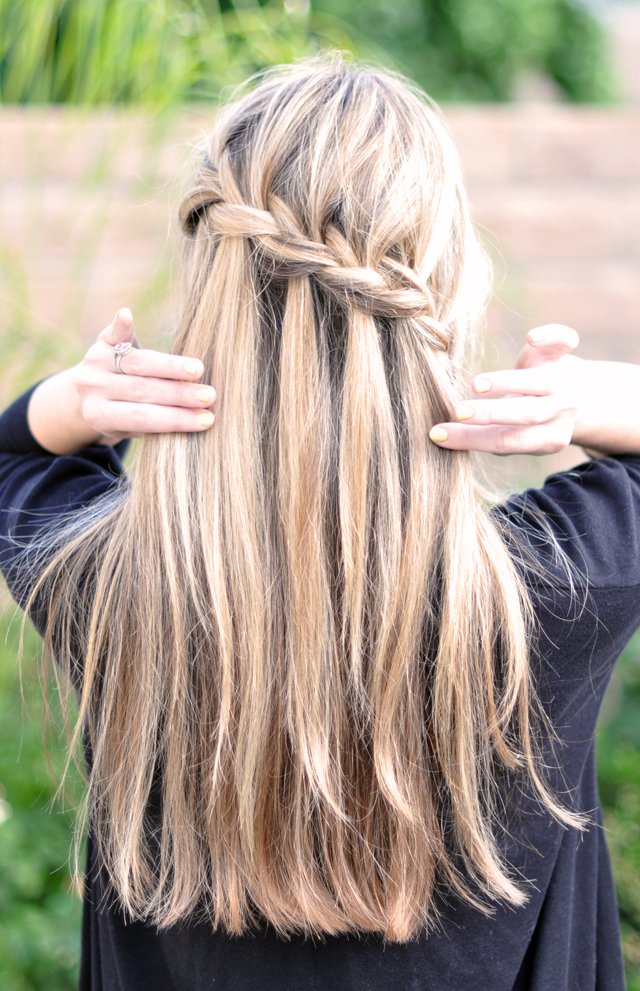
20 Easy Hairstyle Tutorials You Can Do at Home
Twenty easy styles—fishtails, twisted ponies, bow buns, victory waves, side braids, and sleek updos—with clear mirror-friendly steps for each.