
Makeup Ideas for Halloween
Practical Halloween faces—vampire, animal, skull, zombie, witch glam, clown—plus prep, quick looks, and removal tips that survive a party night.
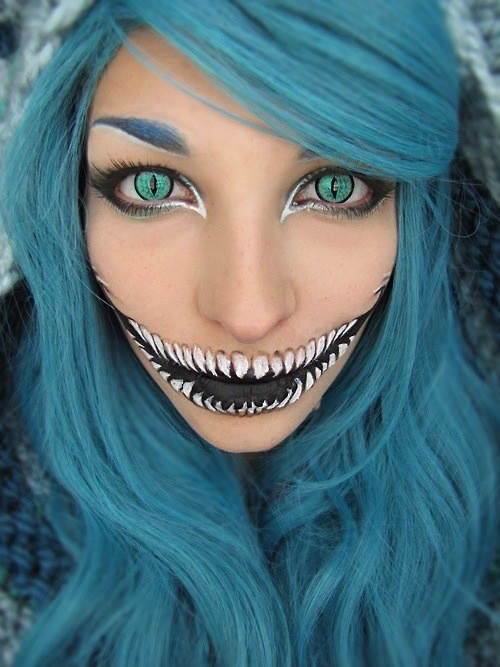
Halloween makeup does half the costume work. A strong face can turn a black shirt into a vampire night out, or push a thrift-store dress into full character territory. You do not need a kit the size of a film trailer—just a plan, products that play well on skin, and enough time to practice once before the party.
Below are practical looks and techniques, from quick glam-scary hybrids to fuller special-effects style faces. Patch-test new products, keep glitter away from eyes unless it is labeled safe for that use, and remove everything gently at the end of the night.
Prep that makes every look last
Start with clean, moisturized skin. Oilier faces benefit from a light mattifying primer in the T-zone; dry skin needs a richer cream so cream paints do not cling to flakes. If you use contacts or false lashes, put them in before heavy makeup. Tie hair back while you work, then style.
Set a base with a foundation or cream that matches your neck, even for “dead” looks—you will paint over it with color, but an even canvas stops blotchy patches. Use setting powder lightly where you will layer powder shadows; leave areas bare if you plan heavy cream products that need grip.
Tools worth having: a flat brush for blocking color, a fluffy brush for smoke and blend, a thin liner brush or angled brush for wounds and details, makeup sponges, cotton swabs for cleanup, and plenty of makeup remover plus micellar water for mistakes.
Classic vampire
Pale base, defined brows, and a controlled red mouth read instantly. Mix a lighter foundation or add a drop of white cream to your usual base—keep it believable unless you want full theatrical white. Contour under cheekbones and at the temples for a hollow look. Smoke the outer corners of the eyes in black or deep brown; a thin red waterline (cosmetic-safe product only) adds menace without contacts.
Lips: line slightly outside your natural edge for a fuller bite, fill with deep red or black-red, then dab a tiny highlight on the center if you want gloss-magazine drama. Draw small puncture marks on the neck with a brown pencil, deepen the center with dark red, and stipple a touch of darker brown for depth. Set powders; leave cream blood glossy if you use it so it reads wet.
Cat, fox, or forest creature
Animal faces work for last-minute costumes. Use white or light cream on the muzzle area (around nose and mouth), blend edges soft. Fill the nose tip in black, then draw a short line down to the top lip and small dots along the upper lip for whisker bases. Wing eyeliner upward; add lashes or tightline for intensity. Contour the sides of the nose for a snout hint.
Whiskers: fine black liner or a thin brush with diluted cream. Keep strokes light so they do not crack when you smile. Ears are usually a headband—focus makeup on eyes and nose so the face and accessory match.
Skeleton half-face or full skull
Map the face first with a light pencil: hollow cheeks, temple hollows, nose cavity triangle, tooth block on the lips. Fill bone areas with white cream or water-activated paint; keep edges sharper than glam contour for a graphic skull. Black out the nose triangle and the eye sockets, leaving a white highlight on the brow bone if you want dimension.
Teeth: either paint white rectangles across both lips with black gaps, or use a black lipstick base and paint white tooth shapes on top. Practice the smile—painted teeth look different with mouth open versus closed. Set thoroughly; white creams can transfer onto clothes and friends.
Half-skull (one side glam, one side bone) photographs well and takes less time than a full face. Draw a clean center line down the forehead, nose, and chin; keep the glam side polished so the contrast stays sharp.
Zombie or undead
Mix greys, muted greens, and sickly yellows into a sheer layer over foundation rather than one flat green mask. Stipple darker tones under eyes, around the mouth, and in the hollows of cheeks. Add “dirt” with brown powder along the hairline and jaw.
Wounds: draw an irregular shape, fill the center with dark red, edge with deeper brown or purple, and highlight one rim with a lighter tone so it looks raised. Tissue and liquid latex can build texture if you already know those products—skip them if you are new and short on time; painted wounds still read at party distance. Avoid products near the eyes that are not meant for facial skin.
Witch glam and dark fairy
Not every Halloween face needs gore. A deep plum or emerald lid, hard wing, and berry lip with a beauty mark can sell witch energy next to a hat. For fairy or forest spirits, use shimmer on high points of cheeks and brow bones, draw delicate vines from the outer eye toward the temple with a fine brush, and keep skin otherwise fresh.
Color stories help: pick two main shades plus black or deep brown for definition. Too many competing brights turn muddy under orange porch lights and club LEDs.
Clown—sweet or sinister
White base, exaggerated brows, and a shaped mouth are the framework. Soft clown: pastel lids, rounded blush circles, friendly red smile drawn slightly outside the lip. Sinister clown: sharper angles, darker sockets, smile line extended toward the cheeks with a shadow underneath so it looks carved.
White water-activated paints set with powder help reduce creasing. Keep product out of the hairline if you can; white residue on dark hair shows in photos.
Quick looks under twenty minutes
- Bleeding mascara: finish regular eye makeup, then wet a spoolie with diluted black shadow or liner and drag downward from lower lashes.
- Ghost: white-leaning base, almost invisible brows (soap or glue stick carefully, or heavy powder), soft grey hollows, pale lips.
- Pop-star vampire: your usual glam eye, ultra-pale powder, glossy black-red lip, tiny neck marks.
- Masked mystery: dramatic eye only, rest of face clean, pair with a physical half-mask for the costume.
Application and removal tips
Layer thin. Thick cakes crack when you talk and eat. Work from light colors to dark so muddy blends are easier to fix. Hold a tissue under the eye when applying shadow to catch fallout. Check the look in indoor light and phone flash—Halloween lighting is rarely flattering daylight.
Removal: soak with an oil cleanser or remover made for waterproof products, then wash. Do not scrub painted wounds off dry; you will irritate skin. Moisturize after. If you used adhesives or latex, follow product directions and stop if skin burns or itches beyond mild sensitivity.
Pack a touch-up kit: powder, cotton swabs, your main lip or blood color, blotting papers, and a mini remover for smudges. Eat carefully; drink through a straw if lips are heavily painted.
Pick one look, practice it once on a free evening, and photograph both sides of your face. The second attempt on Halloween will be cleaner—and you will still have time to enjoy the party instead of rebuilding a cracked white base in someone else’s bathroom.

Comments
Continue reading
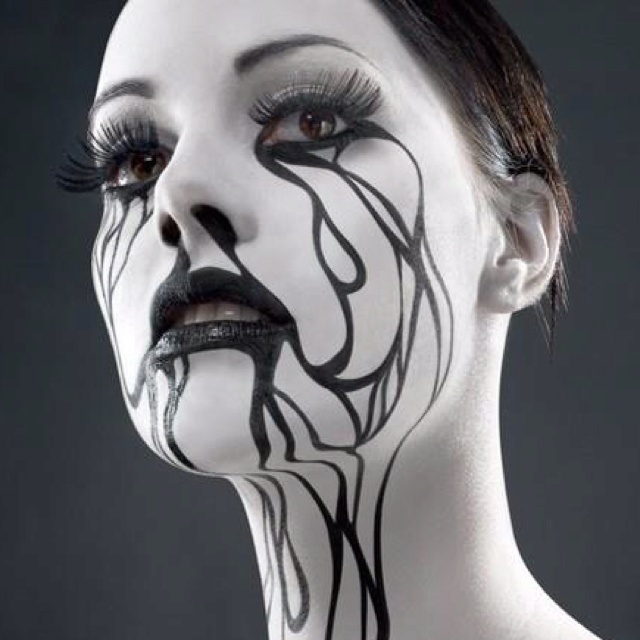
Cool and Scary Halloween Makeup: Pop Art, Doll Eyes, Vampires, and SFX
From Lichtenstein Ben-Day dots and oversized doll eyes to Corpse Bride blue, zipper faces, jack-o’-lantern paint, and glam cats—practical notes for building a Halloween face that lasts the night.
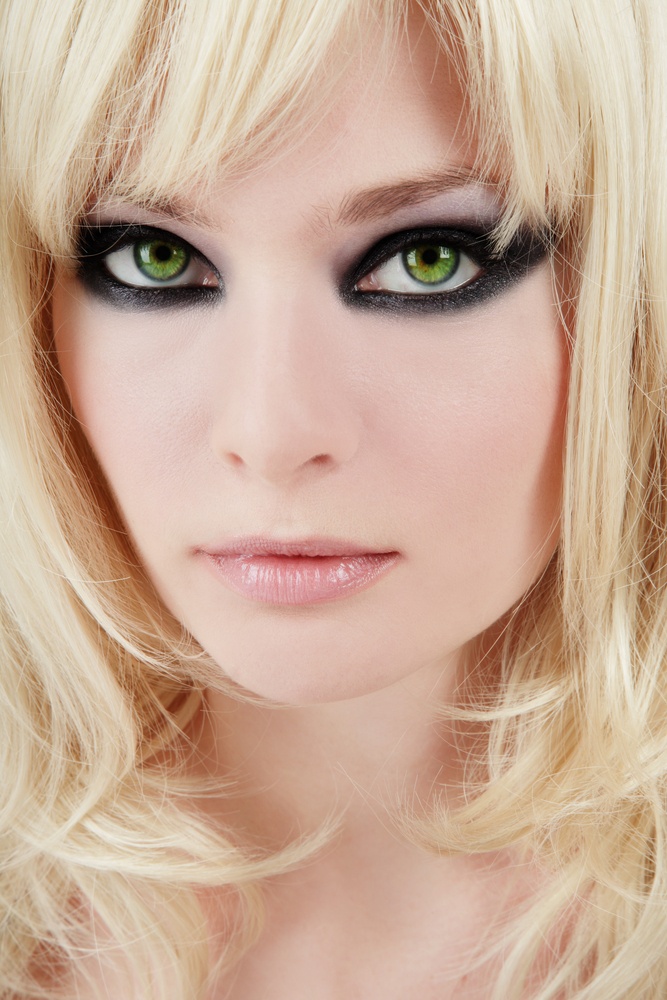
Striking Makeup Ideas for Green Eyes: A Practical Color Guide
How to make green eyes read clearer—complementary plums, warm neutrals, charcoal definition, liner and mascara tips, plus three buildable everyday-to-evening looks.
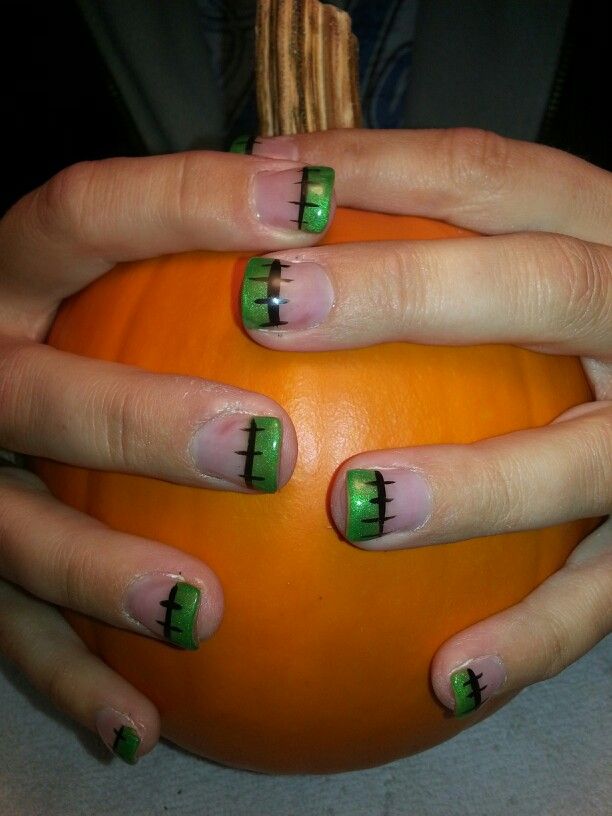
Frighteningly Cute Halloween Nail Art: Motifs, Color, and Wearability
Cute-spooky manicure ideas with criteria for color, scale, accent nails, and lasting wear—whether you freehand, use decals, or brief a salon—without a product hard sell.