
How to Pose So You Look Better in Photos
Practical posing habits—angles, chin line, arms, hands, and timing—so everyday photos look more intentional without gadgets or hard sells.
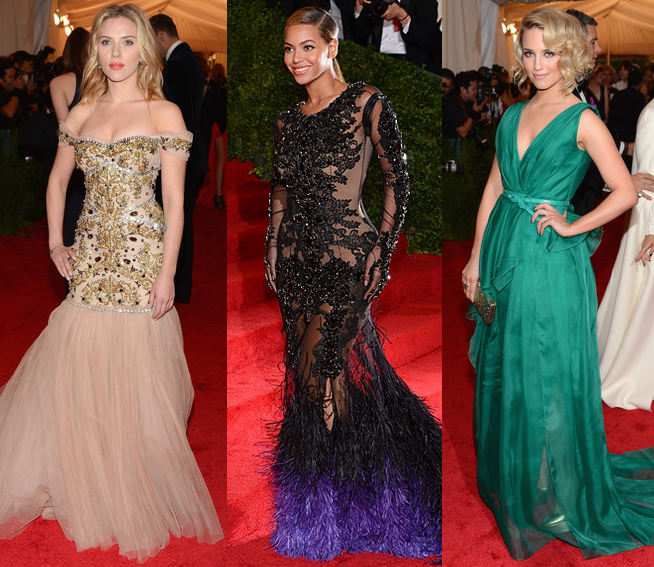
Group photos, phone selfies, and quick snaps at parties have a talent for catching the wrong half-second. You blink. Your chin stacks. An arm presses flat against your side and suddenly looks wider than it felt. Meanwhile someone else in the frame somehow looks composed from every angle. That gap is rarely magic. It is usually a handful of repeatable habits about angle, posture, and timing.
This is a practical posing guide for looking clearer and more intentional in pictures—not a demand that every body look the same, and not a sales pitch for any booth or gadget. Bodies differ. Light differs. What “best” means differs. The goal is control: knowing a few moves that reduce accidental distortion so the photo matches how you want to show up.
Practice helps. Try the poses in a mirror, then ask a trusted friend to shoot a few frames while you both coach each other. Familiarity is what keeps a pose from looking stiff when the real camera appears.
Start with the camera’s job, not your face alone
A lens compresses or exaggerates depending on distance and height. A phone held low can enlarge the lower face. A camera dead-on at arm’s length can flatten features and thicken the midsection. Before micro-adjusting a smile, fix the basics: camera near eye level when possible, a little distance instead of an extreme close selfie, and light from the front or a soft side rather than a harsh overhead bulb that digs shadows under the eyes.
If you can choose where to stand, prefer open shade or window light over mixed neon and ceiling spots. Good light forgives more than any pose. Bad light invents problems no chin angle can fully erase.
Tip one: a partial side angle often beats a flat front
Standing square to the camera maximizes width. A slight turn—shoulders oblique, not a full profile—narrows the silhouette and gives the body a clearer line. Place one foot slightly ahead of the other. Keep weight mostly on the back foot so the front leg stays long and light. Point the front toe roughly toward the camera if that feels natural; the point is length, not a dance audition.
Pull the shoulders back without puffing the chest into armor. Think “spine long” more than “stomach clenched.” A mysterious half-smile is optional; a relaxed mouth usually photographs better than a forced grin held too long.
Key pieces of this pose: slight turn, staggered feet, weight back, shoulders open, expression that you can hold for more than one click.
Tip two: manage the chin and neck on purpose
A common photo surprise is a soft fold under the chin that was not part of anyone’s plan. Pushing the face toward the lens a little—sometimes described as “turtle” or as creating a longer neck line—can separate jaw from neck enough to clean the contour. The move is small. Overdo it and you look strained or oddly elongated.
Practical version: lengthen the back of the neck, bring the chin slightly forward and a touch down rather than tipping the nose to the ceiling, and keep the eyes toward the lens. Imagine a string lifting the crown of your head while the chin finds a clean edge. Check the result in a mirror; the right amount is the one that looks like you on a good day, not like a different species.
This tip is about camera geometry as much as vanity. Many “double chin” moments are simply the lens meeting a tucked head and a shadow. Fix the geometry first.
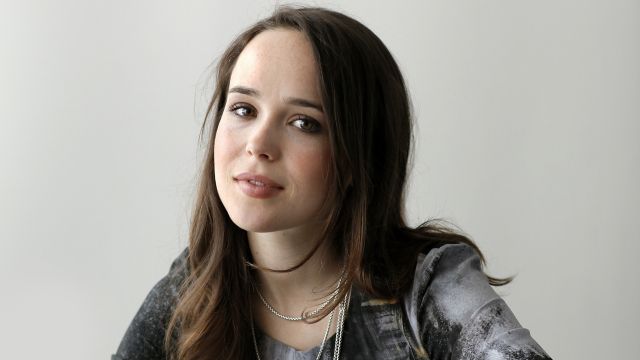
Tip three: give the arms air
When arms press hard against the torso, fabric and skin compress, and the camera reads that compression as bulk. Holding the arms slightly away from the body—even a finger’s width of air—restores a cleaner outline. Hands on a hip, lightly clasped in front, or resting on a railing all work if the elbows stay soft rather than locked.
If you dislike how upper arms look in a sleeveless top, angle the body, use a jacket, or place the far arm farther back so the near arm creates a cleaner foreground shape. None of this is a moral judgment about bodies. It is optics: contact plus compression plus frontal light invents shapes that movement in real life never shows.
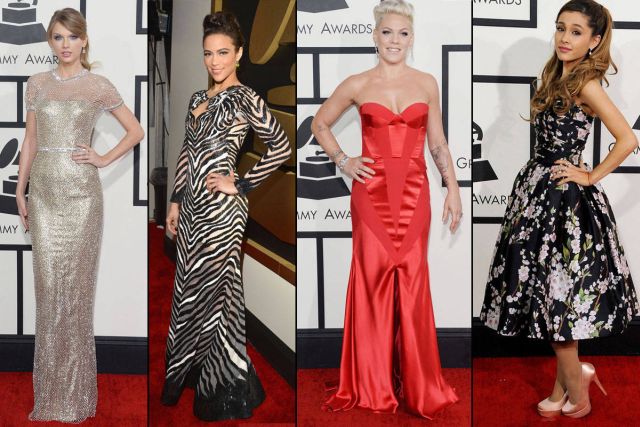
Tip four: arrange hands so they have a job
Idle hands often look awkward because they have nowhere to belong. Give them a simple task: hold a cup, touch a lapel, rest fingertips on a table edge, tuck a thumb into a pocket without jamming the whole fist in. Keep fingers slightly separated rather than clenched. Avoid a rigid “jazz hands” hover that telegraphs anxiety.
In group shots, hands on a friend’s shoulder should land lightly. Heavy grips read as tension. If you are seated, resting forearms on thighs with a soft bend at the elbow usually looks more natural than gripping your own knees.
Tip five: time the face like a short performance
Holding a huge smile for twenty frames tires the eyes and freezes the mouth. For stills, think in beats: inhale, settle the pose, then offer the expression for a burst of two or three frames. Between bursts, blink and reset. If you habitually blink on the flash, ask the photographer to count down and shoot on “two” instead of “three,” or to take an unannounced extra frame after you think it is over.
Eyes matter more than teeth. Soft focus toward the lens usually beats a hard stare. If the sun forces a squint, turn your body so the light hits at a kinder angle, or step into open shade. Squinting photographs as anger or discomfort even when you are happy.
Group photos without the scramble
In groups, height lines and shoulder bumps create chaos. Stagger people in a shallow diagonal rather than a flat firing squad. Taller people slightly back, shorter slightly forward, everyone angled a few degrees toward a shared center. Touch points—a hand on an arm, shoulders gently overlapping—connect the group so it reads as one picture instead of isolated strangers.
Agree on a cue. “Three, two, one” only works if someone actually shoots on time. Better: one person watches the camera and says “now” when faces are ready. Shoot more frames than you think you need; groups always produce one blinker.
Clothes, color, and what the camera exaggerates
Busy patterns can vibrate on camera. Extremely light or dark blocks can flatten shape. Fitted clothes with a clear waist or shoulder line often photograph more cleanly than fabric that balloons without structure—though personal style still wins over rules. Check the back of your outfit in a mirror; group photos catch exits as often as entrances.
Jewelry that moves can blur. Hair in the face can hide expression. None of this requires a stylist. It requires a thirty-second check before you enter the frame.
Common mistakes that undo good posture
Locking knees makes the whole body look rigid. Sucking in so hard that shoulders crawl toward the ears creates tension the camera loves to keep. Leaning your face too far past your body can look disconnected. Crossing arms tightly can read as closed-off unless the face is warmly engaged and the shoulders stay down.
Another frequent miss: posing only from the waist up while the feet point straight at the camera in a wide stance. The lower body still shapes the silhouette. Keep the foot stagger even when the crop is tighter than you expect.
A short practice plan
Spend ten minutes with a phone on a shelf or a willing friend:
- Three frames square to camera, then three with a slight turn—compare width.
- Three frames with a tucked chin, three with a slight forward lengthening—compare the neck line.
- Arms glued versus arms with air—compare the torso outline.
- One big held smile versus a reset-and-burst approach—compare the eyes.
Save the frames that look like you. Discard the idea that there is one universal “correct” face. You are collecting a small personal vocabulary of angles that behave well under average light.
Quick checklist before the next shutter click
- Camera near eye level; step back a little if features look exaggerated.
- Turn the body slightly; stagger the feet; weight on the back leg.
- Lengthen the neck; ease the chin forward a touch; keep the expression holdable.
- Create a little space between arms and torso; give hands a simple resting place.
- Reset between bursts so eyes stay alive.
If only one habit sticks, make it the slight turn plus a longer neck line. Those two adjustments fix more accidental photos than any filter—and they travel with you whether the camera belongs to a friend, a stranger, or your own outstretched arm.

Comments
Continue reading

Dramatic Photo Art by Sukron Ma’mun (Ipoenk Graphic)
Cirebon, Indonesia photographer Sukron Ma’mun uses theatrical natural light to frame village life, play, and place in lyrical photo art.
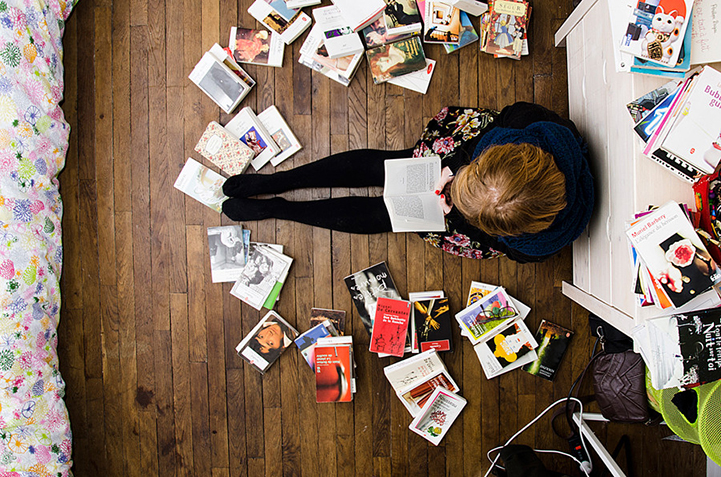
Bird’s-Eye Views: Florian Beaudenon’s Instant Life
Paris photographer Florian Beaudenon’s Instant Life series captures people in their rooms from above—intimate, collaborative overhead portraits of everyday joy.
Abandoned Cars Reclaimed by Nature: Rust, Growth, and Quiet Ruin
When neglected vehicles are left outdoors long enough, rust, moss, and trees rewrite them into strange still lifes—sad, photogenic, and slowly returning to the ground.