
Laptop and iPad Skins: Design, Fit, and Clean Installs
How device skins work, which design styles hold up daily, and how to apply vinyl without bubbles—plus a short buying checklist.
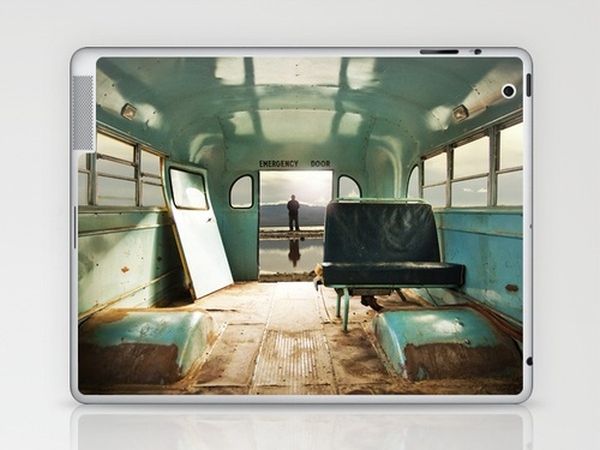
A laptop or tablet skin is a thin adhesive film that covers the lid, bottom case, or tablet back. Unlike a hard shell, it adds almost no bulk. Unlike a sleeve, it stays on while you work. People buy skins for three overlapping reasons: to personalize a silver rectangle, to hide scuffs, and to make a shared machine easy to identify in a meeting room or classroom.
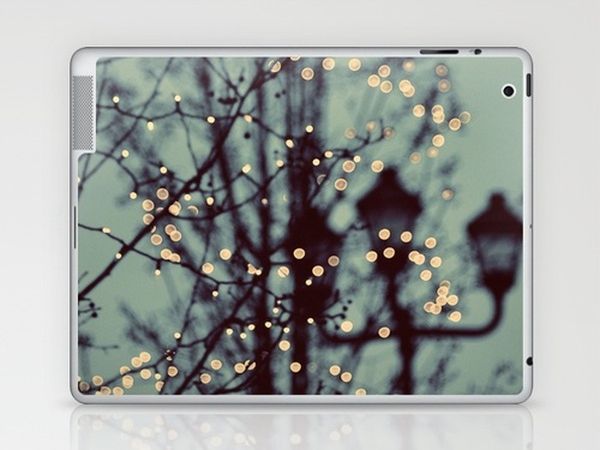
Skins became a mainstream accessory as notebooks and tablets looked increasingly alike. A floral print, a geometric grid, or a photographic landscape turns a generic device into something that feels chosen. The gallery below shows the kind of illustrated and photographic designs that circulated widely when vinyl skins first became popular on creative marketplaces—bright, graphic, and meant to be seen from across a café table.
What a skin can and cannot do
A quality skin protects against light scratches and fingerprint oil. It will not stop a drop onto concrete, and it will not replace a case if you toss a tablet into a backpack with keys. Think of it as a durable sticker system engineered for curved edges and keyboard cutouts, not as armor.
Most skins use vinyl or a similar polymer with a removable adhesive. Good ones leave little residue when you peel them after months of use. Cheap ones bubble, yellow, or tear at the corners. Fit matters more than brand slogans: a skin cut for the wrong generation of MacBook or iPad will leave ports and vents half-covered.
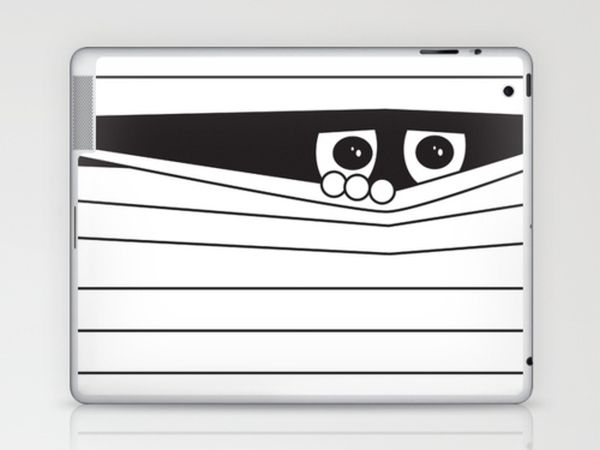
Design directions that stay readable
Busy photo collages look exciting in a thumbnail and noisy on a twelve-inch lid. Designs that hold up in daily life tend to fall into a few categories:
- Bold illustration — characters, typography, or poster-like art that reads from a distance.
- Texture mimics — wood grain, brushed metal, fabric weave, or marble that change the material feel without changing the silhouette.
- Minimal geometry — stripes, dots, and color blocks that match a desk setup.
- Full-bleed photography — landscapes or abstracts that wrap the lid like a print.
If you work in client-facing spaces, quieter designs often age better than meme graphics. If the machine lives at home, louder art is part of the fun. Match the skin to where the device spends most of its hours, not to the loudest preview image in a catalog.

Laptop lids versus bottoms
Lid skins are the showpieces. They are what other people see when you open the computer in public. Bottom skins take more abrasion from desks and bags; matte finishes hide microscuffs better than high gloss. Some users skin only the lid and leave the bottom bare for heat dissipation and easier cleaning. Others skin both for a consistent look when the laptop is closed and carried under an arm.
Trackpad and palm-rest skins exist, but they change the tactile feel of typing. Try a removable sample or a small test patch if you are sensitive to texture. Keyboard skins are a different product category—silicone covers that sit over keys—and they can trap debris if you never lift them to clean.
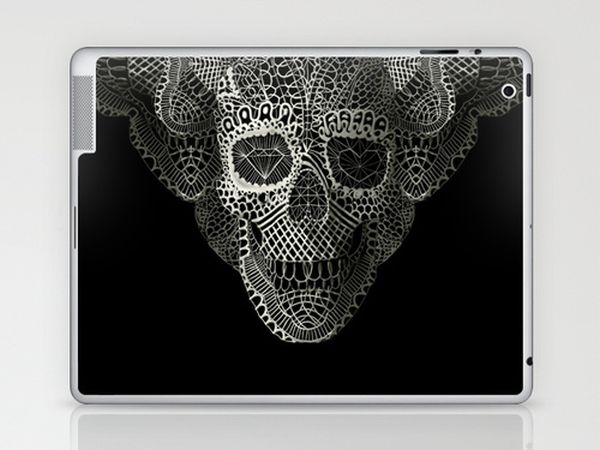
iPad and tablet backs
Tablet skins usually cover the rear panel and sometimes wrap slightly onto the edges. They pair well with clear cases: the art shows through while the case handles drops. If you use a folio with a magnetic clasp, check that the skin thickness does not interfere with sleep/wake magnets or camera alignment.
Artists and students often choose skins that signal identity—studio logos, sketchbook textures, or color fields that match a portfolio brand. Families sharing one tablet may prefer high-contrast designs so each person’s device is obvious at a glance.
How to apply a skin without bubbles
Installation decides whether a skin looks premium or homemade. Work in a clean, dust-free room. Wash your hands. Wipe the device with a microfiber cloth and, if the kit includes it, a mild alcohol wipe—then let the surface dry completely.
- Align the skin using cutouts for ports, logos, and cameras before removing much of the backing.
- Peel a small section of backing and tack one edge down lightly.
- Smooth from the center outward with a soft card or the applicator included in the kit.
- Lift and redo a corner if a bubble traps dust; do not stretch vinyl hard across curves.
- Warm gently with a hair dryer on low if the film needs to soften around edges—never high heat.
Give adhesive a day to settle before tossing the device into a rough bag. Early peels can leave the film wanting to lift at corners.
Finish, thickness, and heat
Matte skins hide fingerprints; gloss skins make colors pop under office lights. Soft-touch coatings feel pleasant but can wear shiny where palms rest. Thickness is usually a fraction of a millimeter—enough to notice visually, not enough to block most docks and stands. Still, test any tight leather sleeve after applying a full wrap.
Laptops vent heat through specific zones. Avoid covering vents, grille slots, or rubber feet. A skin on a sealed lid is rarely a thermal problem; a mis-cut piece blocking intake along a hinge line can be. When in doubt, leave factory vent areas uncovered even if the leftover strip looks unfinished.
Choosing art that matches your setup
Consider the desk: wood tones, cable colors, notebook covers, and wall art. A skin that fights every other surface will fatigue you faster than a plain aluminum lid. Conversely, a single bold object in a minimal workspace can become the room’s accent—the laptop as portable poster.
For teams and classrooms, coordinated color families help. Design studios sometimes issue the same pattern in different colorways so machines look related without being identical. Photographers may prefer muted textures that disappear in client meetings. Gamers and students often want maximal color. None of those choices is wrong; each is a context decision.
Removal and resale
When you upgrade hardware, peel slowly from a corner at a low angle. Residue usually comes off with adhesive remover safe for electronics plastics—test on a small area first. Keeping the original finish intact under a skin can help resale value, provided the skin did its job and the edges never lifted enough to collect grit.
If you change tastes often, buy skins knowing they are temporary décor. Rotate seasonally if you like, but avoid stacking multiple layers; thickness and adhesive compound problems.
A short buying checklist
- Exact model and year compatibility
- Coverage map: lid only, full wrap, or tablet back
- Finish: matte, gloss, or soft-touch
- Vent and camera cutout accuracy
- Removable adhesive claims and return policy for mis-cuts
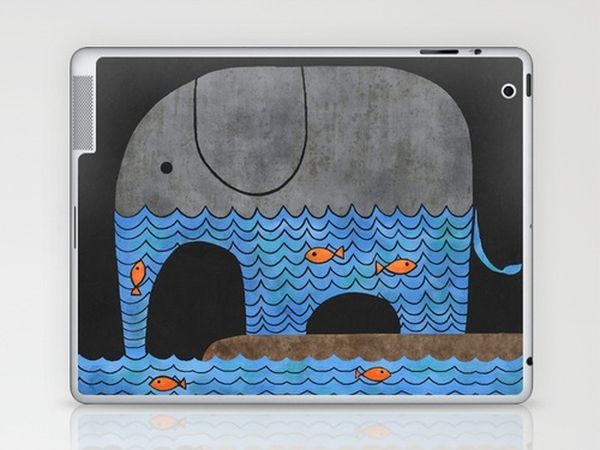
Skins succeed when they disappear as a hassle and remain as a personality cue. The designs in this gallery lean toward illustrated storytelling—the sort of art that made personal device skins feel like small prints you could carry. Whether you choose quiet texture or loud illustration, measure twice, dust once, and smooth from the middle out. The difference between a crooked film and a clean install is almost always patience, not price.

Comments
Continue reading

Attic Bathroom Design Ideas: Light, Layout, and Roof-Friendly Fixtures
Design ideas for converting an attic into an extra bathroom—working with slopes, skylights, wet-zone materials, eaves storage, and fixture placement.

Ladder Shelving Repurpose Ideas: DIY Bookcases, Dividers & More
Turn an old ladder into shelving, a room divider, towel rack, or narrow desk—practical DIY steps, safety checks, and styling tips with photo ideas.

Cool Home Lifehacks That Actually Save Time
Practical household tricks—kraft-paper lists, safer nailing, fridge bottle stops, mint-tin drawers, phone stands—using things you already own.