
How to Make Felt Frog Coasters (Beginner DIY)
Trace, cut, and assemble green felt frogs with eyes and tongue—practical sizing, glue-or-stitch steps, and care tips for a full coaster set.
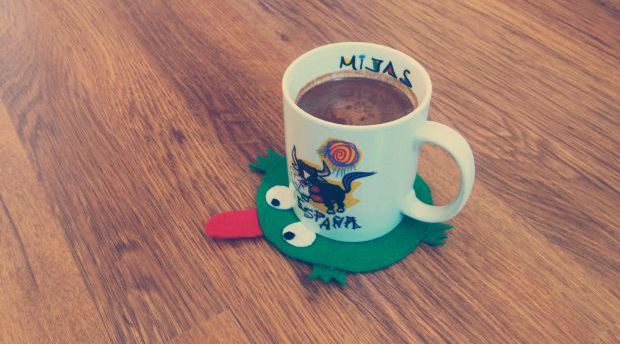
Felt frog coasters are a friendly beginner project: a round green base, four simple feet, round eyes, and a small red tongue. You can glue or stitch the pieces, finish a set in an afternoon, and end up with something useful under a mug. The steps below expand the classic cup-traced frog into a practical DIY with clearer sizing, assembly order, and finishing tips so the coasters sit flat and survive everyday coffee.
What you are making
Each coaster is a flat frog silhouette roughly the diameter of a drinking glass base, with feet extending slightly beyond the circle so the character reads clearly on the table. Eyes sit near the top edge; the tongue peeks from the lower center. Make four for a set, or mix shades of green for a small family of frogs.
This project suits beginners because the shapes are traced from household rounds (a cup or glass) and cut from felt, which does not fray like woven fabric. No sewing machine is required. Fabric glue or a low-temperature hot-glue gun speeds assembly; needle and thread create a wash-friendlier finish if you prefer stitch-only construction.
Supplies
- Felt: green (body and feet), white and brown or black (eyes), red or pink (tongue). Craft felt is fine for decorative use; wool-blend felt holds shape longer if you find it.
- Cutting tools: sharp fabric scissors; optional small detail scissors for eyes and tongue.
- Marking: pencil, tailor’s chalk, or a disappearing fabric marker.
- Templates: a cup or glass for the body circle (about 3.5–4 inches / 9–10 cm across works for most mugs). Use smaller round objects—bottle caps or coins—for eyes.
- Assembly: fabric glue or a low-temp hot-glue gun and glue sticks; or needle and matching thread if you stitch instead of glue.
- Optional: thin cork or extra felt circle for a second layer under the body (adds stability and heat buffer), ruler, and a simple paper pattern if you want identical frogs in a set.
Work on a protected surface if you use hot glue. Keep glue off the face of the felt where it might show as shiny spots.
Plan size and layers
Trace your mug’s footprint on paper first. The frog body should be at least as wide as that footprint so the drink sits fully on felt, not on the table. Feet can extend 0.5–1 inch beyond the circle; too long and the coaster tips when you set a full mug down.
For a sturdier coaster, cut two identical green circles and glue or stitch them together before adding features. A cork backing cut slightly smaller than the body reduces sliding on smooth tables. If you only have one layer of thin craft felt, double-layering the body is worth the extra minute.
Cut the body and feet
Place the cup on green felt and trace one circle per coaster. Cut just inside the line for a clean edge. From the same green felt, draw four feet per frog. Simple foot shapes work best: short rounded lobes or small ovals that look like webbed toes from a distance. Keep pairs roughly symmetrical—two front feet near the top of the circle, two back feet near the bottom—or arrange all four around the rim like a cartoon frog viewed from above.
Cut the feet carefully so edges stay smooth. If the felt pills, switch to sharper scissors. Stack and cut two layers at once only if you can keep the shapes accurate; otherwise cut one at a time for cleaner results.
Cut eyes and tongue
For each frog, cut two white circles for the eye whites and two smaller brown or black circles for pupils. Size them so the eyes read clearly from across a table without covering half the body—roughly coin-sized whites with pupils about half that diameter is a good starting point.
Cut a small red tongue: a thin oval, teardrop, or forked tip if you want a playful look. Keep it short so it does not stick out past the mug and catch on sleeves.
Optional details: a tiny white highlight on each pupil, or a slightly darker green oval on the belly before eyes go on. Skip heavy embellishments that create lumps under the cup.
Assemble in a stable order
Dry-fit all pieces on the table before gluing. Confirm the mug still sits flat on the body with feet clear of the center. Then assemble in this order:
- Attach feet to the underside or underside edge of the body so glue joints are partly hidden and the top surface stays smoother. If you prefer a fully flat top, glue feet to the top rim but keep the central landing zone clear.
- If using a double body or cork backing, join those layers next and let them set.
- Glue or stitch the white eye circles near the top of the face, then add pupils. Angle pupils slightly inward for a friendlier expression, or leave them centered for a simpler look.
- Add the tongue last at the lower center, slightly overlapping the body edge.
For glue: use small dots, press firmly, and hold for a few seconds. Wipe stray strings of hot glue before they cool. For stitching: use a short whipstitch or running stitch around eyes and tongue; attach feet with a few firm stitches at the contact point. Knot securely on the back.
Let glued coasters cure fully before use—follow your glue’s instructions, often 24 hours for a strong bond with fabric glue.
Finishing and care
Trim any fuzzy felt fibers. Check that the underside is even; trim cork or backing if it peeks out unevenly. Test with an empty mug first, then a warm drink. Felt handles typical coffee warmth; avoid placing pans or very hot cookware on craft felt.
Spot-clean with a damp cloth. If you stitched with quality thread and used wool felt, gentle hand washing may be possible; glued craft-felt versions prefer spot cleaning only so joints do not loosen. Keep coasters dry between uses.
To gift a set, stack four frogs with parchment between them, add a ribbon, and include a one-line care note. Matching eye placement across the set makes them look intentional even if foot shapes vary slightly.
Troubleshooting
- Cup wobbles: body circle is too small, feet are too thick under the rim, or eye layers sit in the mug zone—move features outward or add a flat backing.
- Feet twist: attach with more surface area overlapping the body, or stitch an X at each joint.
- Glue shows: use less adhesive and press from the center outward; choose glue rated for fabric.
- Felt stretches while cutting: hold the sheet flat, cut with long strokes, and avoid pulling the piece you are cutting free.
Variations once you know the base pattern
Try speckled green felt, a darker green “back” layer for contrast, or seasonal tongue colors for fun. Embroider a smile with a single strand of thread instead of a cut tongue. Make a tiny frog for espresso cups by scaling every template down with a smaller tracing glass.
When you are ready, cut all body circles first, then all feet, then all facial features—batch cutting is faster for a full set. Place each finished frog under a favorite mug and adjust the next one’s eye spacing if you want a matched look.
With green, brown, white, and red felt, a cup for tracing, scissors, and glue or needle, you have everything required for a cheerful frog coaster. Trace, cut, assemble bottom-up for stability, and let the pieces set before the first pour.

Comments
Continue reading
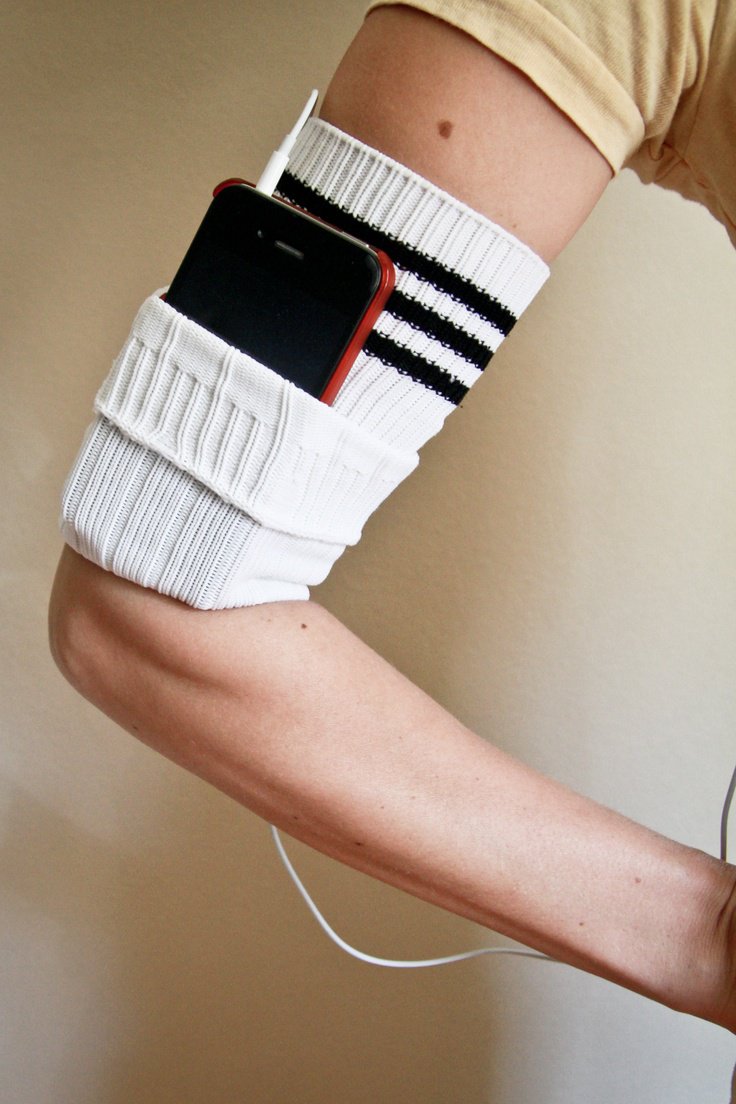
DIY Ideas for Old Socks: Rugs, Puppets, Mittens, and More
Sort leftover socks by fiber, then turn them into braided rugs, hand puppets, soft toys, mittens, and pin cushions with practical cutting and sewing tips.
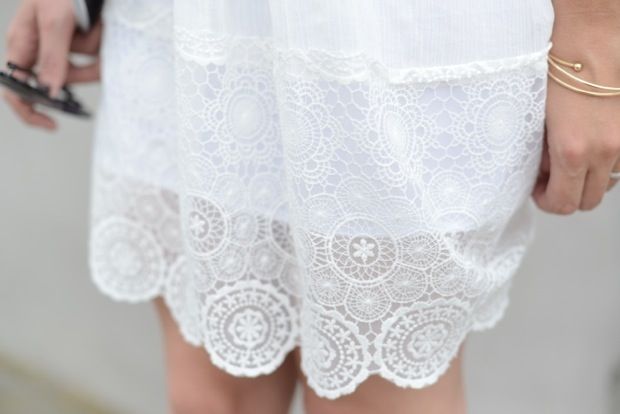
DIY Ideas with Lace Doilies
Upcycle heirloom lace doilies into framed art, runners, pillows, lamps, and more—practical craft projects that keep the crochet visible.
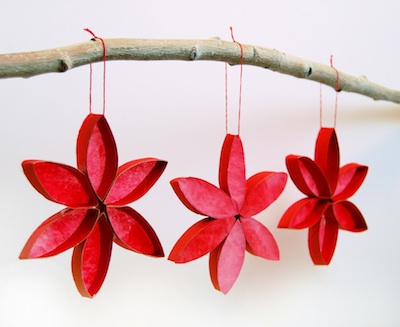
Toilet Paper Roll Crafts: Organizers, Toys, and Ornaments
Cardboard tubes become pencil holders, wreaths, cord cubbies, monsters, race cars, ornaments, and more—structural DIY distinct from magazine-page crafts.