
DIY Projects with Old Books: Coasters, Décor, Docks, and More
Turn thrifted and damaged books into coasters, seasonal décor, hollow docks, clocks, and frames—with book-choice rules, tools, and finishes that keep projects useful.
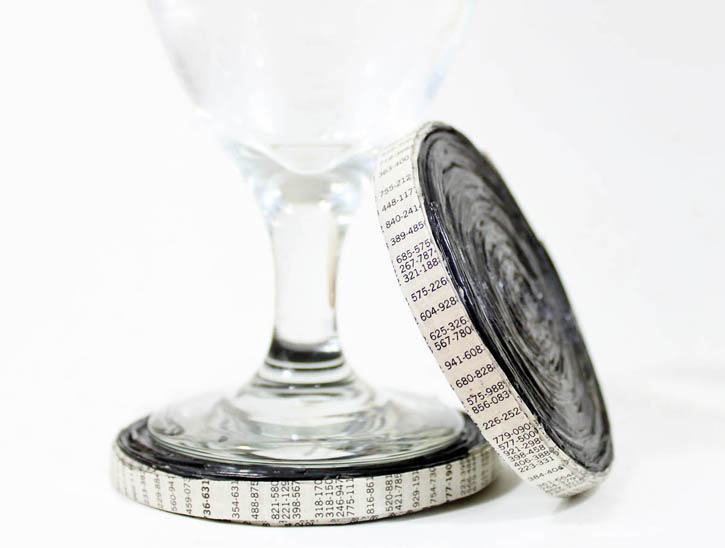
Old books pile up in thrift stores, garage sales, and boxes under guest beds. Some deserve another careful reading. Many more are duplicates, water-stained textbooks, or forgotten novels with handsome covers and no sentimental claim. Those volumes make excellent craft material—if you choose projects that match the book’s condition and your tools.
This guide covers practical ways to turn discarded books into coasters, gift packaging, seasonal décor, charging stations, clocks, frames, and more. The goal is useful objects, not destruction for its own sake. When a book is rare, signed, or family history, leave it on the shelf and hunt for a dollar-bin substitute instead.
Choose books that are fair game
Start with ethics and condition. Skip first editions, inscribed family Bibles, and anything a used-book dealer would flag as collectible. Good candidates include mass-market paperbacks with torn spines, outdated encyclopedias, damaged hardcovers with pretty cloth boards, and phone books or directories that were never meant to last. Smell the pages: mildew can transfer to furniture and fabric projects, so heavily moldy books belong in recycling, not on a craft table.
Paper type affects every cut. Thick, coated magazine stock fights scissors and curls when glued. Soft novel pages fold and tear cleanly for roses, tags, and folded stars. Hardcovers with intact boards are ideal for hollowed boxes, phone docks, and handbags because the cover is already a rigid shell. If the cover art is the reason you bought the book, plan projects that keep the boards visible rather than shredding them into confetti.
Tools stay simple for most of these ideas: a sharp craft knife, metal ruler, cutting mat, PVA or bookbinder’s glue, Mod Podge or matte medium, a bone folder, clamps or heavy books for pressing, and optional hot glue for decorative accents. Wear a mask when sanding painted pages or cutting dense stacks so paper dust stays out of your lungs.
Coasters and tabletop stacks
Stacked page coasters are a classic first project. Cut equal squares or circles from a phone book or novel, glue them into a thick pad, clamp until dry, and seal the top and edges with waterproof varnish or several coats of decoupage medium. Round coasters look softer on a coffee table; square ones stack neatly in a napkin holder. Leave a few lines of text showing on the top layer so the piece still reads as “book,” or cover the surface with a clear epoxy for a glass-like finish that shrugs off condensation.
Test heat resistance before you set a mug on a new coaster. Hot ceramic can soften some craft sealers. If you entertain often, make a set of four or six from the same volume so the typeface and aging match. Store them dry; paper cores hate dishwashers.
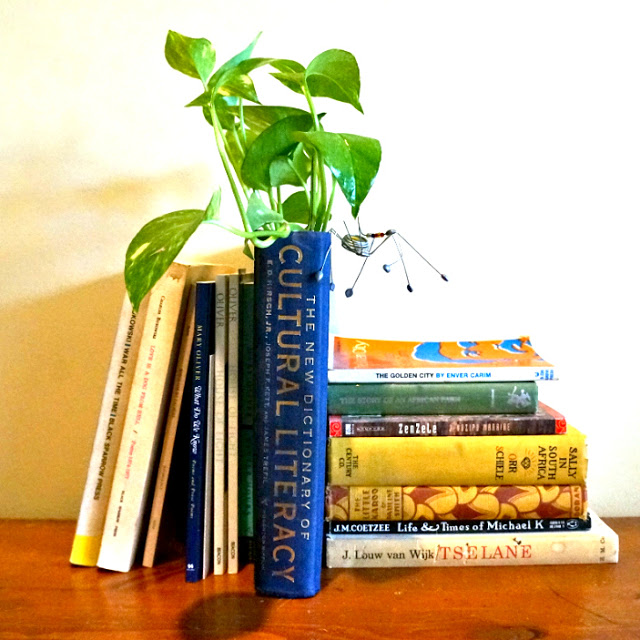
Book-page wrapping and packaging use the same soft paper without the sealing step. Tear or cut sheets, wrap small gifts with the printed side out, and tie with twine or ribbon. Folded page envelopes and origami-style boxes work for jewelry, seeds, or party favors. Choose pages with even margins if you want clean folds; heavily illustrated plates can look busy once creased. For a calmer look, pick pages of continuous text rather than chapter titles and diagrams.
Seasonal shapes: pumpkins, trees, and wreaths
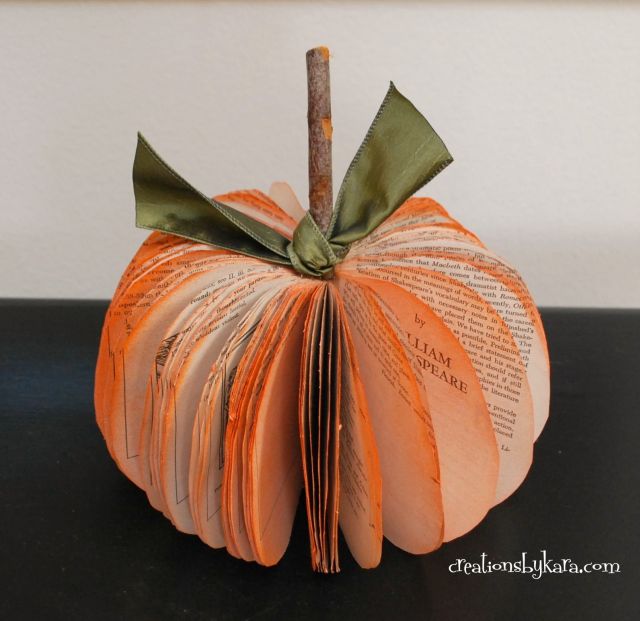
Book-page pumpkins are autumn décor that costs almost nothing. Cut leaf or petal shapes, accordion-fold or stack them around a floral wire stem, and fluff until you get a round silhouette. A cinnamon stick or twig becomes the stem; a scrap of green paper or fabric finishes the leaf. Vary the size of the page pieces so the pumpkin looks full rather than flat. Display them in a bowl or as place-card holders—write names on a leftover tag and tuck it into the folds.
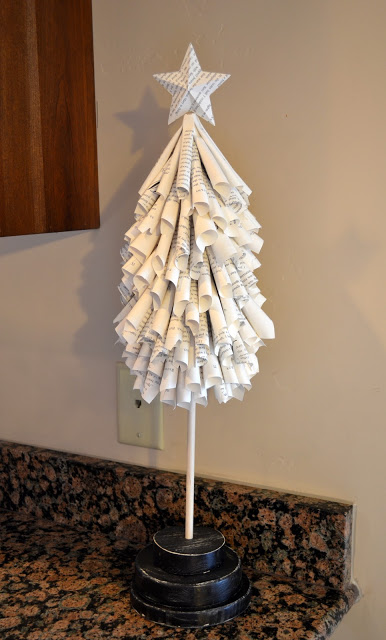
Cone “trees” for winter use a cardboard or foam cone as the core. Overlap triangular page scraps from the bottom up like shingles, or fold pages into stacked fans and glue them in tiers. Spray with a light matte sealer if the tree will sit near a drafty door where pages flutter. Keep open flames away; paper trees are décor, not candle holders.
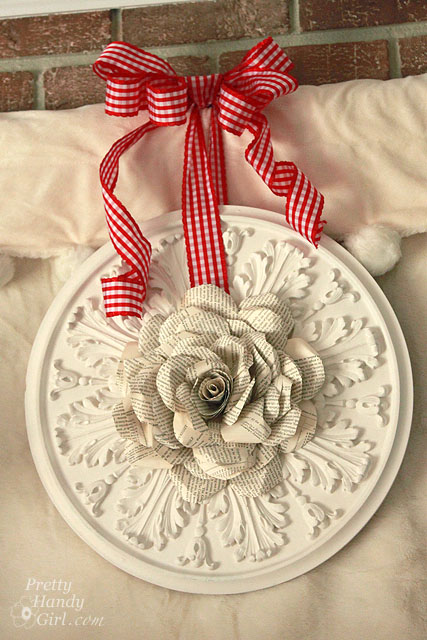
Rose wreaths take more patience. Roll page strips into petals, glue them into rose heads, and attach the blooms to a foam or wire wreath form until the ring is covered. Mix aged ivory pages with a few cream or tea-stained sheets for depth. Hang the finished wreath indoors; rain and humidity will soften the paper outdoors. A door with a storm porch is usually fine if you refresh the sealer yearly.
Hollow covers: cases, docks, and secret storage
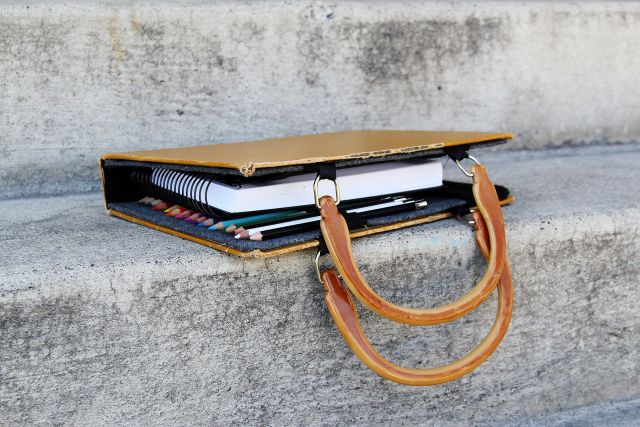
A hardcover with the text block removed becomes an art case, jewelry box, or shallow tray. Glue the remaining page edges into a solid wall, or line the cavity with felt or scrapbook paper. Add elastic loops for brushes or pens if you want a portable studio kit. Measure your tools before you cut so the cavity is deep enough; a knife that sticks out of a “closed” book will ruin the illusion and the bag you carry it in.
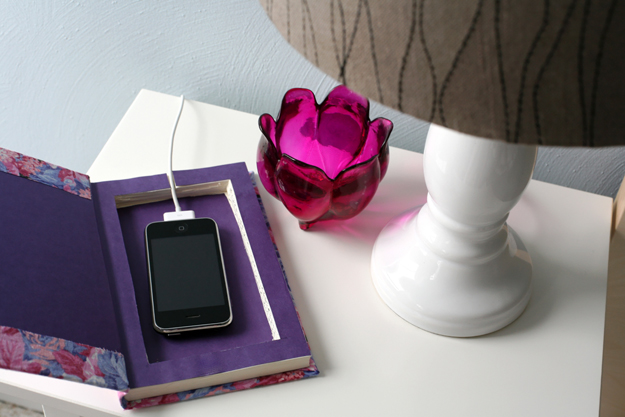
Phone charging stations follow the same hollow-book idea with a cable slot. Cut a vertical channel in the back cover or page wall for the cord, nest the phone in a foam cradle wrapped in fabric, and let the charger brick sit behind the shelf or inside a deeper cavity. Keep ventilation in mind—phones generate heat. Do not seal a device in an airtight glue sandwich. Label the cord exit clearly so guests do not yank the cable sideways and tear the spine.
If you prefer a bag, remove the text block from a sturdy hardcover, reinforce the spine with fabric or leather scraps, and attach handles through the boards with rivets or strong stitching. Line the interior so loose pages do not shed into your belongings. These bags are conversation pieces for light loads—keys, a wallet, a paperback—not grocery haulers.
Light, tags, clocks, and frames
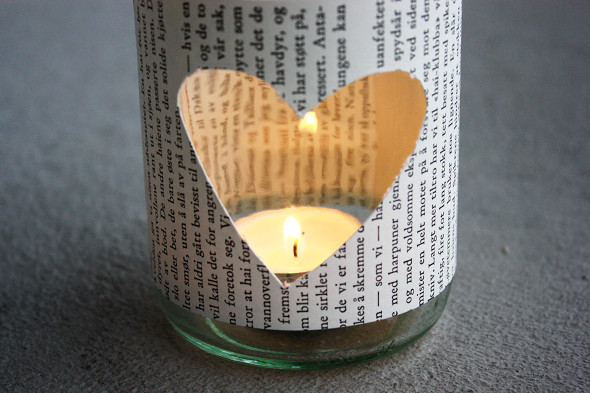
Jar lanterns wrapped or layered with book pages look warm under LED tea lights. Brush medium onto the glass, lay pages smooth, seal again, and punch or leave a clear window if you want brighter glow. Use only cool LED lights inside paper-adjacent projects; traditional candles are a fire risk against dry paper and adhesive.
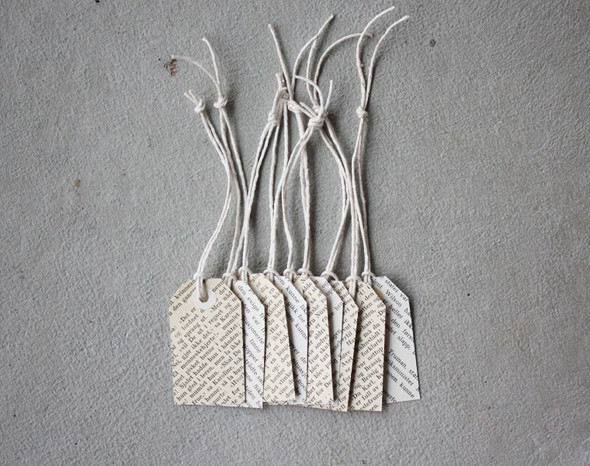
Gift tags and place cards are the scrap project of book crafting. Punch rectangles or scalloped shapes, stamp or hand-letter names, and punch a hole for string. Keep a small tin of tags cut from one novel so a whole party shares the same typeface. They also work as bookmarks if you leave them longer and skip the hole.
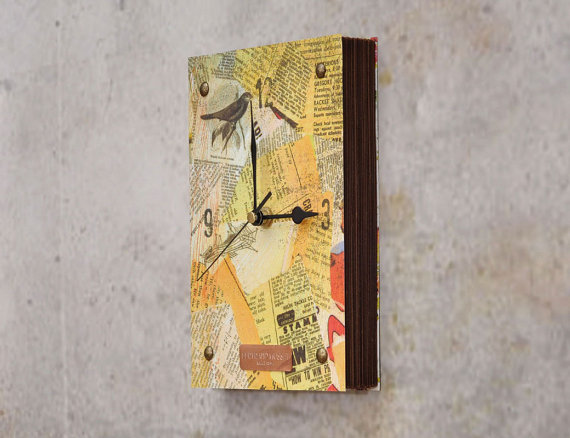
Book clocks need a working quartz movement, a drill for the center hole, and a volume thick enough to hide the mechanism. Center the hole carefully; a crooked face bothers the eye every time you check the hour. Choose a cover with calm typography so the hands stay readable. Hang with a proper picture hanger if the book is heavy—hot glue on a nail is not a plan.
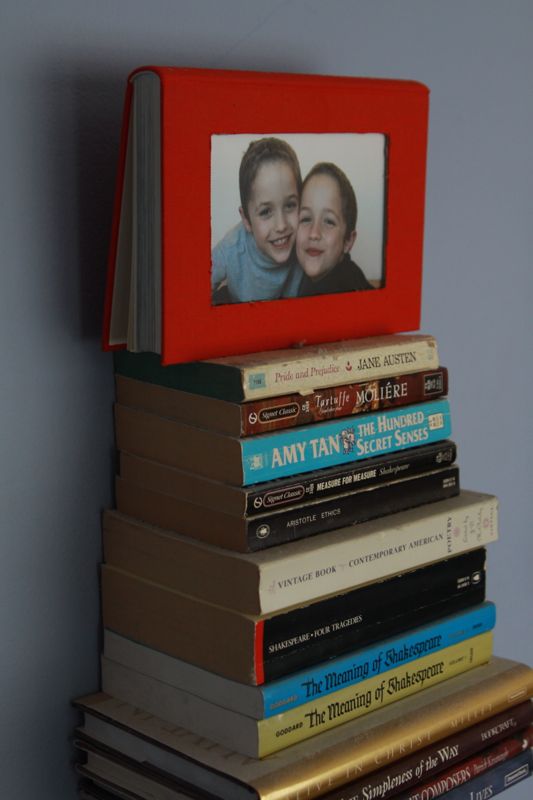
Photo frames built from favorite books keep the cover as the “mat.” Cut a window through the boards and a few pages, mount a print behind the opening, and glue the stack so it stays square. This works especially well for wedding photos, graduation shots, or a child’s portrait when the book title quietly nods at the story. Use acid-free mounting materials if the photo matters long-term.
Stars, finishes, and a sensible project order
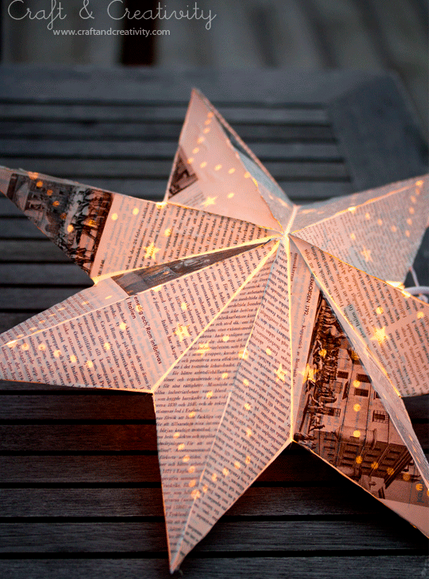
Folded advent or window stars made from book pages reward precise creases. Work on a clean table, score folds with a bone folder, and glue only where the pattern needs structural bonds—excess glue shows as shiny patches under lamp light. Hang stars away from humid kitchens so the points stay sharp.
Whatever you make, finish for the environment it will live in. Table pieces need wipeable sealers. Wall pieces need secure hangers. Soft paper décor needs distance from radiators and candles. Label the underside of coasters and clocks with the book title if you like the provenance; years later you will wonder which thrift-store find became the living-room set.
- Beginner: tags, wrapping paper, simple coasters.
- Weekend: page pumpkins, jar lanterns, rose clusters for a small wreath.
- Intermediate: hollow charging dock, clock, photo frame, reinforced book bag.
- Batch gift: matching coaster sets or tagged favor envelopes from one volume.
Pick one damaged hardcover this week, cut a test coaster, and decide whether you enjoy the paper’s color and weight before you commit the whole text block to a wreath. The best old-book projects look intentional on a shelf—useful, sealed where they need to be, and made from books that had already finished their first life as reading copies.

Comments
Continue reading
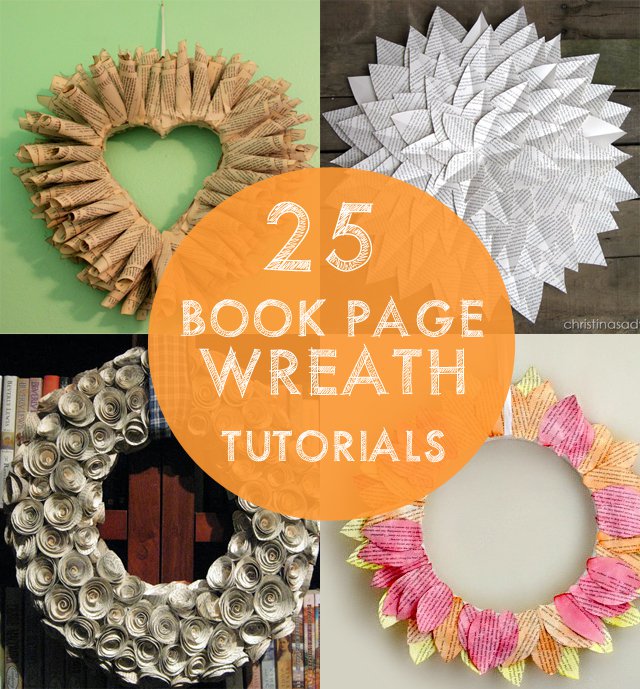
25 Book Page Wreath Tutorials to Try at Home
Cones, roses, sheet music, dictionary scraps, and watercolor petals—twenty-five ways to turn unwanted pages into door and wall wreaths.
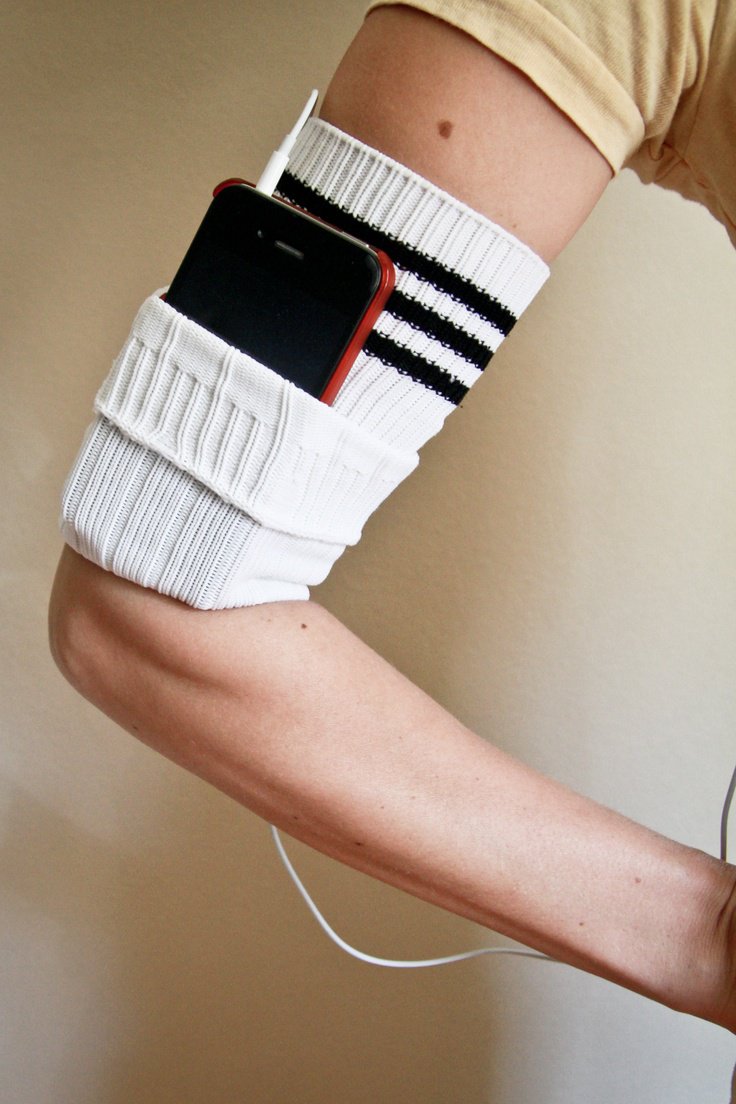
DIY Ideas for Old Socks: Rugs, Puppets, Mittens, and More
Sort leftover socks by fiber, then turn them into braided rugs, hand puppets, soft toys, mittens, and pin cushions with practical cutting and sewing tips.
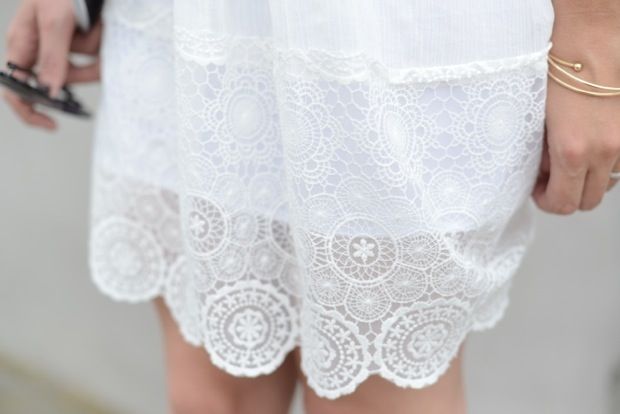
DIY Ideas with Lace Doilies
Upcycle heirloom lace doilies into framed art, runners, pillows, lamps, and more—practical craft projects that keep the crochet visible.