
DIY Mitten Tutorials for Winter: Knit, Crochet, and Sweater Upcycles
A practical winter guide to handmade mittens—full, fingerless, felt, and thrifted-sweater styles—with fit tips, yarn choices, and finishing habits that keep hands warm.
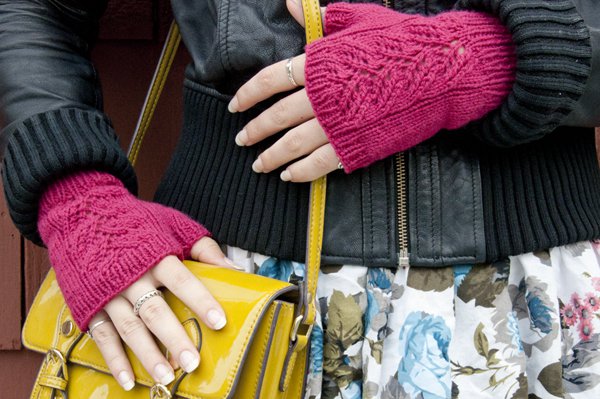
Mittens beat gloves at one job: they keep fingers together so the shared heat stays put. That is why snowball fights, dog walks, and bicycle commute mornings still favor a mitten silhouette even when fingerless options look trendier in photos. If you knit, crochet, or sew, winter is the season when a pair of handmade handwarmers earns its materials cost in a single cold week.
This guide gathers the practical routes that DIY makers have used for years—full mittens, fingerless mitts, sweater upcycles, felt folk styles, and simple measuring habits—so you can choose a project that matches your skill level and the weather outside your door.
Decide the job before you pick a pattern
Start with use, not aesthetics. Full mittens are best for outdoor play, snow chores, and long waits at bus stops. Fingerless mittens (sometimes called opera mitts or handwarmers) leave fingertips free for phone screens, keys, and coffee lids; they pair well with a coat that already has deep pockets. Convertible mitts with a flip-top flap try to do both; they take more sewing or knitting precision but reward daily wearers who switch tasks often.
Yarn weight and fabric density matter as much as shape. Bulky wool or a wool–acrylic blend traps heat fast and forgives uneven tension. Sock-weight yarn looks refined but needs denser stitches and often a lining if you live somewhere windy. Fleece and felted wool from thrifted sweaters skip yarn shops entirely and work well for sewn pairs. The fingerless knit sample in the photo above shows a clean lesson: a ribbed cuff that grips the wrist, a roomy palm, and a thumb gusset that does not cut circulation.
Color strategy is simple. Solids and heathers show stitch texture; neon or high-contrast stripes photograph well and are easier to find in a coat closet. If the mittens are a gift, choose a fiber the recipient already wears—someone who only buys soft acrylic may never put on scratchy untreated wool, no matter how beautiful the cables look.
Knit and crochet routes that finish in a weekend
Knitted mittens usually begin at the cuff in ribbing, increase for a thumb gusset, hold thumb stitches, finish the hand, then return for the thumb. That sequence is older than any blog roundup and still the most reliable. Keep stitch markers at the gusset increases so you do not lose count mid-round. Try the mitten on before you close the top; a crown that is too pointed looks childish, while a blunt top can feel roomy and warm.
Crochet mittens follow a similar map: cuff, hand tube, thumb hole, decreases at the tip. Half-double and single crochet create denser fabric than tall stitches, which matters for wind. If your tension runs loose, drop a hook size rather than switching to a thinner yarn mid-project. For fingerless versions, stop the hand tube at the base of the fingers and add a short ribbed edge so the opening does not stretch into a floppy tube after a few washes.
Boot-cuff and arm-warmer cousins share the same cuff logic. A tall rib that climbs the forearm keeps cold air from sneaking under a jacket sleeve. If you already make arm warmers from leftover sock yarn, the leap to fingerless mittens is mostly a thumb hole and a slightly wider palm. Work both hands at once on two circulars or two sets of double-pointeds if you hate the “one finished, one abandoned” problem that fills yarn baskets every January.
Sewn mittens from sweaters and felt
Thrifted sweaters are a classic winter shortcut. Choose a knit with enough body to hold a shape—cashmere blends and thick acrylics both work; thin jersey pills and stretches. Trace a hand outline with a generous seam allowance, cut two fronts and two backs (or use a folded layout), sew around the perimeter, and finish the cuff with a stretchy zigzag or a ribbed band cut from the sweater’s original hem. Long mittens that cover part of the forearm need extra length at the wrist and a snugger cuff so they do not slide when you raise your arms.
Felt folk mittens take a different path. Thick wool felt can be cut with scissors, stitched by hand with a bold contrasting thread, and decorated with embroidery or appliqué. They look handmade on purpose. Because felt does not fray the way woven cloth does, beginners can finish a pair in an evening. Keep the thumb placement honest: too high and the mitten feels short; too low and you lose grip strength. Pin a paper mockup first if you are unsure.
Conversation-heart and novelty handwarmers—simple sewn pouches filled with rice or wheat that you microwave—are not true mittens, but they live in the same winter toolkit. Make sure fillings are food-safe, bags are tightly sewn, and heat times stay short. They warm pockets and keyboard hands indoors; they are not substitutes for outdoor mittens in wet snow.
Measure once so the pair actually fits
Custom fit is what separates a wearable mitt from a decorative one. Measure around the widest part of the hand excluding the thumb, the length from wrist crease to middle fingertip, and the length from wrist to the base of the thumb. For children’s sizes, remeasure every season; hands grow faster than most gift-makers expect.
Negative ease (a mitten slightly smaller than the hand) works for stretchy knit fabric. Sewn felt and thick fleece often need zero ease or a little positive ease so knuckles can bend. Always check the thumb opening: a beautiful palm that starves the thumb will sit in a drawer. If you are knitting for someone else, borrow a well-fitting glove or mitten and measure that instead of guessing from age charts.
Write the numbers on a sticky note and keep it with the project bag. Mid-winter frogging because the second mitt is a different size is a preventable annoyance.
Cuffs, linings, and weatherproof habits
A cuff that stays put is half the warmth. Ribbing, folded hems, and elastic casing all work. For snow play, consider a longer cuff that tucks under a jacket sleeve, or add a loop that clips to a coat zipper so kids do not lose one mitt on the playground. Waterproof shells over wool liners are a two-layer system used by outdoor brands; a DIY version can be a simple fleece lining sewn into a denser outer mitten, with the lining attached only at the cuff so it can be pulled out to dry.
Wet mittens lose loft. Teach household members to dry them flat away from direct radiators that can shrink wool. A mesh laundry bag and gentle cycle work for many acrylic pairs; wool prefers hand washing and reshaping while damp. Store summer mittens clean—oil from skin attracts moths to natural fibers.
A starter project map
- Beginner knit or crochet: fingerless mitts in bulky yarn, ribbed cuff, no fancy cables.
- Beginner sew: felt or sweater mittens from a traced hand template.
- Intermediate: full mittens with a proper thumb gusset, or convertible flip-tops.
- Scrap-friendly: mismatched palms and backs in coordinated colors; winter street style already forgives asymmetry.
- Gift batch: three fingerless pairs in different solids from one large skein—faster than three full mittens and still useful.
Work the second mitt immediately after the first while the tension memory is fresh. Weave ends as you go. Photograph the finished pair on a windowsill or against a coat sleeve rather than a cluttered craft table if you want to remember what actually looked good in real light.
When the first hard freeze arrives, test the mittens on a real errand—mail, groceries, a short walk—before you declare the pattern perfect. Notice cold spots at the cuff or tip, then adjust the next pair. Winter gives you months of feedback. A drawer of almost-right mittens becomes, over a few seasons, a shelf of pairs you reach for without thinking, which is the quiet goal of every handmade warmer.

Comments
Continue reading
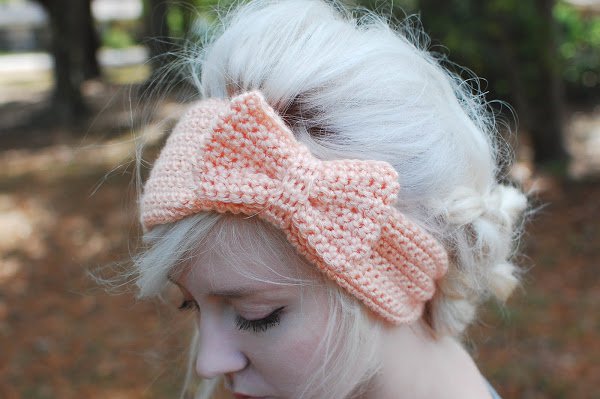
DIY Ear Warmer Tutorials: Knit, Crochet, Bow, and Buttoned Bands
Skip the hat and make ear warmers—bow headbands, chunky knit cuffs, textured crochet, buttoned bands, beaded accents, and fleece options with fit and care tips.
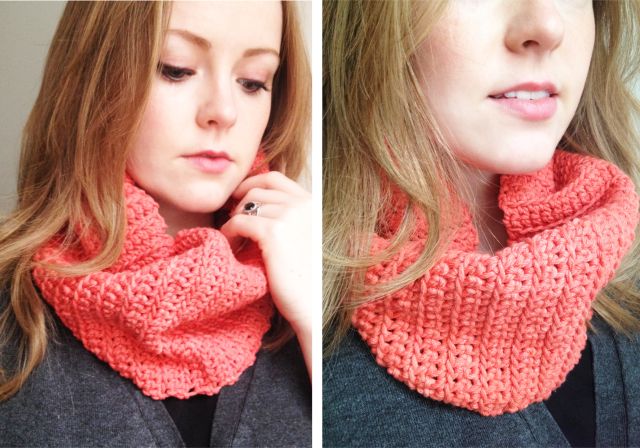
20 Knit and Crochet Scarf Patterns for Women: Cowls, Tubes, and Lace
Twenty knit and crochet scarf ideas for women—tube scarves, lace and chunky cowls, puff stitch, and möbius loops—from makers like annaevers, All About Ami, and Flax & Twine.
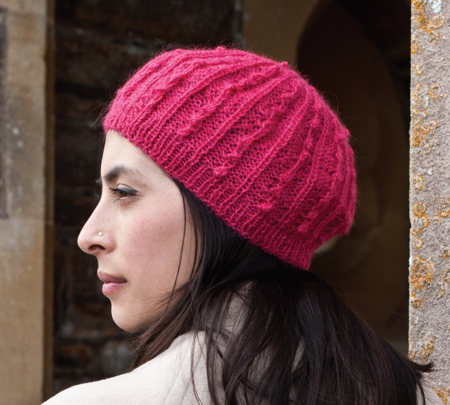
Cute Winter Crochet Beanie Patterns: Slouch, Shells, and Warm Brims
A practical guide to winter crochet beanies—fitted, slouchy, shell-stitch, and pom-pom styles—with yarn, fit, and finishing advice for cold-weather makes.