
DIY Chalkboard Labels, Tags, and Signs for Pantry, Plants, and Parties
Make wipeable chalkboard buffet signs, jar labels, plant markers, spice lids, vintage pantry tags, and gift tags with paint or vinyl—and season them so chalk erases cleanly.
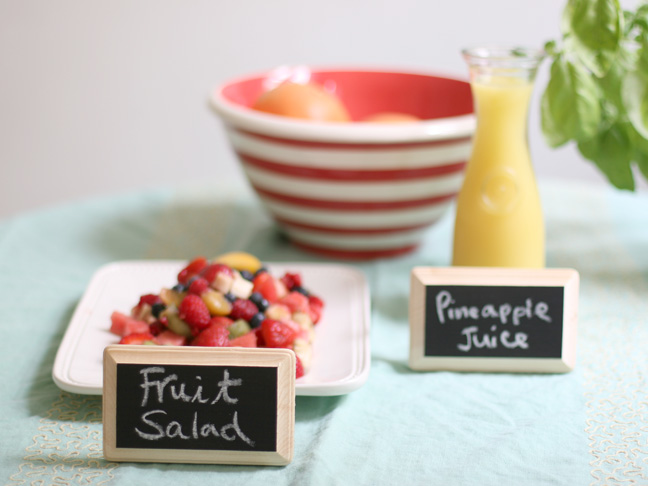
Chalkboard labels earn their keep because they look intentional and stay flexible. One painted patch can name a spice jar today, a party buffet tomorrow, and a gift tag next weekend without buying a new sticker set every time the contents change. Store-bought chalkboard tags work fine, but making your own keeps the shape, size, and finish matched to the jar, pot, or package in front of you—and it costs little more than paint and a few hours of curing time.
The projects below cover buffet signs, pantry jars, plant markers, spice organization, vintage-style pantry labels, and gift tags. The techniques overlap: prepare a smooth surface, apply chalkboard paint or adhesive chalkboard paper, season the surface so chalk writes cleanly, then letter with chalk, chalk markers, or a fine white paint pen when you want something more permanent.
Buffet labels that survive a busy table
Party tables need labels guests can read from a standing distance. Small wooden paddles, craft sticks with flat tops, or thin plywood scraps make sturdy bases. Sand lightly, wipe dust, and brush on two thin coats of chalkboard paint, letting each coat dry fully. For a cleaner edge, tape a rectangle before painting so the black field sits inside a natural wood border.
Season the surface once it is cured: rub the side of a stick of chalk across the whole patch, then wipe with a dry cloth. That step fills microscopic pores so later writing erases without ghosting. Write dish names in block letters or a simple script, and set the sticks in tiny jars of beans or salt so they stand upright among platters. If the menu changes mid-event, wipe and rewrite instead of printing a second set of cards.
For outdoor buffets, chalk markers hold up better than soft chalk in breeze and humidity. Keep a damp cloth nearby for fixes. Avoid placing painted wood directly against oily foods; a small glass or ceramic stand keeps grease off the label face.
Label jars for pantry and bathroom storage
Glass jars look calmer when every label shares the same height and style. Chalkboard paint applied in a band around the middle, or a rectangle on the front, turns mismatched thrift-store jars into a coordinated set. Degrease the glass with alcohol, mask clean edges with painter’s tape, and paint two coats. Remove the tape while the last coat is still slightly tacky for a sharper line.
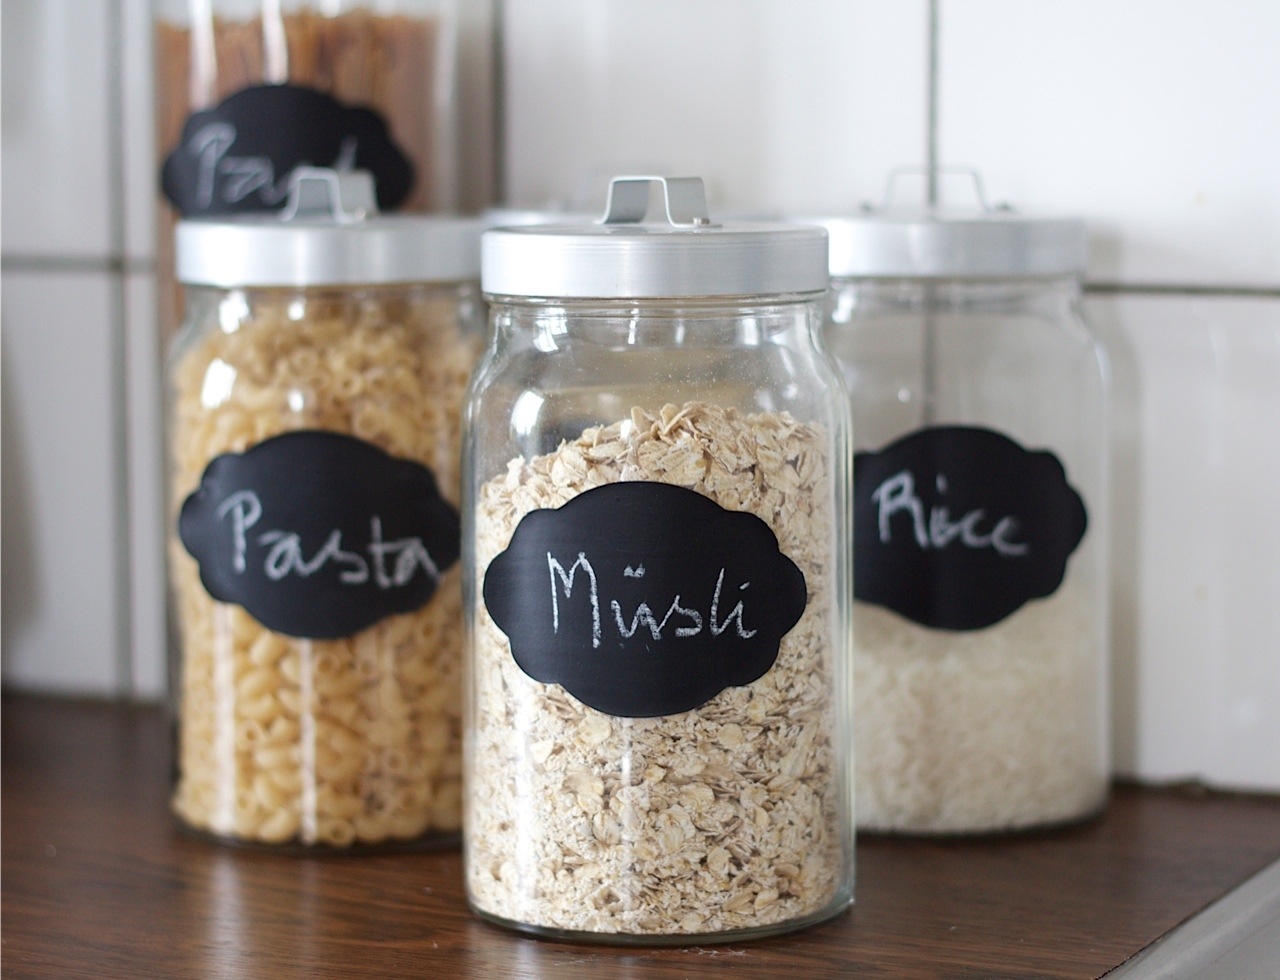
Adhesive chalkboard vinyl is faster when you want perfect circles or ovals. Cut shapes with scissors or a craft punch, burnish them flat so air bubbles do not trap under the film, and season as you would paint. Vinyl peels off later if you sell the jars or change the system; paint is more permanent and can chip if you scrub hard.
Keep food away from the painted exterior only—chalkboard coatings are not food-safe interiors. Wash the inside thoroughly, dry completely, and store dry goods with tight lids. Bathroom jars for cotton swabs and bath salts follow the same method; moisture in the air means chalk markers or sealed lettering last longer than powder chalk.
Plant markers that survive soil and weather
Garden markers fail when they fade, snap, or rot. Flat stones, metal plant stakes, and scrap wood strips all accept chalkboard paint if you prep them well. Stones need a rinse and full dry; wood needs a sealant under or over the chalkboard layer if it will live outdoors through rain. Paint only one face so the blank side can sit against soil without scraping the writing.
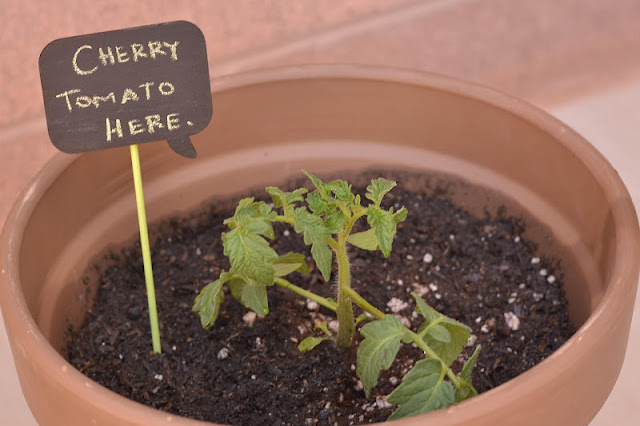
Write variety names large enough to read without kneeling for long. Soft chalk works for seasonal pots you refresh often; outdoor beds do better with chalk markers or enamel pens labeled as weather-resistant. If you start seeds indoors and move them out, use the same marker style in flats and garden beds so transplanting does not scramble your map of what is planted where.
Bundle spare blank markers in a tin by the potting bench. Relabeling is the whole point of chalkboard surfaces—when a tomato goes in where basil lived, wipe once and move on.
Mason jar tags for gifts and pantry style
A mason jar with cookies, bath salts, or soup mix already feels like a gift; a chalkboard tag finishes it. Cut kraft cardstock or thin wood into tags, punch a hole, and paint a chalkboard oval on one side. Thread twine through the hole and tie it under the jar ring, or hang the tag from the bail of a hinged jar.
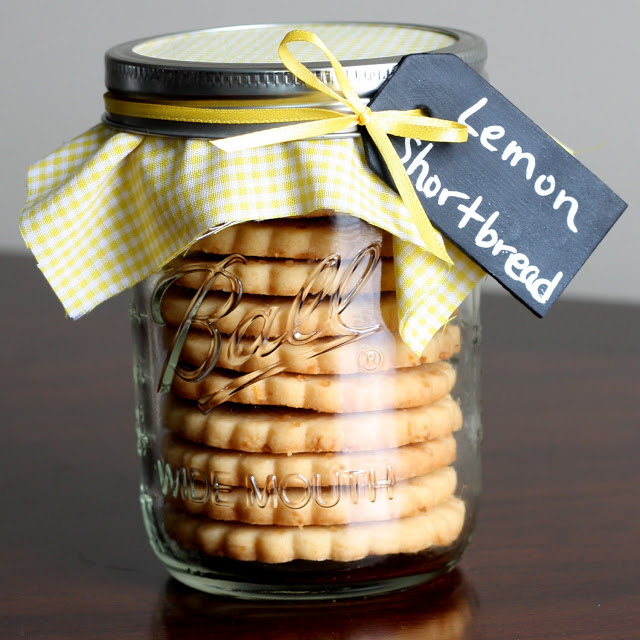
Leave room for a short message: the contents, a date, or a recipient’s name. Guests and neighbors can erase and reuse the tag on their own jars later. For shipping, write with a paint pen so the lettering does not smear in transit, and note on a separate slip whether the chalkboard side is wipeable after arrival.
Spice jars with matching chalkboard faces
Spice drawers and open racks look cluttered when every bottle wears a different font from the grocery store. Uniform chalkboard labels fix that without forcing you into one brand of jar. Small rectangles on the lid, a strip on the front, or a painted lid top all work. Lid tops are easy to scan from above in a drawer; front labels suit open shelves.
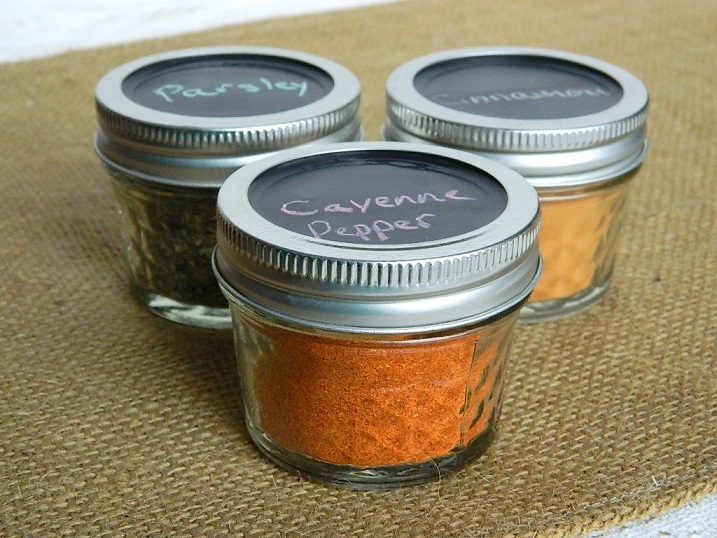
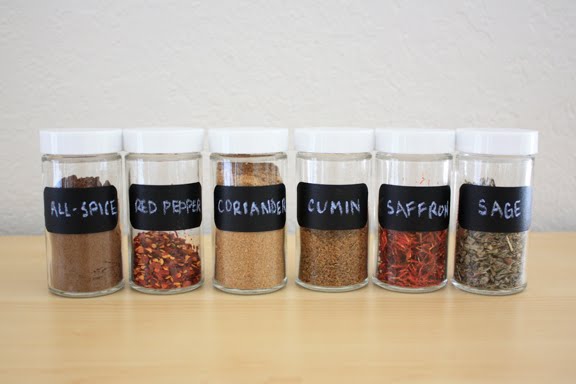
Work in batches: clean, tape, paint, cure, season, then letter everything in one sitting so the handwriting stays consistent. Abbreviations help when space is tight—cay. for cayenne, cinn. for cinnamon—as long as you keep a key on the inside of the cabinet door. Refill the same jars when spices run low; wipe the chalk when you switch cumin for coriander in a dual-use bottle.
If you prefer a neater hand than freehand chalk allows, print tiny paper labels for the first fill, then switch to chalk once the system is set. Or use chalk markers with a ruler guideline drawn lightly in pencil on paper held behind clear jars as a spacing trick—then remove the paper guide.
Vintage pantry labels with chalkboard character
Not every chalkboard look has to be pure black paint on modern glass. Vintage-inspired pantry labels mix ornate borders, soft cream paper, and a small chalkboard write-in field. You can print decorative frames on cardstock, leave a blank center, and glue a scrap of chalkboard paper into that window. The result reads old-fashioned on the shelf while still letting you change “flour” to “almond flour” later.
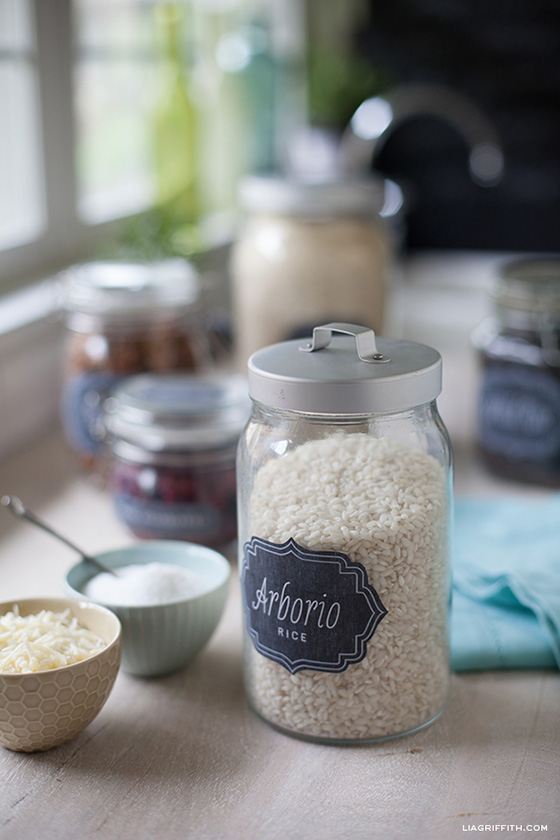
Mount these on canisters with removable adhesive so you can rotate seasons or deep-clean the containers. Keep the chalkboard patch large enough for two lines if you store baking mixes that need a date. Pair with simple black lids or brass hardware if you want the labels to feel collected rather than craft-class temporary.
Gift tags for packages and ornaments
Chalkboard gift tags travel well on wrapped boxes, wine bottles, and holiday ornaments. Paint both sides of a tag if you want a to/from on one face and a short note on the other. Soft chalk looks festive in photos; chalk markers survive shopping bags and coat pockets better.
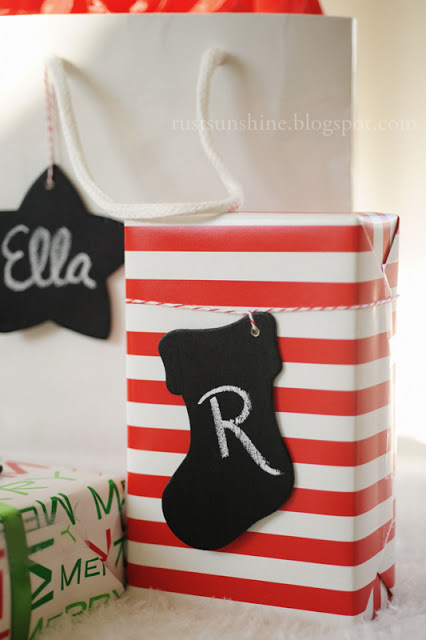
Punch holes carefully after painting so you do not crack a thick coat. Seal optional: a light spray of workable fixative can reduce smear for tags that will be handled a lot, though it makes erasing harder. For reusable wedding or party favor tags, skip the fixative and pack a stick of chalk in the host kit.
Paint, paper, and lettering choices
Brush-on chalkboard paint suits wood, glass, metal, and terra cotta. Spray chalkboard coatings cover large signs quickly but need outdoor or well-ventilated spraying and careful masking. Adhesive chalkboard paper and vinyl excel at clean shapes and temporary installs on rental walls or borrowed serving pieces.
Season every true chalkboard surface before the first real use. Skip seasoning only when the product instructions say the coating is pre-conditioned. For lettering, classic white chalk photographs softly; colored chalk reads playful on kids’ party tables; chalk markers give opaque lines closer to sign painting. Test markers on a scrap—some are permanent on porous paint even when marketed as wipeable.
- Degrease glass and metal before any paint or vinyl.
- Prefer thin coats over one thick coat that peels.
- Cure fully before seasoning or washing nearby dishes.
- Store chalk and a microfiber cloth in the same drawer as labeled jars.
- Keep a few blank spare tags so a last-minute dish or gift does not go unlabeled.
Pick one surface you already use every week—a spice lid, a herb stake, or a buffet stick—and finish that single label from prep through seasoning before you open a second can of paint. A small set that erases cleanly beats a pile of half-painted tags waiting for perfect handwriting.

Comments
Continue reading
15 Adorable DIY Father’s Day Gifts Worth Making
Fifteen handmade Father’s Day ideas—from etched glasses and felt sleeves to a leather-handle box and grill cover—chosen for use, not just wrapping-paper moments.
Easy Cheap Mason Jar DIY: Luminaries, Terrariums, Lamps, Dispensers, and Vases
Repurpose mason jars into luminaries, terrariums, drink cups, lamps, ornaments, soap dispensers, herb planters, and vases with simple, low-cost steps.
How to Refashion Old Jeans at Home
Practical DIY jean makeovers—paint and prints, rips and patches, lace inserts, cut-offs, bleach, and dye—with tools, steps, and a weekend plan.