
20 DIY Decorative Egg Tutorials for Easter and Spring Tables
Twenty egg decorating projects—paint pens, rope wrap, confetti, dye resists, moss, gold leaf, terrariums, and more—with materials and steps for each.
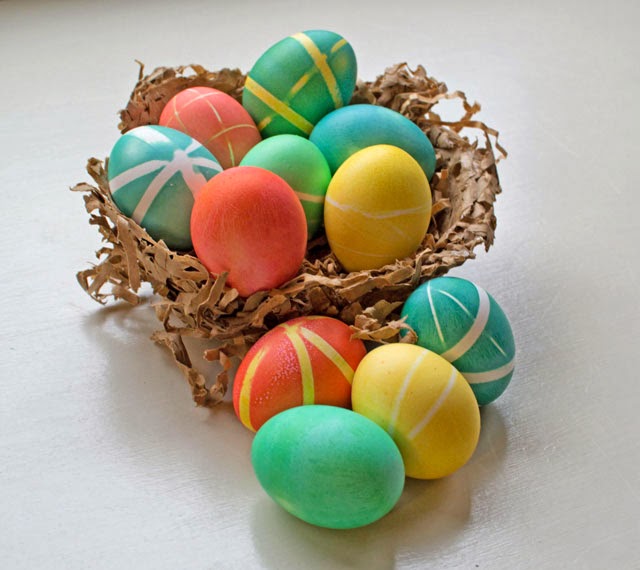
Decorating eggs at home still beats buying a carton of pre-colored ones. Paint is only the starting point—dye resists, yarn, moss, gold leaf, and even tiny terrariums turn a simple shell into a seasonal display piece. Use blown eggs, plastic craft eggs, or hard-boiled eggs depending on whether you want keepsakes or a table that gets eaten.
Below are twenty DIY decorative egg tutorials you can finish in an afternoon. Materials stay common craft-store fare. Keep the local image as a visual cue, skip the old outbound blog links, and mix techniques on one tray for a richer centerpiece.
1. Paint-pen patterned eggs
Hard-boil or blow eggs and dry them fully. Draw dots, lines, initials, or simple florals with fine-tip paint pens. Let each color dry before overlapping. White pens on dyed bases look especially crisp. A quick clear spray seals the ink for handling.
2. Rope-wrapped eggs
Start at the narrow tip of a plastic or blown egg. Glue the end of thin jute or cotton rope, then wrap tightly toward the wide end, adding glue every few turns. Trim and tuck the finish. Natural rope reads rustic; dyed cord feels playful on a pastel table.
3. Confetti-covered eggs
Brush craft glue over a plastic egg and roll it in paper confetti or punch scraps. Press loose pieces flat, then seal with a second thin glue coat. Multicolor confetti is festive; single-color punches look calmer in a bowl of moss.
4. Cement or concrete eggs
Mix a small batch of craft concrete and pour into egg molds or hollow plastic eggs split lengthwise. Tap out air bubbles, cure as directed, then demold and sand rough edges. Leave raw gray or paint the tips. These are outdoor-friendly weights for planters and porch baskets.
5. Watercolor wash eggs
On clean white eggs, brush loose watercolor or diluted acrylic washes. Let colors bleed at the edges for a soft, painterly look. When dry, add a few ink details if you want definition. Display on a cake stand where light can catch the translucent layers.
6. Crocheted egg cozies
Crochet small oval covers in cotton yarn using a simple spiral or lace pattern sized to slip over plastic eggs. Leave an opening at one end or sew closed after inserting the egg. Soft pastels suit Easter baskets; neutrals work year-round as bowl fillers.
7. Rubber-band resist dye
Wrap dry eggs tightly with rubber bands in random grids. Dip in dye, unwrap when dry, and reveal pale stripes where the bands blocked color. Layer a second dye pass with new bands for intersecting patterns. This is a reliable kids’ craft with graphic adult results.
8. Painted plastic eggs
Wipe plastic eggs with alcohol so paint sticks. Base-coat in acrylic, then add stripes, color blocks, or ombré with a foam brush. Matte finishes photograph well; gloss varnish makes them look candy-like in a glass jar.
9. Marbled eggs
Float nail polish or oil-based craft marbling medium on water in a deep bowl. Swirl gently, dip a blown egg, and lift straight up. Set on a rack to dry. Wipe excess from the bowl between dips so each egg stays distinct.
10. Hibiscus or botanical dye
Simmer dried hibiscus, onion skins, red cabbage, or turmeric for natural color baths. Soak white eggs until the shade deepens, then dry on a rack. Botanical dyes shift with vinegar and time—test one egg before committing a dozen.
11. Minimal Scandinavian eggs
Keep the palette to white, soft gray, and one muted accent. Decorate with a single stripe, tiny cross-stitch-style dots, or leave some eggs blank. Group them in a wooden bowl with linen and a sprig of greenery. Restraint is the technique.
12. Moss-covered eggs
Coat a plastic egg with craft glue and press on preserved sheet moss or reindeer moss crumbs until covered. Fill thin spots with extra glue and moss. Nest the finished eggs in a tray with twigs for a woodland table runner.
13. Chocolate surprise eggs
Melt candy melts or tempered chocolate and paint the insides of clean plastic egg halves. Chill, join the halves with more chocolate, and hide a small candy or note inside before sealing. Keep refrigerated until serving. These are edible party favors, not shelf décor.
14. Liquid-frisket resist eggs
Paint designs on dry eggs with liquid frisket or masking fluid. Once dry, dye the egg, then rub away the frisket to reveal white patterns underneath. Work in a well-ventilated spot and use a dedicated brush—frisket ruins good watercolor brushes.
15. Gold-leaf eggs
Apply adhesive size in patches or full coverage on a painted base. Lay gold leaf sheets, burnish lightly, and brush off excess. Seal with a clear coat so the leaf does not flake onto food or linens. A few gold eggs elevate an otherwise simple basket.
16. Mini baskets with egg pairs
Weave or buy tiny baskets and nest two coordinated eggs inside with shredded paper or moss. Tie a thin ribbon around the handle for place settings. Guests can take the basket home; the eggs become the takeaway.
17. Graffiti-inspired eggs
Base-coat eggs in bold brights, then add drips, tags, and spray-style lettering with paint pens or watered acrylic. Work on scrap paper; drips are part of the look. Cluster them in a metal tray for a modern contrast to soft florals.
18. Egg terrariums
Use large blown eggs or plastic eggs cut carefully at the top. Add a pinch of soil or gravel, tiny succulents or moss, and a drop of water. Display upright in egg cups. Keep out of harsh sun so the micro-garden does not cook.
19. Yarn-wrapped eggs
Glue the end of yarn to a plastic egg and wrap until the surface disappears, changing colors for stripes if you like. Finish with a neat tuck on the back. Chunky yarn covers fast; embroidery floss gives a finer, tapestry look.
20. Graphic stencil eggs
Cut simple stencil shapes from vinyl or cardstock—triangles, moons, initials. Hold or tape the stencil on the egg and dab paint through with a sponge. Peel carefully. Repeat in a limited palette so the set reads as a collection, not twenty unrelated experiments.
Display and storage
Group eggs by technique in shallow bowls, egg cups, or a tiered stand. Keep edible chocolate eggs separate from craft finishes. Store blown and plastic keepsakes in egg cartons lined with tissue; label the carton by technique so next spring you know what to remake versus reuse.
Pick three methods that match the time and materials you already own. A rubber-band dye batch, a handful of yarn wraps, and one gold-leaf egg are enough to make the table feel handmade without turning the kitchen into a full studio for a week.

Comments
Continue reading
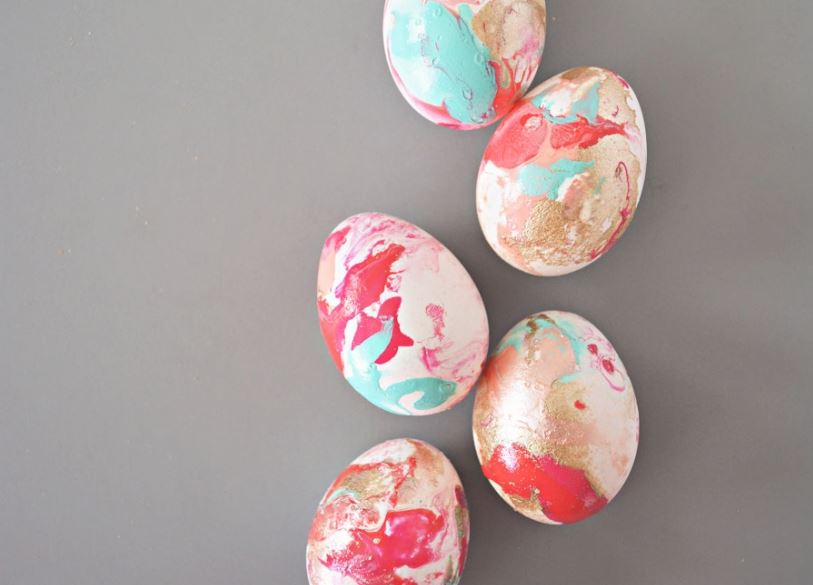
10 Easter Crafts for Kids: Eggs, Sock Bunnies, Nests, and Spring Table Projects
Ten kid-friendly Easter crafts—marbled eggs, sock bunnies, chocolate nests, washi canvases, pom-poms, and chalkboard eggs—with spring colors and simple supplies.
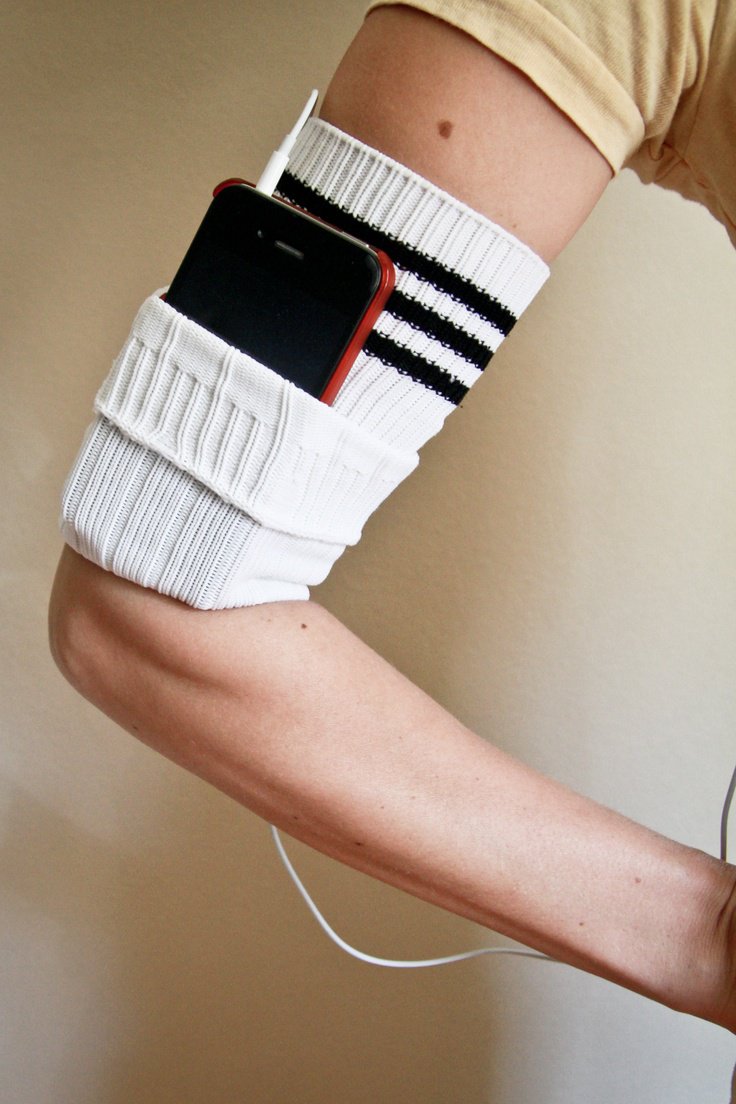
DIY Ideas for Old Socks: Rugs, Puppets, Mittens, and More
Sort leftover socks by fiber, then turn them into braided rugs, hand puppets, soft toys, mittens, and pin cushions with practical cutting and sewing tips.
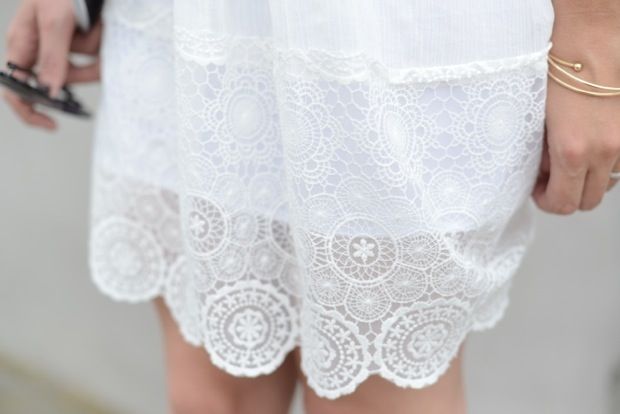
DIY Ideas with Lace Doilies
Upcycle heirloom lace doilies into framed art, runners, pillows, lamps, and more—practical craft projects that keep the crochet visible.