
Simple Handmade Gift Bows You Can Make at Home
Paper music loops, cupcake-liner flowers, ribbon rosettes, flat mail-safe bows, and personalized centers—practical DIY toppers with the classic gallery kept intact.
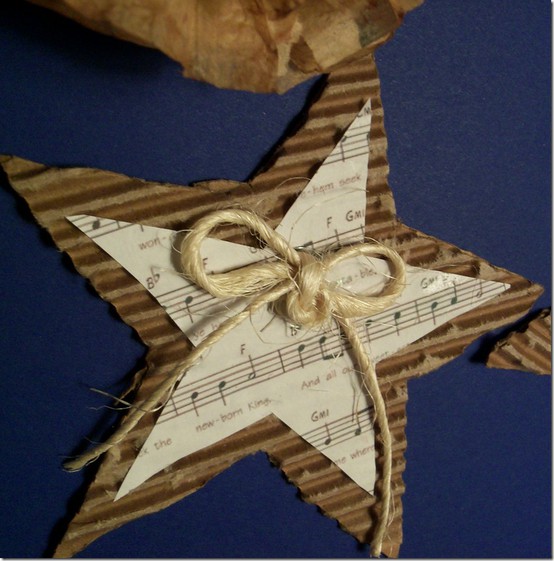
Store-bought bows finish a package in seconds, but handmade toppers make the wrapping feel like part of the gift. You do not need a craft room full of specialty tools—paper, leftover ribbon, cupcake liners, a stapler, and double-sided tape cover most of the ideas below. The gallery that follows keeps the classic DIY bow styles that crafters have shared for years: sheet-music loops, paper flower toppers, layered ribbon rosettes, flat mail-safe bows, and small personalized centers.
Work on a clear table, keep scissors sharp, and decide bow scale before you cut. A dinner-plate bow overwhelms a jewelry box; a tiny rosette disappears on a sweater carton. Match diameter roughly to one-third to one-half of the package’s shortest face, then adjust by eye.
Materials that behave well
Paper bows love medium-weight scrapbook paper, kraft wrap scraps, old book pages, or printed sheet music. Cardstock holds shape; tissue needs more layers or a stiffer base. Ribbon bows prefer grosgrain or wired-edge ribbon when you want loops that stay open; soft satin looks elegant but collapses unless you wire it or use denser layering.
Adhesives matter more than brand names. A standard stapler joins stacked paper discs quickly. Hot glue grabs ribbon fast but can shine through thin paper—use sparingly. Double-sided tape keeps centers neat without bulk. For gifts that will be mailed, favor low-profile constructions and strong tape on the package face so the bow does not shear off in transit.
Christmas carol and sheet-music bows
Printed music pages make instant holiday character. Cut several strips of equal width (about 1–1.5 inches works for medium gifts). Form each strip into a loop, overlapping the ends at the center, and stack loops in a star or cross pattern so they radiate evenly. Staple or glue through the center stack, then add a small paper circle or button to hide the join.
For a fuller “carol” look, mix loop lengths: longer outer loops, shorter inner ones. Curl strip ends gently over a scissor blade if the paper is soft enough, or leave ends blunt for a graphic modern shape. If using vintage pages, check that ink does not smear under glue; a light mist of workable fixative on very soft paper can help, but test a scrap first.
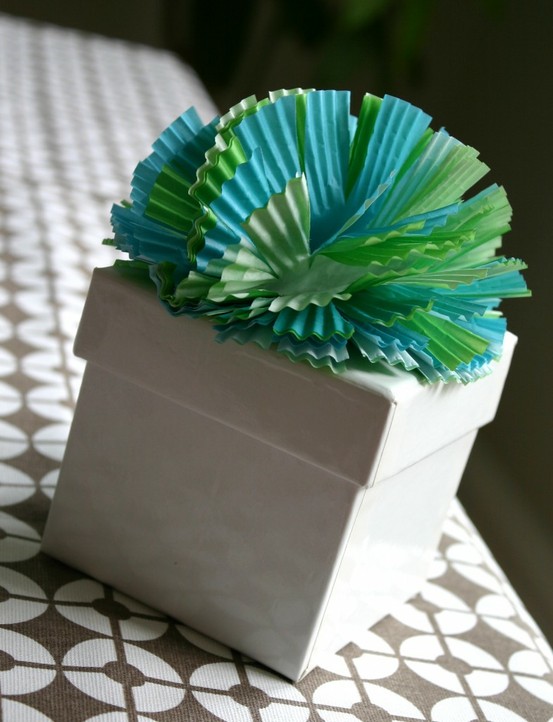
Cupcake-liner flower bows
Paper liners are already fluted, which does half the design work. Stack eight to twelve liners, alternating pattern sides if they are printed. Staple firmly through the center. From the outer edge toward the staple, cut petal shapes—rounded or pointed—through all layers, stopping short of the center so the stack stays joined.
Fluff each layer upward and rotate slightly so petals stagger instead of stacking in identical alignment. A small brad, sequin, or tight ribbon knot in the middle finishes the flower. These toppers are light, inexpensive, and ideal for kids’ gifts or bakery-box presents. For outdoor parties, keep them away from wind and rain; paper liners soften with moisture.
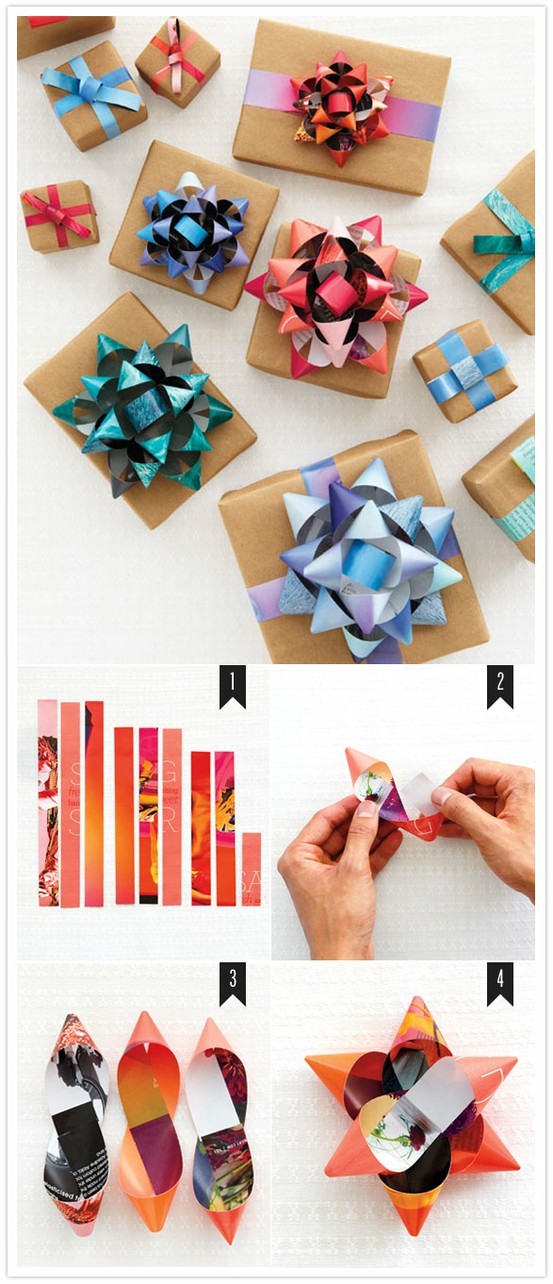
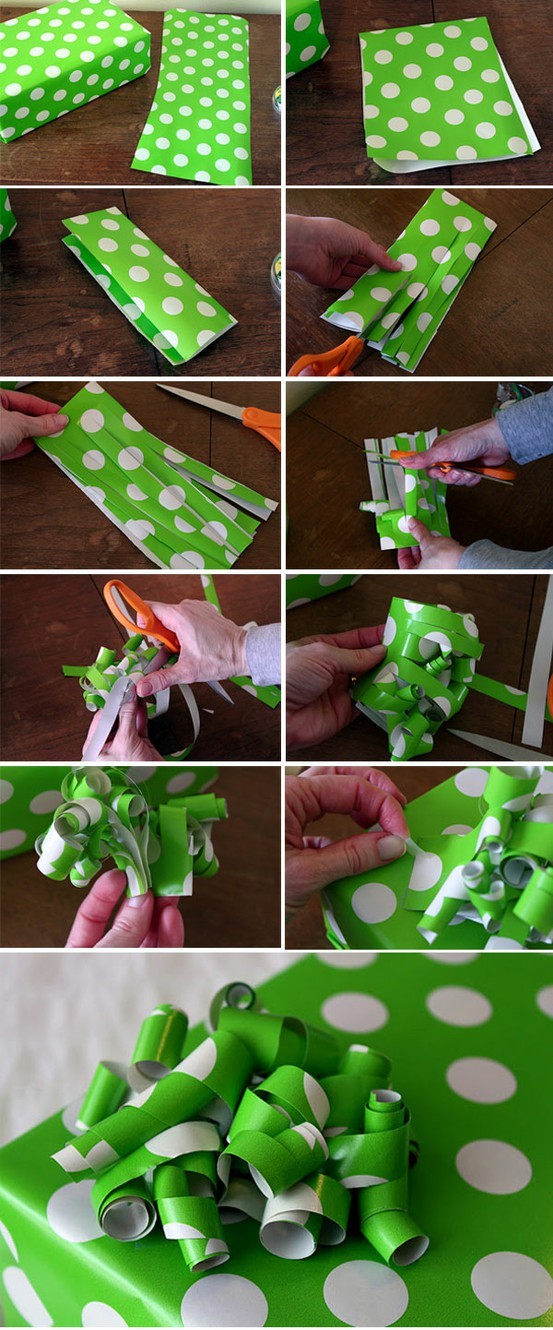
Layered paper loop bows
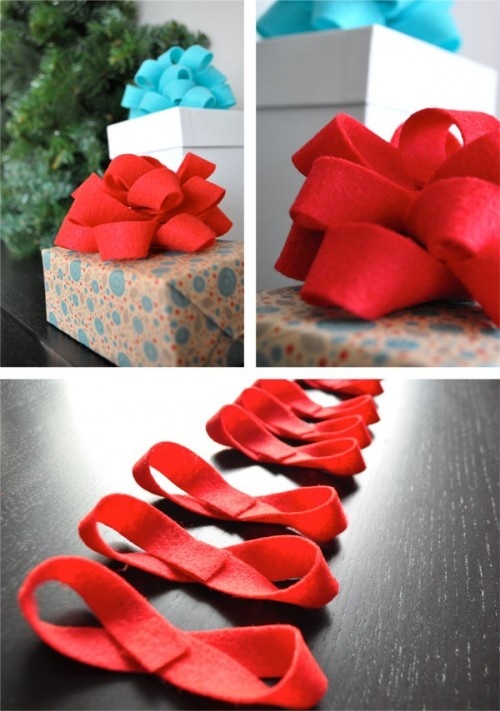
Classic gift bows are rings of nested loops. Cut multiple strips, join each into a circle, flatten gently into a lens shape, then stack sizes from large to small. Secure the stack at the center with a brad, twist-tie, or narrow ribbon wrapped tightly. Fan the loops so gaps look even from above.
Two-tone versions use a contrasting strip for the innermost loops or a different color on the reverse of double-sided paper. If loops collapse, your paper is too soft or your strip too long for its width—shorten the circumference or switch to heavier stock. A cardboard circle glued under the bow gives a stable base for attaching to packages with foam dots.
Ribbon bows with presence
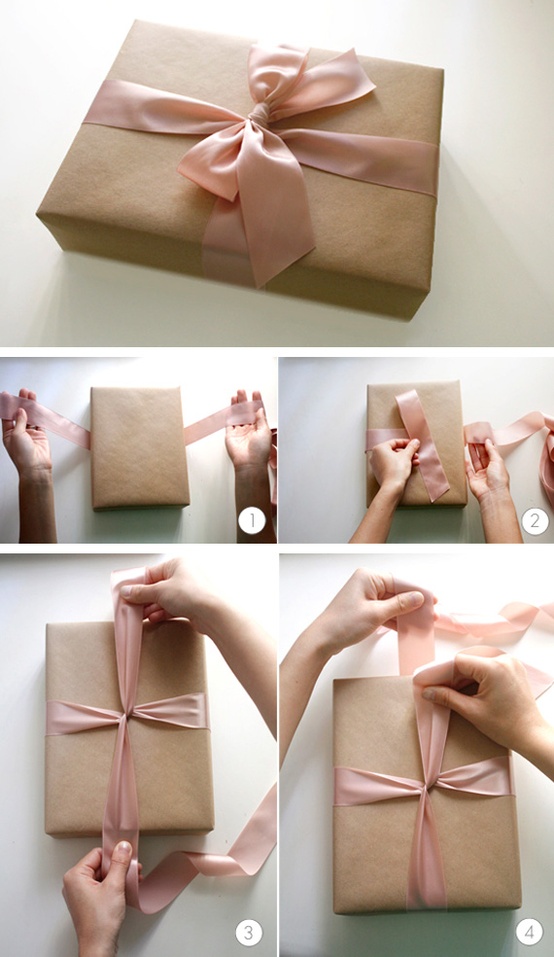
Ribbon rewards practice more than paper does. For a full multi-loop bow, make accordion folds of equal length, pinch the center, and bind with floral wire or a tight twist. Spread loops one by one, twisting ribbon so the show side faces out. Trim V-notches into tail ends for a finished look.
Wired-edge ribbon holds dramatic curves; unwrap the wire slightly at the ends if you need to fluff without creasing. Grosgrain gives crisp geometry for modern wrapping. Narrow ribbon suits small boxes; wide ribbon needs fewer loops or it becomes a heavy mound.
Combine textures—matte grosgrain with a thin metallic center wrap—rather than mixing five competing patterns. The package paper should either echo one color in the bow or stay solid so the topper leads.
Soft paper blooms and gathered centers
Some bows read more like flowers than gift-store rosettes. Gather circles of tissue or thin craft paper, stitch or staple at the center, and separate layers into a bloom. Alternatively, accordion-fold a long rectangle, pinch mid-fold, and open into a fan rosette; join two fans back-to-back for a full circle.
These styles shine on soft packages—fabric wraps, wine bags, or boxes covered in solid kraft. Because they crush easily, add them after transport when possible, or nest gifts in a larger carrier box so nothing sits on the bloom.
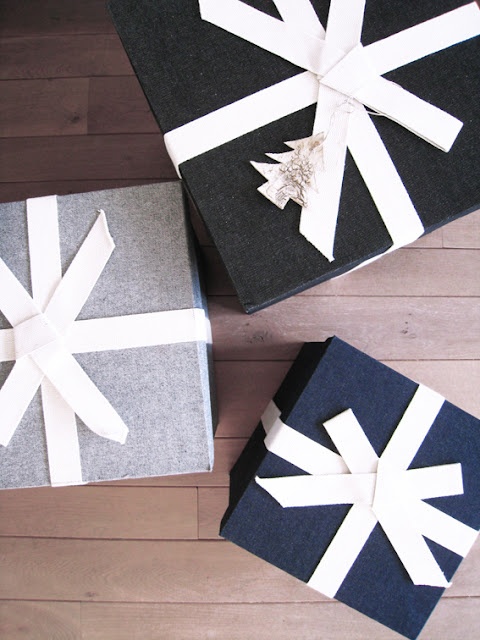
Flat bows for shipped gifts
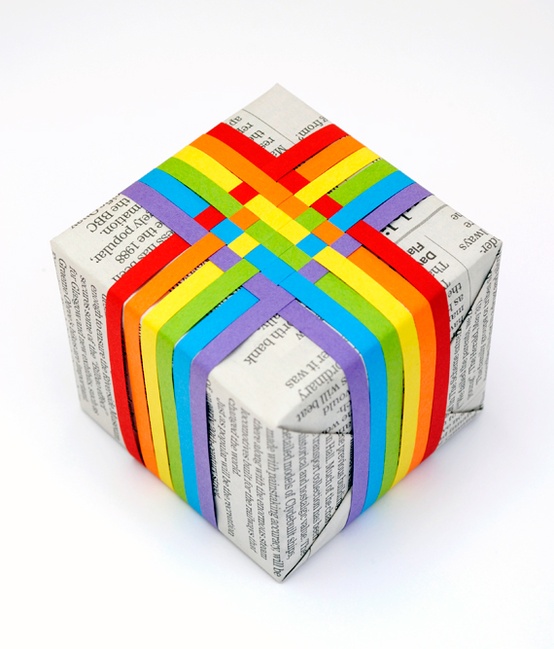
Dimensional bows look crushed after a trip through sorting equipment. Flat bows solve that: overlapping strips or folded ribbon arranged in an X or asterisk pattern, pressed almost flush to the wrap, still signal “gift” without catching on other parcels.
Use strong double-sided tape across the full footprint of the bow. Avoid tall centers and trailing tails that hook. If you want a bit of lift, a single foam square under the middle is usually enough. Print a small “handmade bow—please don’t crush” note only if you control the shipping box; carriers will not honor it on exposed packages.
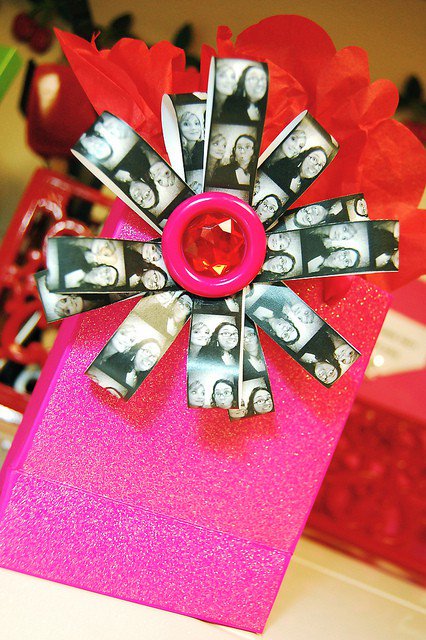
Personalized centers
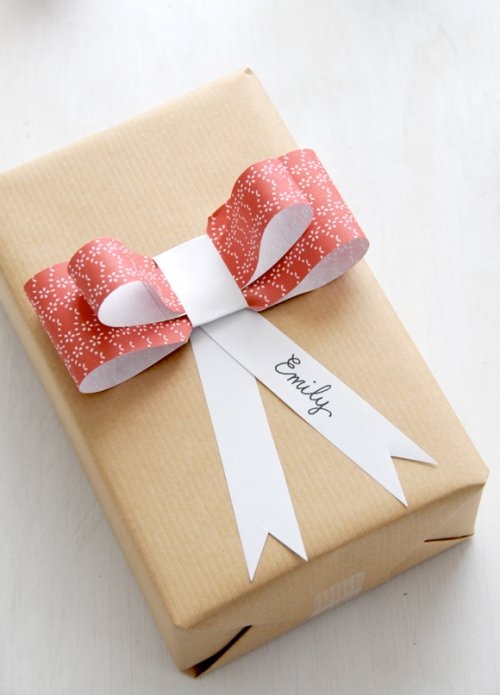
Initials, tiny tags, buttons from a sewing kit, or a stamped year turn a generic bow into a keepsake detail. Glue the embellishment only after the bow structure is secure. Keep weight low so the topper does not peel the wrap. For children’s gifts, skip small parts that could detach and become choking hazards—use flat printed circles instead.
Hand-lettered names on kraft tags tied through the bow center work when calligraphy feels intimidating: one clear name in permanent marker is cleaner than overcrowded decoration.
Assembly order that saves frustration
- Wrap the box completely and let tape set.
- Build the bow off the package so glue mess stays on the craft sheet.
- Attach with a generous patch of strong tape or a glue dot rated for the bow’s weight.
- Add tails or tags last so proportions stay adjustable.
- Photograph or deliver; store stacked gifts with tissue between bows if they must wait.
Batch-making helps during December: cut all strips one evening, assemble bows the next, label by size in a box. Leftover wrapping scraps become next year’s inventory.
Start with cupcake-liner flowers if you want a win in under ten minutes, then try a sheet-music loop bow for the next hostess gift. Once center joins feel sturdy, ribbon multi-loops become less mysterious—and the wrapping table starts to look like the best part of the present.

Comments
Continue reading
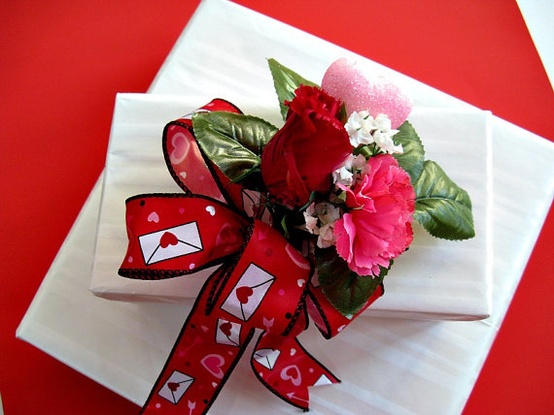
Simple, Cute Valentine Gift Wrapping Ideas
A craft guide to personalized Valentine wraps—kraft bases, paper hearts, ribbon, tags, and texture mixes—using inexpensive supplies and the gallery examples as patterns.
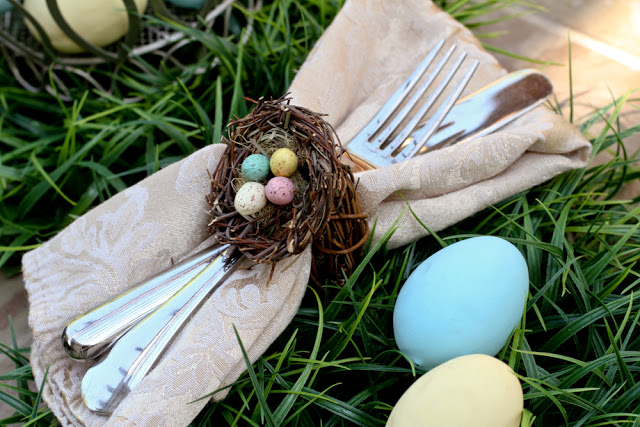
DIY Spring and Easter Napkin Rings for the Holiday Table
Make Easter and spring napkin rings—nest, knit flower, bunny, scrap-flower, and edible styles—with sizing, food-safety, and batch tips for a calm tablescape.
20 DIY Shoe Makeover Ideas: Paint, Glitter, Clips, and More
Twenty shoe upgrades—floral boots, glitter wedges, neon soles, crystal pumps, lace overlays, and novelty heels—with practical steps for each.