
Handmade Valentine Cards: Materials, Layout, and Mail-Ready Finish
Skip the affiliate craft spam—practical DIY criteria for handmade Valentine cards that survive envelopes, leave room for a real message, and still look personal.
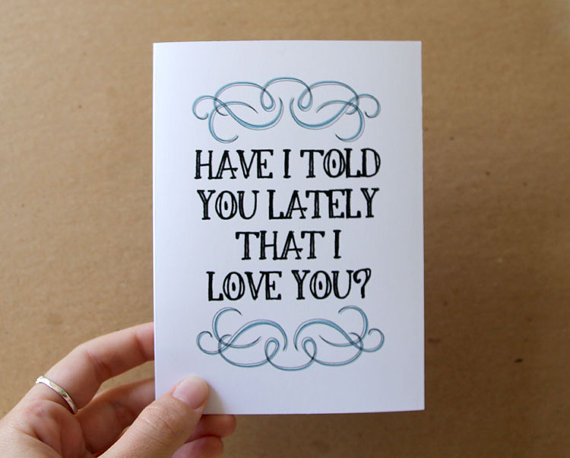
A handmade Valentine card succeeds when it feels specific. Store aisles are full of glossy hearts; a card you make can carry a private joke, a paper texture someone will touch twice, and a size that fits a real envelope. The point is not perfection. The point is criteria: materials that do not smear, structures that survive the mail or a coat pocket, and layouts that leave room for a message longer than three words.
The gallery below collects handmade Valentine card directions—cut paper, collage, illustration, typography-forward designs—so you can pick a method that matches your tools and the time you actually have before February 14. Treat the images as a mood board for technique, not as a checklist of products to buy.
#1
#2
#3
#4
Decide delivery before design
Will the card travel in the mail, sit on a desk, or be handed over at dinner? Mail demands flatter profiles, secure layers, and postage-friendly thickness. Desk display can handle soft dimension—a folded pop-up, a sewn edge, a small paper flower—if you protect the piece in a bag until gift time. Pocket delivery needs rounded corners and ink that will not transfer onto a phone screen. Long-distance relationships often need cards that photograph well when opened on a video call; high contrast and a clear focal point help more than tiny glitter that vanishes on camera.
Choose a finished size early. A5 folded or a standard A6 card blank keeps envelope hunting simple. Odd sizes look artistic until you cannot find a sleeve. If you cut your own cardstock, score the fold with a bone folder so the spine cracks cleanly instead of tearing fibers. Keep a spare blank of the same size so a ruined front does not force a late-night redesign.
Write the message draft on scrap paper first. Many handmade cards fail because the front is crowded and the inside is an afterthought. Leave a calm interior panel—or a tipped-in writing sheet—so your handwriting has space. If you freeze at blank paper, draft three sentences: one memory, one present-tense appreciation, one small future plan. That structure feels personal without becoming a speech.
#5
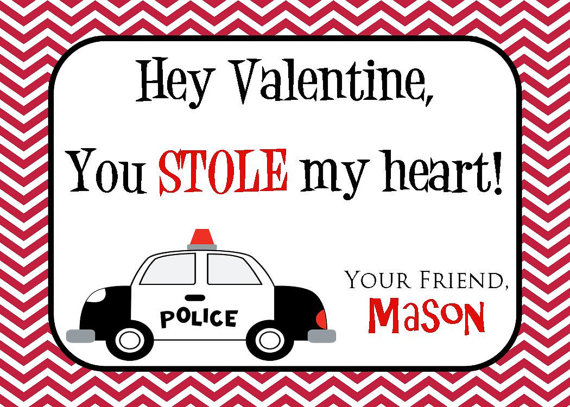
#6
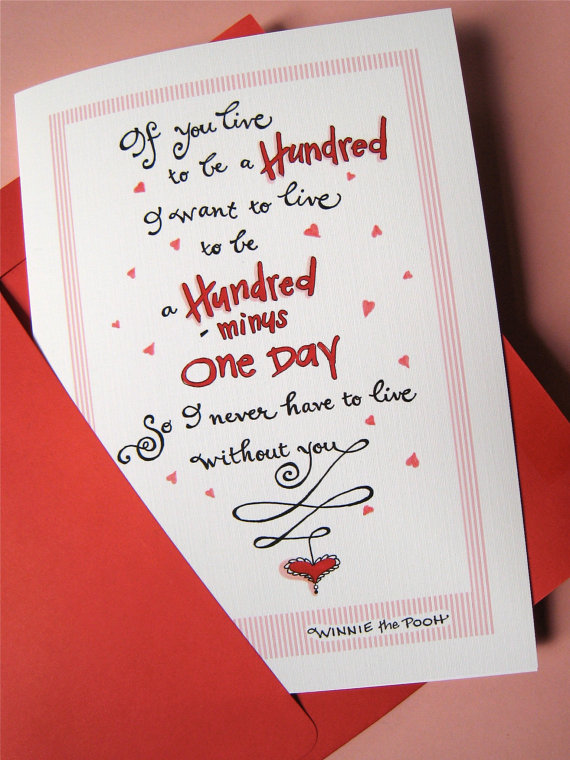
#7
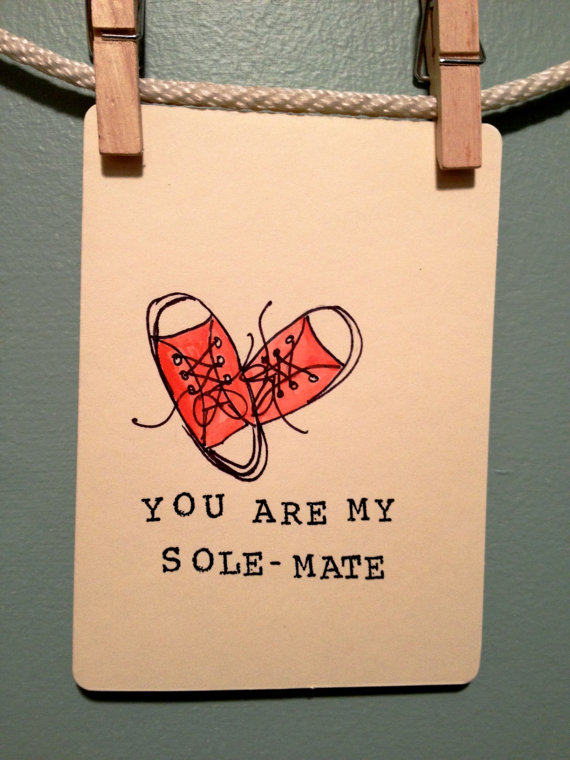
Paper, ink, and adhesive that behave
Cardstock around 200–300 gsm holds shape without fighting your scissors. Lighter paper works for collage layers and liners. Avoid paper so heavily coated that pen ink beads forever unless you plan stamped or printed type only. Test markers on a corner: bleed and shadowing ruin a careful layout. Pigment ink pads dry slower than dye inks but often sit cleaner on textured stock; plan drying time before stacking cards.
Adhesives matter more than romantic rhetoric. Liquid glue wrinkles thin paper; use it sparingly or switch to glue stick, double-sided tape, or a quiet dry adhesive for large panels. Foam tape adds dimension for hand delivery; skip it for standard letter mail. Sewing a paper layer with a simple machine stitch can look refined and mechanical-strong—just back the stitch line so the needle does not tear. Washi tape is useful for temporary placement while you decide composition; replace it with permanent adhesive once the layout locks.
If you use watercolor or ink washes, paint on a separate sheet, dry fully, then mount. Painting directly on a folded card often warps the spine. Heat embossing and wax seals are optional drama; they are also postage and smudge risks. Use them when the card will be hand-delivered or nested in a rigid mailer. Metallic paint pens look festive and can transfer—let them cure overnight and place a glassine sheet against the front if mailing.
#8
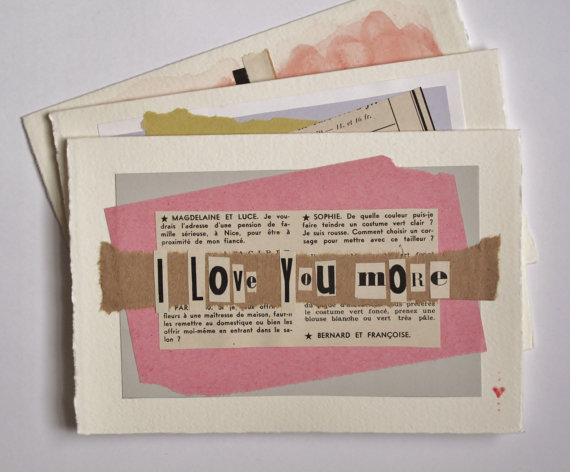
#9
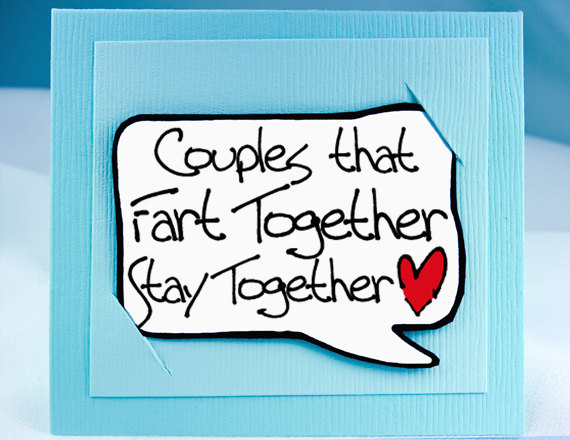
#11
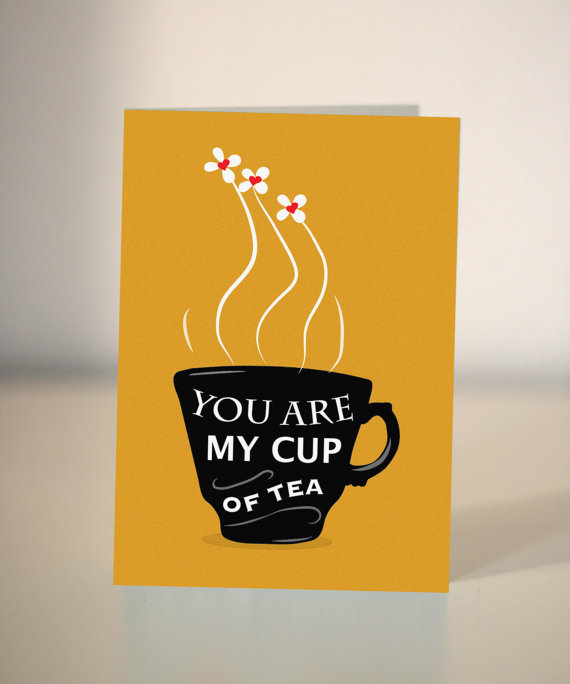
Layout rules that keep handmade from looking messy
One focal heart—or one strong illustration—usually beats five competing motifs. Leave margin. Crowding the edges makes scissors errors obvious and photographs poorly. Align text to a quiet baseline; if your handwriting wobbles, print a faint pencil guide and erase after ink dries, or stamp a short phrase and write the personal note inside. Negative space is not emptiness; it is how the eye finds the sentiment.
Color stories help. Classic red and cream still work; so do graphite and blush, navy and coral, or monochrome cutouts on kraft. Pick two main colors plus one accent. Scraps from other projects are fair game if values contrast enough to read at arm’s length. If you love busy patterned paper, confine it to a strip or a backing panel and keep the heart or message area calmer.
Typography-forward cards (a single word, a date, a shared nickname) are ideal when drawing feels intimidating. Cut letters from contrasting paper, or use a stencil once, then customize with a border or collage strip so the card does not look purely template-made. Avoid dumping every alphabet sticker you own onto the front; restraint reads as design, not scarcity.
#12

#14
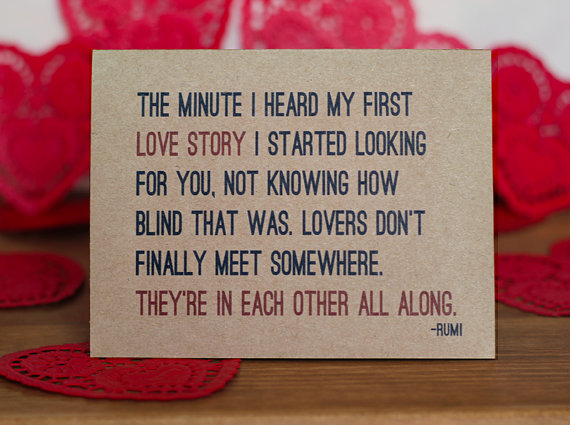
#15
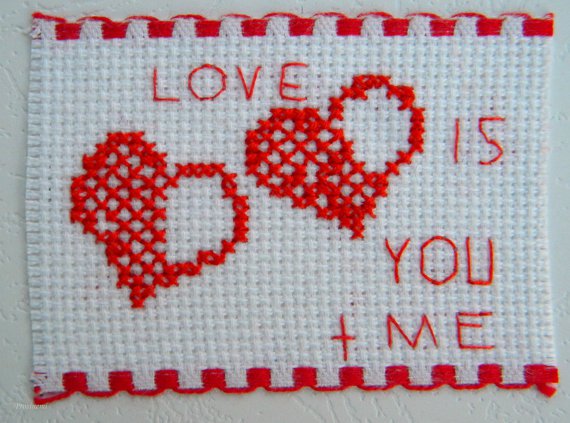
Techniques ranked by time and risk
Low risk, short evening: folded cardstock, one collage heart, handwritten note, envelope liner from scrapbook paper. Medium: stamped pattern background, mounted illustration, sewn border. Higher risk: multi-layer pop-ups, wet media on the finished card, heavy embellishments that snag. Match ambition to the relationship and the calendar—not to the most elaborate image in a feed.
Batching helps if you need several cards (classroom, office, extended family). Cut all blanks, score all folds, then decorate in an assembly line. Keep one “hero” card for a partner or closest friend so the personal piece does not get flattened into factory sameness. Label stacks with sticky notes (names or initials) so you do not mix messages while ink dries.
For kids’ Valentines, prioritize non-toxic materials, rounded corners, and designs that can be repeated twenty times without tears—potato prints, simple stamps, sticker hearts on labeled blanks. Adults can handle fiddlier collage; children usually cannot. Teachers and parents often appreciate flat cards that fit cubby holes without breaking.
Photo-based handmade cards deserve their own caution. Print on matte photo paper or mount a small print on cardstock with archival adhesive. Write on a separate panel if the photo surface resists pen. Avoid covering faces with glitter glue that yellows. A single candid image plus a short caption often feels more intimate than a collage of ten tiny photos.
#16
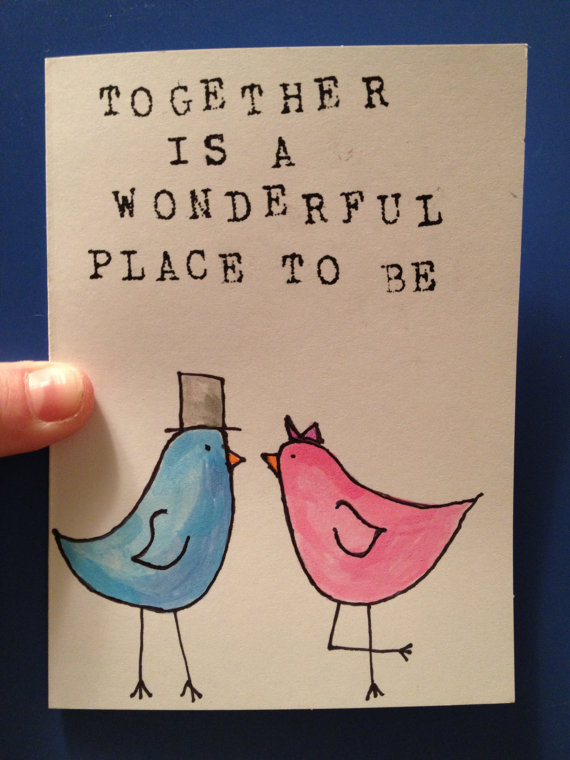
#17
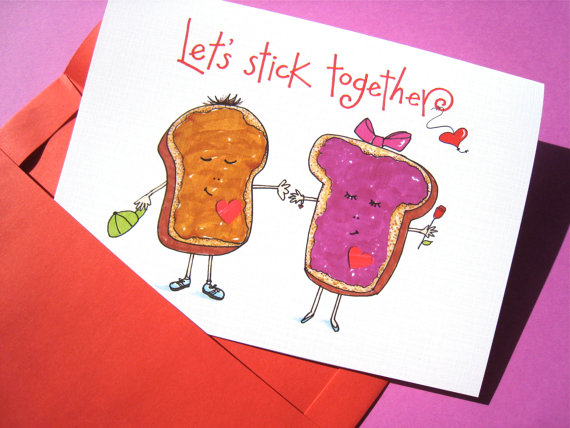
A quick quality pass before you seal the envelope
- Fold lies flat; score line is clean
- No wet glue; layers are secure when flexed gently
- Front focal point reads at arm’s length
- Inside (or insert) has space for a real message
- Envelope fits without crushing dimension
- Ink is dry; dark colors will not transfer
- Name of recipient is clear if cards might be shuffled
- Postage estimate checked if thickness or embellishments grew
Look back at example #1 in the gallery: whatever its exact motif, the useful lesson is the same as for every handmade Valentine card—one clear idea, honest materials, and room for words. If those three hold, the card already outranks anything that only says “love” in foil and forgets the person who will open it.

Comments
Continue reading
DIY Valentine Gift Ideas: Bracelets, String Art, Sweets, and Soft Goods
Make Valentine gifts that finish on time—friendship bracelets, heart string art, t-shirts, mini quilts, sweet bouquets, tealights, books, baked treats, massage oils, and scrap wreaths.
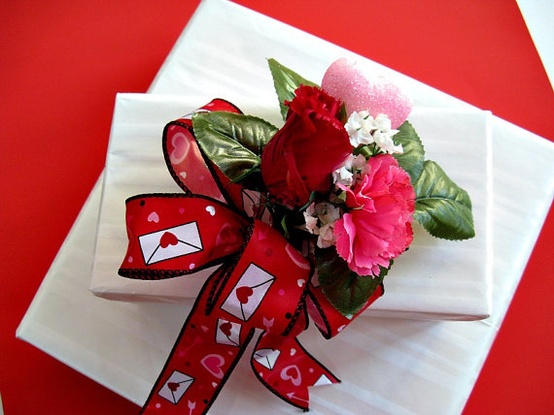
Simple, Cute Valentine Gift Wrapping Ideas
A craft guide to personalized Valentine wraps—kraft bases, paper hearts, ribbon, tags, and texture mixes—using inexpensive supplies and the gallery examples as patterns.
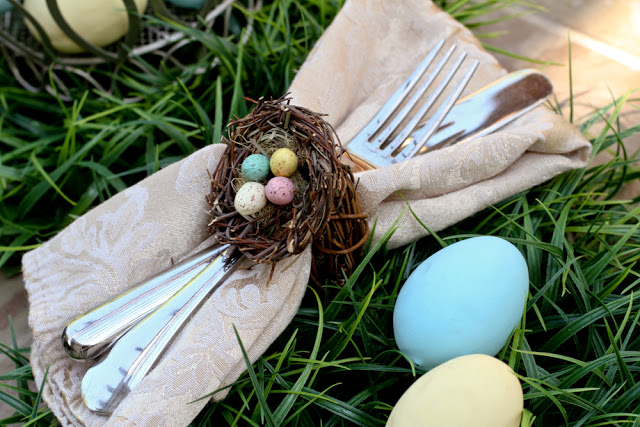
DIY Spring and Easter Napkin Rings for the Holiday Table
Make Easter and spring napkin rings—nest, knit flower, bunny, scrap-flower, and edible styles—with sizing, food-safety, and batch tips for a calm tablescape.