
Gorgeous Eye Makeup #2: Editorial Looks with Graphic Edge
A second selection focused on graphic liner, color blocking, metallics, and negative space—bolder eye makeup for impact, with the gallery image kept.

Some eye makeup is meant to disappear into a polished face. Other looks are meant to be the entire story: hard lines, unexpected color fields, metallics that catch a flash, shapes that ignore the “safe” crease map. This second selection leans into that editorial side—still practical enough to try at home, but styled for impact rather than office neutrality. For softer everyday criteria—clean wings, soft glam, wearable smoke—see the companion guide on classic eye looks.
Use the photo above as a mood check: saturated color, clear edges, and contrast that would still read in a cropped portrait. The sections below break that mood into techniques you can remix without turning the rest of your face into noise.
Graphic liner as architecture
Editorial eyes often treat liner like illustration. Instead of a classic wing alone, try floating liner above the crease, a doubled wing, a sharp triangle at the outer corner, or a precise block along the upper lid that stops cleanly mid-eye. Liquid or gel formulas with a fine brush give the crisp edge these looks need; pencil works when you plan to smoke one side and leave the other sharp.
Tape or a clean business card can help you stamp a straight edge while you learn. Remove guides before shadow fallout sets into a ridge. If both eyes must match exactly, complete the harder eye first, then copy angles with the first eye open in a mirror rather than guessing from memory. Photograph tests from slightly below and slightly above—graphic liner that only works from one camera height will disappoint in real rooms.
White, ivory, or pale yellow liner on the waterline and inner corner can push a graphic look toward fashion-editorial brightness. Neon accents work best as thin lines or small blocks; large neon fields need excellent blending edges or they photograph as unfinished paint. Keep the rest of the face quieter so the geometry stays legible.
Color blocking on the lid
Where wearable makeup sheers color into skin, editorial makeup often places opaque color in deliberate zones: inner half versus outer half, lid versus crease, or a solid wash from lash to brow bone. Choose two or three hues that share a temperature (all warm, or all cool) unless you want intentional clash. Clashing on purpose needs cleaner edges than harmonious schemes; muddy borders make clash look accidental.
Application order that helps:
- Map zones with a nude or light base shadow
- Lay the lightest opaque color first
- Add the deeper block second so you can carve the edge
- Clean edges with a flat brush and a drop of makeup remover on a cotton bud
- Only then add mascara or lashes
- Finish with a setting spray if your lids crease quickly
Matte blocks photograph as modern and graphic; metallic blocks photograph as high-fashion night. Mixing one matte field with one metallic focal point usually looks more designed than covering the whole eye in shimmer. If you only own shimmer shadows, knock back edges with a matte transition shade so blocks still read as shapes.
Metallics and foil effects
Pressed metallics, loose pigments, and cream-to-powder foils create the wet-looking lids common in magazine close-ups. Pack product with a flat brush or fingertip onto a sticky base or dampened brush if the formula allows it. Concentrate shine where light hits—center lid or inner third—so the eye still has dimension. Wall-to-wall metal can flatten the socket in photos unless you carve depth with a matte perimeter.
Fallout is part of the process. Do eyes before foundation when you can, or shield cheeks with tissue. Set surrounding skin carefully so stray sparkle does not become texture on the cheek. Pair heavy metal lids with thinner liner, or skip liner entirely and let the metal’s edge define the shape. If glitter migrates into the eye, stop and switch formulas—editorial should not mean injury.
Lighting note: foil lids love directional light and hate flat overhead office glare. If your night out is mostly restaurant downlights, test the look under similar bulbs before committing.
Negative space and “unfinished” edges
Not every striking eye is filled in. Negative-space looks leave bare skin between liner shapes, or stop shadow before the brow so the bone structure shows. A single floating crease line with bare lid below can look more contemporary than a fully packed socket. The bare areas must be intentional: moisturized, even-toned, and free of leftover concealer creasing.
These styles reward restraint elsewhere: clear skin or light base, groomed brows, and lips that are either very soft or very precise—not both messy. If the eye makeup is asymmetrical on purpose, commit. Half-hearted asymmetry reads like a mistake; confident asymmetry reads like a choice. One reliable approach is mirroring the angle language (both sides use sharp geometry) while varying scale or fill.
Lower-lid drama and connecting shapes
Editorial eyes often continue the story under the eye: colored waterline, shadow wings that wrap underneath, or a second graphic stroke mirroring the upper lid. Keep the lower line slightly thinner than the upper unless you want a deliberately heavy, doll-like frame. Connecting top and outer-corner shapes into one silhouette makes small eyes look longer in photos.
Be careful with textures that migrate. Cream liners on the waterline may need midday checks. If you wear contacts, prioritize formulas you already know are comfortable and remove everything thoroughly at night. Smudged editorial can be beautiful; accidental raccoon rings after dinner are not the same look.
Lashes, brows, and the rest of the face
Once color and line are bold, lashes become staging. Separated mascara, individual clusters, or dramatic strip lashes can all work; match volume to the graphic weight of the shadow. Overly thick bands can hide a careful wing you spent twenty minutes cutting in. Bottom lashes: either soft definition or a deliberate graphic echo—avoid sparse clumps that look forgotten.
Brows: either soft and natural to contrast a wild lid, or sharper and more architectural to echo graphic liner. Avoid the middle ground of slightly messy fill when the lid is precise—it undercuts the editorial idea.
Cheeks and lips should choose a lane. Strong eye plus strong lip can work for stage or evening editorial if both edges are clean. For most portraits inspired by this second gallery mood, a muted lip and controlled blush let the eye remain the subject. Contour, if used, should stay subtle; heavy cheek sculpture next to experimental lids often looks like two different makeup artists met by accident.
Weekend experiment roadmap
- Pick one idea only: graphic liner, color block, or metallic foil.
- Photograph a test in daylight and in warm indoor light.
- Simplify any area that turns muddy in photos—editorial needs edges.
- Decide your removal plan before you add waterproof layers.
- Save one reference photo of your best attempt so the next try starts faster.
- Optional: recreate the same map in a softer opacity for a “day translation” of the night look.
Would you rather master one sharp graphic wing you can repeat, or one color-block recipe you can recolor endlessly? Either path beats collecting screenshots you never try. Editorial eye makeup rewards repetition more than novelty—each remake teaches your hand where the edge actually belongs on your bone structure.

Comments
Continue reading
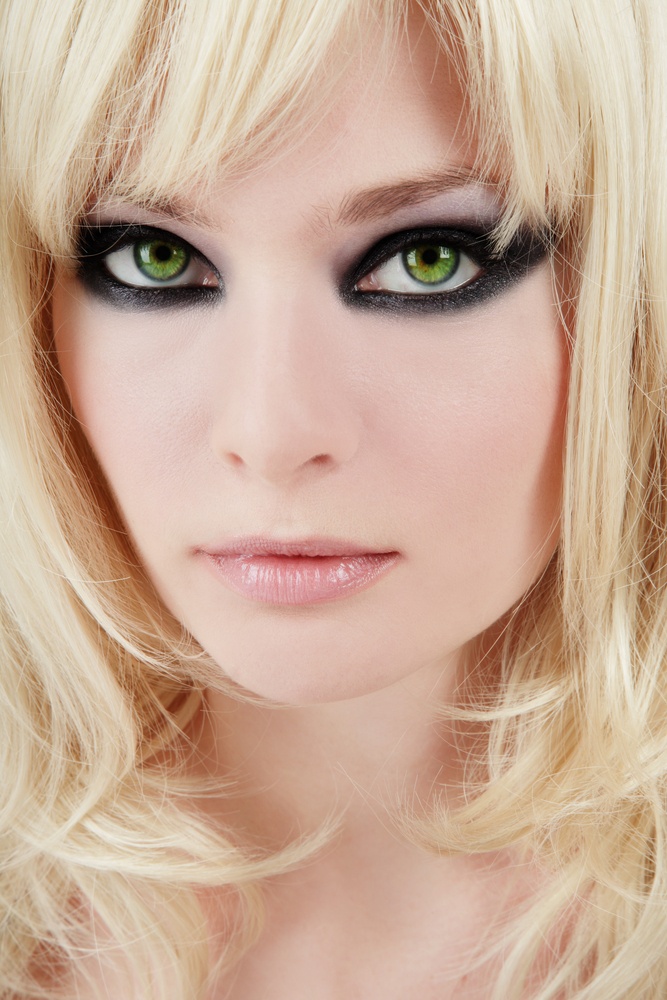
Striking Makeup Ideas for Green Eyes: A Practical Color Guide
How to make green eyes read clearer—complementary plums, warm neutrals, charcoal definition, liner and mascara tips, plus three buildable everyday-to-evening looks.
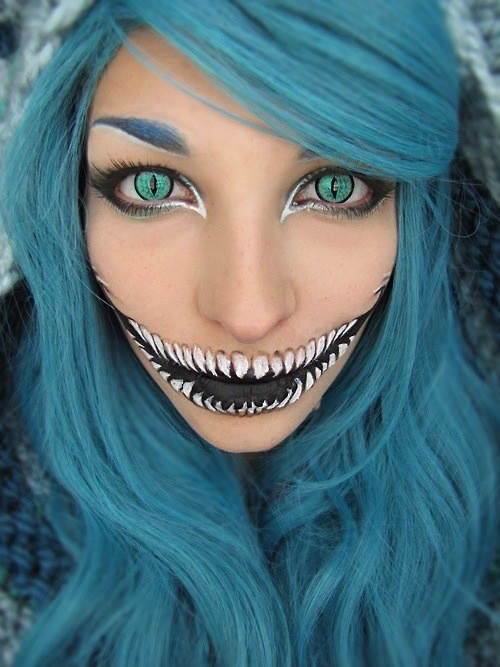
Makeup Ideas for Halloween
Practical Halloween faces—vampire, animal, skull, zombie, witch glam, clown—plus prep, quick looks, and removal tips that survive a party night.
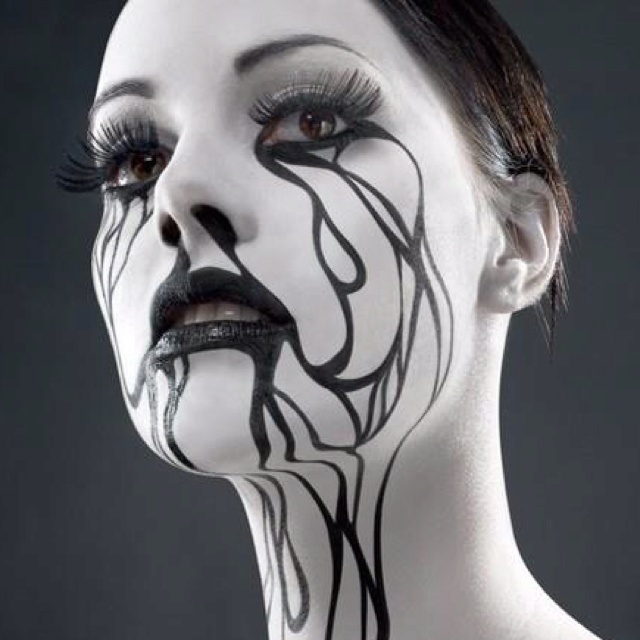
Cool and Scary Halloween Makeup: Pop Art, Doll Eyes, Vampires, and SFX
From Lichtenstein Ben-Day dots and oversized doll eyes to Corpse Bride blue, zipper faces, jack-o’-lantern paint, and glam cats—practical notes for building a Halloween face that lasts the night.