
Origami Page Corner Bookmarks: Five Easy Designs
Fold kitten, heart, bunny, greeting-card, and envelope-monster corner bookmarks—step-by-step origami for marking your place.
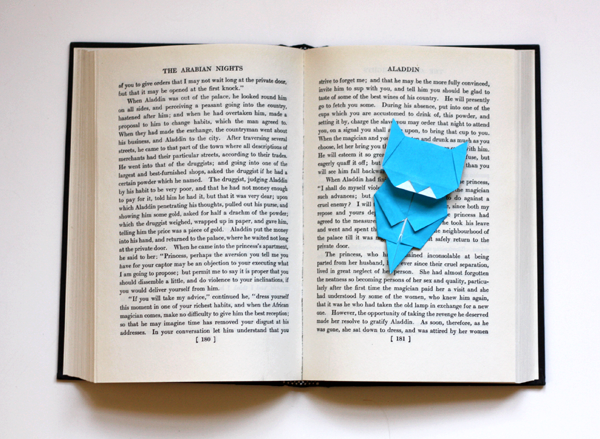
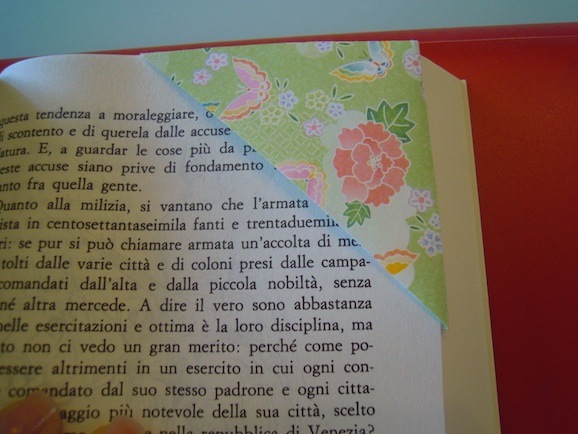
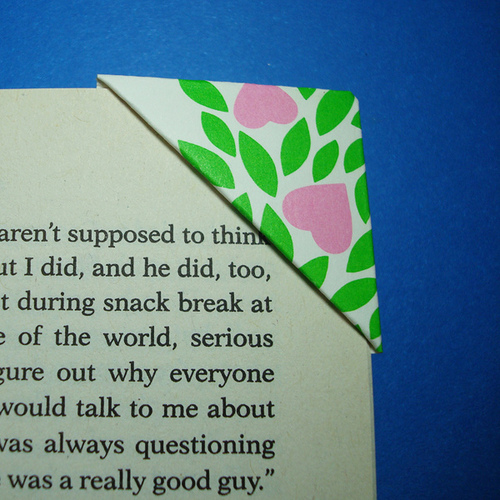
Corner bookmarks slide onto the page like a tiny pocket, so they mark your place without dangling ribbons or clipped metal. Origami versions are cheap, quick, and easy to personalize—animals, hearts, monsters, or recycled greeting-card patterns. Below are five styles matched to the photos on this page. Each one starts from the same idea: a folded triangle pocket that grips the corner of a leaf. Pick one design, practice on scrap paper, then use better stock for the keeper.
Materials for most projects: square origami paper (or a square cut from printer paper), scissors, glue or double-sided tape, and optional markers for faces. Cardstock works for sturdier bookmarks; very thin gift wrap tears more easily.
1. Kitten corner bookmark
The kitten is a classic corner fold with ears added on top. Start with a square, color side down if your paper is two-toned.
- Fold the square in half diagonally to make a triangle; crease firmly.
- Orient the triangle with the long edge at the top and the point at the bottom.
- Fold the left and right bottom points up to meet the top point, forming a diamond-like stack of flaps—then unfold those two side folds so you still have the big triangle.
- Take only the top layer of the bottom point and fold it up to the top edge; tuck or fold the resulting pocket so a triangular sleeve forms. (You are building the pocket that will hug the book page.)
- Fold the left and right corners down into flaps that become the kitten’s cheeks, tucking them into the pocket where the design requires so the pocket stays open for the page corner.
- Cut or fold two small triangles for ears and glue them to the top edge. Draw eyes, whiskers, and a nose.
Use orange, gray, or calico-patterned paper. If the pocket feels loose, a tiny dab of glue inside the side folds helps—keep glue away from the opening that slides onto the page.
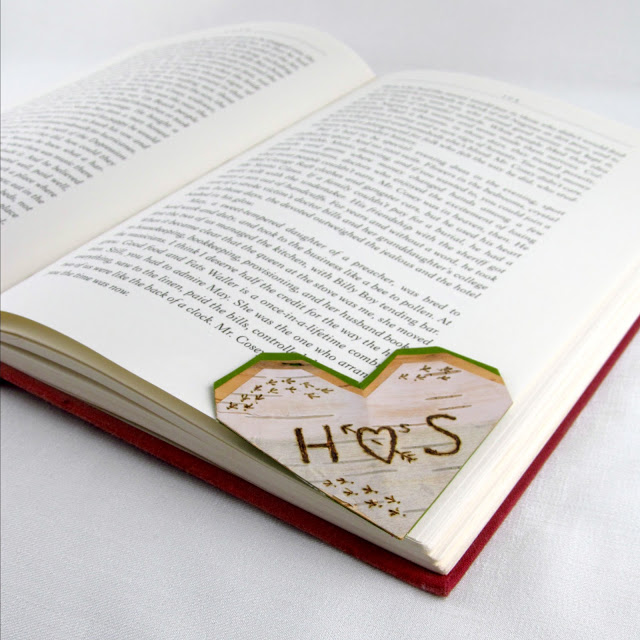
2. Heart-shaped origami bookmark
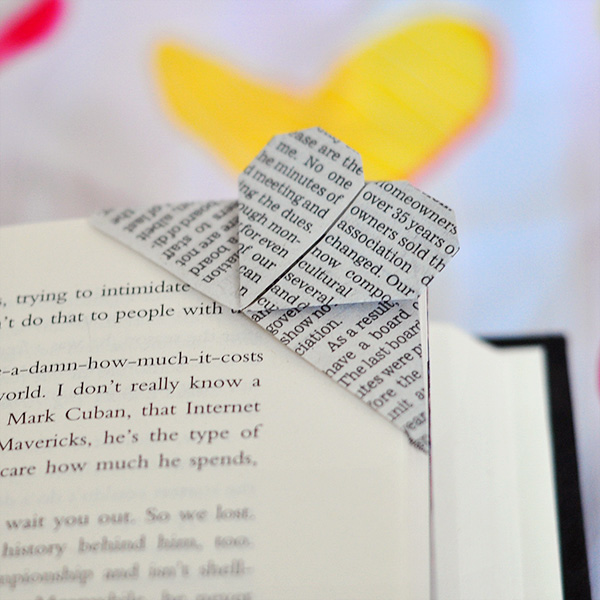
The heart variation turns the pocket’s top into a rounded or pointed heart silhouette. It makes a sweet gift tucked into a novel.
- Begin with the same basic corner-pocket triangle used for most page-corner bookmarks.
- Once the pocket holds its shape, fold or cut the top flaps into two lobes of a heart. Some methods fold small side triangles inward, then round the top with scissors; others build the heart from an extra folded layer glued onto a plain pocket.
- Crease cleanly so the heart sits above the page edge when the bookmark is in use.
- Optional: add a second color behind the heart for contrast, or stamp a tiny initial in the center.
Heavier paper keeps the heart from flopping. If you cut curves, sand or trim stray fibers so they do not catch on pages.
3. Bunny origami bookmark
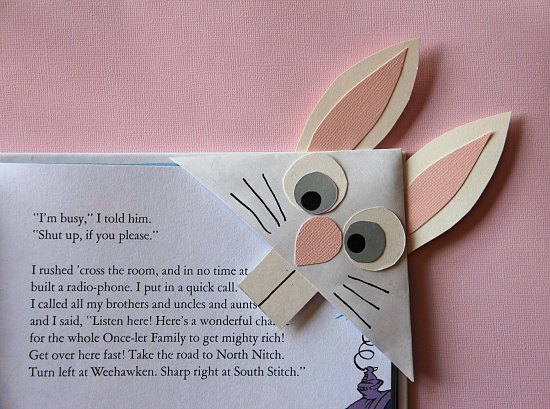
Bunny bookmarks rely on long ears. Build a solid pocket first, then attach ears so they do not pull the sleeve open.
- Fold a sturdy corner pocket from a square (same base as the kitten, without cat ears).
- From scrap paper, cut two long ear shapes—inner pink layer optional—and glue them to the top back edge of the pocket so they stand above the page.
- Draw a simple face: dots for eyes, a small triangle nose, optional whiskers.
- Test on a book corner. If ears tip forward, reinforce the join with a thin strip of tape on the reverse.
Patterned scrapbook paper with soft prints suits spring reading lists; white paper with pink accents reads classic.
4. Greeting-card origami bookmark
Old cards are perfect bookmark stock: thick, already printed, and sentimental without being fragile like a full card kept in a drawer.
- Cut a square from a flat section of a used greeting card—avoid embossed ridges that crack when folded.
- Fold the basic corner pocket with the nicest print facing outward on the visible flaps.
- Trim any bulky seams. If the card stock is stiff, pre-score folds with a bone folder or the back of a spoon.
- Leave as a geometric pocket, or add a small heart/animal face on top with leftover card scraps.
Choose cards with continuous pattern rather than a face that will be sliced awkwardly across a fold. Holiday cards become seasonal bookmarks; botanical cards suit year-round use.
5. Monster bookmark from an envelope
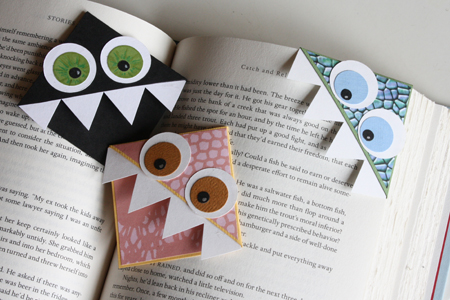
An envelope already has a pocket—ideal for a quick monster that eats the page corner.
- Seal a used envelope if open, then cut a square or a large triangle from it including one existing folded edge for strength.
- Fold into a corner sleeve, or simply cut a right-angled pocket from the envelope’s corner and reinforce raw edges with a thin line of glue.
- On the outer face, draw a wide mouth along the edge that will sit on the page—teeth optional.
- Add eyes (paper circles or marker dots). Bright colors read clearly at bookmark size.
This is the fastest kids’ version: minimal precise origami, maximum personality. Keep teeth short so they do not snag paper.
Shared tips for every style
- Size: a finished pocket around 5–7 cm (2–3 inches) along each side fits most paperbacks without dominating the page.
- Paper: practice on printer paper; gift final versions in origami packs or cardstock.
- Fit: the pocket should hug the corner snugly. Too loose, and it falls off; too tight, and it bends the page.
- Finish: a light coat of clear-drying glue on outer flaps can add durability—avoid coating the interior slide surface.
- Gifting: clip a bookmark onto the first chapter of a book, or make a set of three monsters in different colors.
Troubleshooting folds
If your pocket collapses, the side flaps were not tucked deeply enough—refold and crease harder. If the bookmark leaves marks, the paper is too sharp or dirty; switch to softer stock and clean hands. If faces look crooked, draw them after the bookmark is on a practice page so you see the true upright orientation.
Make one plain pocket tonight, then decorate tomorrow. Once the sleeve fits, every kitten, heart, bunny, card scrap, and envelope monster becomes a variation on a skill you already have.

Comments
Continue reading
Simple, Cute Valentine Gift Wrapping Ideas
A craft guide to personalized Valentine wraps—kraft bases, paper hearts, ribbon, tags, and texture mixes—using inexpensive supplies and the gallery examples as patterns.
DIY Spring and Easter Napkin Rings for the Holiday Table
Make Easter and spring napkin rings—nest, knit flower, bunny, scrap-flower, and edible styles—with sizing, food-safety, and batch tips for a calm tablescape.

20 DIY Shoe Makeover Ideas: Paint, Glitter, Clips, and More
Twenty shoe upgrades—floral boots, glitter wedges, neon soles, crystal pumps, lace overlays, and novelty heels—with practical steps for each.